
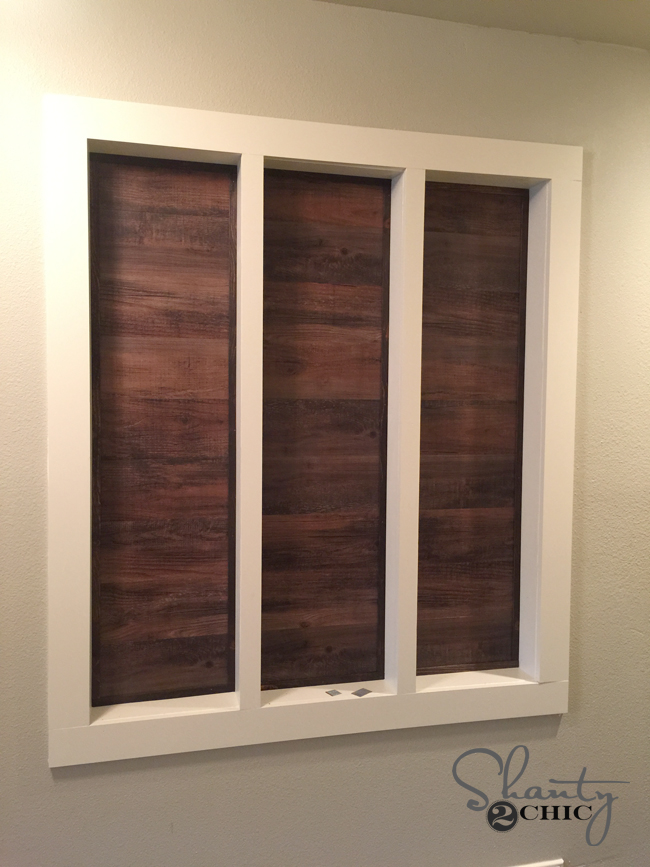
So this is a project I started LONNNNG ago, and I’m happy to say I finally finished. It’s one of those projects that took me forever to finally decide on how to finish, and then once I did decide, it took me just as long to actually do it. We closed off our loft last year and turned it into another bedroom to give my daughter her own room. It was one of the best updates I have done in my house yet. When making these changes, I was adding walls. I decided rather than creating flat walls, I would leave some openings in between the studs to fancy it up a bit. I thought it helped the addition look a little less like and “addition” as well. I do love what I came up with. I decided to create a DIY Photo Gallery Wall. You don’t need exposed studs to do this project. You can achieve the same look by doing this project directly on a wall. You just won’t have the same depth that mine does. Here is how it turned out!
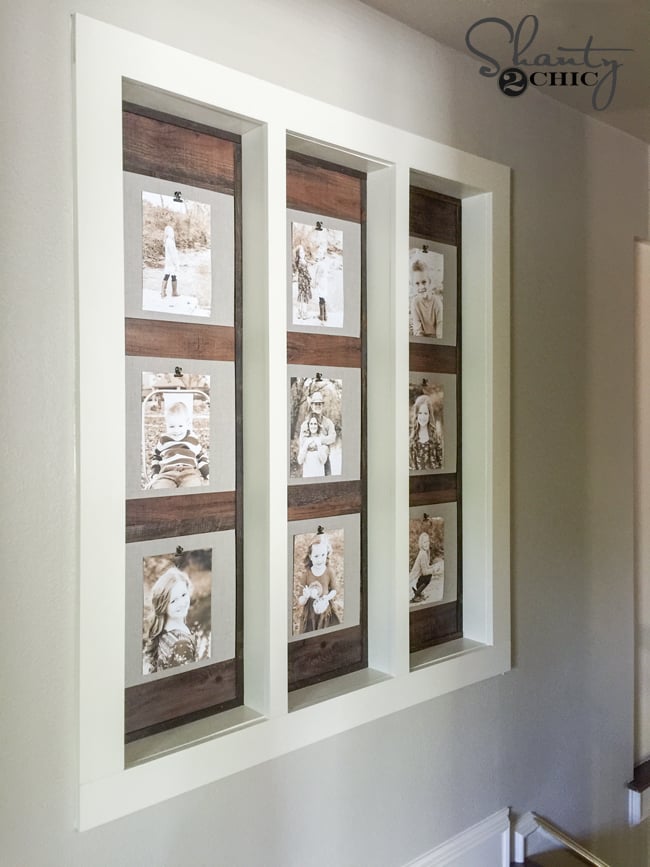
I love decorating my space with photos of our family. I think this gave the perfect backdrop for some black and whites. And that wood… Yah. It’s peel and stick vinyl wood planks. It was almost as easy as putting stickers on the wall 🙂
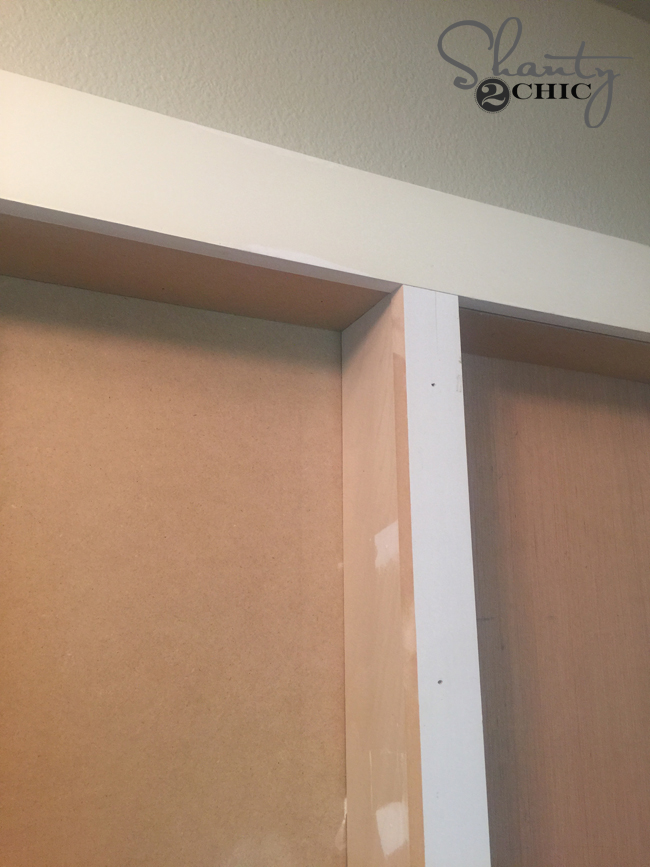
Here is how I did it! I started with my open spaces in between the studs and framed them all out. I used 1/4″ hardwood plywood on the back walls and insides of the studs. I used 1×4 primed MDF boards to trim out the outside of the openings and I used the same 1×4 to cover the front of the studs, but I did rip it down with my table saw to the correct thickness. If you decide to go directly on a blank wall, I would just add the trim directly to the wall on this part. You can make your feature wall the size you want it if you go that direction.
This is the wall with the 1/4″ plywood in place and my trim added to the outside of the box. I used my Ryobi AirStrike 16g finish nailer to attach the trim on the outsides. I filled all of my nail holes with 3M patch and primer.
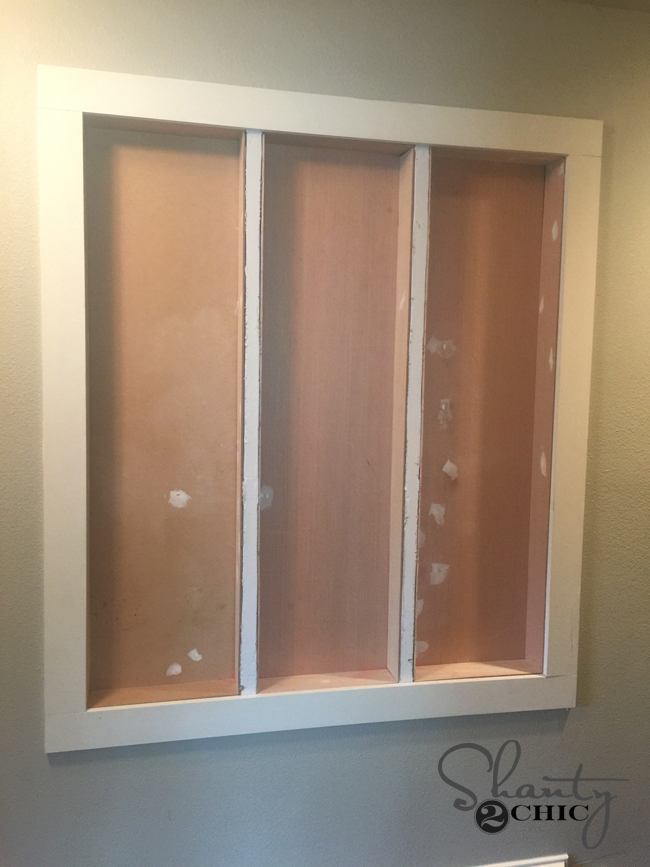
After adding my 2 pieces of trim to the center the same way, I caulked and painted everything. My wall wasn’t completely square, so I did have to get a little caulk happy on this part.
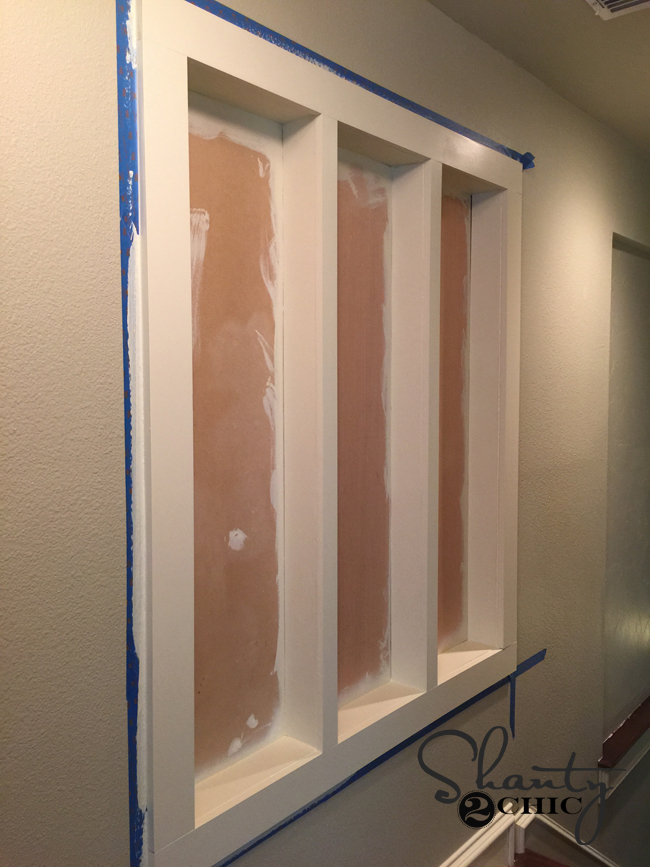
Now for the fun part! Again, if you don’t have an existing niche and don’t want to rip out your drywall, you can just add the trim directly to the wall and move straight to adding the wood here.
I found these great peel and stick vinyl wood planks at Lowe’s. They come in planks and you peel the back off much like a sticker. I loved the look of them. They all had a different pattern and texture and they were CHEAP. So, I figured I would give it a go!
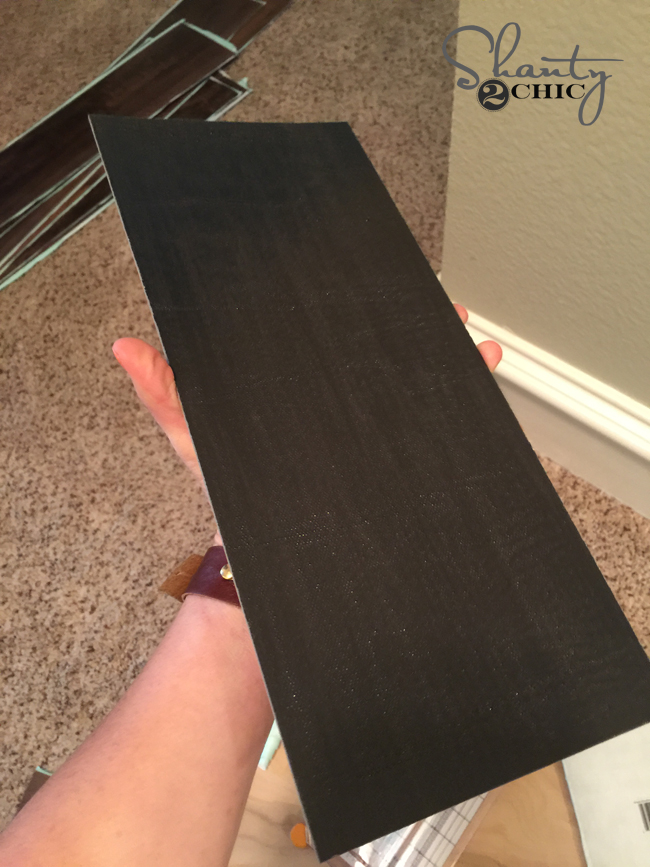
I tried a few different methods to cut the planks, and found the easiest and most precise way was using a paper cutter.
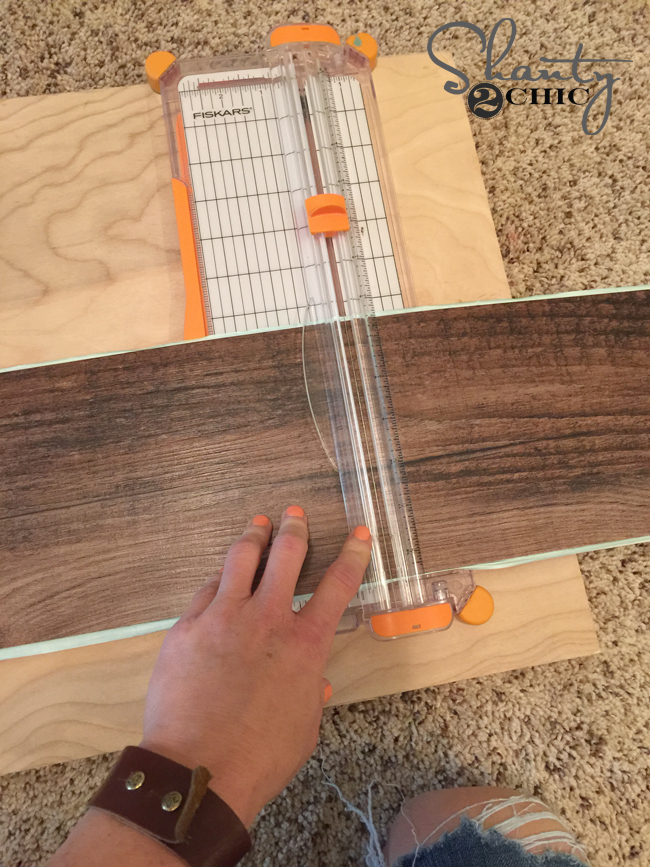
I used the paper cutter to score a line first.
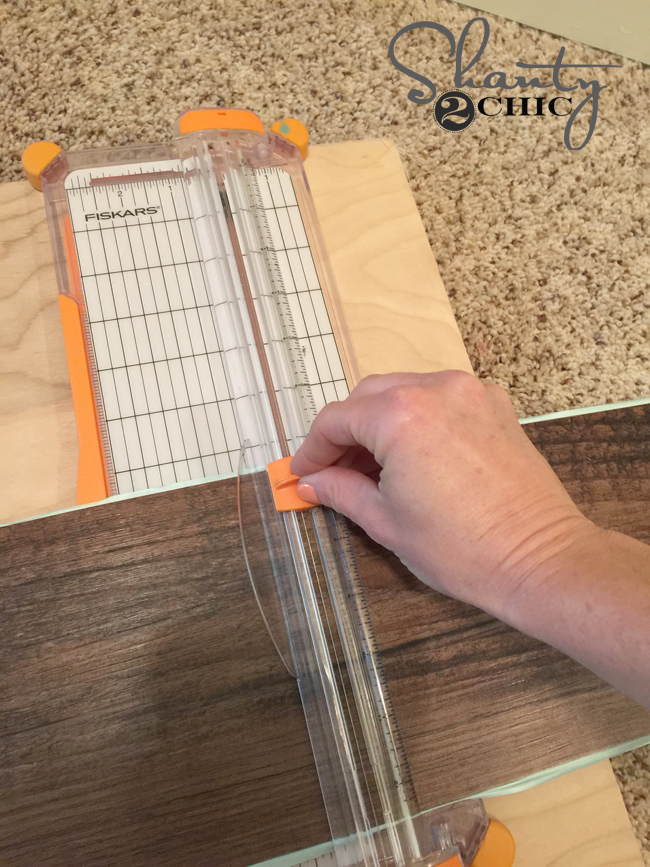
Then, you just fold the plank and it pops clean where you scored it.
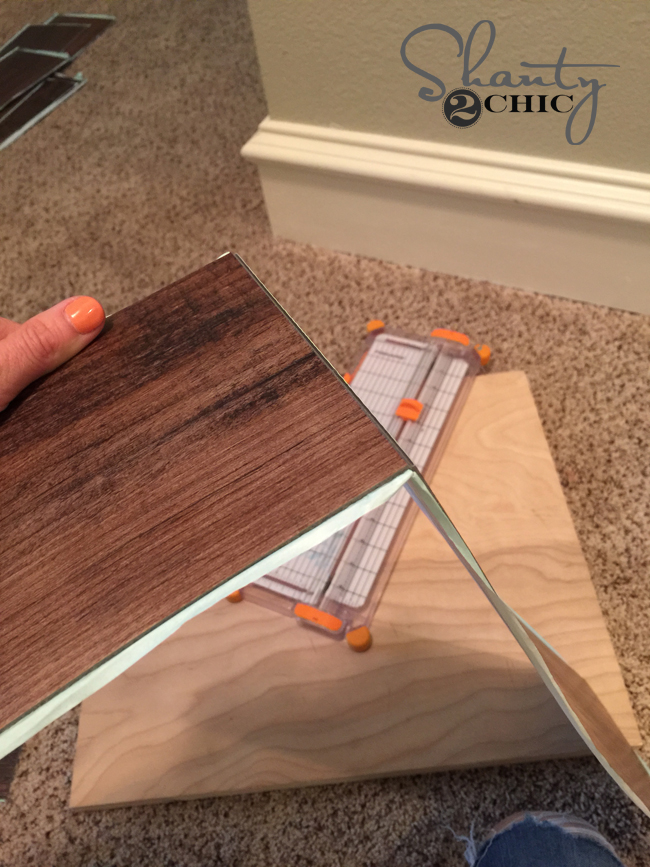
Easy!
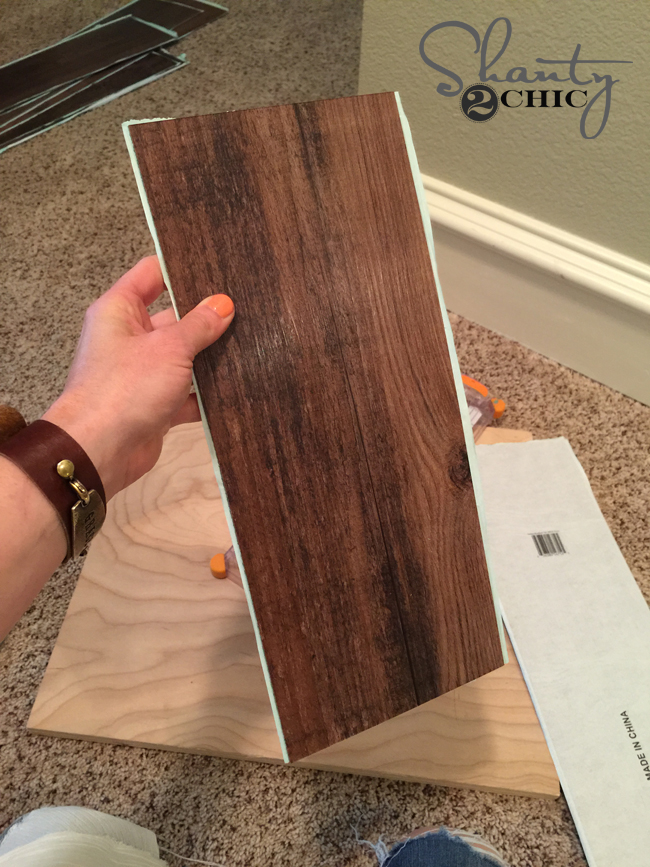
To attach them to the wall, I just peeled off the backing and pressed them in place.
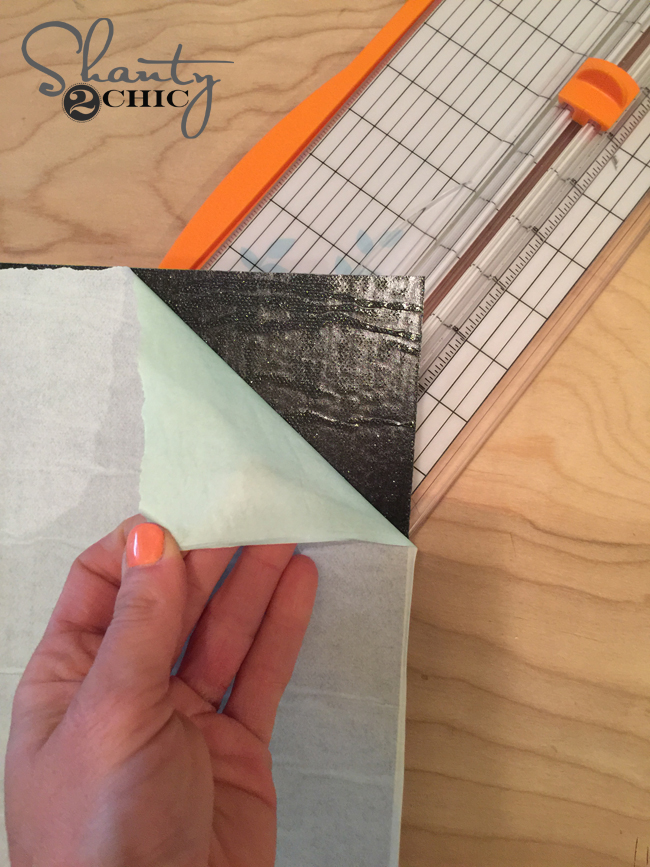
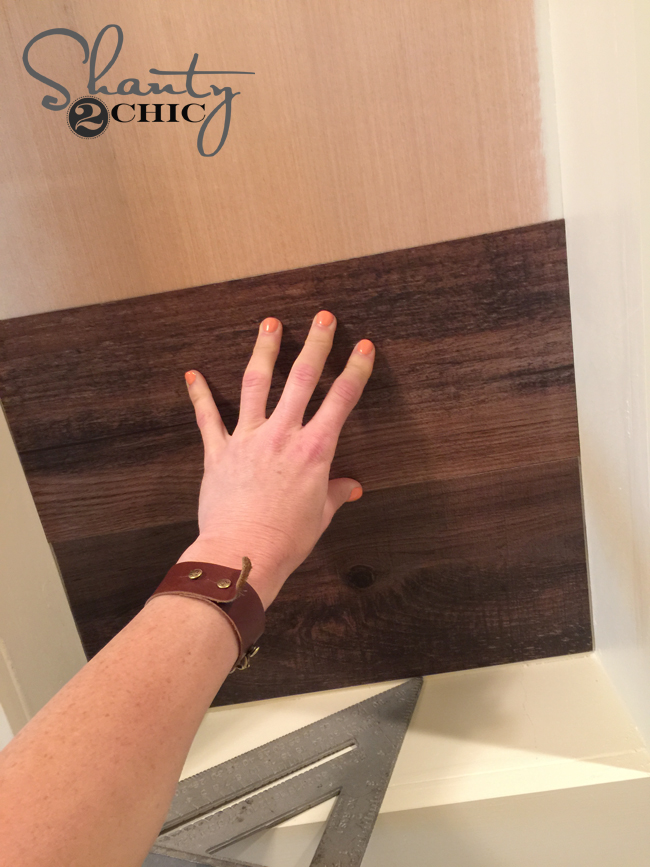
I made sure to put different tones and patterns next to each other as I was attaching them. Here is a progress shot!

And about 15 minutes later I was done with that 🙂

The sides weren’t totally clean looking so I did decide to trim them out. You can use a very thin piece of 3/4′ trim meant as an edging for this part. I actually took a 1×6 and ran it through my table saw at 1/4″ to make thin strips. Then, I stained them all to match the wall. This saved me money!
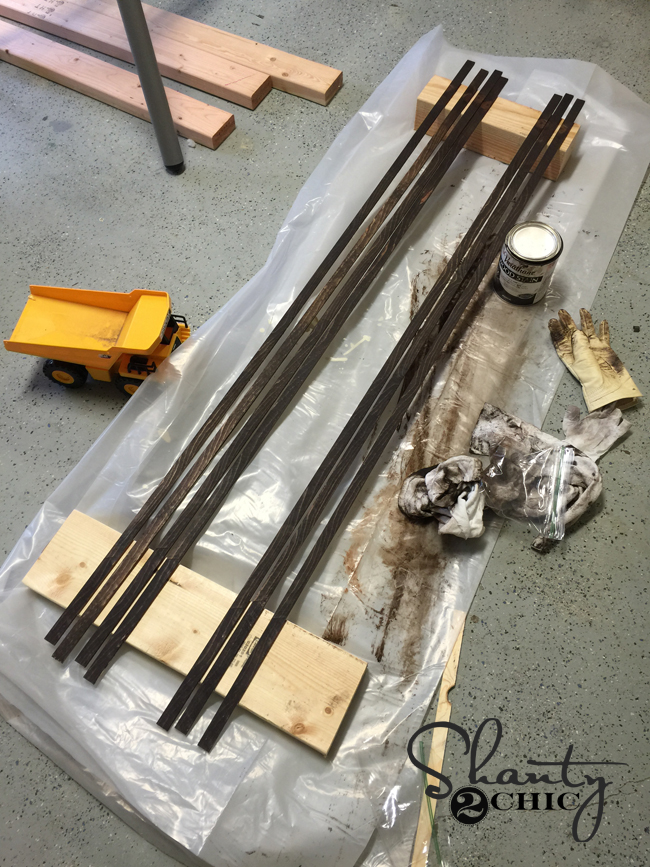
I nailed those pieces to my edges using my brad nailer.
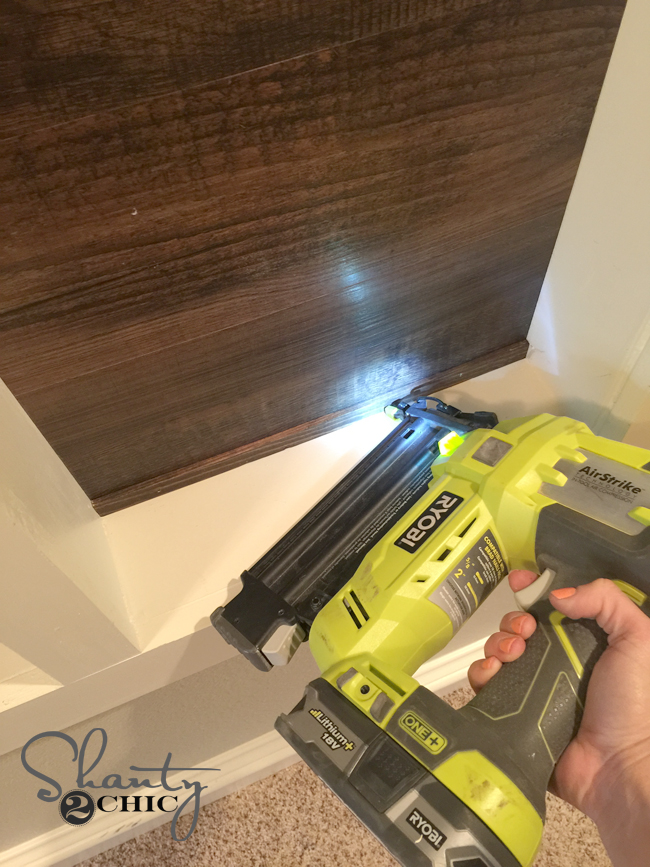
Finished!
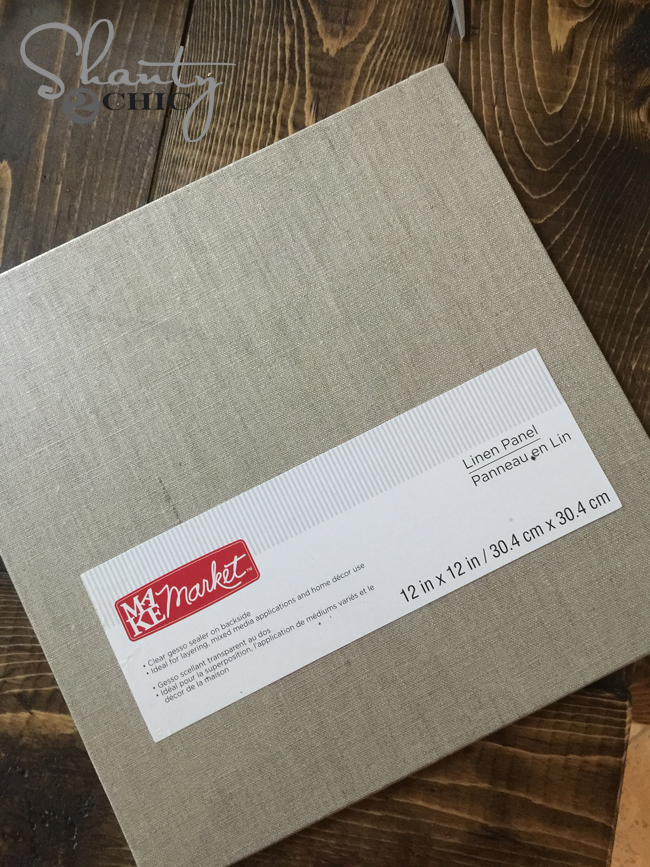
For the photos, I found these thin linen canvases at Michael’s. They were 1/2 off making them even cuter.
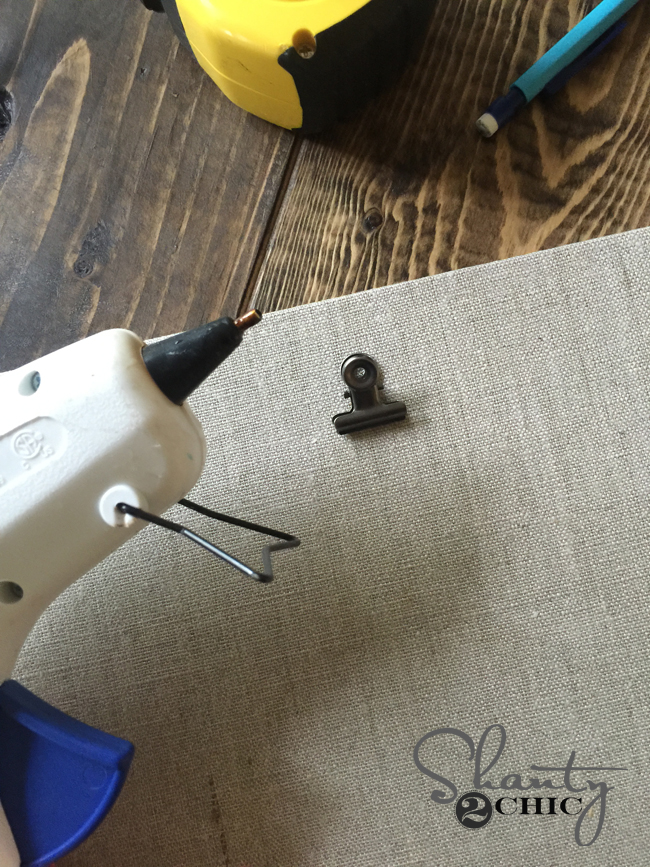
I hot glued a metal clip to each canvas. I find these at Michael’s, Hobby Lobby and Amazon.
Next, I added a command strip to the back of each canvas and held them in place for about 30 seconds on the vinyl.
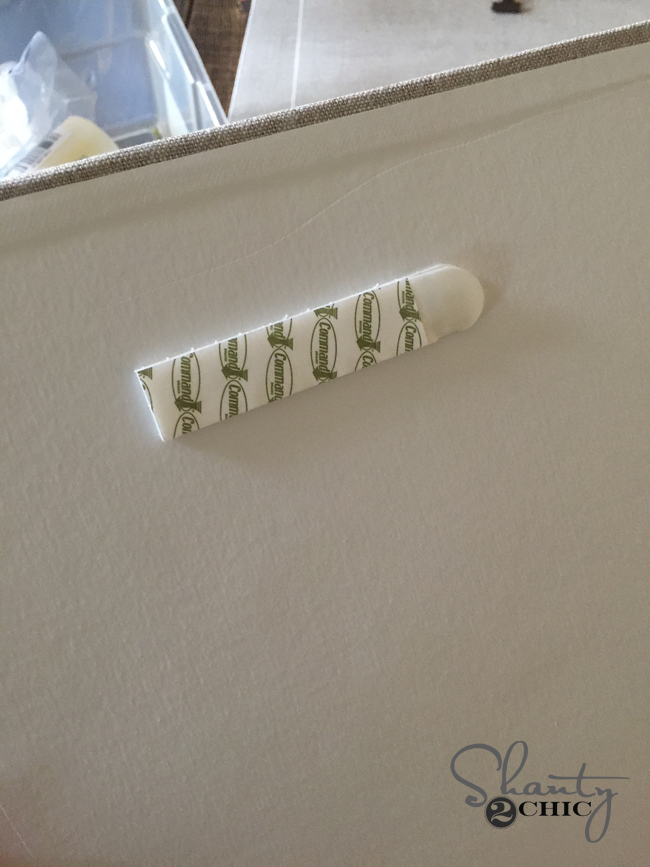
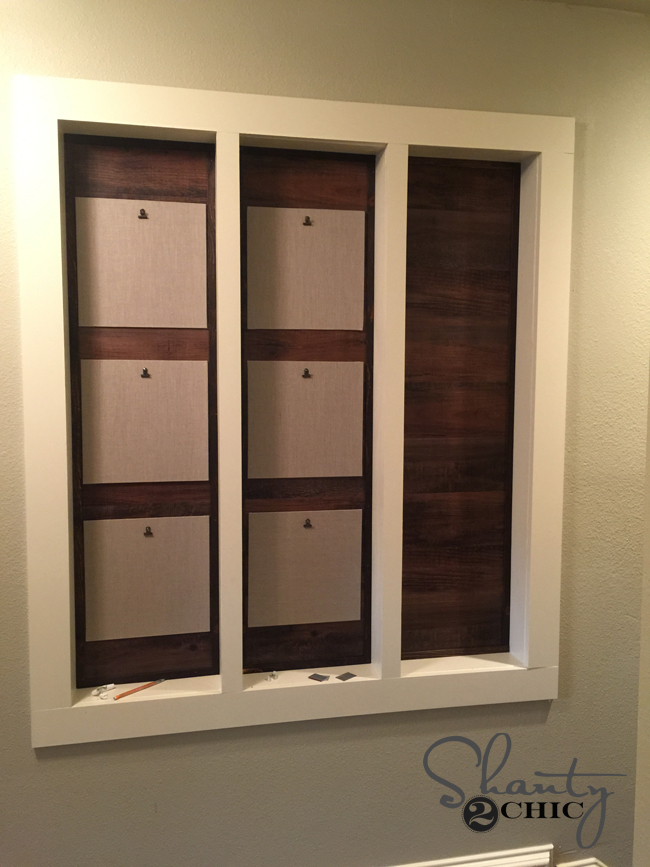
Easy peasy! And I LOVE the outcome!
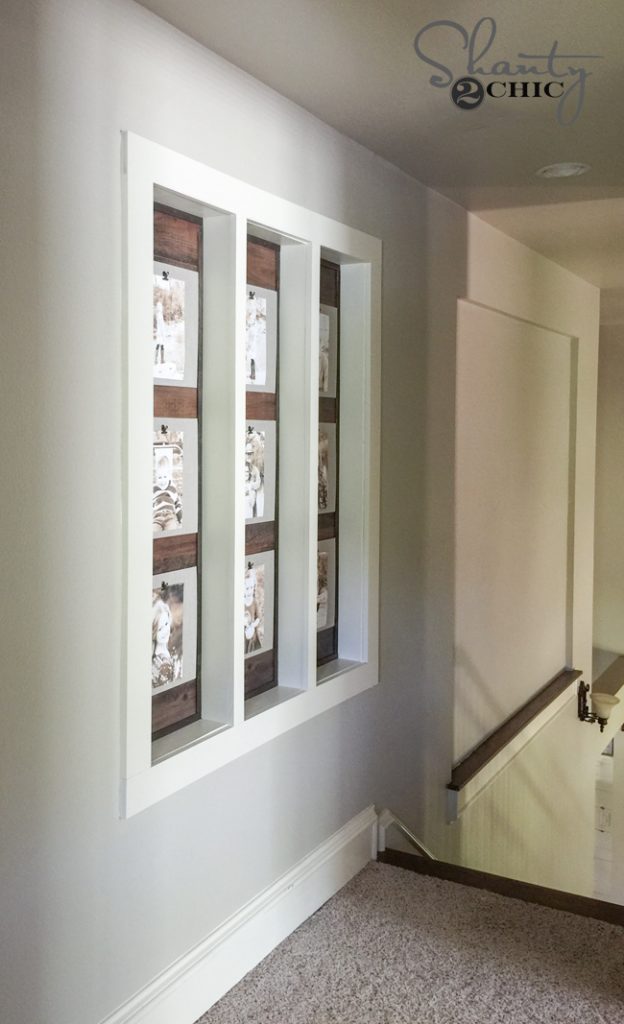
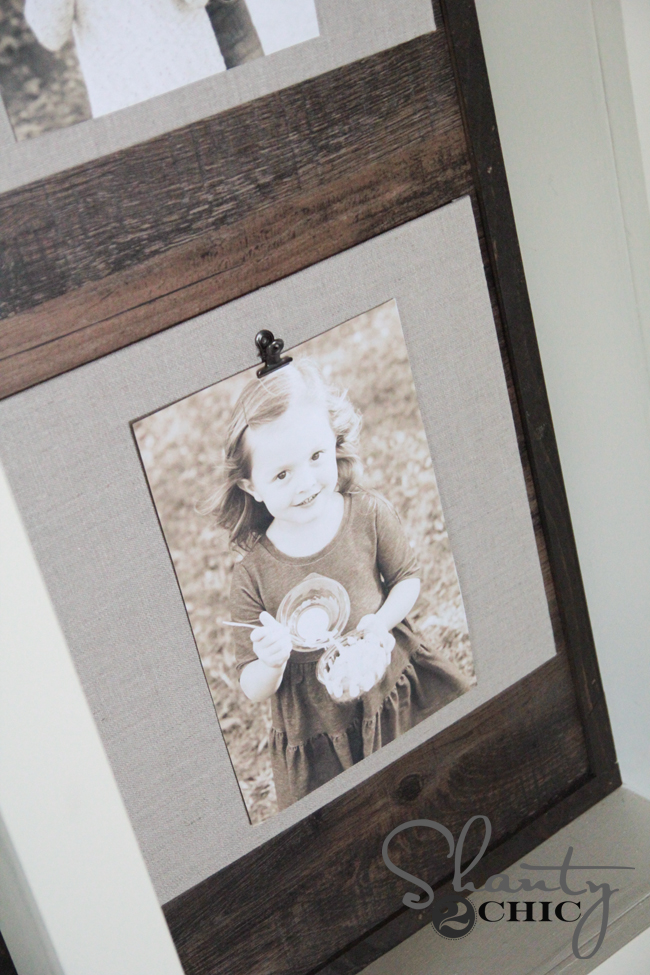
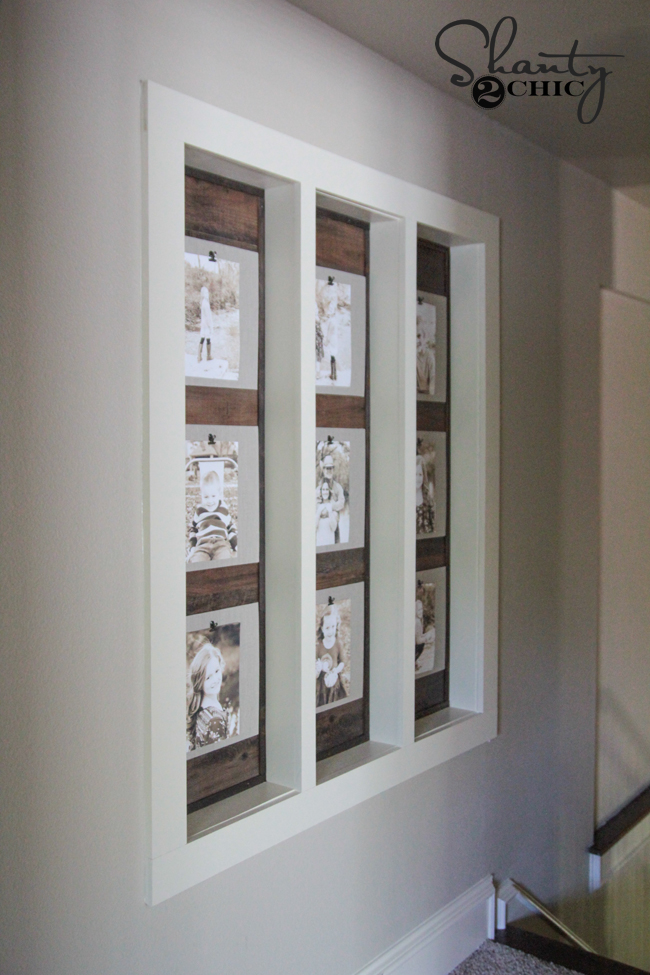

What did you do with the wall space outside the loft conversion?
I cannot even tell you how happy I am that you did this tutorial! I’ve always wondered how to do this and of course you make intimidating projects simple and the finished product always looks so PROFESSIONAL. We have an unfinished basement with exposed studs so I am SO glad I now have a plan to follow for a more custom look. THANK YOU. I can’t wait to do this, will be saving this project for sure!
Just ran across this post today…. So awesome. Have my hubby on board to make for us !!!! Can you tell me what the dimensions of cut out is ?
Thanks,
Michelle
Michellecgallagher@gmail.com
What are the dimensions of this? I read over it a couple times, not sure if I missed them. Gorgeous!!
Do you think the vinyl wood could be painted? I’d love to do a white version of this!!
Just paint the wall or the plywood backing of the niche white and don’t do the vinyl, if you don’t want the wood look.
I want a white washed wood look. Painting the wall will not give me the look I’m going for.
We have had good white wash experience with the antique white chalked paint by rustoleum. Just dilute with water until it looks the way you want 🙂
Awesome, thank you! Where can I purchase that? And it’s in a can, I’m assuming? You think that would work on the vinyl wood?
I think it would? Maybe test it first. It’s in a can and its at Home Depot 🙂
Love it. You are so creative. What a great idea!
Love this idea!! I’m going to use it in my living room!!
How did you block u between the studs? 2×4’s with pocket holes? Also how did you attach the plywood to the back piece of the drywall?
Love this! Now to decide which wall to use . . . .