Oooooooh I am so excited to show you my latest build! I have been busy building for my own house like crazy lately! My youngest sister has been in need of a bed for sometime now. Like me, she is on a shanty budget!
I knew just who to ask to find us the perfect bed to build!
My sister and I found a great platform bed over at Pottery Barn! I LOVE everything about it…. Minus the darn price tag. So… I hit Ana up for some great plans!
Let me introduce you to the Chestwick Platform Queen Bed!

Yep… I still love it!
Here are a few pictures of my build and you can get the full set of easy plans over here at Ana’s site!
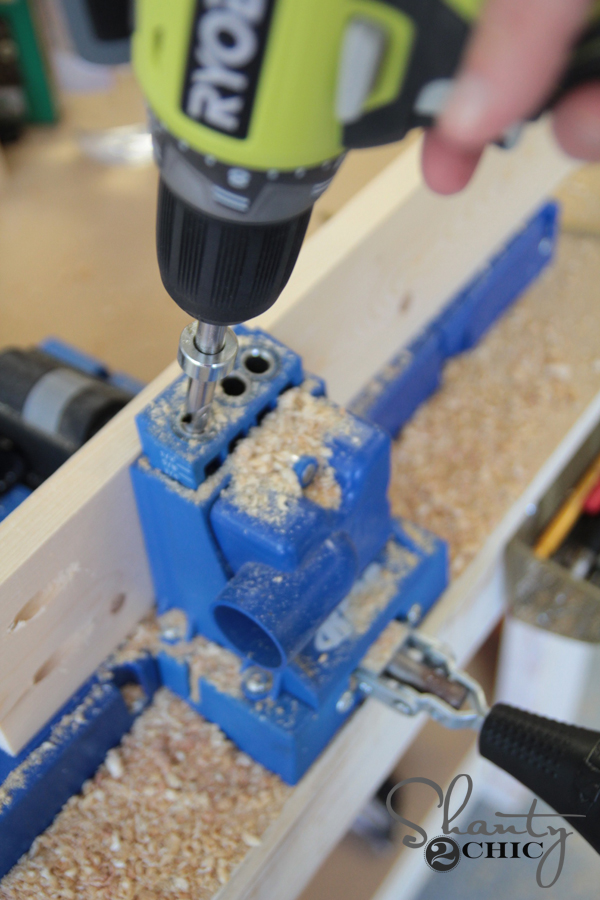
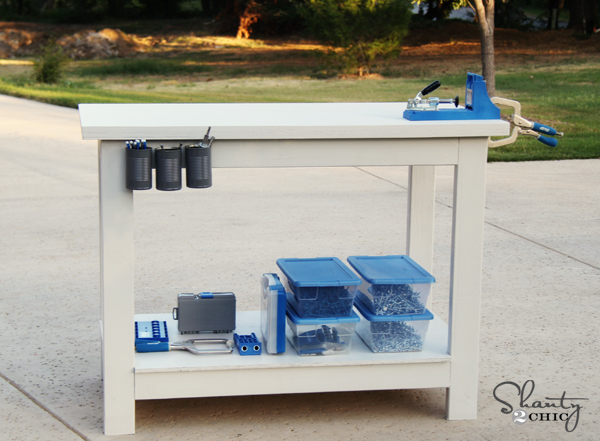
I used my Kreg Jig® for this bed. It made the build so easy! And you wouldn’t believe how sturdy it is! For those of you that are debating on purchasing your own… I will say it is by far my favorite tool I own. I have saved a ton of time and money with this little guy! You will not regret buying one. For the hubby’s out there… You would love this tool as well.


I used Gorilla Wood Glue on all of my corners and joints!


Here is the middle brace attached with my Kreg Jig®…


I always like to sand my edges a bit to give it the “I didn’t make this in my garage” look 😉 …

I found my feet at Lowe’s! They were under $6 a piece and really are the focal point of this bed in my opinion… So cute!

I finished the entire bed with Rust-Oleum Premium Wood stain in Dark Walnut, and put a coat of Rust-Oleum Ultimate Polyurethane with Soft Touch… Love this stuff! You can find them both at Lowe’s!

What do you think??


I almost wanted to keep it myself 😉
She is lucky I have a king bed or it may have just stayed at my house!
We were able to assemble the whole thing and move it in one piece because it is a queen and we could turn it on it’s side through the door frames. If you have smaller entries I would assemble everything, but without glue. Then, take it apart at your corners to move. Once you have it in the room, you can assemble again. If you do use glue on this final step it will be a very permanent hold though so keep that in mind! (just in case you plan to move it again soon)
It’s just missing one thing….. A headboard! Oh you just wait! We have come up with a BEAUTIFUL one for this bed and I can’t wait to share it soon!
It would make my day for you to pin and share this bed below :-)!!
Thanks so much for stopping by! Make sure to get the full plans over HERE at Ana’s site and let me know if you have any questions at all!
Happy building!
~Whitney
Update! I have finished the headboard for this bed! Click the picture below for the post on it! Thanks!


Helpful post for anyone researching this. Bookmarked for reference.
Love this bed! Do you have dimensions for a full size one? I need to make one for my daughter’s bedroom.
The link for the headboard plans did not work?
Hi girls, like Jen, I really want to make this bed for my cal king. Did you have the measurements? I realize it’s been near on ages since you made it, but it’s never to late! I’ve tried in Ana’s site to figure it out, but all the cal king beds have foot boards. I’ve already made her headboard alone. And love it! I also made your mason jar crate and loved doing that. ?
Thanks! Wendy
Can you please tell me what type of wood you used to make this bed?
I made this but it is way too big for my queen mattress. I don’t have the box spring on it just the mattress and theres about 2 inches on the sides and 4 on the end. wondering what I should do about it?
Just curious, what bedding is this? The entire bed is gorgeous! I can’t wait to follow your plans and make it for myself. Thank you for all your beautiful and easy to follow DIYs!!! I am in love with your site!!
How tall do you think you could make the legs without it getting wobbly?
How well would it hold up, without being glued at the corners? Are there braces that can be purchased to help boost the strength of the corners, or will they be fine, with just screws?