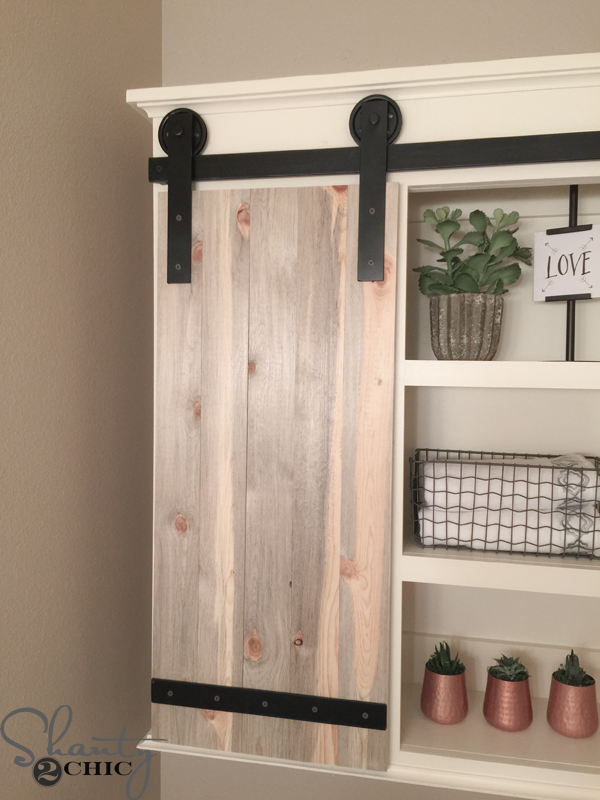
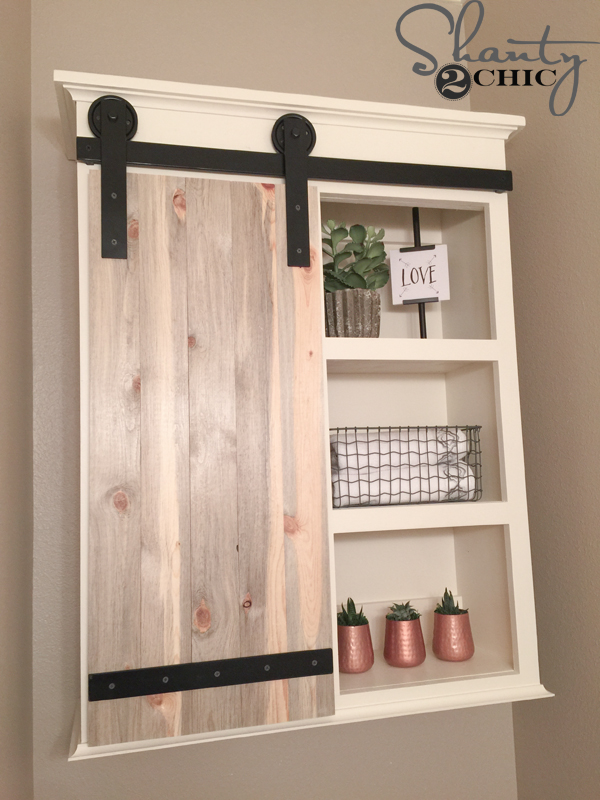
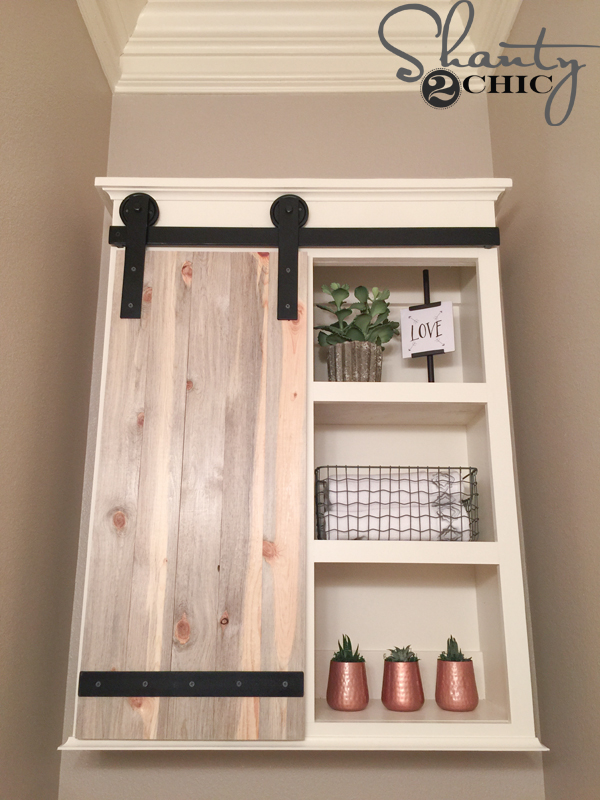
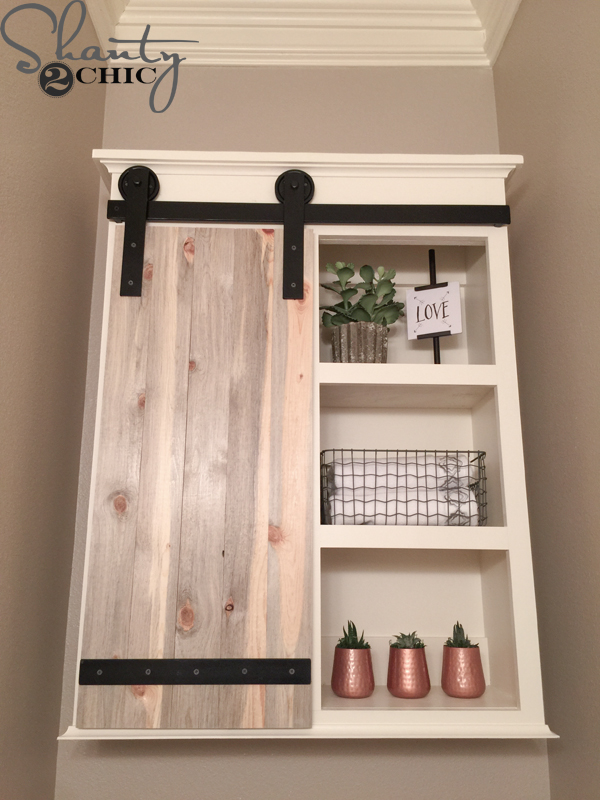
I can’t even explain how excited and in LOVE I am with my new Sliding Barn Door Bathroom Cabinet! I’m obsessed with sliding barn doors and there isn’t a spot in my home to install one – so, I created one 🙂 What do you think?
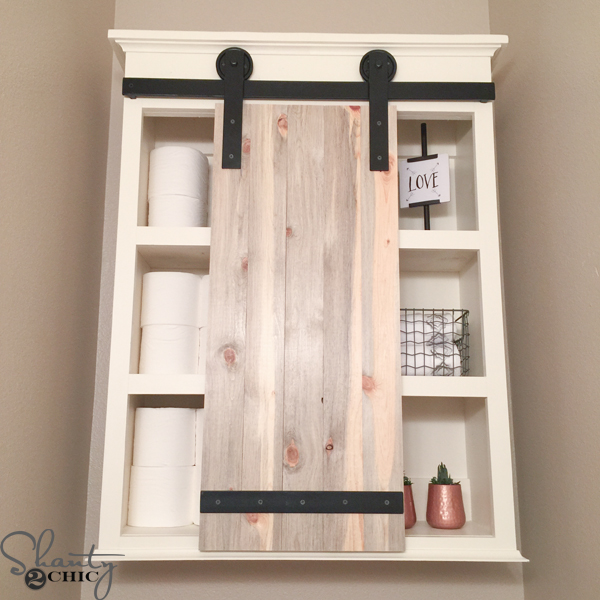
It’s the perfect mix of open shelving and hidden storage for the ugly stuff you don’t want to display 😉 It is super easy to build and, as always, I’ve got the FREE Printable Plans for you to build your own!
You can click HERE or the image above to print the plans!
And, follow along with my tutorial for the step-by-step!
DIY Sliding Barn Door Bathroom Cabinet
After I cut the side, top and bottom pieces for the cabinet frame, I drilled 3/4″ pocket holes, into the 1×6 top braces, with my K5 Kreg Jig. ***I used left over scrap 3/4″ plywood for the side pieces and shelves. If you have enough, this is a great way to save money!*** Watch our How to Use a Kreg Jig vide HERE!
Here are the 1×6 boards with the pocket holes. The three pocket holes on each end are on the opposite side of the boards (facing down).
Next, I attached the 1×6 boards to the side pieces with 1 1/4″ pocket hole screws and my Titebond Wood glue.
The 1×6 boards will be flush with the side pieces.
Here she is turned upside down.
To know EXACTLY where to attach the bottom shelf, I marked the thickness of the 1×2 that I was using for the face frame. (This is a great tip to get a perfect fit for the shelf and the face frame).
I attached the bottom shelf and the bottom brace and shelf the same way as the top braces.
Next, I built the face frame for the cabinet with 3/4″ pocket holes, wood glue and 1 1/4″ pocket hole screws. Refer to the plans and measure and cut, as you go, for the best spacing and fit.
Here is the face frame, upside down, with the top and bottom pieces attached.
Then, I attached the middle piece.
To get a flush fit with the 1×2 boards, I like to use my Kreg Bar Clamp to keep the boards fixed while I am drilling the pocket hole screws in.
Here is the face frame assembled.
To attach the face frame to the cabinet, I applied wood glue
and used my Ryobi 18 gauge brad nailer to secure it to the cabinet frame.
Whoop!
Use the pocket holes that you drilled into the top braces to attach the top of the cabinet. Use 1 1/4″ pocket hole screws and wood glue. The back of the top piece will be flush with the back of the cabinet and there will be an overhang on the front and sides of the cabinet.
Here is the cabinet with the top assembled.
I attached the backing with 3/4″ stables and my Ryobi 18 gauge crown stapler. You can use finish nails here but staples are best when you are attaching the thin backing because they grab the board.
The backing is attached and now it’s time for the trim!
Always measure and cut as you go for the trim! I used THIS cove molding that I found at Home Depot. I make my first 45 degree cut for one side
then I mark for the other side,
swing the miter cut arm to the opposite 45 degree mark and make my second cut. Watch our How to Use a Miter Saw video HERE!
I flipped the cabinet upside down to attach the cove molding. Use wood glue and your brad nailer. I like to use 5/8″ brad nails for the trim.
Attach the top cove molding the same way.
I do the front piece first and then the sides. To cut the sides, make the 45 degree cut then mark where the square cut will be. (square means “0” degrees)
Finally, I filled my nail holes with wood filler.
Ready for paint! I used a latex paint that I had matched to my trim paint. Cozy Cottage by Behr or Ivory Lace by Valspar 🙂
I created the sliding door with Blue Stained Pine from Home Depot. This wood has a grey tint to it and it is so pretty without a finish on it! It is tongue and groove, so I use my table saw to rip the edges off. I used 3/4″ pocket holes and 1 1/4″ pocket hole screws to assemble the door. I also used my Kreg Face Clamp to keep the boards flush.
Here is the back side of the door…
and the front! How pretty is that!?
Now for the HARDWARE!!!
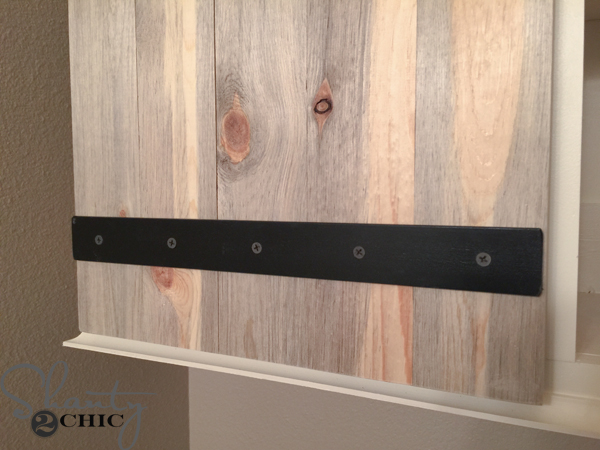
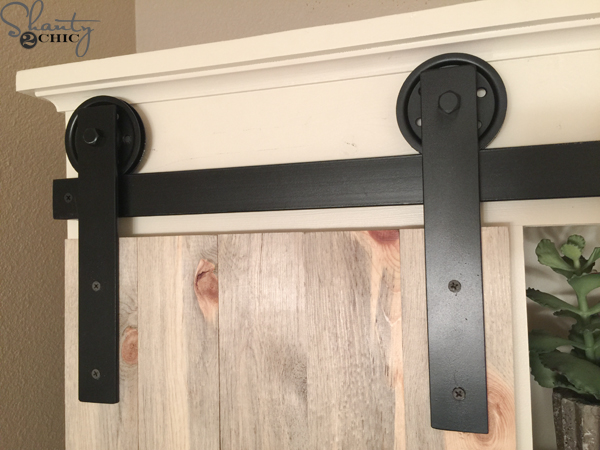
I had our super talented friend, Tyler Wayne, create custom hardware for this piece! You may remember him from the work he did on our HGTV Pilot, Open Concept! He built a metal coffee table frame and two sliding barn doors for the home. He is super talented AND he has an Etsy shop with lots of fun pieces that he custom builds! Check it out HERE and you can order the Barn Door Hardware HERE!
I used black construction screws to attach the hardware and that was it!
To hang it, I used this french cleat. It is my GO-TO for heavy hanging. It’s very easy to attach and it makes hanging the shelf so much easier. You can buy it HERE.
That was it! I love having the open storage to decorate the shelf but I also have a place to store toilet paper!
one..
two…
three! LOVE!!!
Become a VIP Insider
Stay up-to-date on all the new project, free plans and new products available for you!

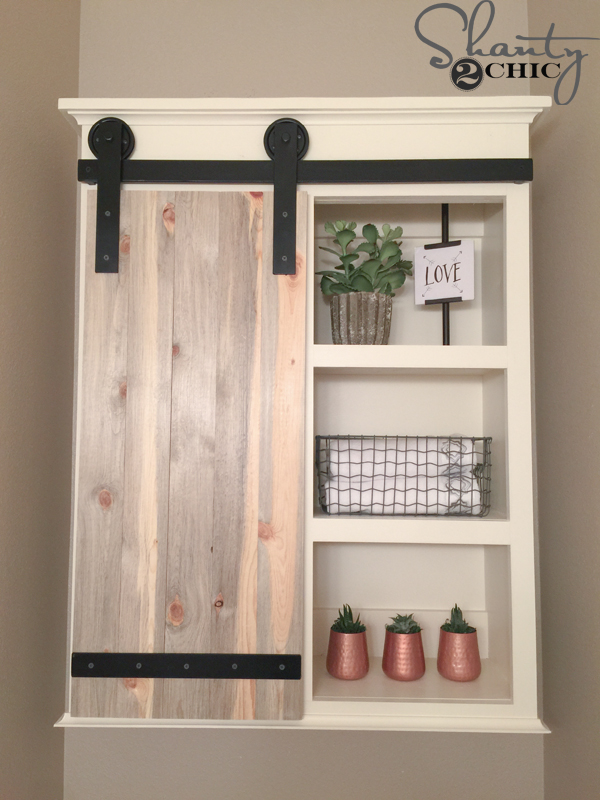 It’s the perfect mix of open shelving and hidden storage for the ugly stuff you don’t want to display 😉 It is super easy to build and, as always, I’ve got the FREE Printable Plans for you to build your own!
 You can click HERE or the image above to print the plans!
And, follow along with my tutorial for the step-by-step!
You can click HERE or the image above to print the plans!
And, follow along with my tutorial for the step-by-step!
 After I cut the side, top and bottom pieces for the cabinet frame, I drilled 3/4″ pocket holes, into the 1×6 top braces, with my K5 Kreg Jig. ***I used left over scrap 3/4″ plywood for the side pieces and shelves. If you have enough, this is a great way to save money!*** Watch our How to Use a Kreg Jig vide HERE!
 Here are the 1×6 boards with the pocket holes. The three pocket holes on each end are on the opposite side of the boards (facing down).
 I created the sliding door with Blue Stained Pine from Home Depot. This wood has a grey tint to it and it is so pretty without a finish on it! It is tongue and groove, so I use my table saw to rip the edges off. I used 3/4″ pocket holes and 1 1/4″ pocket hole screws to assemble the door. I also used my Kreg Face Clamp to keep the boards flush.
 To hang it, I used this french cleat. It is my GO-TO for heavy hanging. It’s very easy to attach and it makes hanging the shelf so much easier. You can buy it HERE.
That was it! I love having the open storage to decorate the shelf but I also have a place to store toilet paper!
To hang it, I used this french cleat. It is my GO-TO for heavy hanging. It’s very easy to attach and it makes hanging the shelf so much easier. You can buy it HERE.
That was it! I love having the open storage to decorate the shelf but I also have a place to store toilet paper!

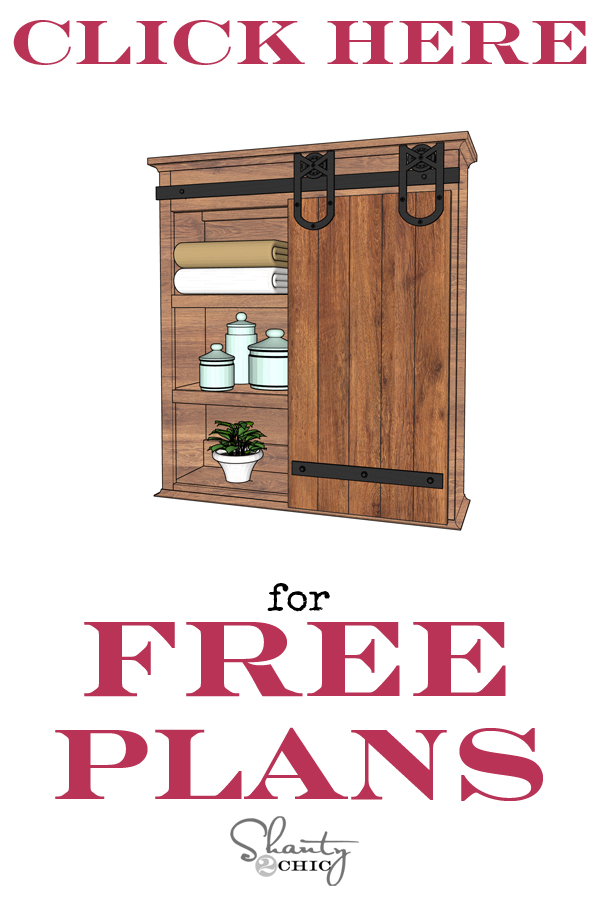 You can click HERE or the image above to print the plans!
And, follow along with my tutorial for the step-by-step!
You can click HERE or the image above to print the plans!
And, follow along with my tutorial for the step-by-step!
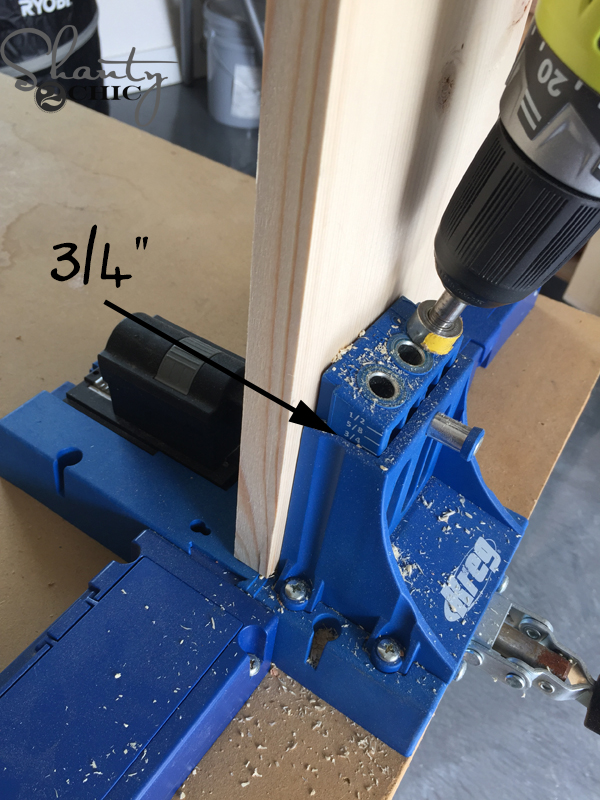 After I cut the side, top and bottom pieces for the cabinet frame, I drilled 3/4″ pocket holes, into the 1×6 top braces, with my K5 Kreg Jig. ***I used left over scrap 3/4″ plywood for the side pieces and shelves. If you have enough, this is a great way to save money!*** Watch our How to Use a Kreg Jig vide HERE!
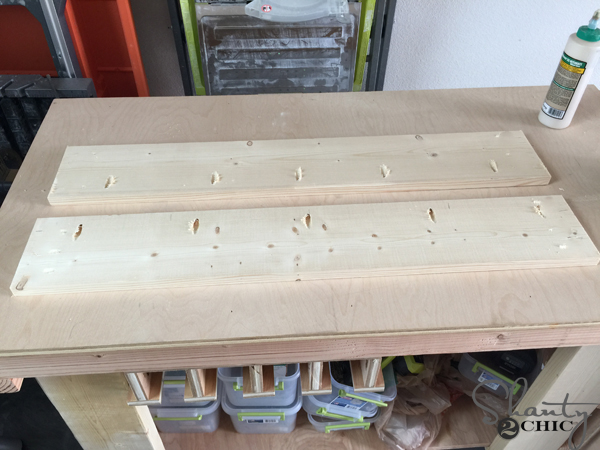 Here are the 1×6 boards with the pocket holes. The three pocket holes on each end are on the opposite side of the boards (facing down).
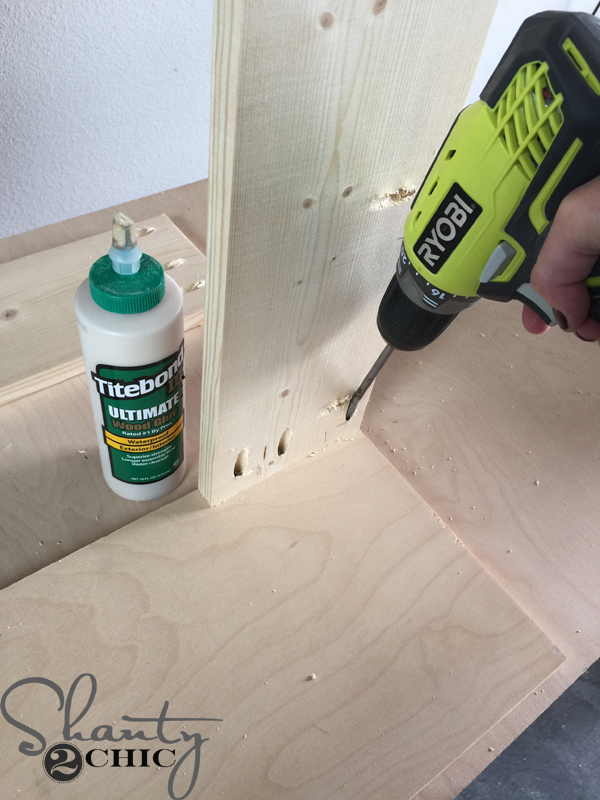 Next, I attached the 1×6 boards to the side pieces with 1 1/4″ pocket hole screws and my Titebond Wood glue.
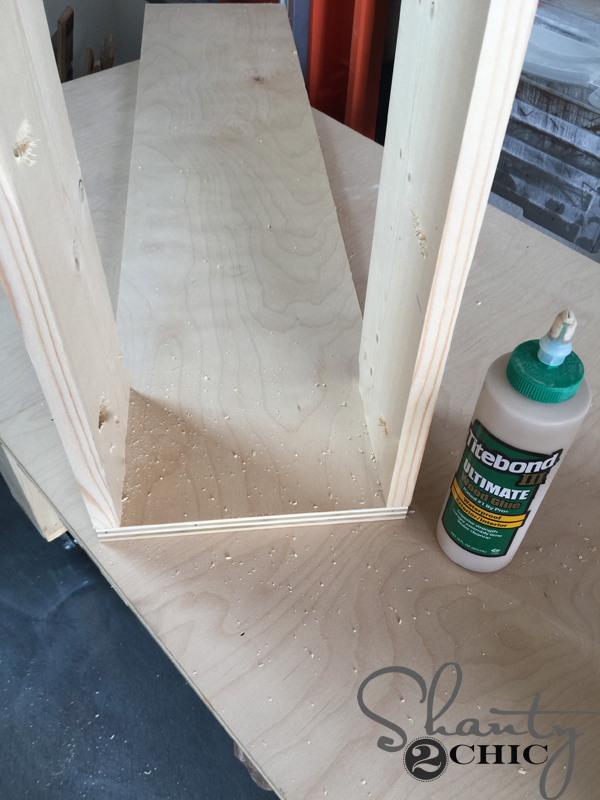 The 1×6 boards will be flush with the side pieces.
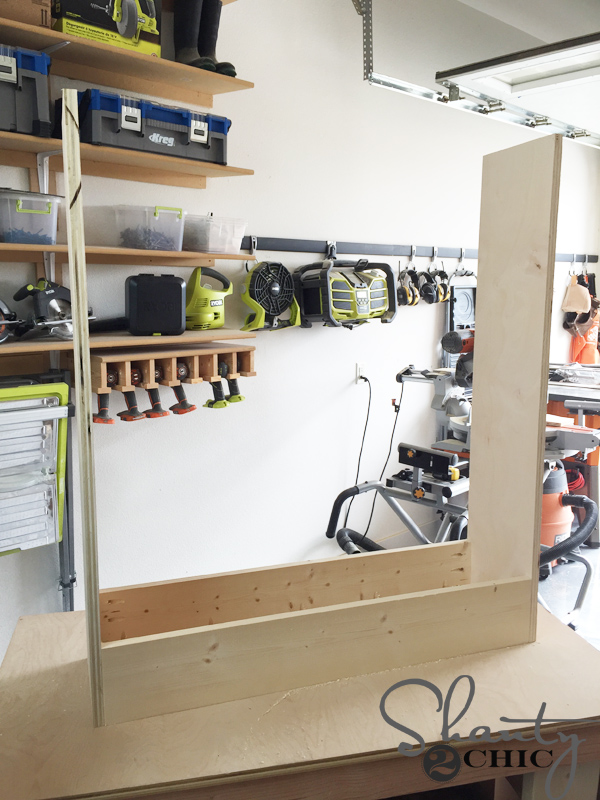 Here she is turned upside down.
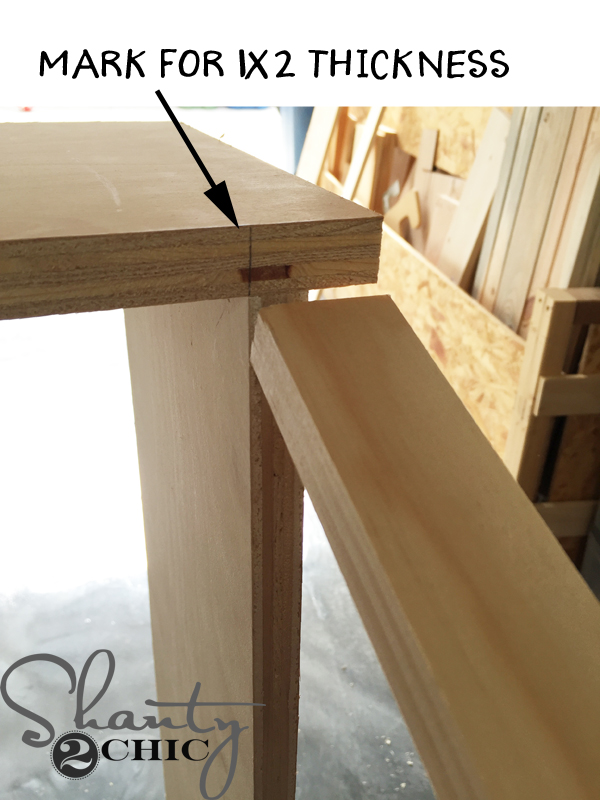 To know EXACTLY where to attach the bottom shelf, I marked the thickness of the 1×2 that I was using for the face frame. (This is a great tip to get a perfect fit for the shelf and the face frame).
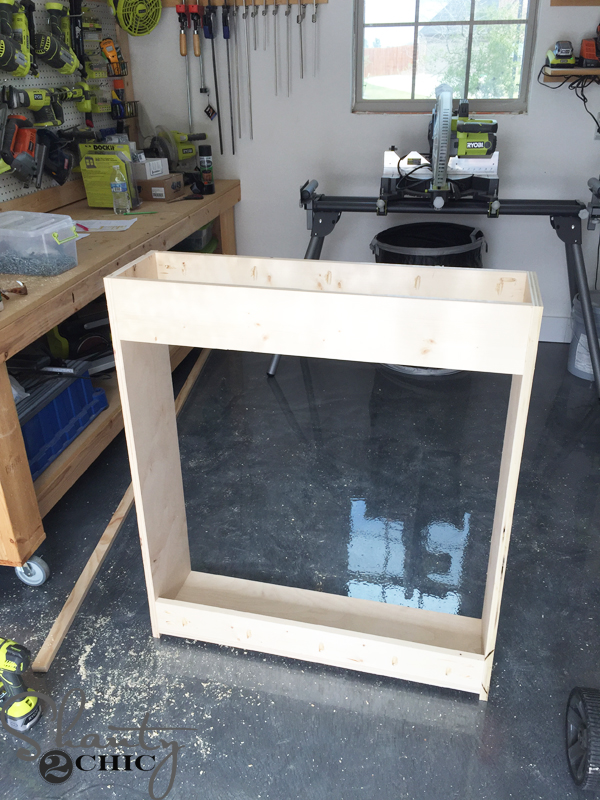 I attached the bottom shelf and the bottom brace and shelf the same way as the top braces.
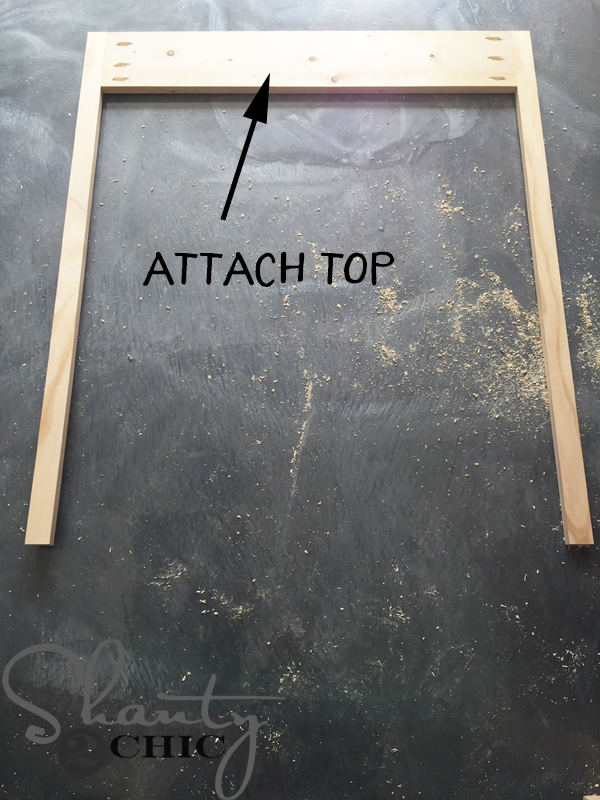 Next, I built the face frame for the cabinet with 3/4″ pocket holes, wood glue and 1 1/4″ pocket hole screws. Refer to the plans and measure and cut, as you go, for the best spacing and fit.
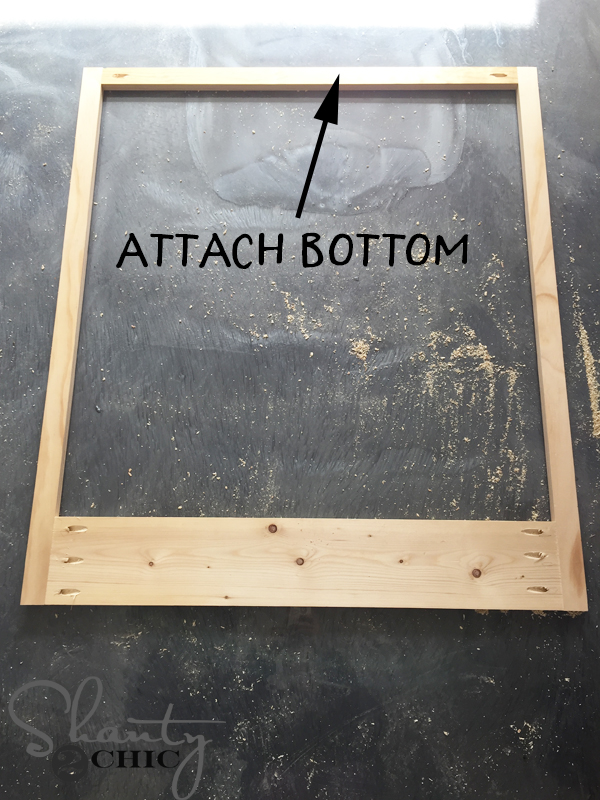 Here is the face frame, upside down, with the top and bottom pieces attached.
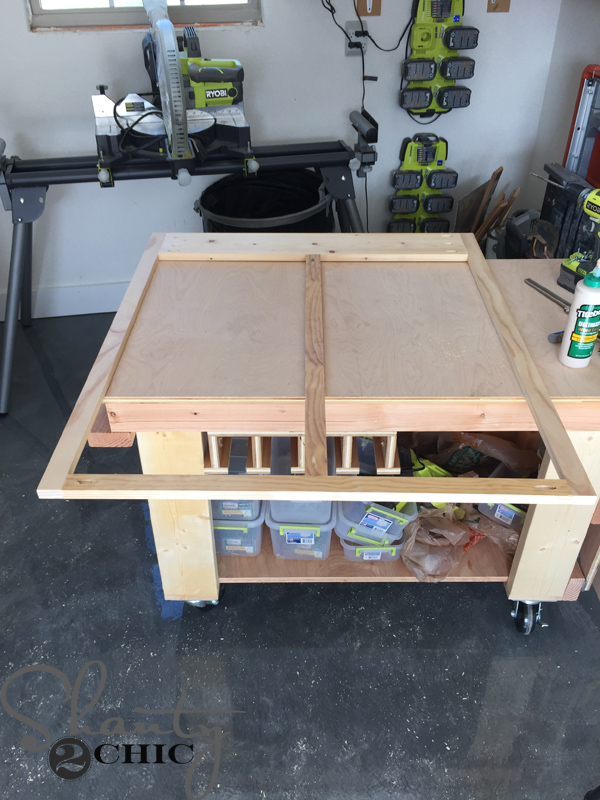 Then, I attached the middle piece.
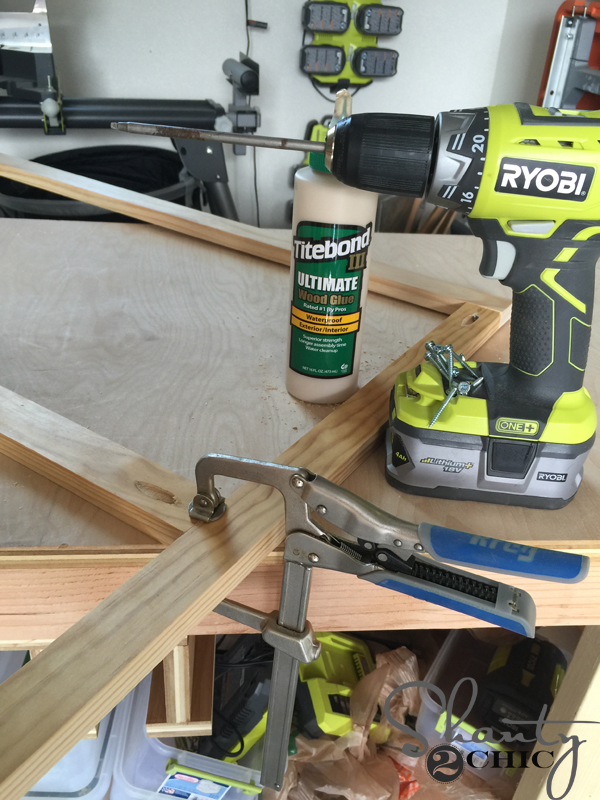 To get a flush fit with the 1×2 boards, I like to use my Kreg Bar Clamp to keep the boards fixed while I am drilling the pocket hole screws in.
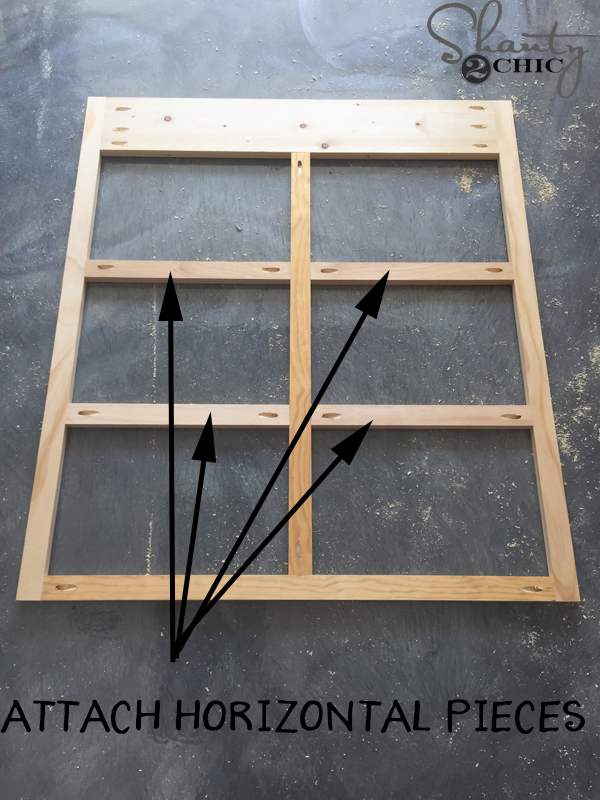 Here is the face frame assembled.
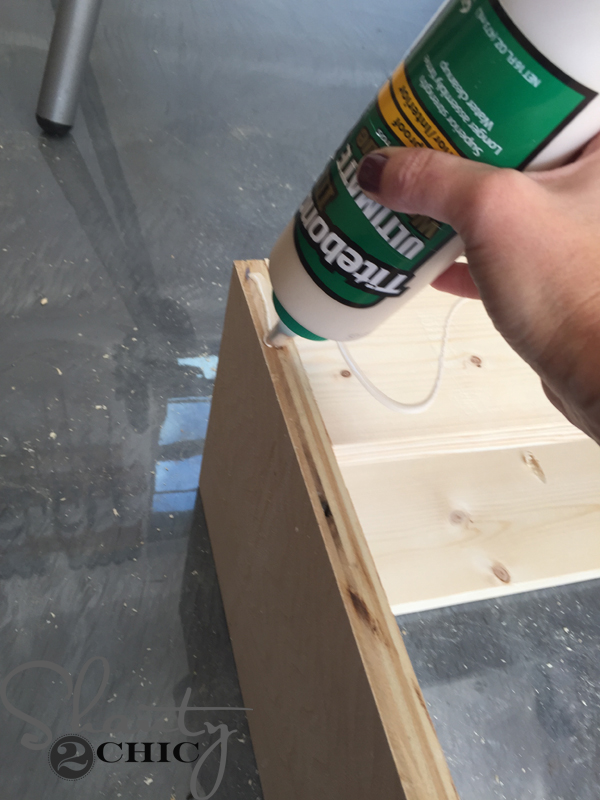 To attach the face frame to the cabinet, I applied wood glue
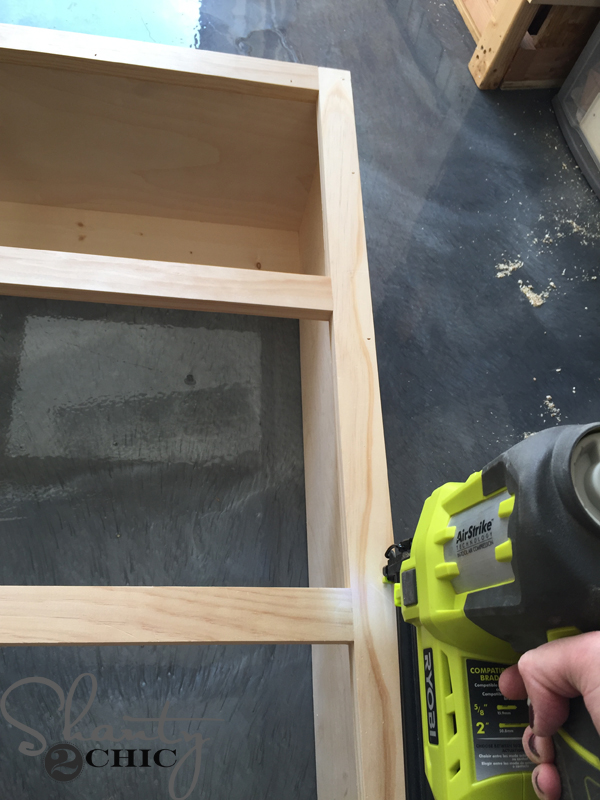 and used my Ryobi 18 gauge brad nailer to secure it to the cabinet frame.
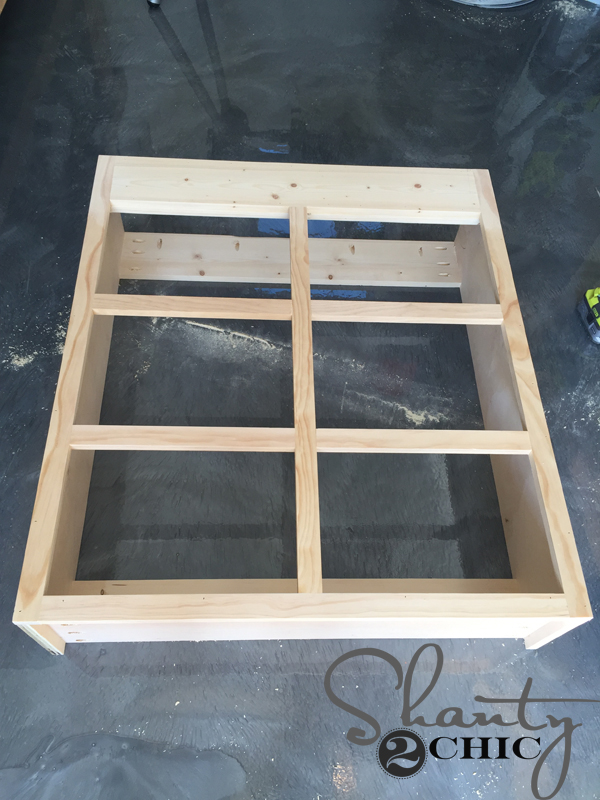 Whoop!
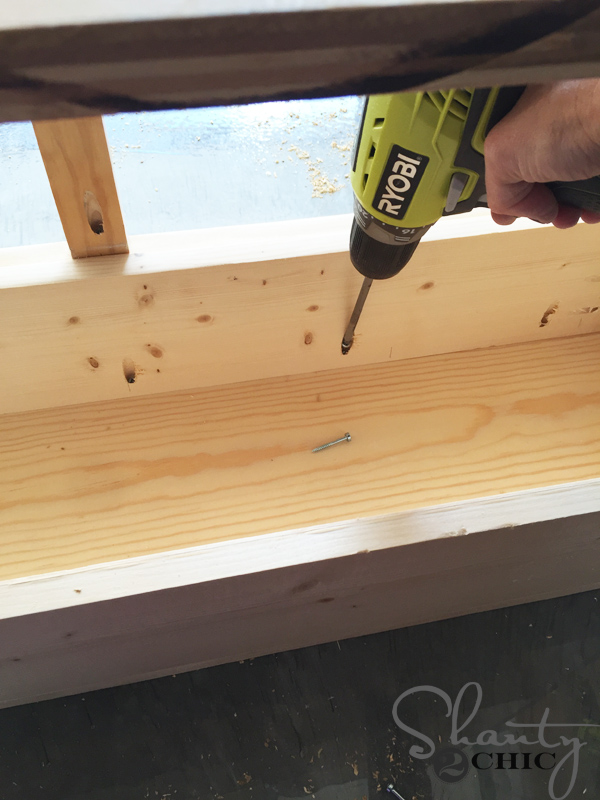 Use the pocket holes that you drilled into the top braces to attach the top of the cabinet. Use 1 1/4″ pocket hole screws and wood glue. The back of the top piece will be flush with the back of the cabinet and there will be an overhang on the front and sides of the cabinet.
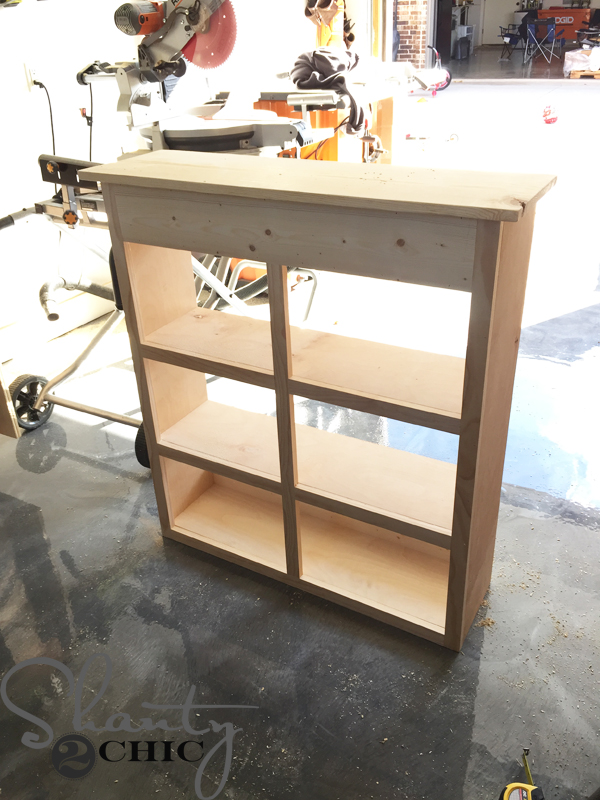
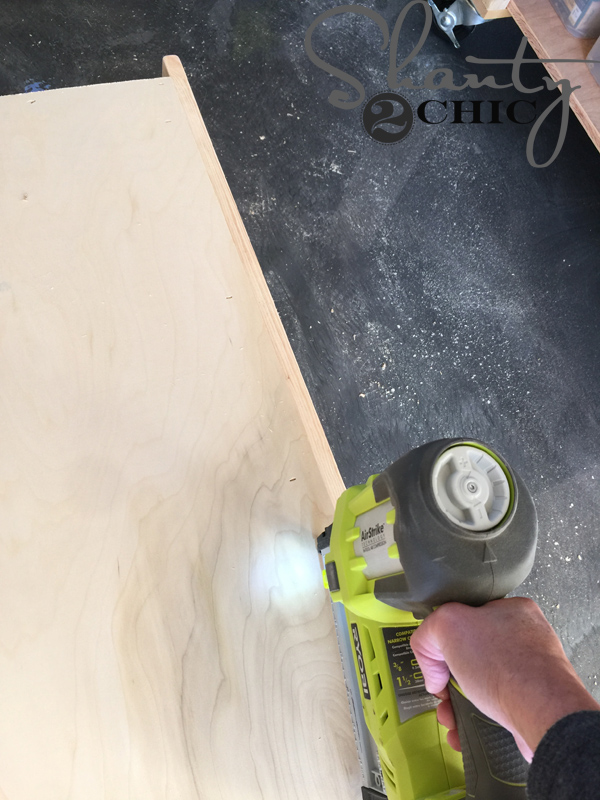 I attached the backing with 3/4″ stables and my Ryobi 18 gauge crown stapler. You can use finish nails here but staples are best when you are attaching the thin backing because they grab the board.
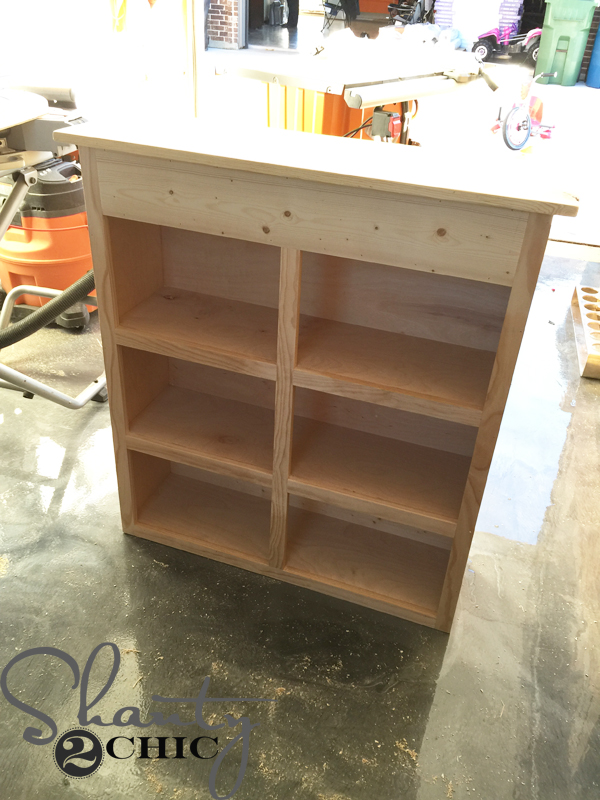 The backing is attached and now it’s time for the trim!
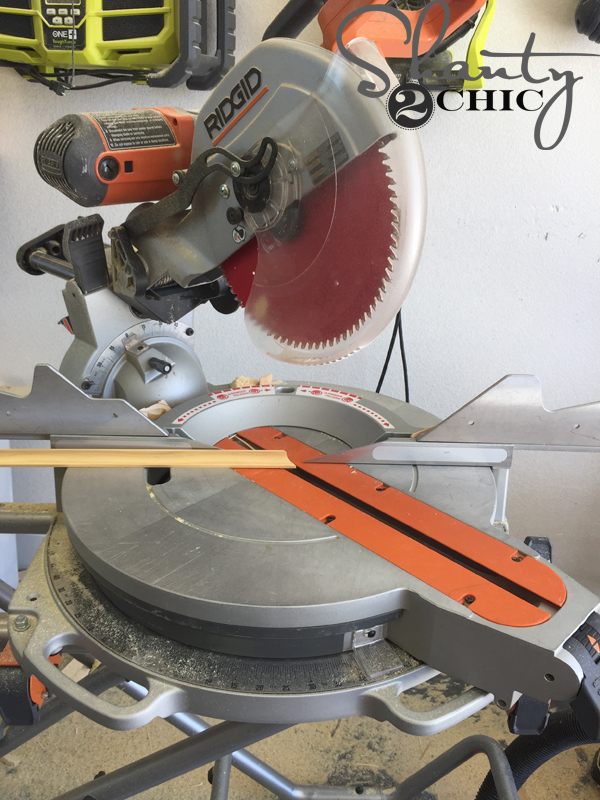 Always measure and cut as you go for the trim! I used THIS cove molding that I found at Home Depot. I make my first 45 degree cut for one side
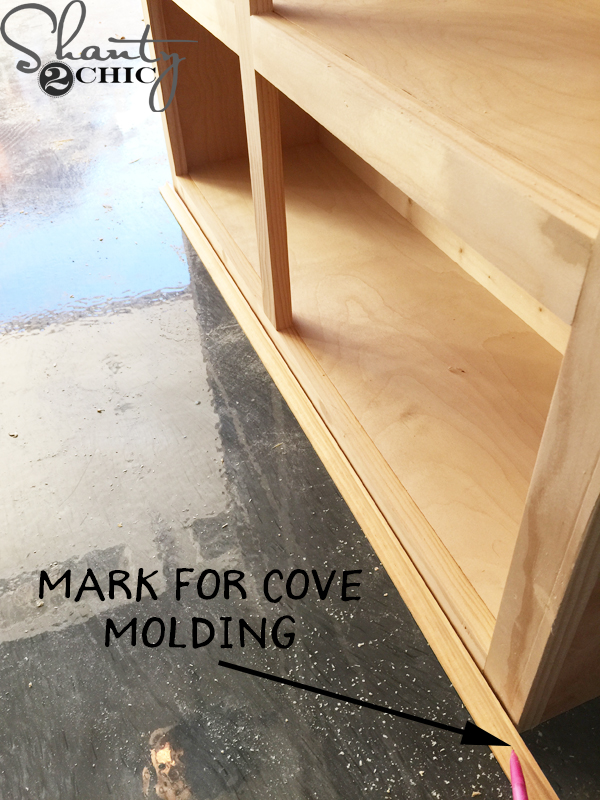 then I mark for the other side,
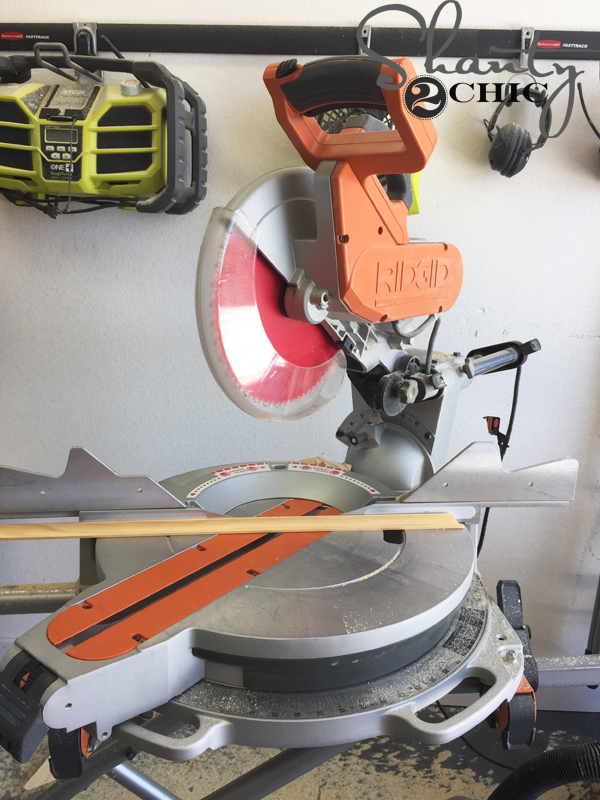 swing the miter cut arm to the opposite 45 degree mark and make my second cut. Watch our How to Use a Miter Saw video HERE!
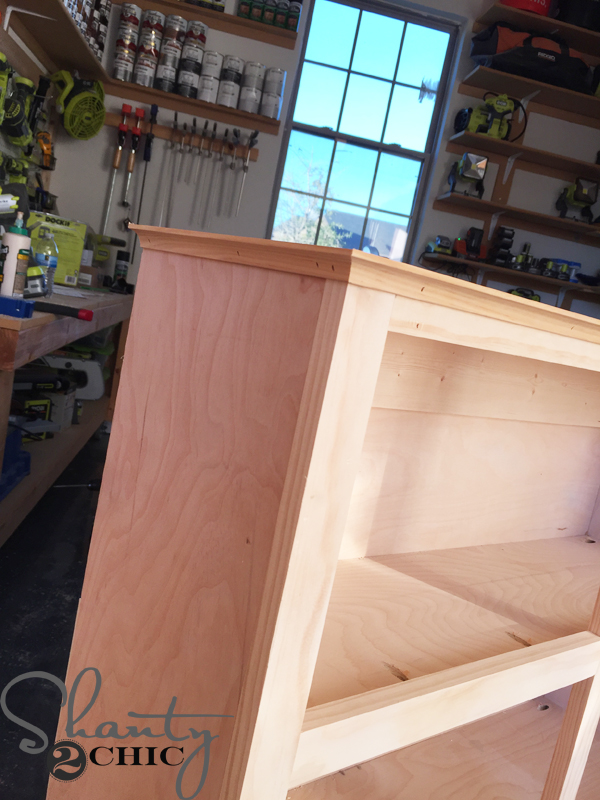 I flipped the cabinet upside down to attach the cove molding. Use wood glue and your brad nailer. I like to use 5/8″ brad nails for the trim.
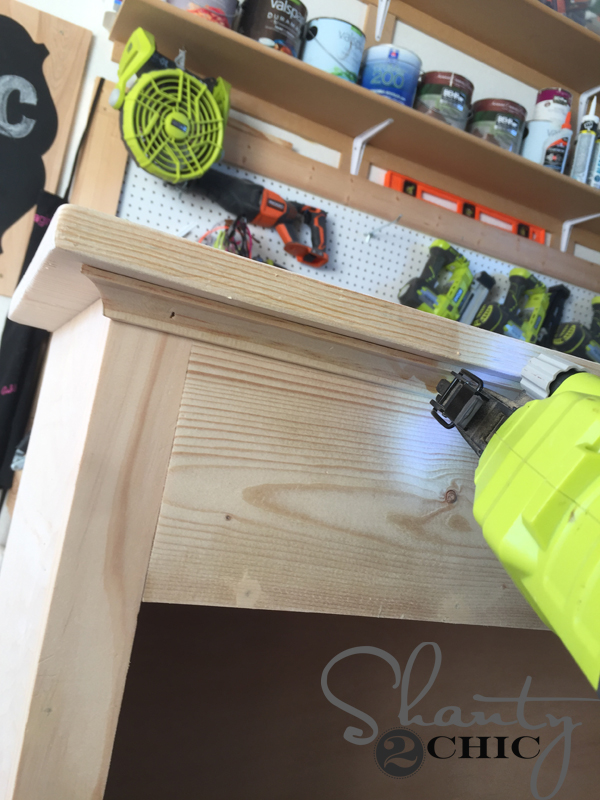 Attach the top cove molding the same way.
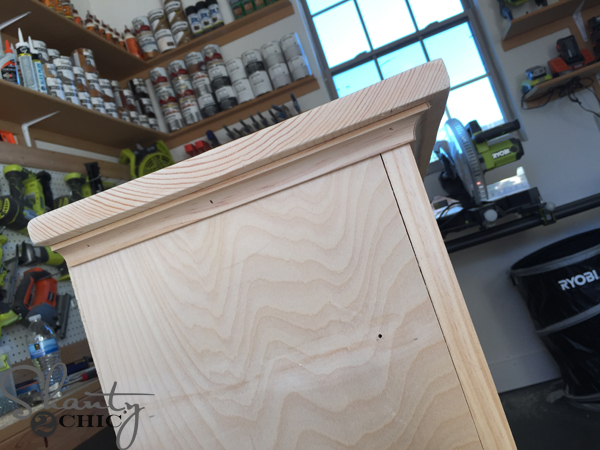 I do the front piece first and then the sides. To cut the sides, make the 45 degree cut then mark where the square cut will be. (square means “0” degrees)
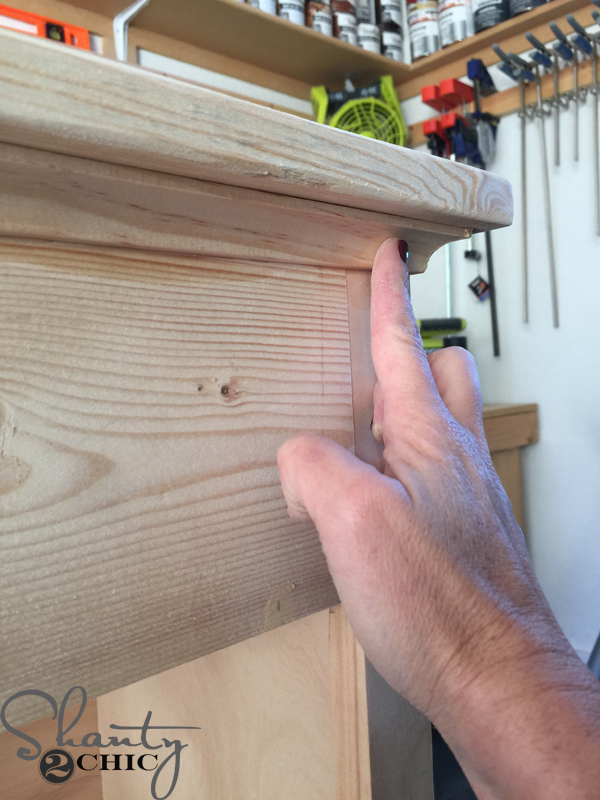 Finally, I filled my nail holes with wood filler.
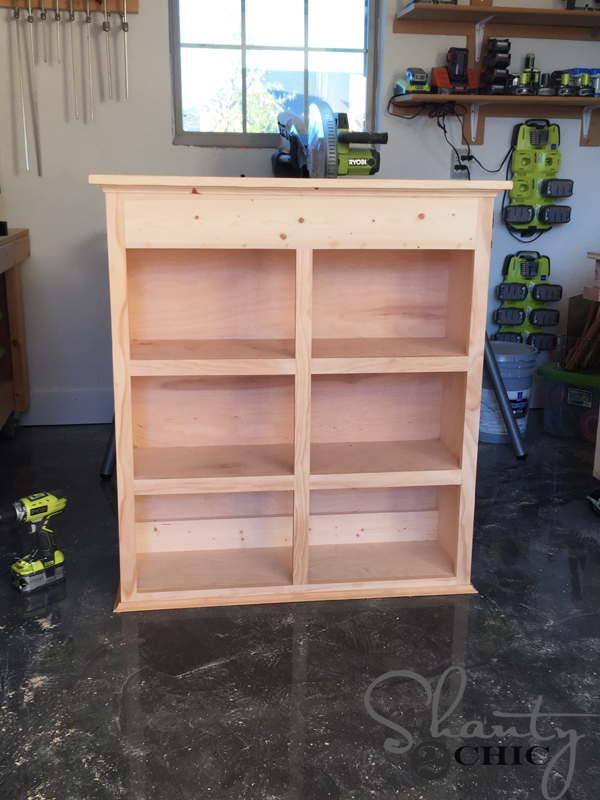 Ready for paint! I used a latex paint that I had matched to my trim paint. Cozy Cottage by Behr or Ivory Lace by Valspar 🙂
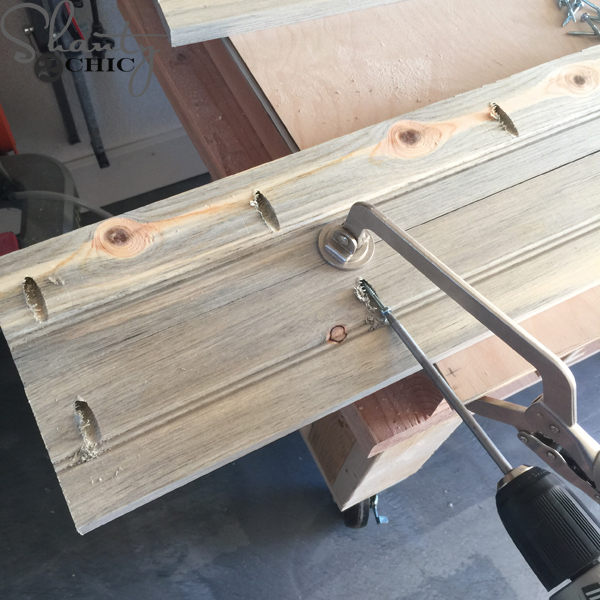 I created the sliding door with Blue Stained Pine from Home Depot. This wood has a grey tint to it and it is so pretty without a finish on it! It is tongue and groove, so I use my table saw to rip the edges off. I used 3/4″ pocket holes and 1 1/4″ pocket hole screws to assemble the door. I also used my Kreg Face Clamp to keep the boards flush.
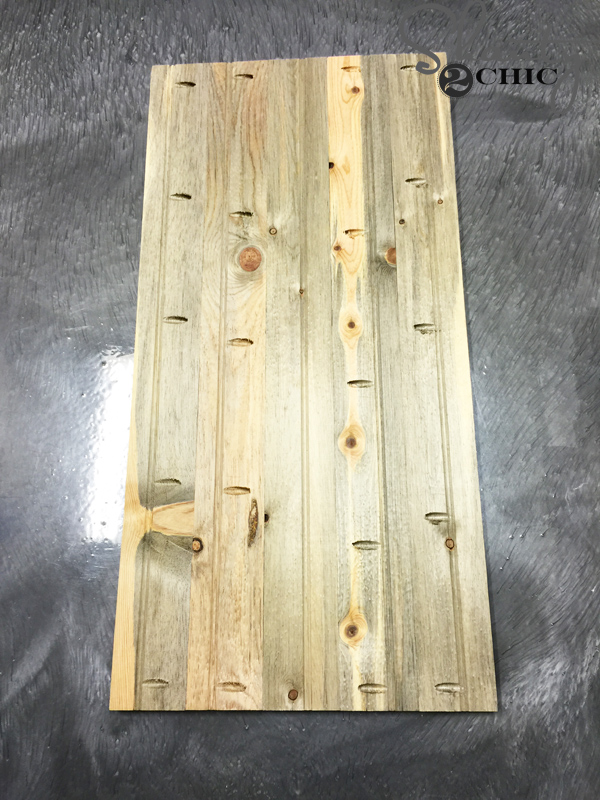 Here is the back side of the door…
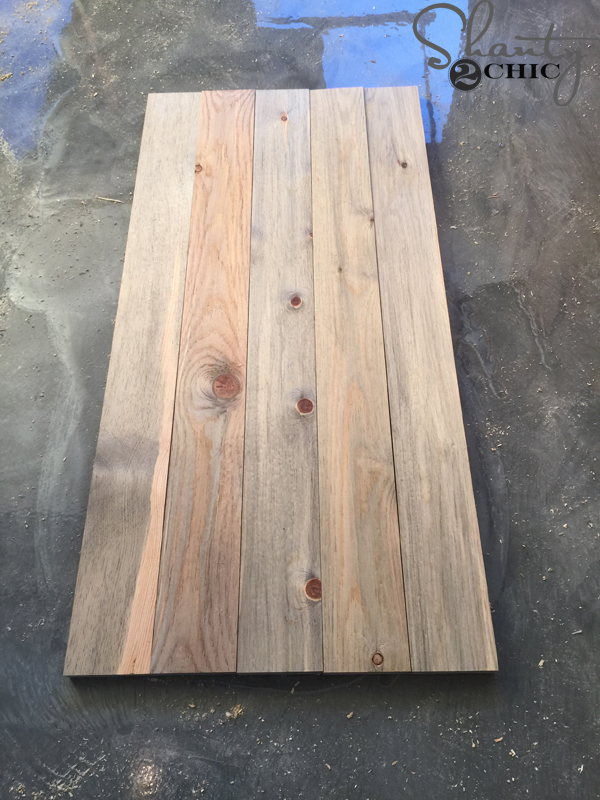 and the front! How pretty is that!?
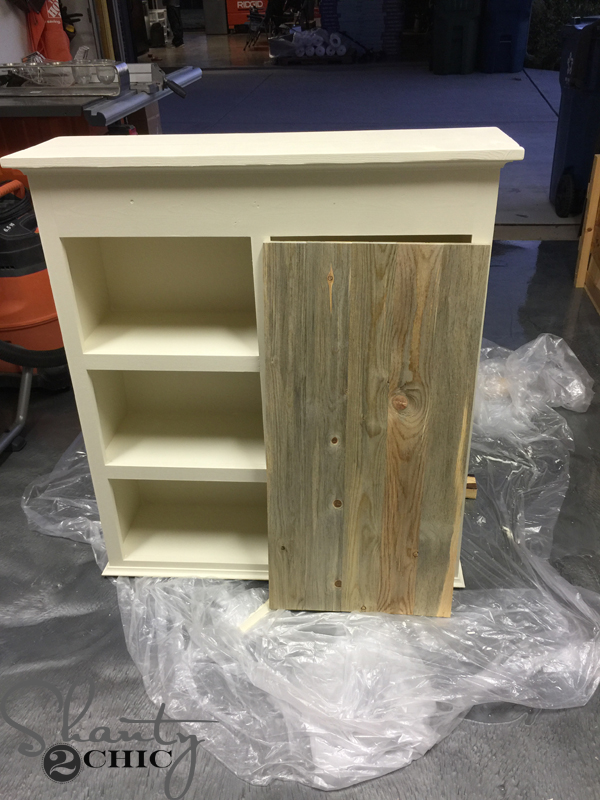 Now for the HARDWARE!!!
I had our super talented friend, Tyler Wayne, create custom hardware for this piece! You may remember him from the work he did on our HGTV Pilot, Open Concept! He built a metal coffee table frame and two sliding barn doors for the home. He is super talented AND he has an Etsy shop with lots of fun pieces that he custom builds! Check it out HERE and you can order the Barn Door Hardware HERE!
Now for the HARDWARE!!!
I had our super talented friend, Tyler Wayne, create custom hardware for this piece! You may remember him from the work he did on our HGTV Pilot, Open Concept! He built a metal coffee table frame and two sliding barn doors for the home. He is super talented AND he has an Etsy shop with lots of fun pieces that he custom builds! Check it out HERE and you can order the Barn Door Hardware HERE!
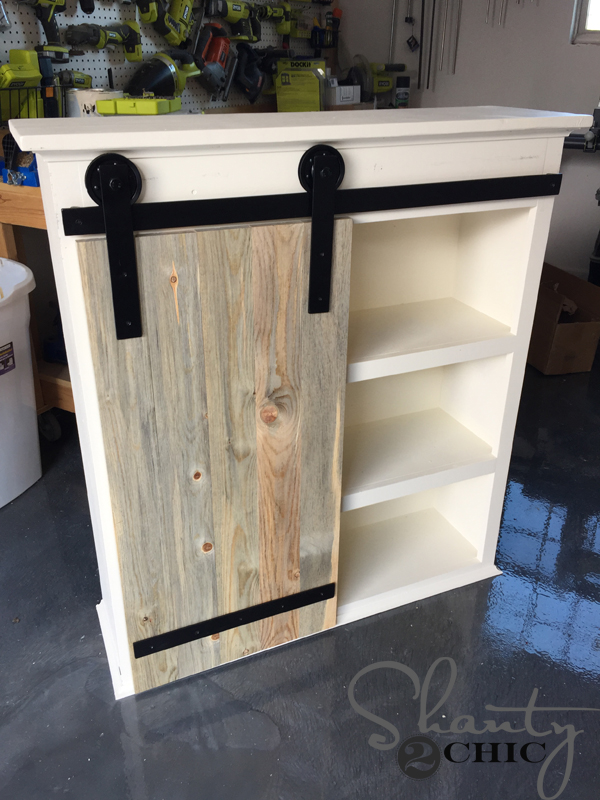 I used black construction screws to attach the hardware and that was it!
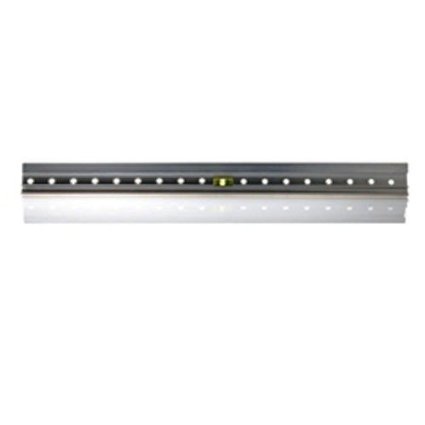 To hang it, I used this french cleat. It is my GO-TO for heavy hanging. It’s very easy to attach and it makes hanging the shelf so much easier. You can buy it HERE.
That was it! I love having the open storage to decorate the shelf but I also have a place to store toilet paper!
To hang it, I used this french cleat. It is my GO-TO for heavy hanging. It’s very easy to attach and it makes hanging the shelf so much easier. You can buy it HERE.
That was it! I love having the open storage to decorate the shelf but I also have a place to store toilet paper!
 one..
one..
 two…
two…
 three! LOVE!!!