Hey guys! We are SO EXCITED to share this new product today – Infusible Ink! A few months back we were invited by Cricut to come be some of the first people to try out and learn about their newest product. We were mind-blown by it! I can’t wait to show you what it does. Check out Cricut’s Infusible Ink!

What the heck is it? I know…That was my question too! Infusible Ink is Cricut’s newest product, and I can’t wait to show you what it does!
I did a few projects using it to show you just how cool (or hot haha) it is! I’ll walk you through one here, and I also want you to go check out our Instagram Stories HERE to see the videos of the other projects! The first project I created is an encaustic tile coaster. These coasters are the most incredible project that can be made with the Infusible Ink.
So, if you’re not a Cricut owner, it’s officially time. You can see our favorite Cricut model, the Maker HERE. That’s the machine that both Ashley and I use. If you missed it, you can see our video on using the Maker HERE on YouTube. This machine cuts material as thin as tissue paper all the way up to wood! CRAZY. To use the Infusible Ink, you will also want an Easy Press machine. These come in a few different sizes, and basically the larger the press, the larger you can make your design. THIS is the model of EasyPress I use! I’m showing you how I made some amazingly beautiful coasters, but there are also t-shirt blanks, bag blanks and more!
I started by selecting my design. I actually chose to use a custom SVG file I found HERE on Etsy. I wanted these coasters to resemble encaustic tiles, and these files are perfect! I loaded one of the four designs into Cricut Design Space. The design can be easily resized by using the small blue circle at the bottom right side of the image and dragging in or out to get it the size you need. In this case, I made the design just a bit larger than the coaster.
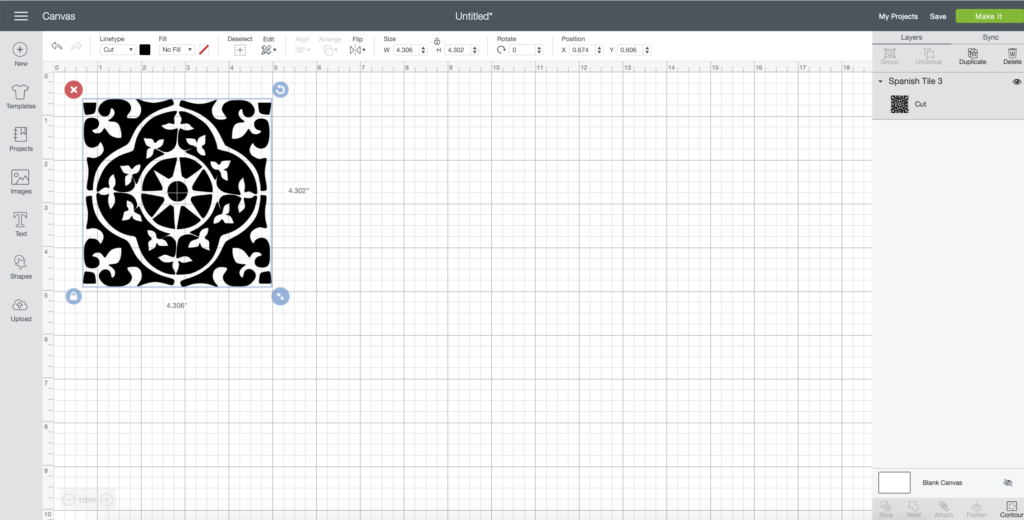
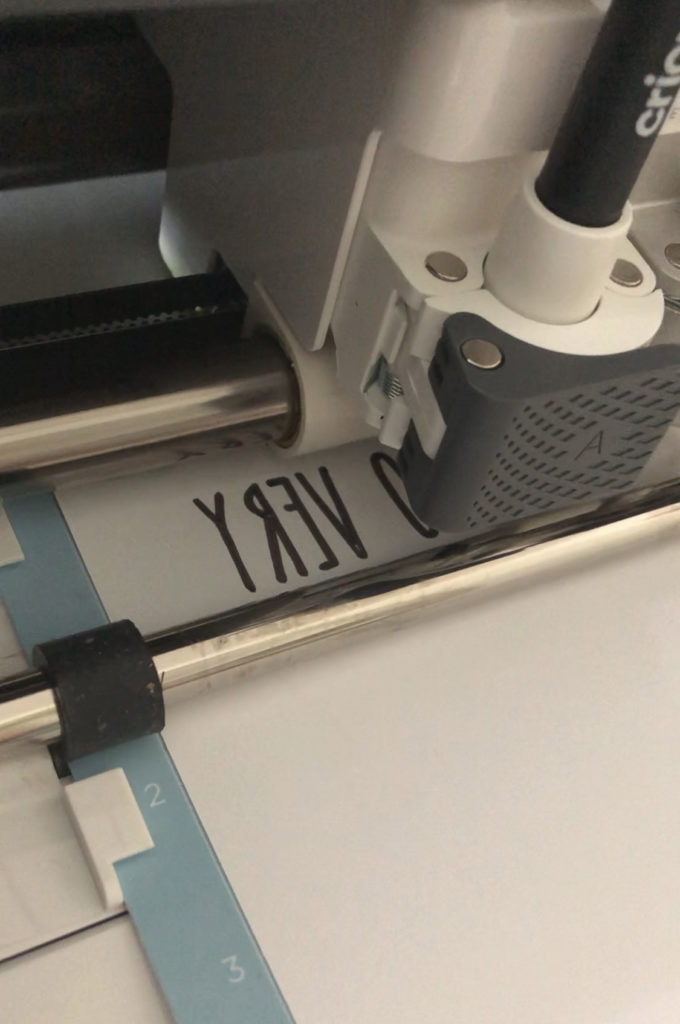
Now it’s time to cut. Click the Make It button and it will show you the design on top of a mat on the next screen. This image didn’t need to be flipped because its’ totally symmetrical, but if you use a design with letters, words or numbers, make sure you click Mirror On when you are on this screen.

When choosing the material to cut, choose Infusible Ink from the material list, and then load your mat and let it cut for you. Once it’s cut, you need to weed out the part of the design you don’t want transferred. Many of you have done this with vinyl or heat transfer, but in my opinion this material weeds even easier and you just do it with your hands. One important note is to make sure hands your are dry and oil free if weeding with hands!
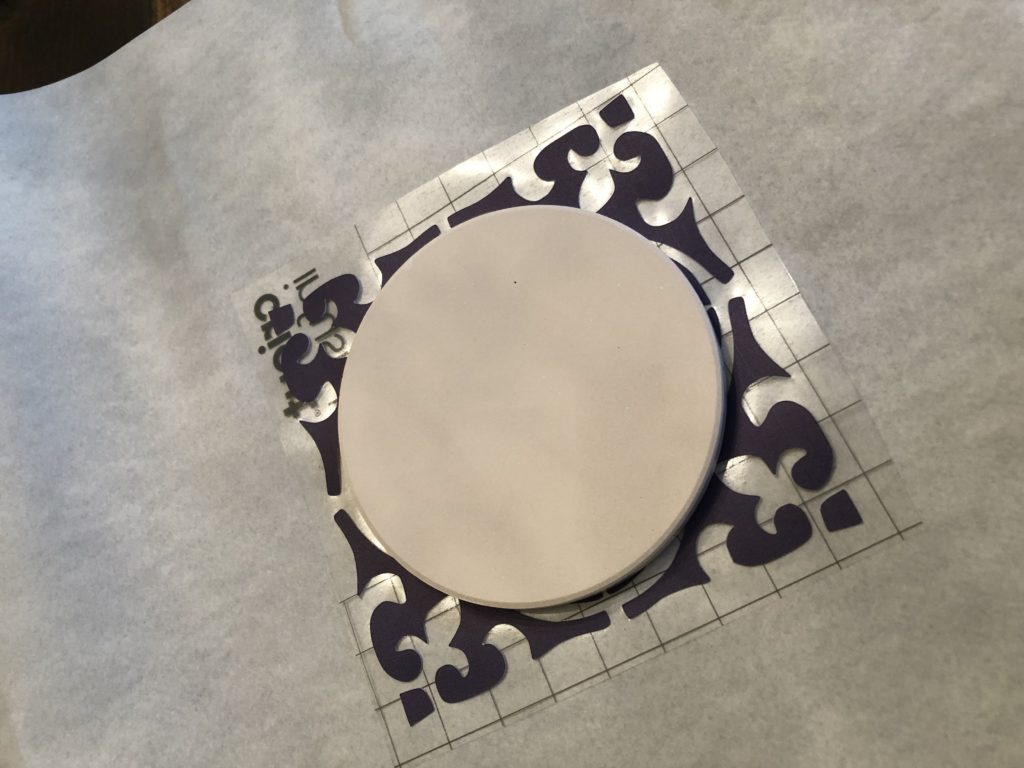
One thing you will notice about the Infusible Ink sheets is that they appear very muted before application. This is totally normal! And, each package shows the actual color once you transfer it. The color I am using is a deep navy and you can see below how much lighter the paper is.

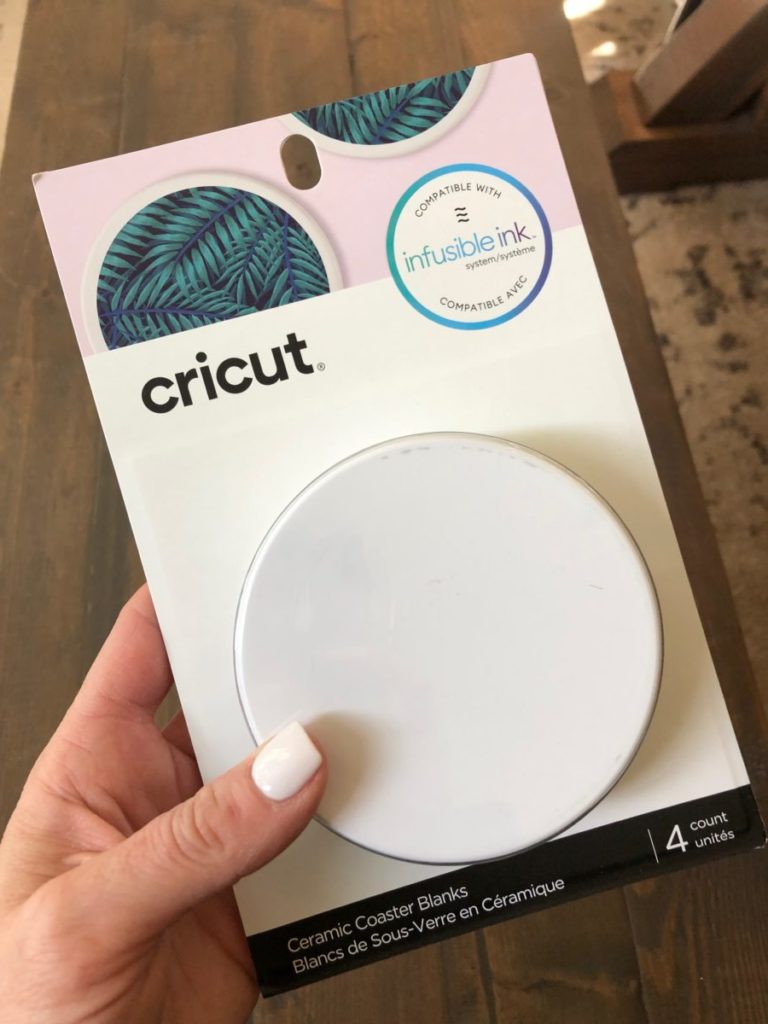
One thing we learned about Infusible Ink is that prep is key. I’m using Cricut’s blank ceramic coasters for this project.
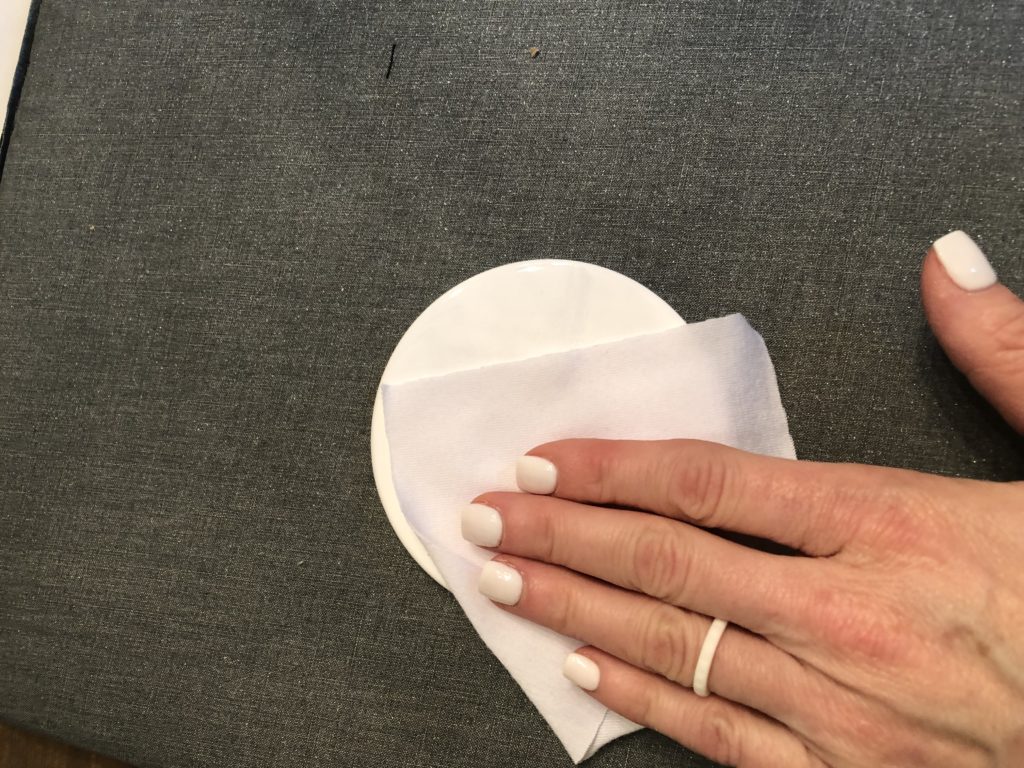
I used a cloth to wipe the tile off. This is a super important step you don’t want to skip! Prep is key on these projects for the best outcome.
After I placed the design on top of the shiny part of the tile, with the color facing down, I flipped the tile over and laid it on top of the EasyPress mat and a sheet of cardstock.
Now, I added a sheet of butcher paper on top of that and placed the EasyPress on top of everything. You will set the temperature of your EasyPress to 400˚ for 240 seconds.
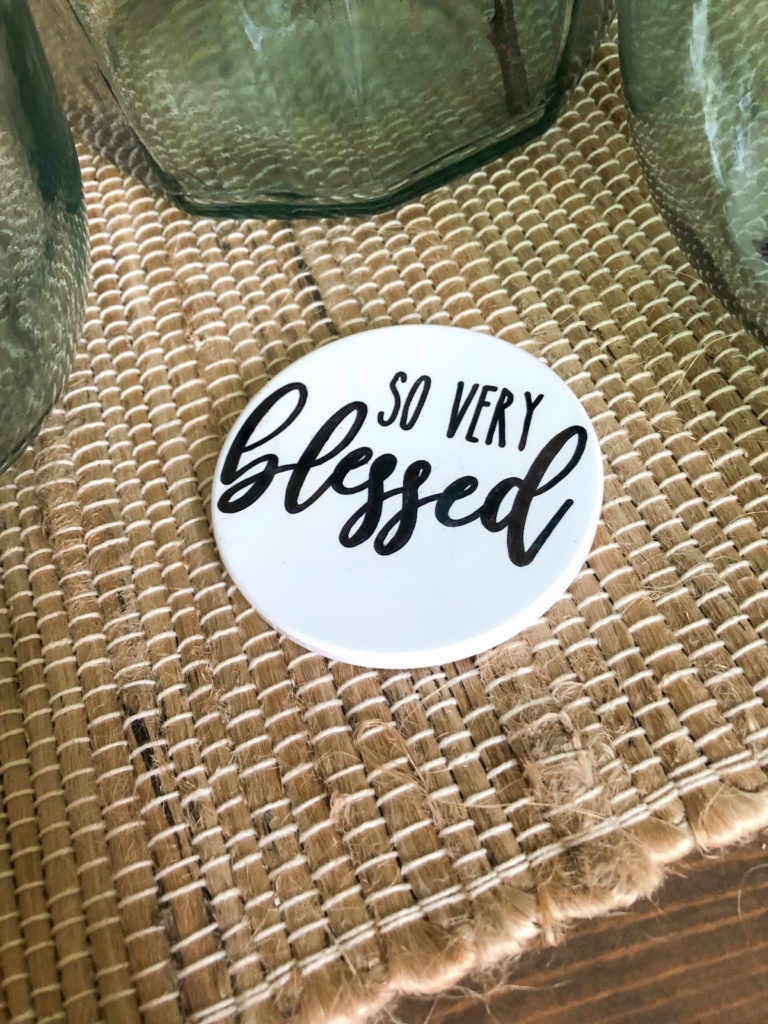
After letting the tile cool, you get to take the papers off to reveal the design. Guys… It’s nuts. The color is infused into this tile. The glossy texture of the tile is the exact same and the color is infused into it. Check out my Instagram story HERE to see the video of it… It’s truly so cool how it does this!
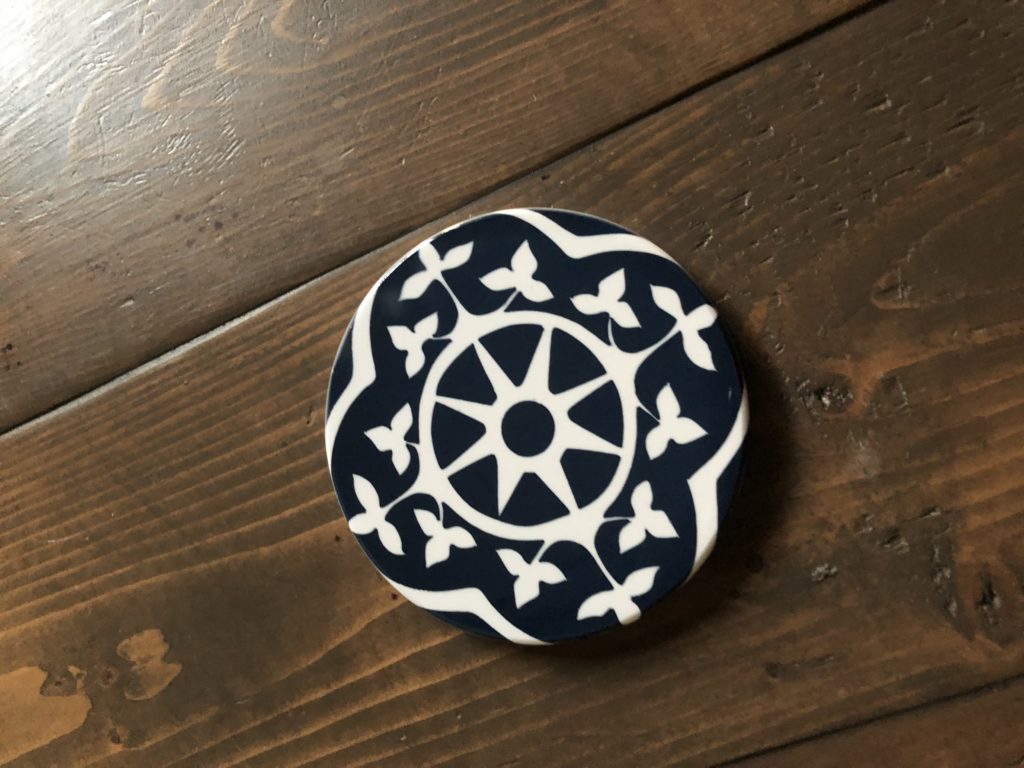
It’s crazy! It’s amazing to me that I was able to achieve this look with a DIY project.

There are SO MANY things you can do with this guys. The blanks make it so fun and easy too. It’s a great way to give personal, handmade gifts that also look crazy expensive and store-bought! Check out the bag I made for one of my girls!
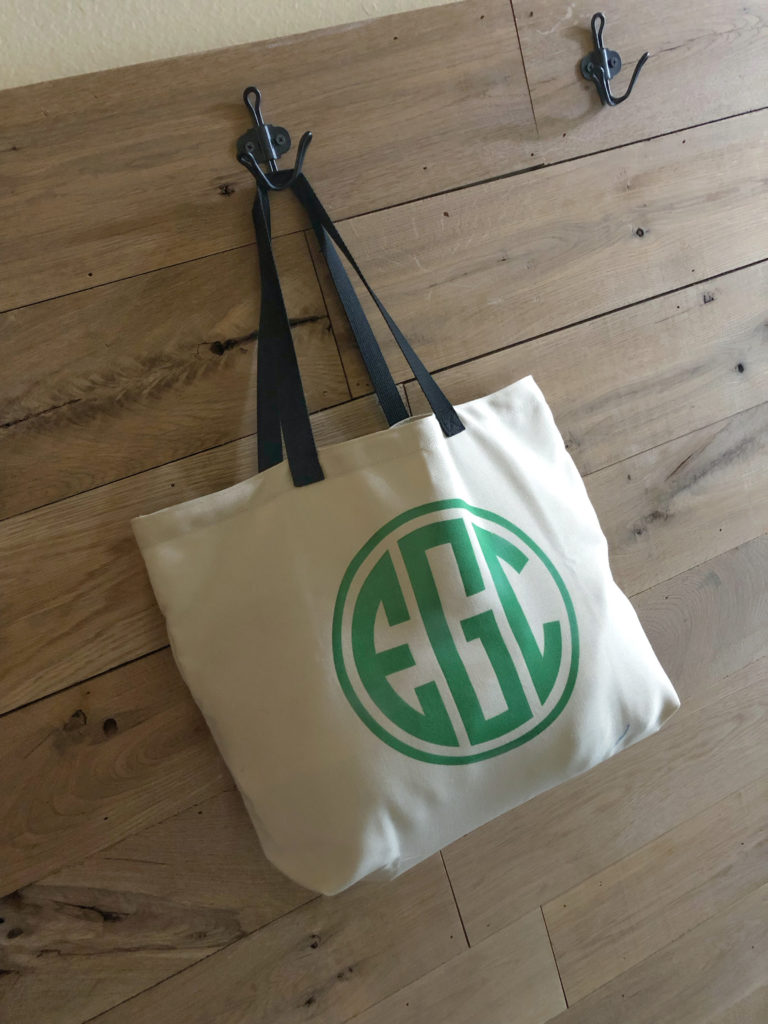
You can actually see in this photo how the ink is infused into the fabric rather than sitting on top of the fabric… It’s so neat!

I also used one of our free printable designs with the Cricut Infusible Ink marker to create this coaster! I used the Maker to draw the design on copy paper first.
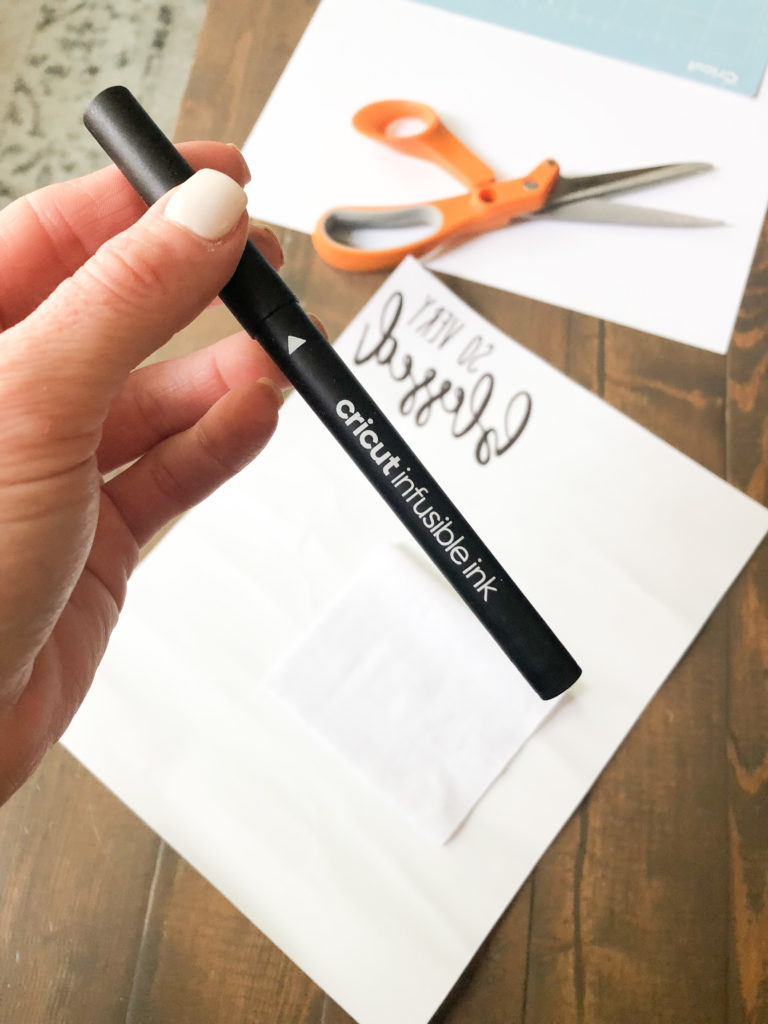
I used the marker to fill in the blank spaces next.
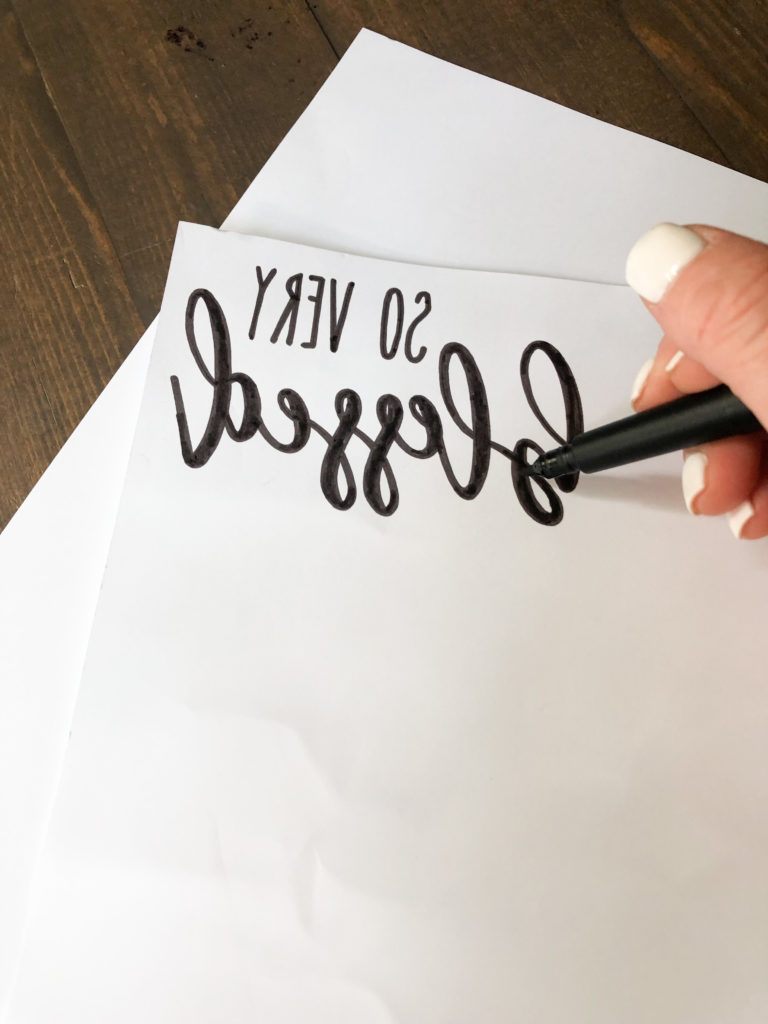
I then made the transfer! You can check out the process on our Instagram stories, but look how cute it turned out!
Be sure to go check out all of the patterns, colors and even blanks HERE!
Thanks so much for stopping by and let me know if you have any questions at all!


I love your article very much. It’s so great. The article is the sharing of the enthusiasm of a sharing enthusiast. Thank you very much
With the coasters should you spray anything over them after the fact to keep them looking like new with condensation?
Can I do this with the heat press machine?
Thanks for the info. Sounds great! I just wish all the ads weren’t so everpresent. Awfully distracting on my mobile screen.