Learn how to build this DIY Stocking Holder with free plans by Shanty2Chic!
I have been so excited to decorate my house for Christmas this year! I have used the same DIY Stocking Holders that I made a few years ago but this year I got an itch to build a new one! This is a super easy project, you might have the lumber you need in a scrap pile and it’s perfect for a table top if you don’t have a mantel! I teamed up with our friends at Krylon to build this super Cute DIY Stocking Holder! So, let’s build it!
Click HERE to jump to the free printable plans!How to Build a DIY Stocking Holder
Tools
- Miter Saw
- Drill
- Kreg Jig
- Sander
Supplies
- 1 – 2x6x8
- 1 – 1x4x6
- 1 1/4″ Pocket Hole Screws
- 2″ Brad Nails
- 4 – Hooks
- Wood Glue
- Krylon ColorMaxx Spray Paint in Matte Deep Gray
Attaching the Sides
Step 1
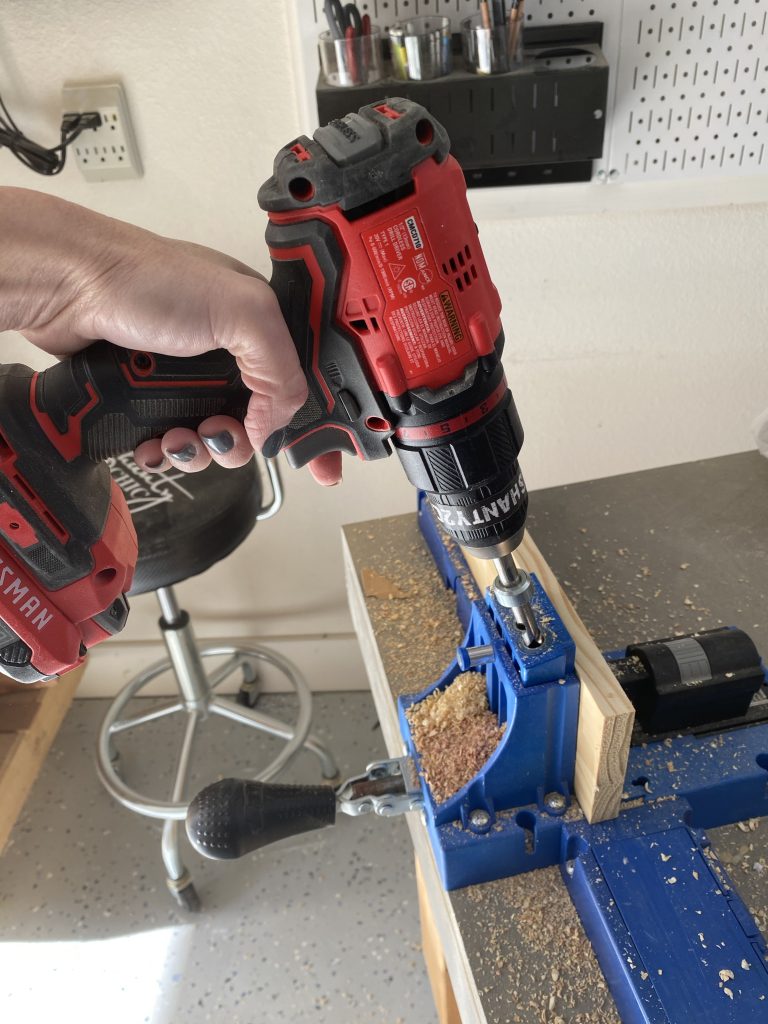
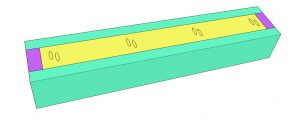
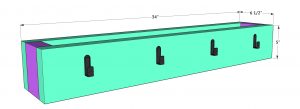
Make all of the cuts according to the cut list. Drill 3/4″ pocket holes on both edges of the 1×4 board.
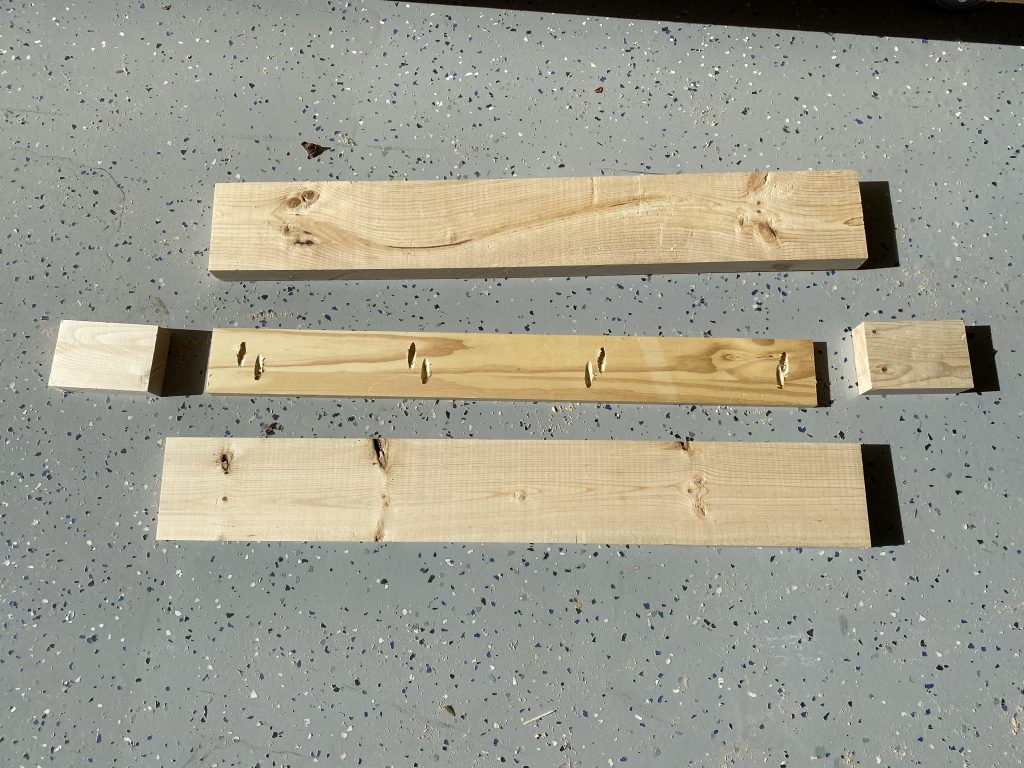
Your cuts will look like this.
Step 2
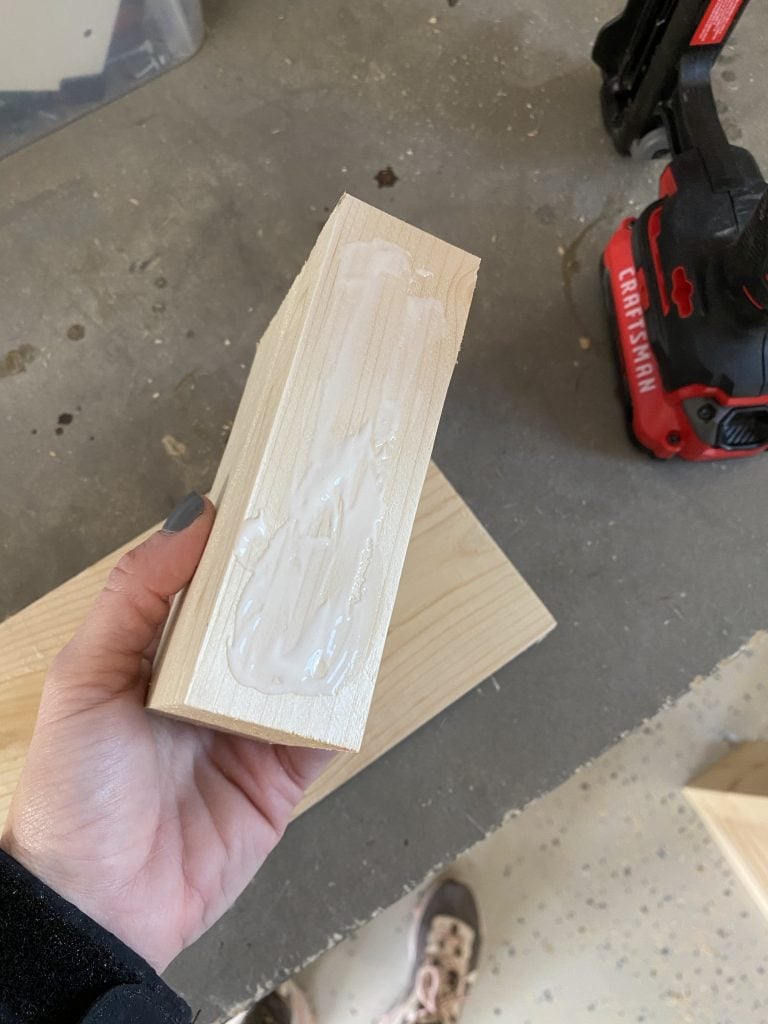
Apply glue to one end of each side piece.
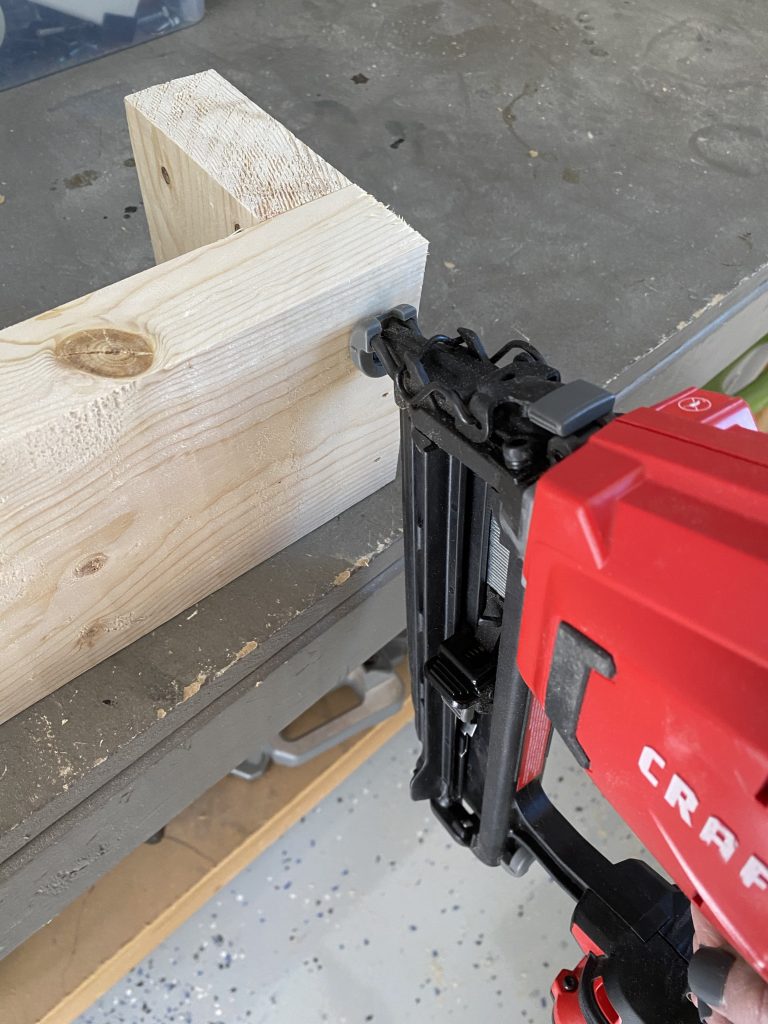
Attach each side piece to the end of the front 2×6 board with 2″ brad nails.
Step 3
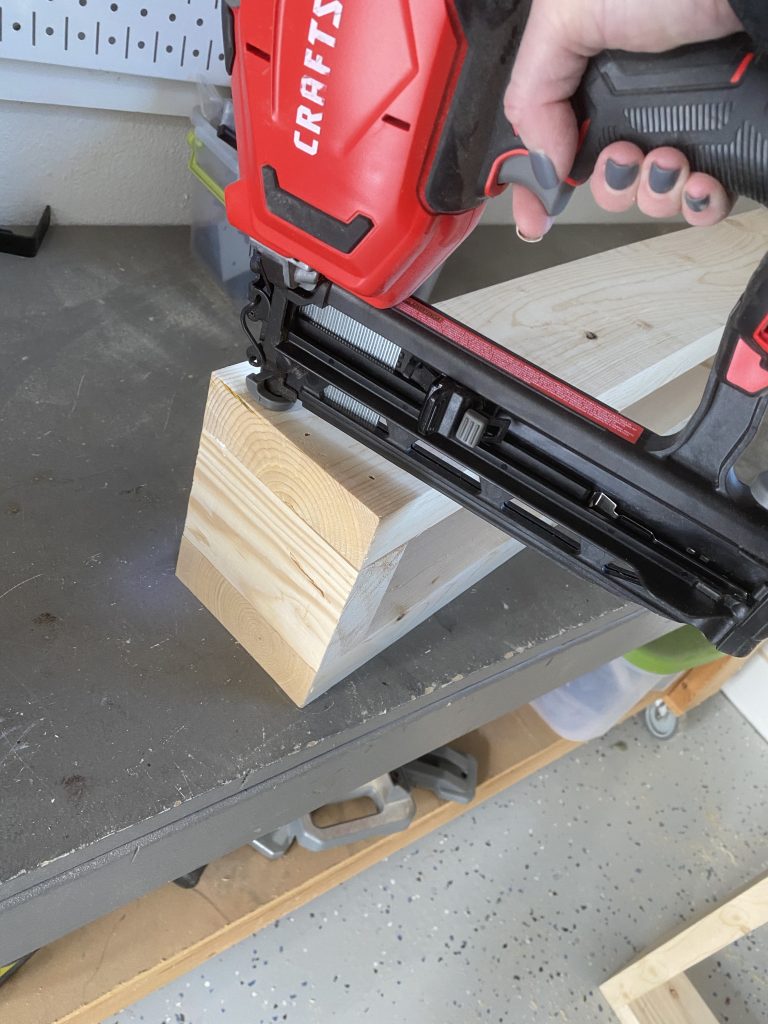
Attach the back 2×6 board to the side pieces with 2″ brad nails and wood glue.
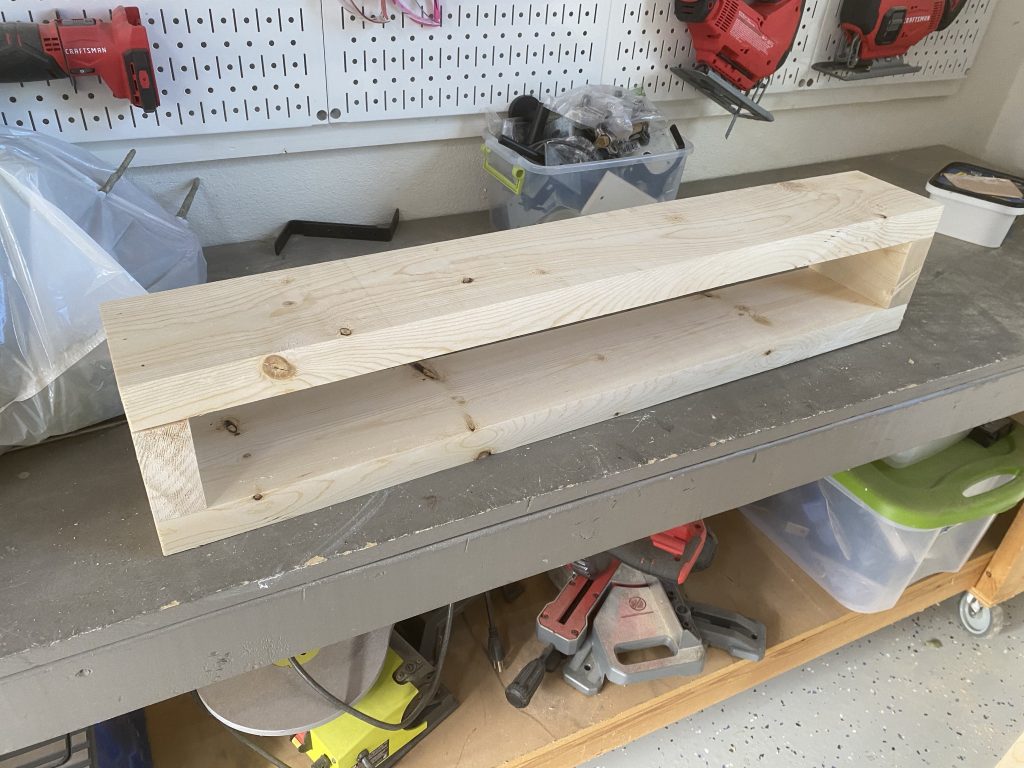
Your box should look like this now.
Attaching the Base
Step 1
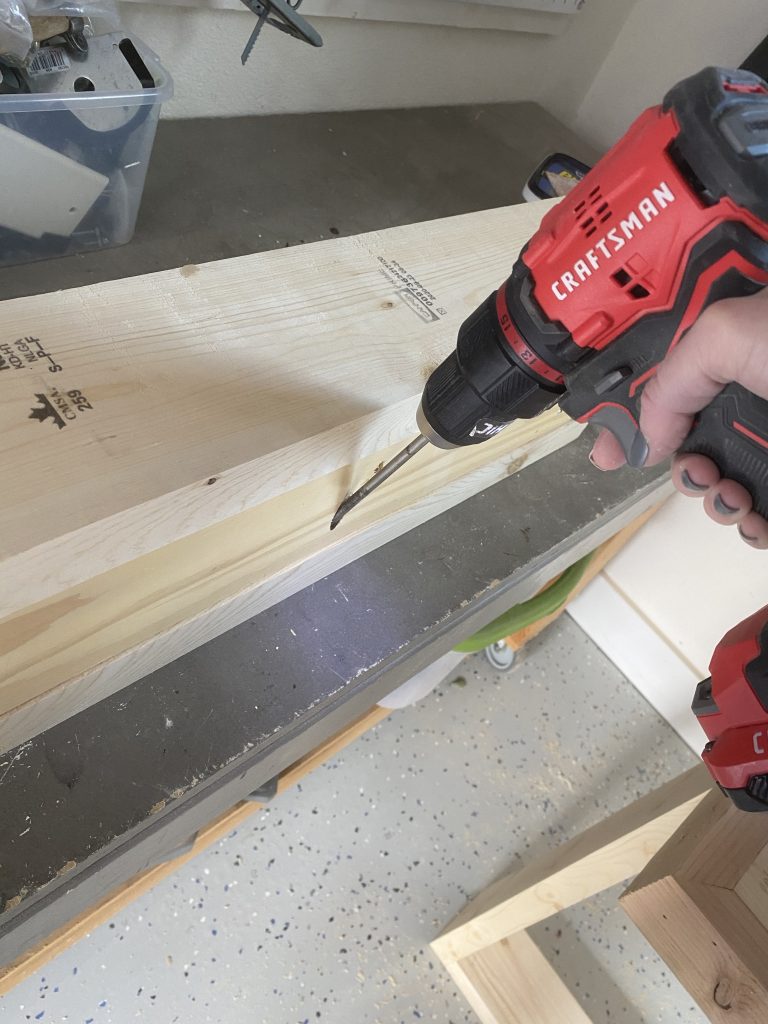
Attach the base to the inside of the stocking holder with 1 1/4″ pocket hole screws and wood glue.
The Finish
Step 1

Use an orbital sander, or sandpaper, and sand the entire piece. Start with an 80-grit, follow with a 120 grit and finally a 220 grit for a smooth painting finish.
Step 2
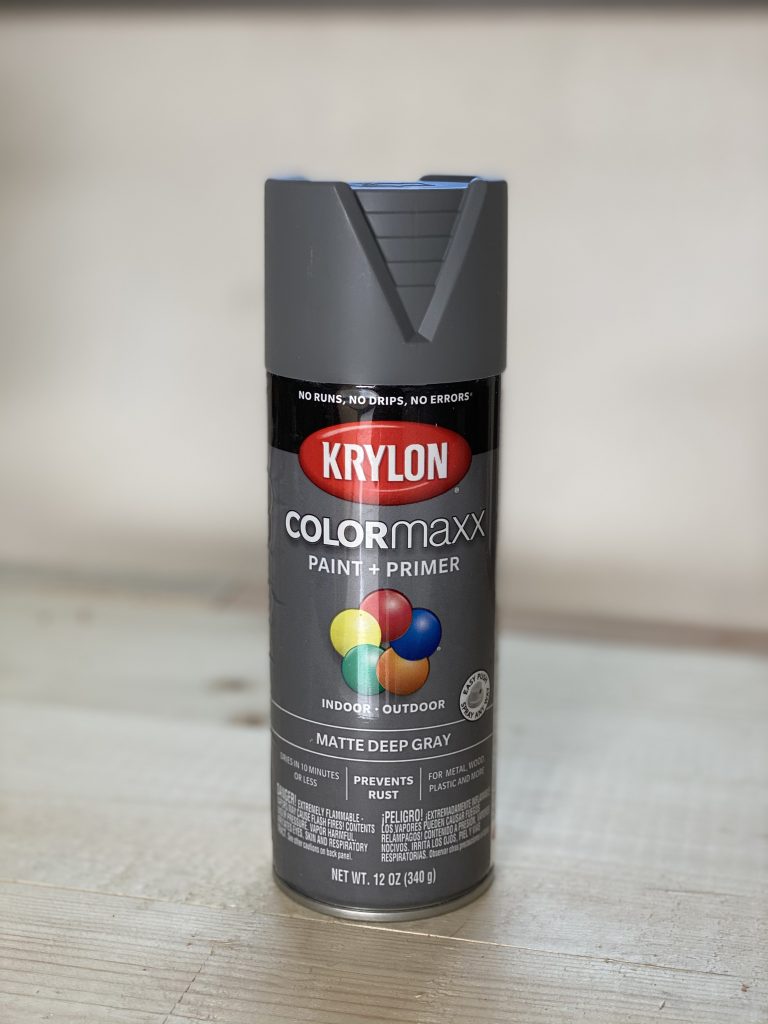
Pick your favorite Krylon ColorMaxx Paint and Primer Spray Paint. I chose Matte Deep Gray. I love this spray paint so much! They have the best color selections, the easy push big buttom makes spraying quick and the paint sprays on the wood surface so smooth! It also dries in 10 minutes or less!

I sprayed two coats of paint over the entire planter and inside. I let the first coat dry before applying the second.
Step 3
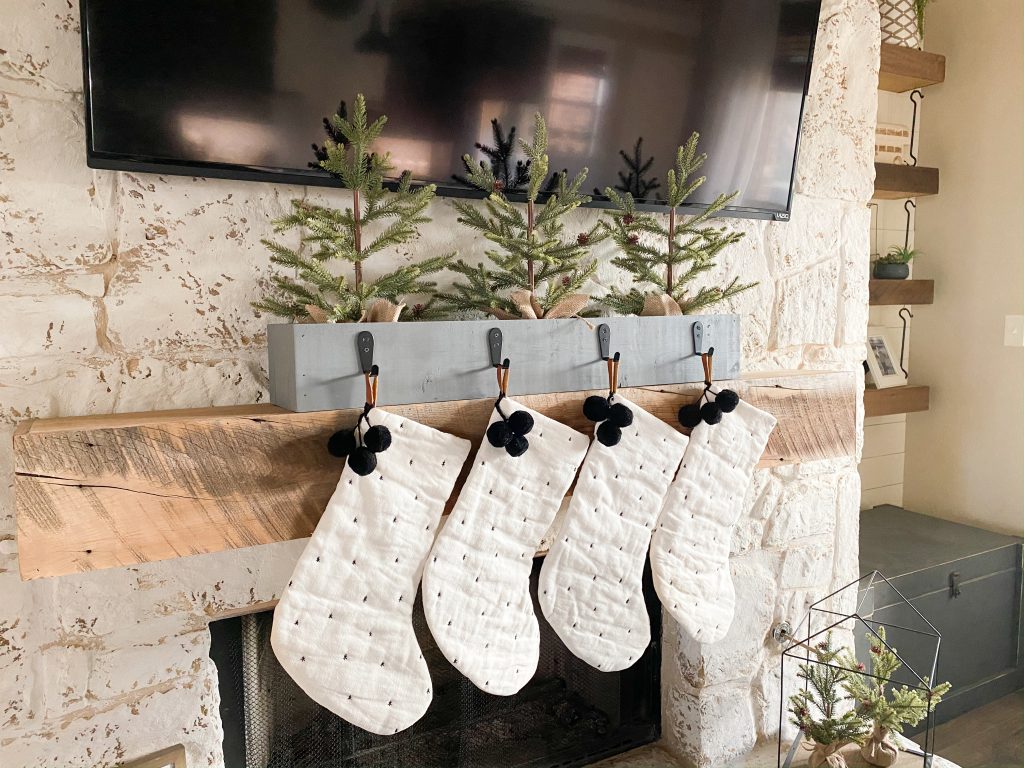
Once the paint was dry, I added my hooks, filled it with cute mini Christmas Trees and hung my stockings!
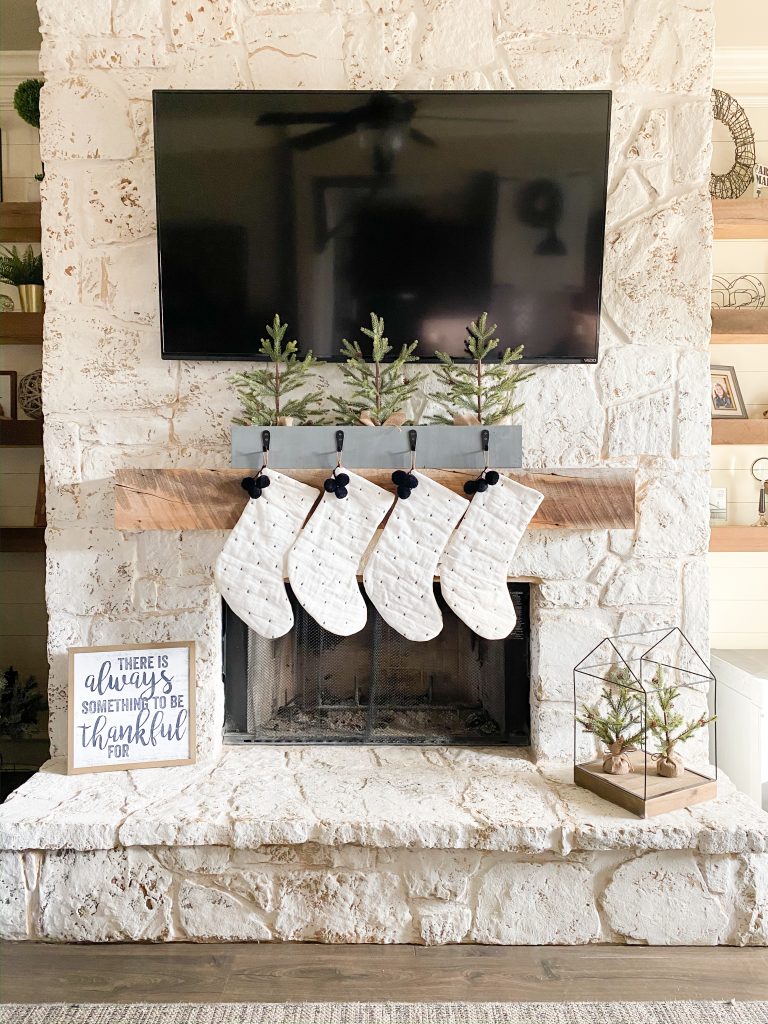
I am loving my new stocking hanger and it’s perfect for a table top if you don’t have a mantel!
Make sure to check out the full line of Krylon paints here!
Happy Building!
DIY Stocking Holder
Tools
- Miter Saw
- Drill
- Kreg Jig
- Brad Nailer
- Sander
Supply List
- 1 – 2x6x8 Pine or Framing Lumber
- 1 – 1x4x8 Pine or Framing Lumber
- 1 1/4" Pocket Hole Screws
- 2" Brad Nails
- Wood Glue
- Hooks
Instructions
Cut List

- Cut the front Back and side pieces to size. Attach the side pieces to the front piece with 2" brad nails and wood glue.

- Attach the back piece to the side pieces the same way.

- Cut the bottom board to size and drill 3/4" pocket holes on both edges. Attach it to the bottom of the planter with 1 1/4" pocket hole screws and wood glue.

- Now, just sand it down, add a finish and hooks and you're done! Make sure to share your builds with us on social media and use #shanty2chic so we can share them too! Happy Building!


What computer program do you guys use to make all your projects?