
Happy Wednesday guys! So excited to share this latest build with you. My oldest daughter is turning 13 soon… (pray for me), and she has been begging for a room redo ever since seeing her brother’s new bed I built. So, I have been busy! Check out her new DIY Twin Platform Chevron Bed!
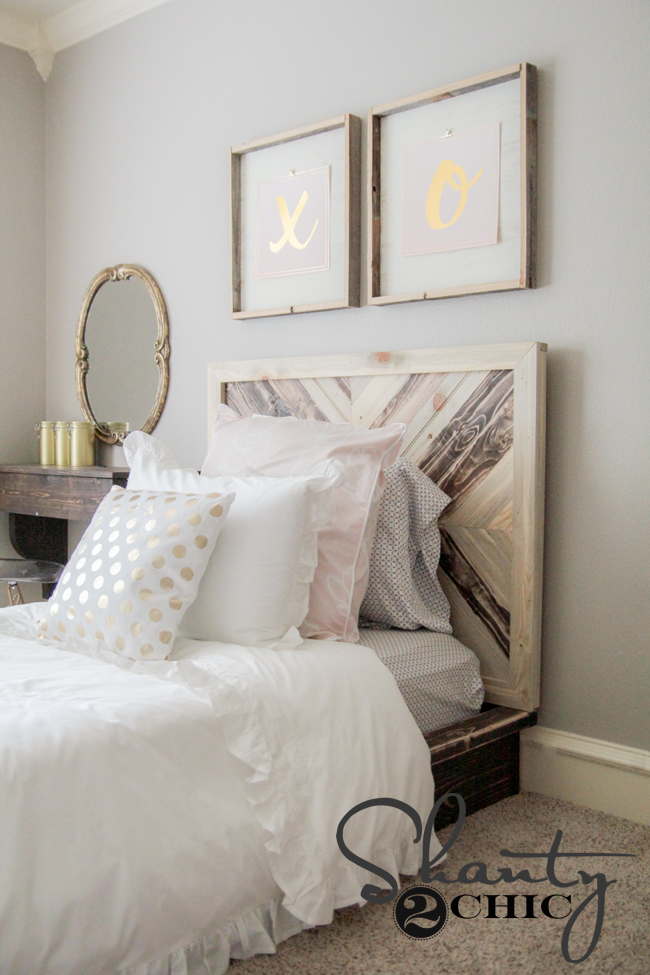
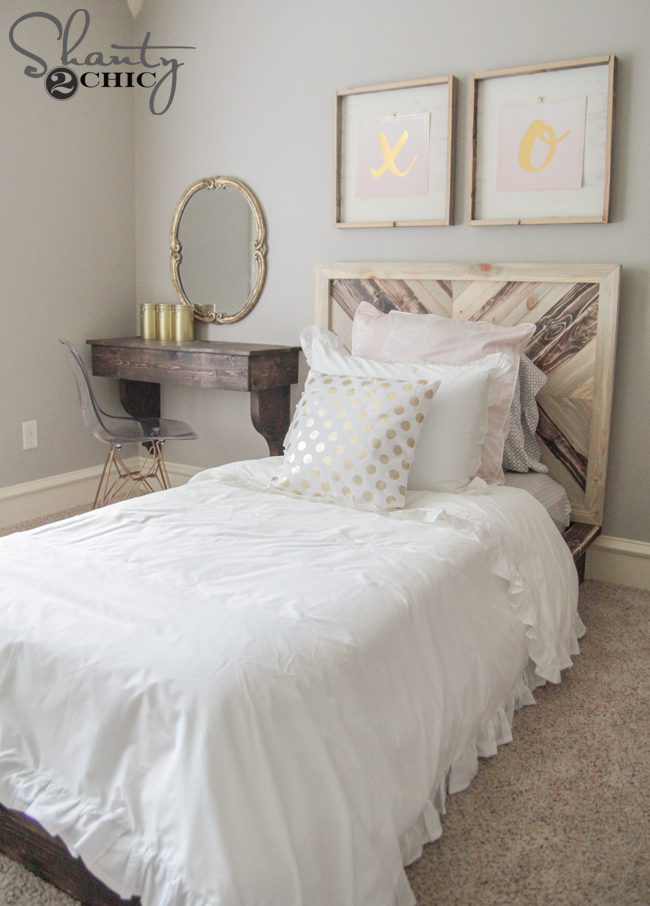
How cute is that? I am thrilled with how it turned out! This really is a very simple build. I will walk you through the entire build below, and you can also download and print the free plans HERE or by clicking the picture below.

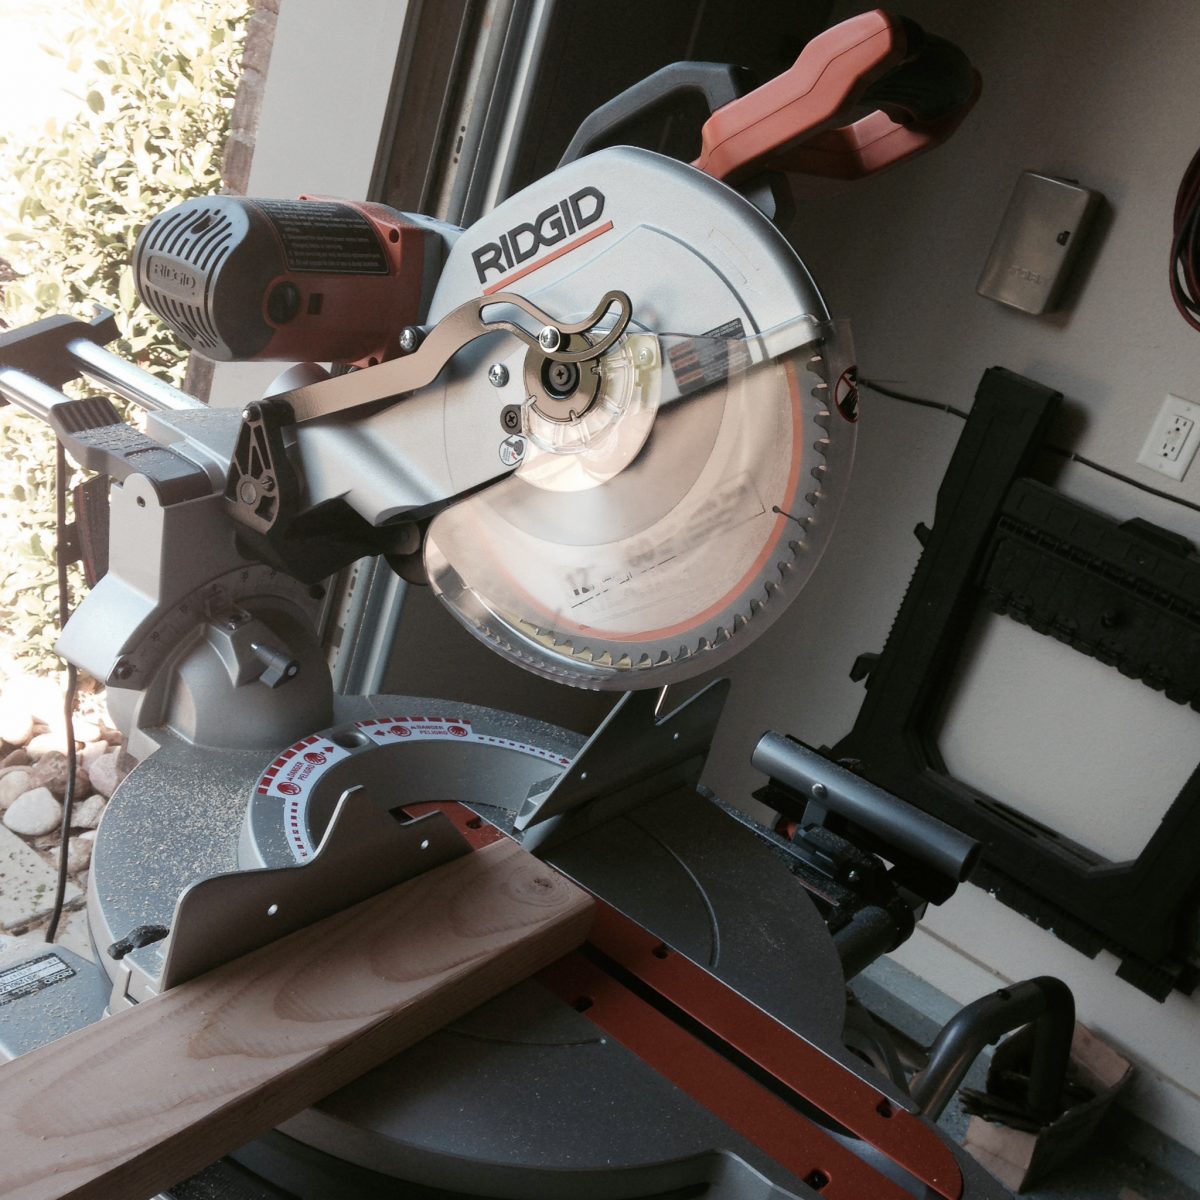
The bed is a smaller version of Ashley’s platform bed she built for her son. Her bed is a full sized bed, so check out that link if you are needing that size. This bed uses 2×8 boards as the outside frame. I found all of my lumber at Home Depot. 2×8 are with other dimensional framing lumber like studs and other 2x boards. Mine were 2x8x96. I used my miter saw to cut down these boards. I currently use a Ridgid 12″ miter saw that I love to pieces. Ryobi has another 12″ saw that they recently brought out that is also really great, as well as a 10″ saw if you want something a bit smaller. You can check out our TOOL PAGE for more info on the tools we recommend! When cutting any boards, you always want to cut a very small slice off the end to square the board off. This gives you a straight end to start your other cuts with.
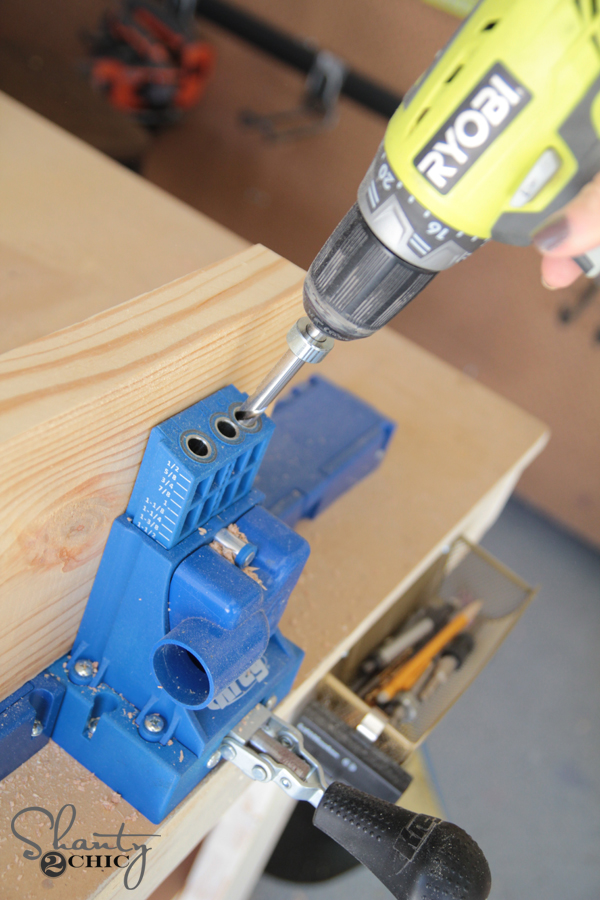
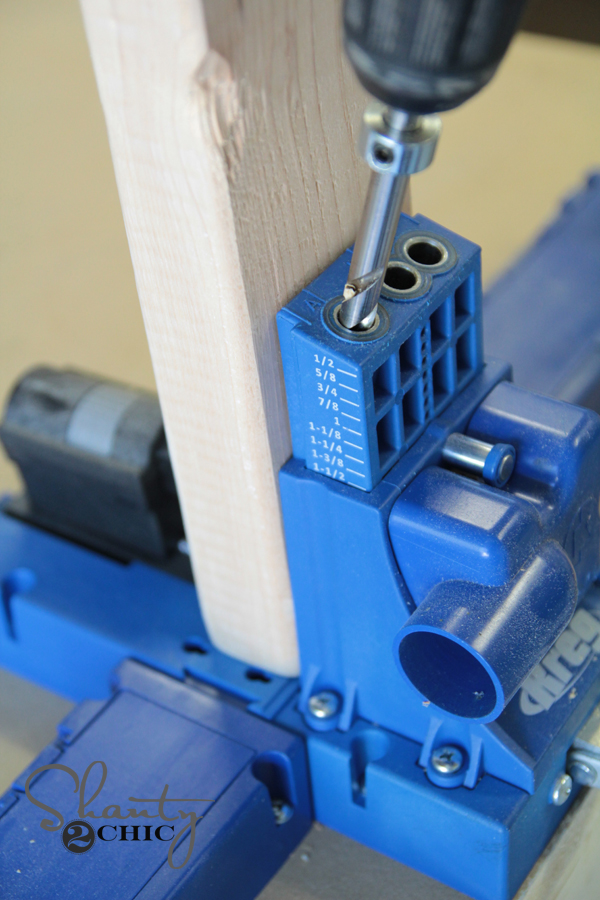
To attach the 2×8, I used my Kreg K5 Pocket-Hole Jig to create pocket holes. You will do this at the corners of your side boards and along the top of each board. I used the Kreg drill bit that comes with the jig to create 1.5″ pocket holes.
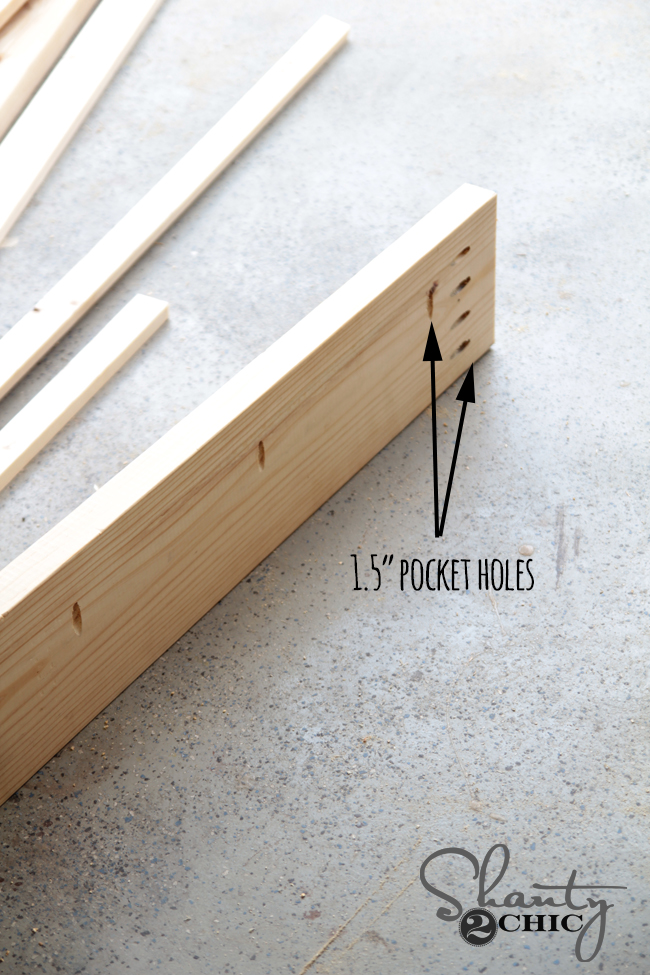
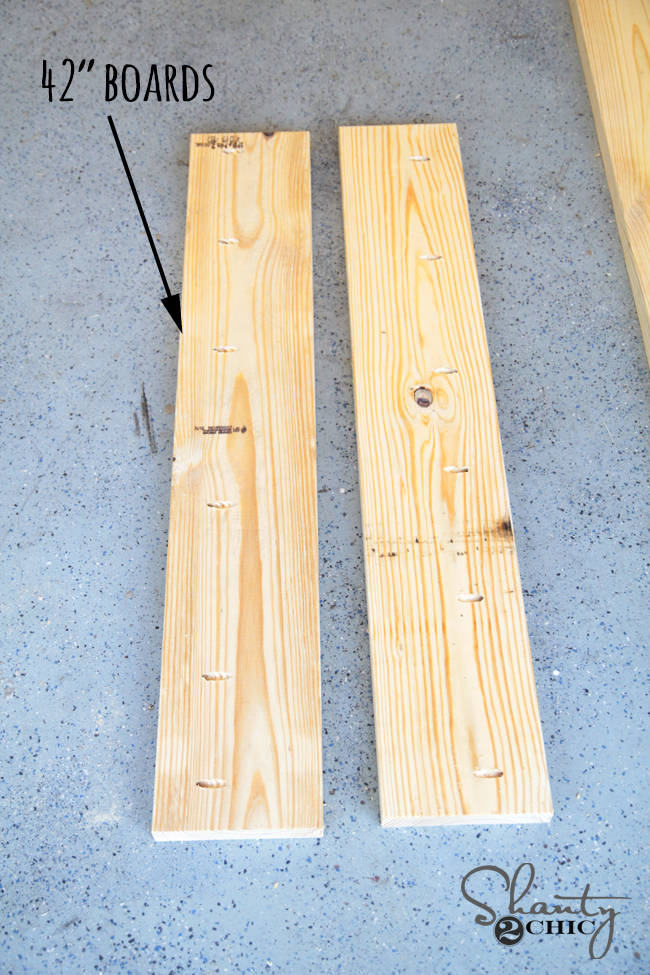
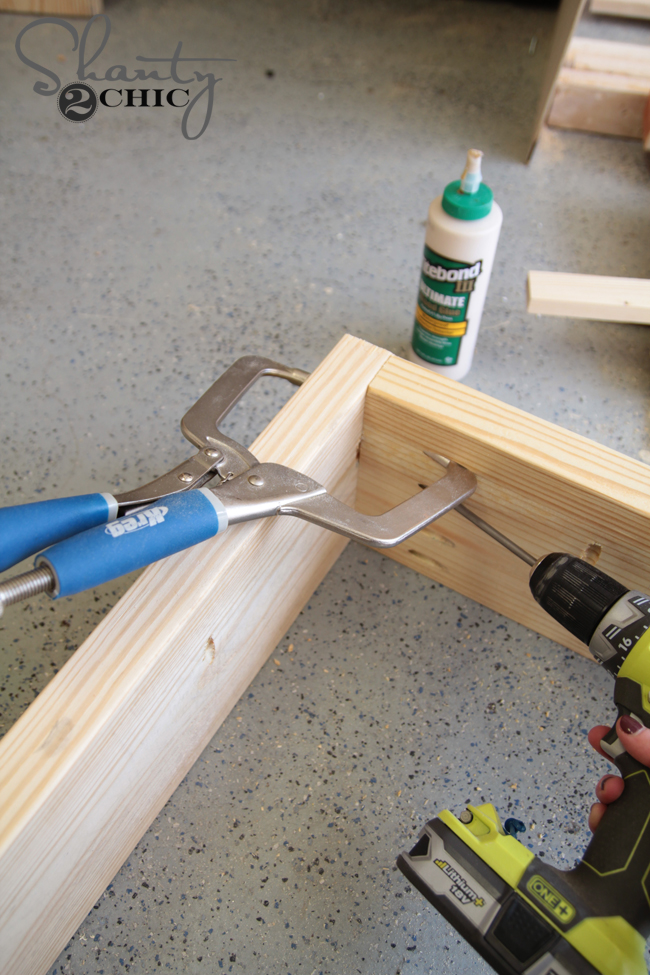
I attached the boards using wood glue and 2.5″ pocket hole screws. Clint Harp, a friend of ours and amazing woodworker recently told us to try Titebond 3 for our projects. I LOVE this stuff. It’s incredibly strong and doesn’t seem as messy as some other glues. Keep in mind that wood glue doesn’t stain, so go easy and try not to let any seep out onto the outside of your projects. You can see how I used my Kreg driver to attach the 2.5″ pocket hole screws through my pocket holes and into the joining board. I like using a Kreg Right Angle Clamp on this part. It has one end that hooks into a pocket hole and hold the joining board to create the 90˚ angle. It’s basically like having an extra hand there to hold things for you. Never a bad thing, right? Get one. You will thank me.
After building the bed frames you will construct the side top boards. These use 2×4 and 2×2 which can be found by the 2×8 at Depot. I used 1.5″ pocket holes for this part as well. I do recommend measuring for these cuts rather than going straight off our cut list. Every 1/8″ will make a difference, and it helps get a nicer end result.
The side frames will line up like this…
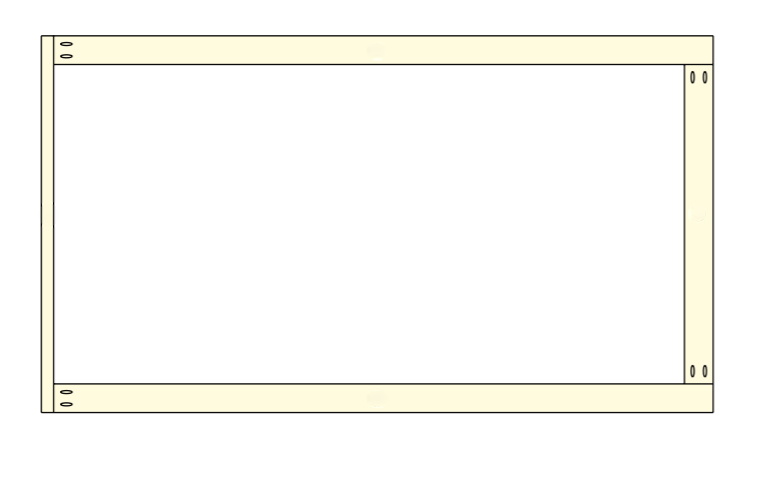
Here is the frame after attaching the 4 sides with pocket holes. You can see how the pocket holes are all on the inside of the frame. I attached the supports on each side next. These will hold the rails that hold the mattress. I used wood glue and 2.5″ Spax screws on this part.

The middle runner will be attached using 2.5″ pocket hole screws and wood glue as well.
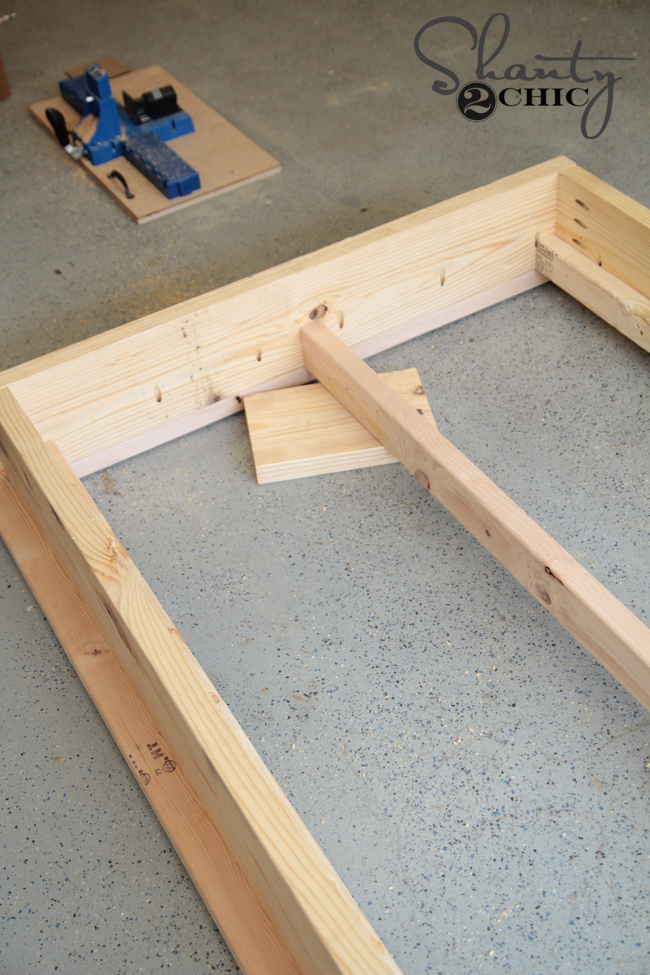
At this point I was finished with the bed frame. I waited until I had it up in her room to add the rails that hold the mattress.
It’s headboard time.
I must preface by saying I messed up on this part. The back of the headboard uses 3/4″ hardwood plywood. I cut mine to size as noted in the plans first. You can also have Home Depot cut this down for you to make it easier to get home.
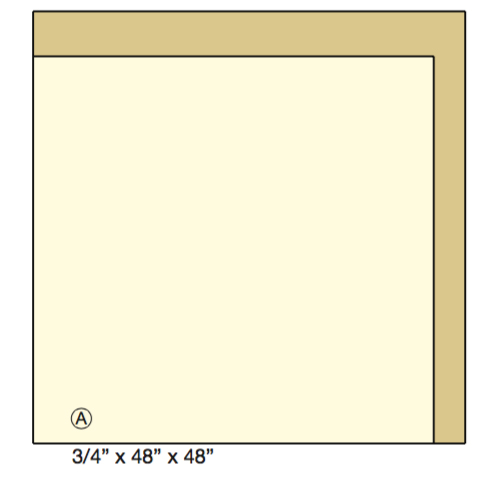
This is where I messed up. Make sure you put the darn notches on the right ends of this board. I did not. Boo.
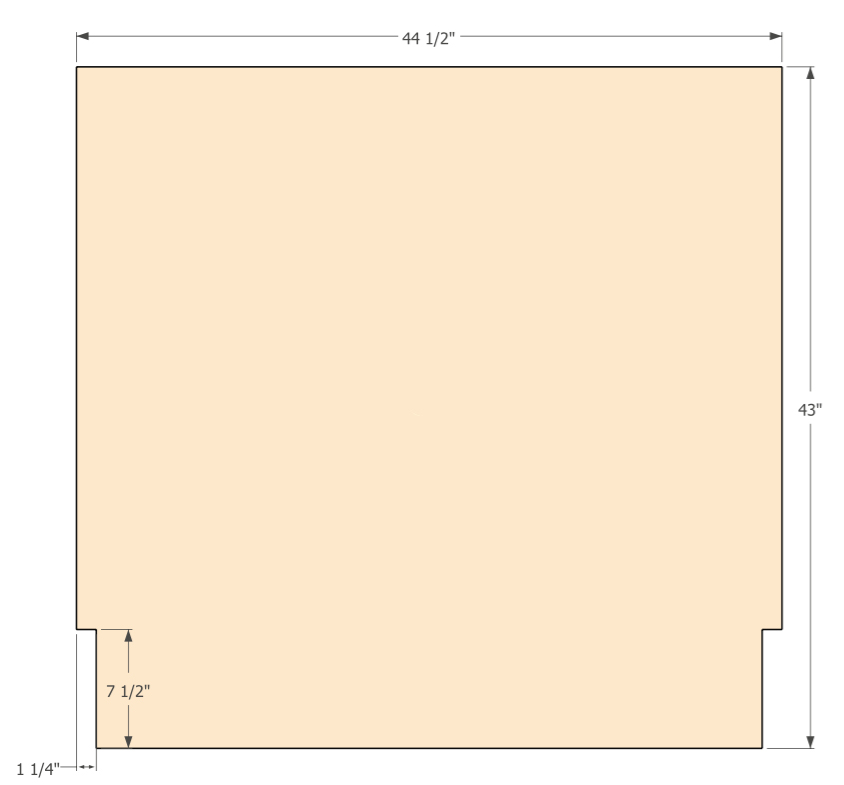
I cut my notches using my Ryobi Jig Saw.
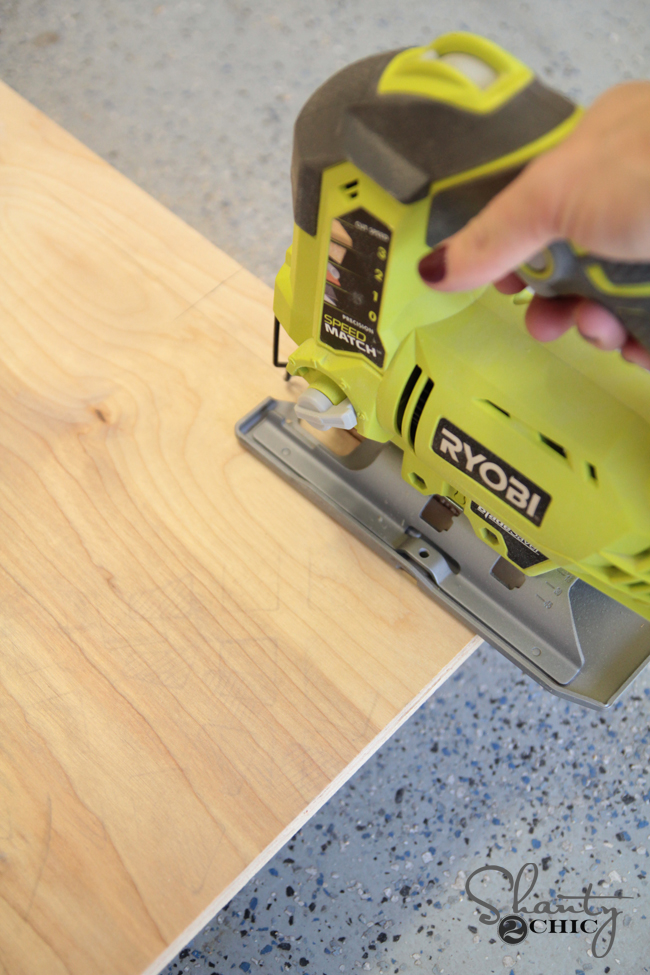
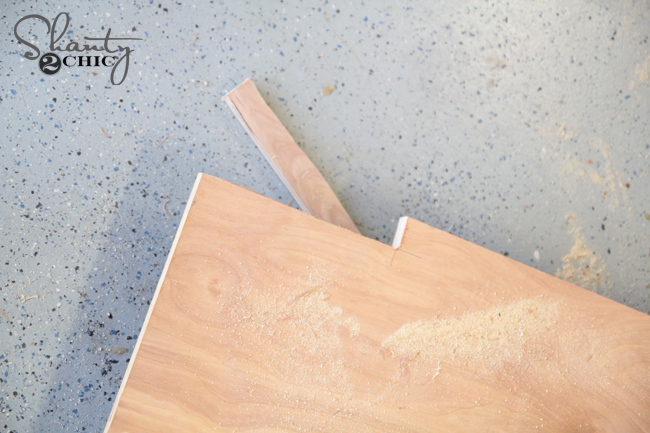
Then, I realized I put them on the wrong end of the board. Ugh. But, I had a leftover piece of MDF, so crisis averted. You will see how my base changes in the next pics. Just didn’t want to confuse anyone!
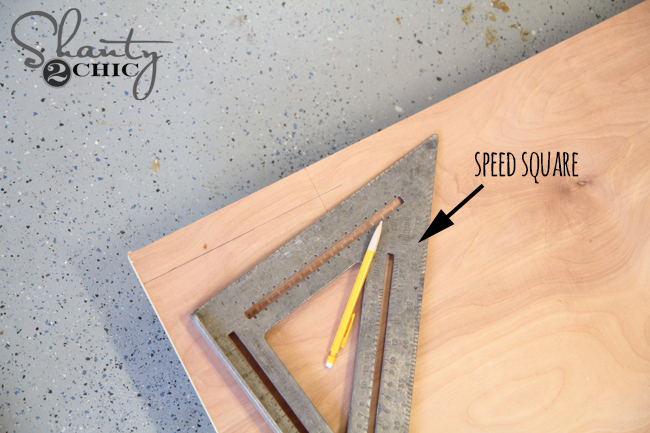
Once your back piece is cut you are ready to make your pattern cuts. This is very simple. I suggest using a speed square for accuracy. Saved me lots of time!
I used two types of wood to make my pattern. I used 1×4 common boards (pine or whitewood) and I also used this amazing blue stain wood that Home Depot now carries. Ashley found it a few weeks ago and I am OBSESSED. She shared it on Instagram HERE! You can also find it on Home Depot’s site HERE. These are larger boards than I needed so I ran each one through my table saw to cut them down to the same width as a 1×4. I did this because I LOVE the finish of them, and I wanted to use the smooth side as well as the side with grooves to give the bed a fun look. You can easily just use 1×4 if you prefer.
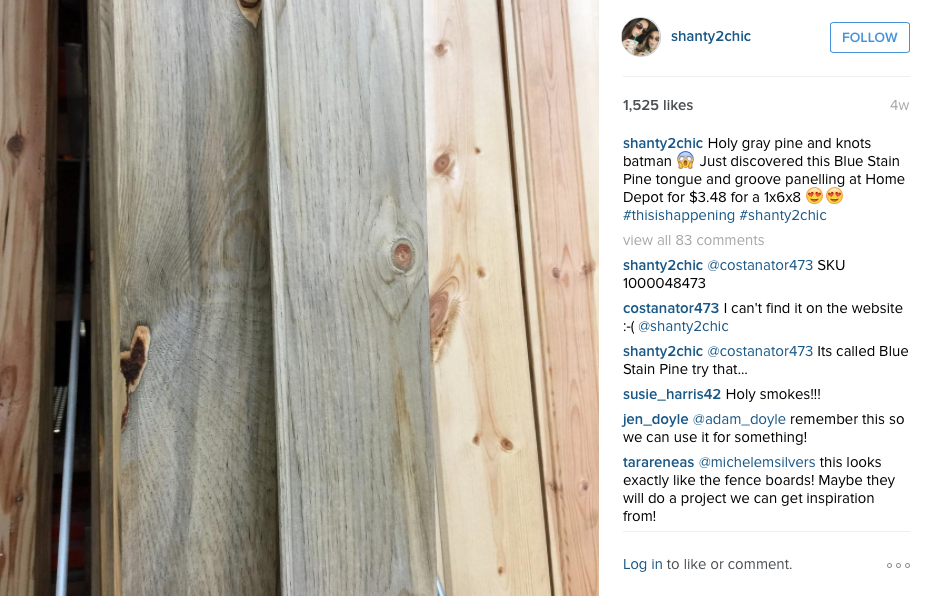
I did stain my pine boards before attaching to make it easier. I used two different stains to give a variation in the finish. These are the two stains I used both from Home Depot. They are Varathane brand. This stuff only requires one coat and it dries in under an hour. I also stained the bed frame Kona.
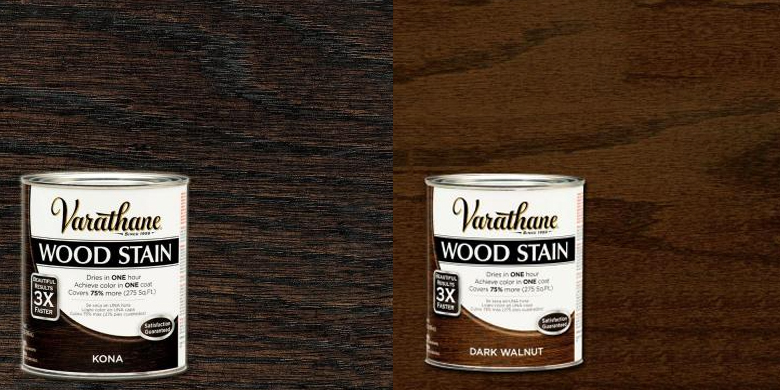
Once the stain dried, I used my Ryobi Corner Cat sander to sand each piece down a ton. This gave it a cool, distressed finish.
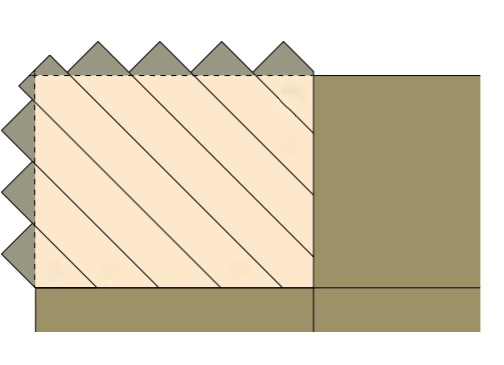
First, draw your lines on the board as noted in the plans. Then, you will use a miter saw to cut 4 pieces to this size.
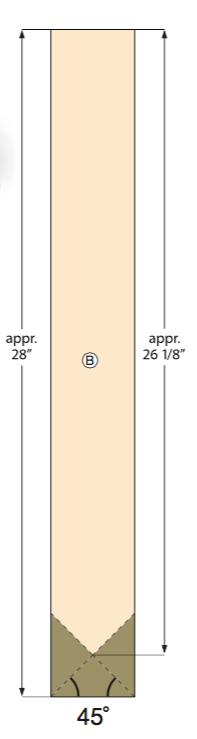
These will be your 4 starting pieces. This is how they will line up. Do one corner of the headboard at a time.
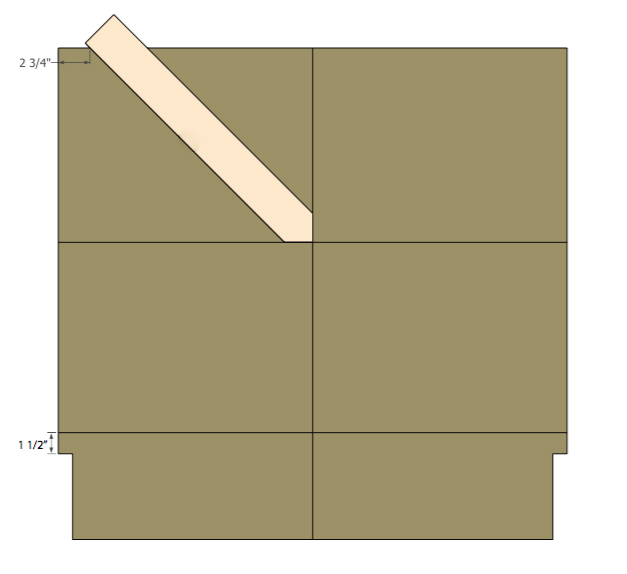
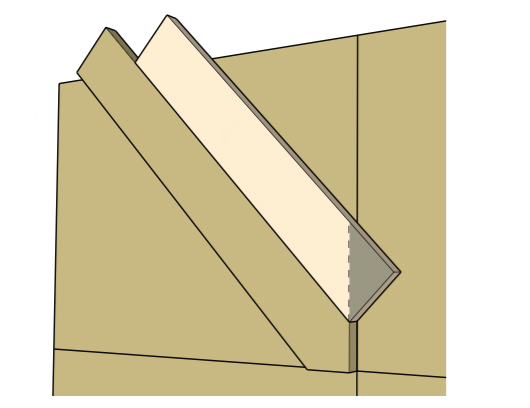
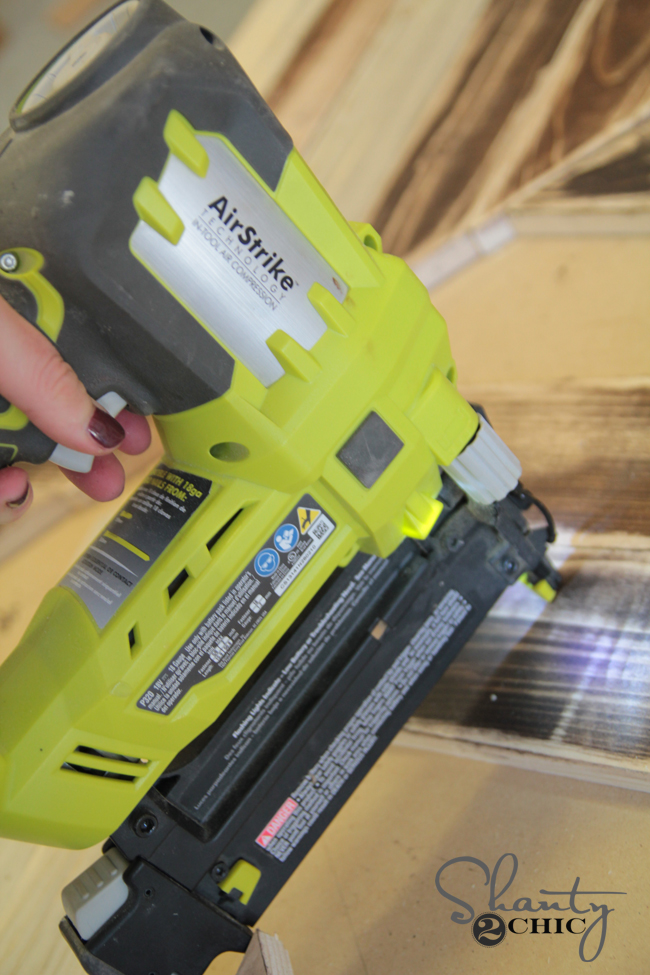
I used wood glue and my Ryobi Airstrike Brad nailer to attach the boards down to the back headboard piece.

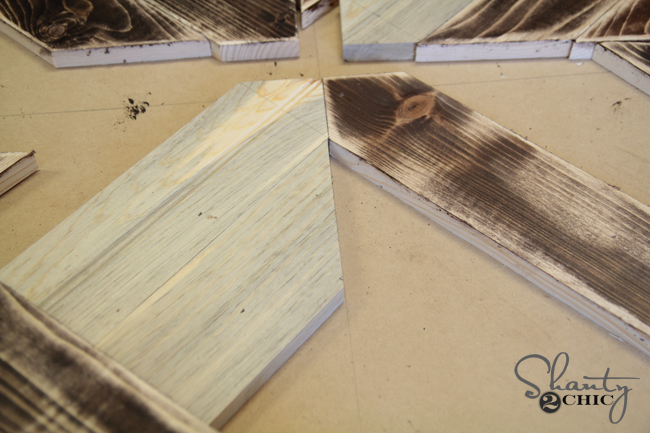
Once they were all glued and nailed down, it looked a bit like this!
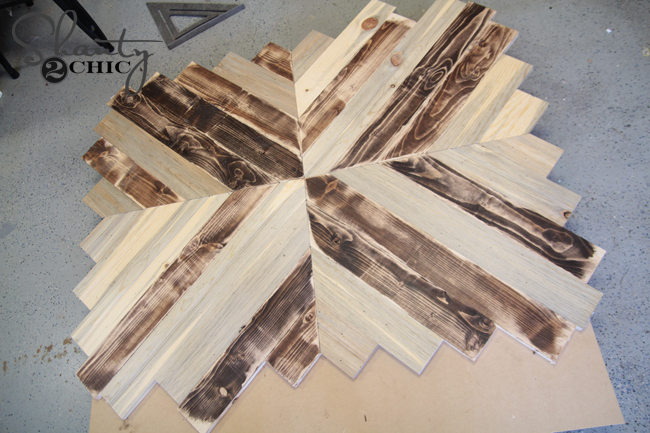
Ignore that my notches are missing… I made them later since I screwed up the first board. Just pretend they are already there 🙂
I used my circular saw to trim the edges straight. Be sure to set your depth to 3/4″ on the bottom so you don’t cut through the back of the headboard.
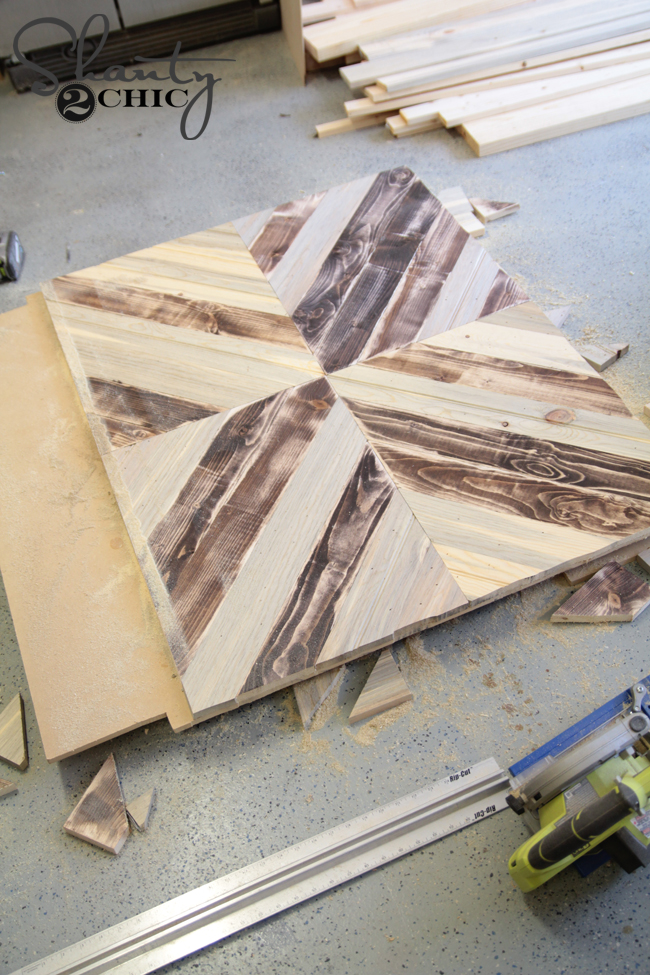
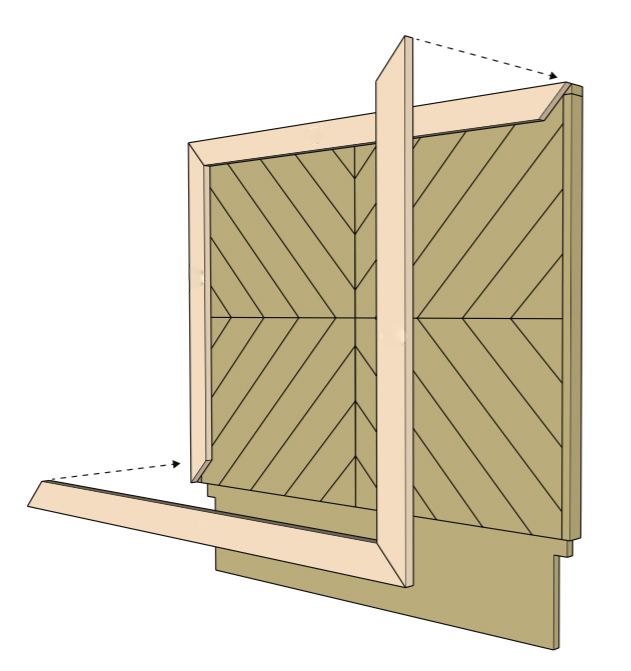
Next, I trimmed my edges. I also used the blue pine for this part and cut it down with my table saw to the width the plans called for. I attached all my trim pieces using wood glue and my nailer with 1.25″ brad nails.
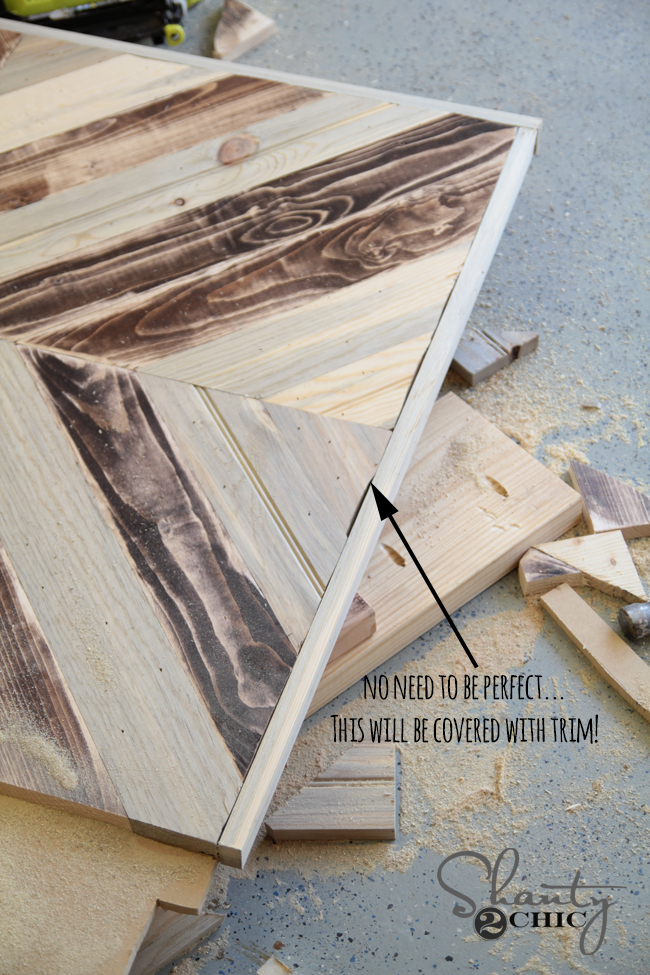
Finally, you will trim over the mess to clean it all up. I used the blue stain pine for this and cut my corners at angles as noted in the plans.
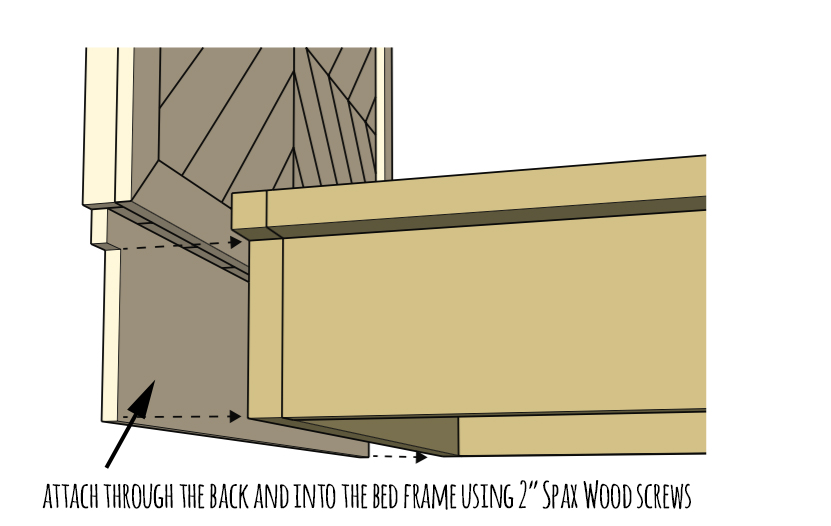
I moved the bed up to her room to assemble it. I used my nailer with 1.25″ brad nails to hold all of the mattress slats in place. I attached the headboard to the bed frame using 2.5 Spax screws. We like using the Spax screws with the star shaped tip, so I used my driver, but a drill works fine too with wood screws.
And here she is all finished!
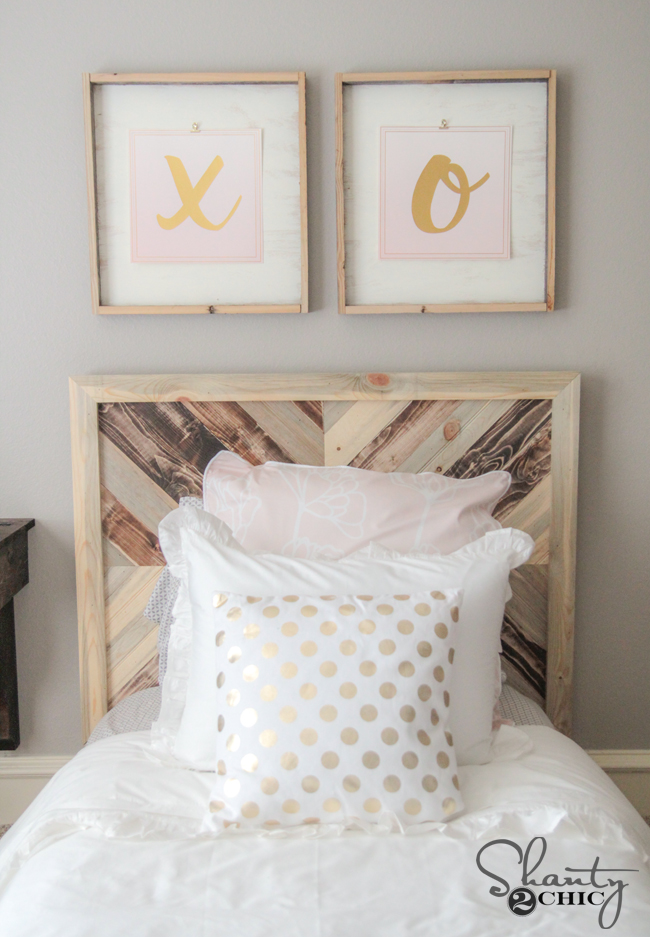
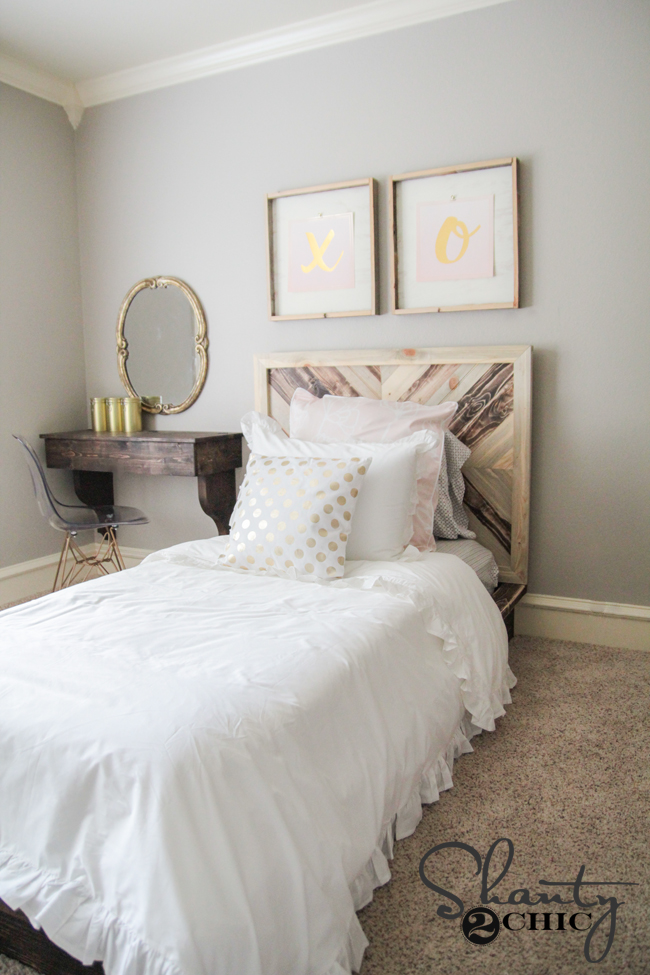
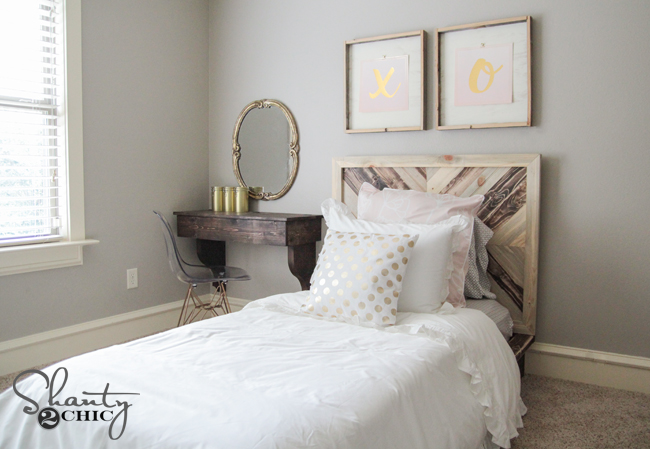
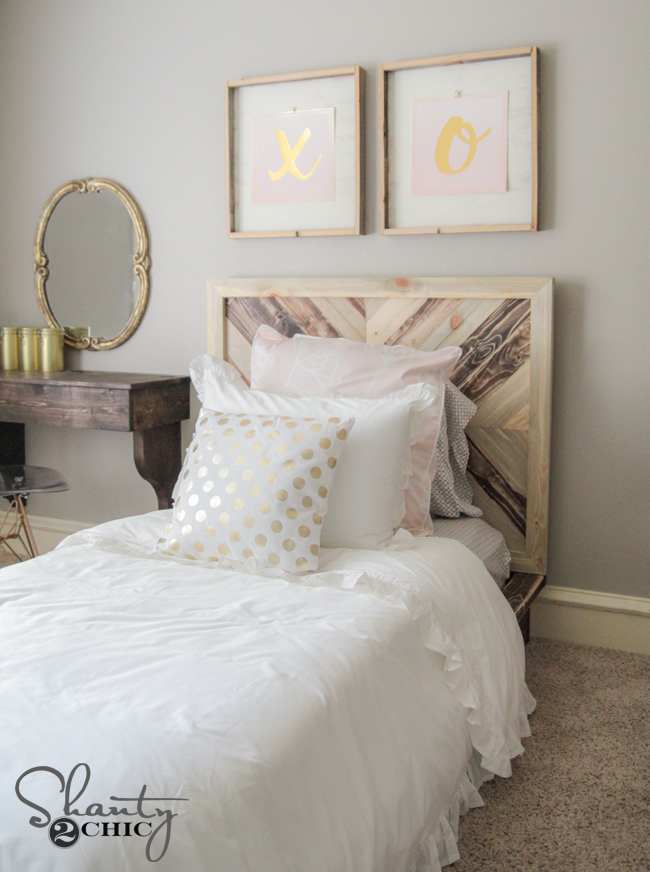
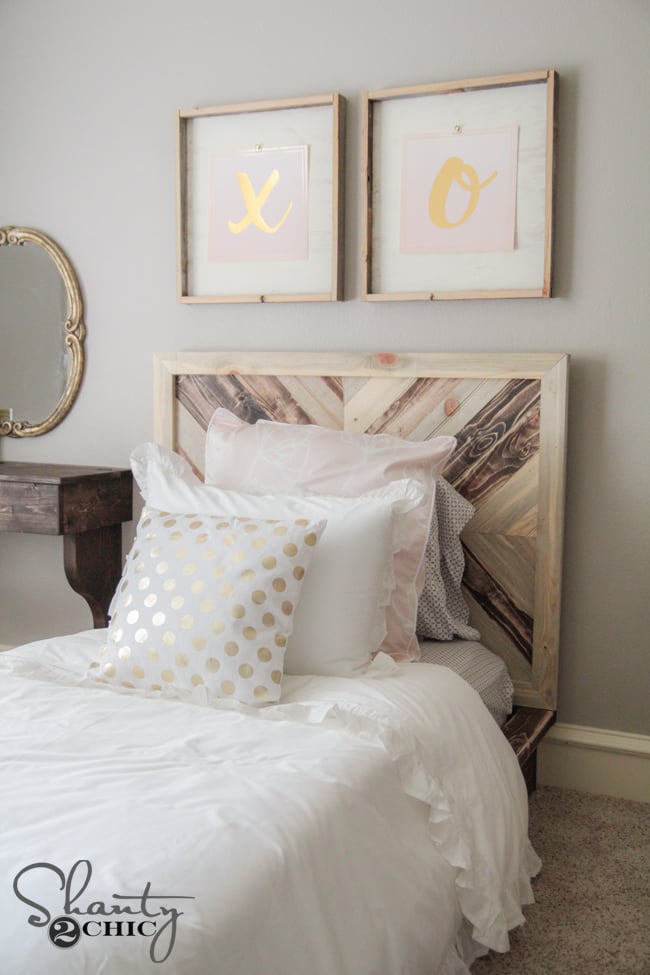
Don’t you love it??
Now… Let’s talk accessories! The fun part, right? I worked with Crane & Canopy on the beautiful bedding! I cannot be more pleased with my choices! This is a duvet cover, which I am normally not a fan of, because they are a pain in the rear. This one is so easy though. It has a zipper closure on the end which makes a huge difference, and it ironed so easily. It’s super soft and doesn’t wrinkle easily, and I can throw it in the washer which makes my mild case of OCD quite happy 😉

Their prices are great too! Here are the selections I made for her bed…
Fitted Sheet and Pillow Cases – Morning Glory
Check them out guys! They have lots of beautiful bedding!
I found the gold dot pillow at Hobby Lobby.
And the signs… I made those using my Silhouette Cameo. Tutorial coming soon on the frames!
Phew. That was a mouthful.
Hope I answered ALL of your questions, but feel free to ask! And we would LOVE for you to share these photos and plans with all your friends! We appreciate you!

That mattress is narrow anyways, so unless you’ve purchased the cheapest mattress for your child, yours will likely be thicker.
Great content
We just made this bed. The platform was way too long for a twin mattress (about 3″ of the platform slats were visible). Is this the way it’s supposed to be??
I love this bed but could you provide materials for a Queen size bed?