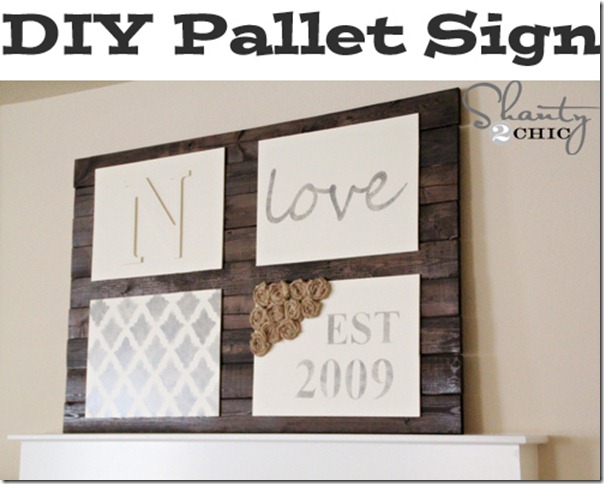
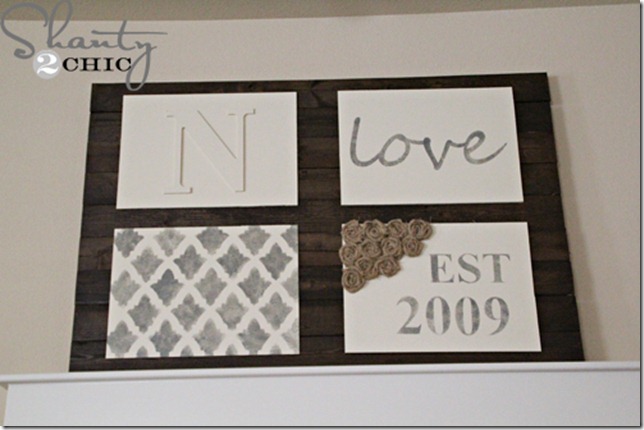
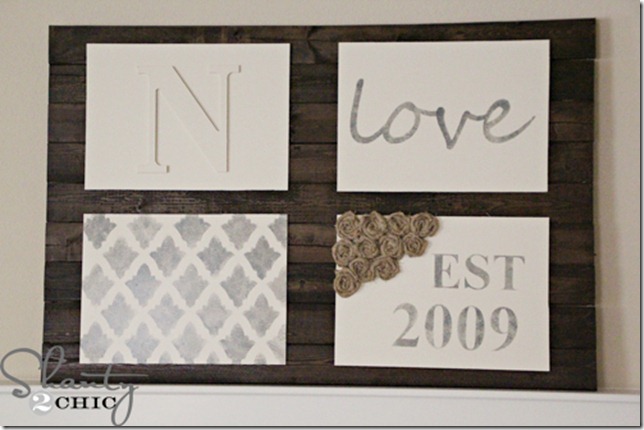
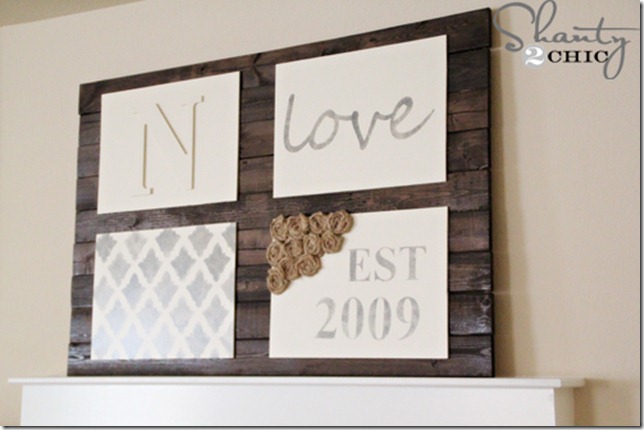
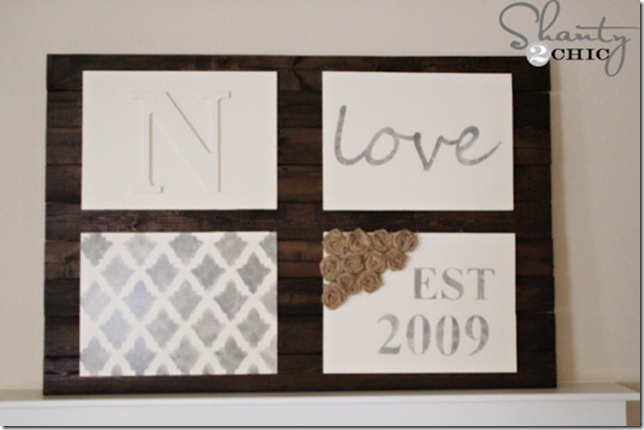
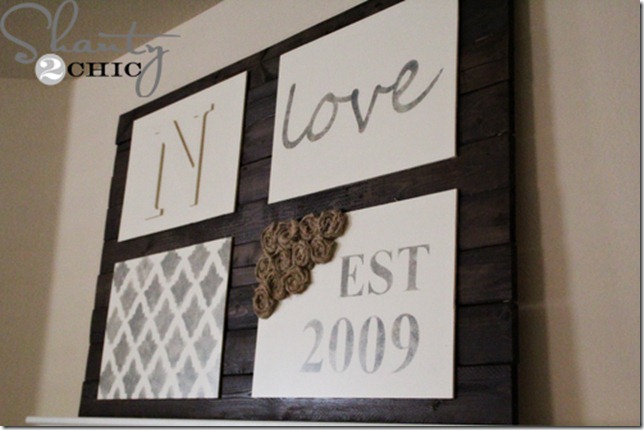
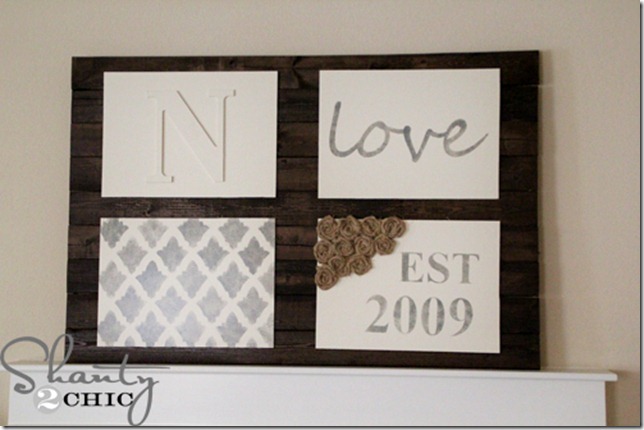
Our little sister’s family just moved into their new home and Whitney and I have been helping her fill it up with all sorts of DIY fun! The latest addition is a large Pallet sign to display over her mantle!
It cost about $15 total and was sooooo easy to make
Here’s how I did it!
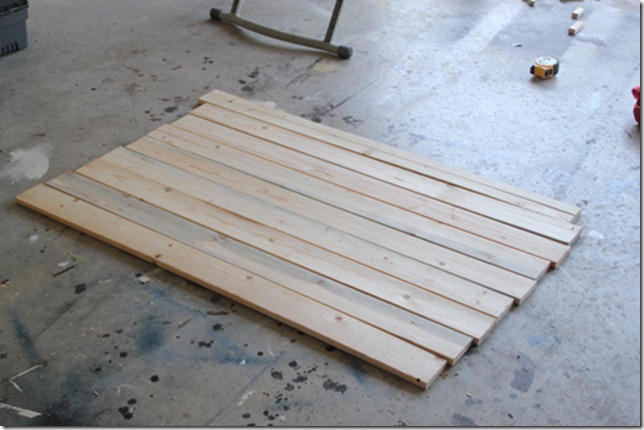
I started by purchasing 6 1×4 @ 8’ furring strips. I cut 9 @ 47” and 2 @ 31”.
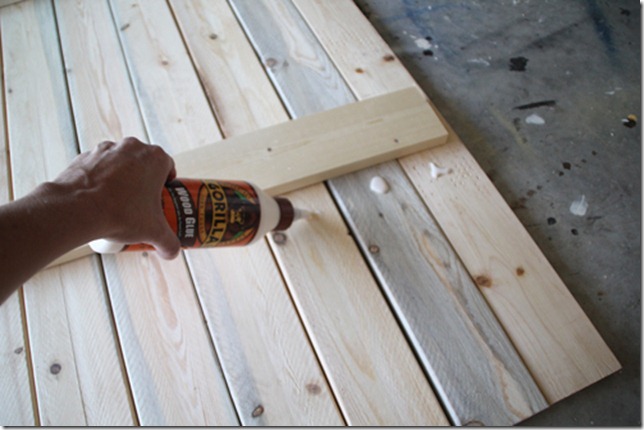
I laid the 9 – 47” boards (making sure the ends line up perfect) side-by-side and bad side facing up. I then used a generous amount of Gorilla Glue Wood Glue to attach the remaining 31” boards to the 47” boards The 31” boards will lay the opposite directions of the 47” boards).
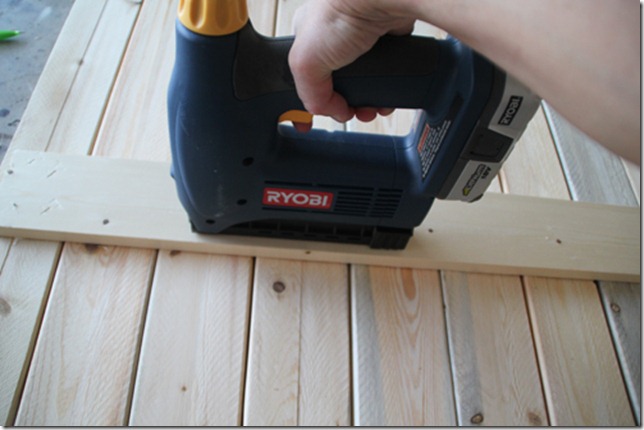
I followed up with my brad nailer to secure the boards.
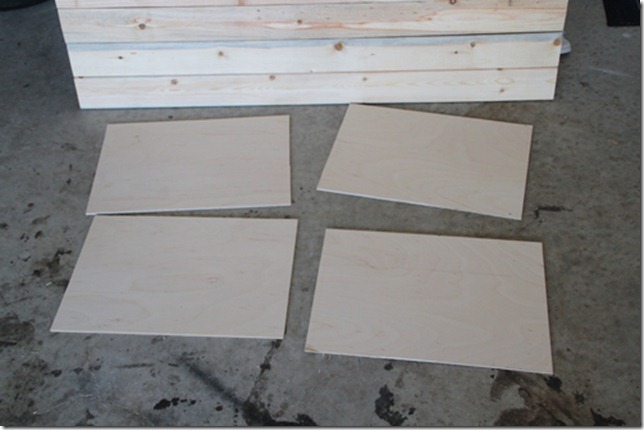
While waiting for the glue to dry, I cut 4 scraps of 1/4” Purebond @ 12×16. If you do not have scrap Purebond, you can purchase a 2’x4’ 1/4” online at Homedepot.com.
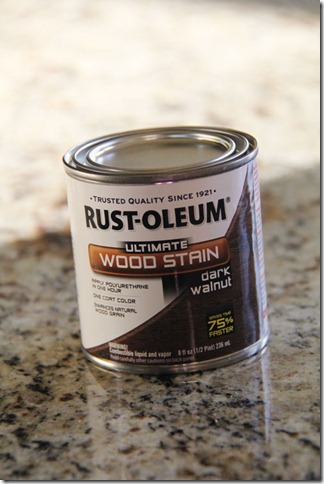
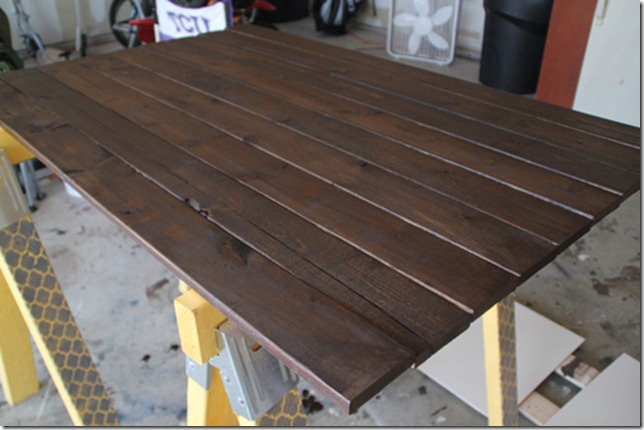
After the wood glue dried, I used one coat of dark walnut stain on the pallet sign. To apply the stain, I just used a foam roller brush. It is super fast and goes on perfect. Wait about 5 minutes and wipe with a scrap cloth.
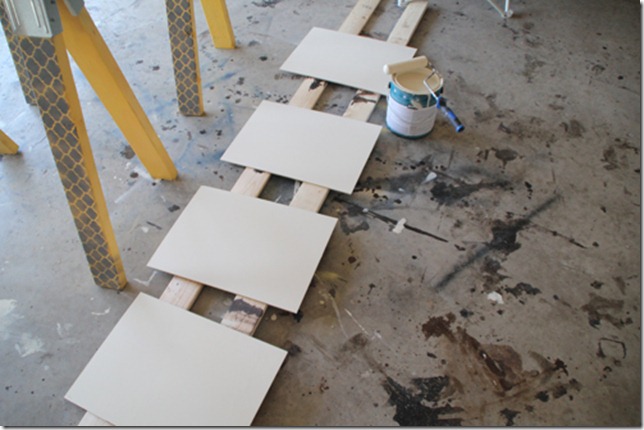
While the stain was drying, I used another foam roller brush to apply 2 coats of Behr Cozy Cottage latex paint.
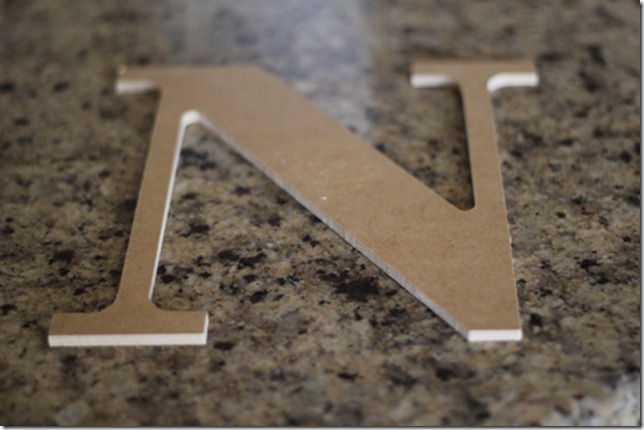
I purchased this “N” (initial of my sister’s last name) from Hobby Lobby (40% off, of course). It is a 9.5” MDI letter and can be found with the unfinished wood items. I also gave it 2 coats of the Cozy Cottage
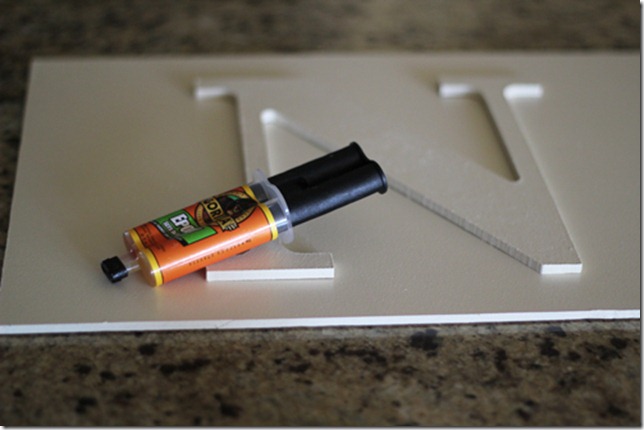
When everything was dry, I attached the “N”, with Gorilla Glue Epoxy, to one of the Purebond scraps.
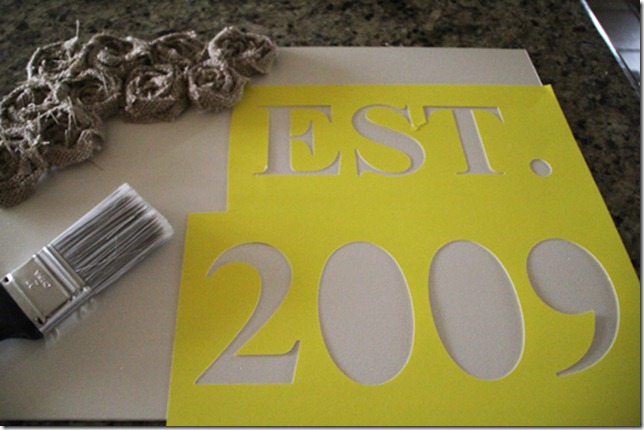
Almost done I cut a stencil (year they were married) with my Silhouette. If you do not have a Silhouette, you can purchase a stencil at any craft store! I used a dry brush technique and a gray acrylic paint to paint the stencil on another scrap of Purebond. To dry brush, simply dab a bristle brush in the acrylic paint, blot the paint away on a scrap plate or paper, then dab all over the stencil. It gives a nice distressed effect to the stencil
I also added a cluster of burlap flat-rolled rosettes to this piece. You can get a detailed tutorial for the flat-rolled rosettes HERE! I attached them to the board with hot glue.
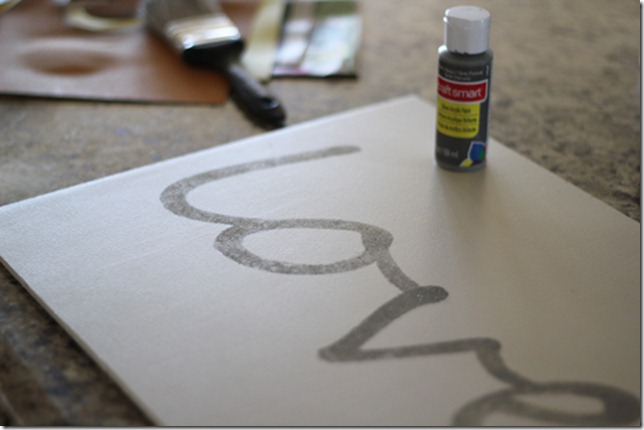
I followed the same technique to stencil “love” on then third scrap.
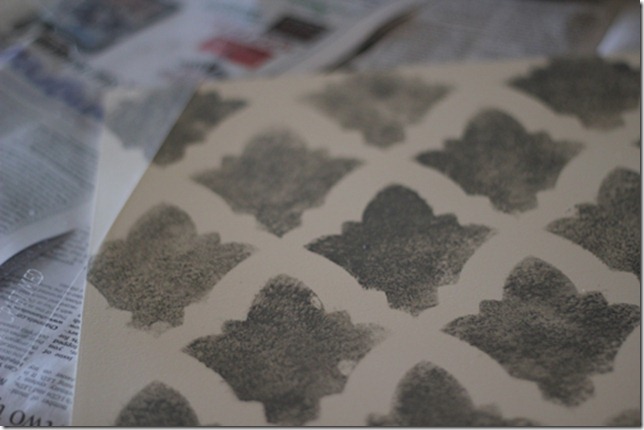
I also dry brushed a fun stencil pattern on the fourth.
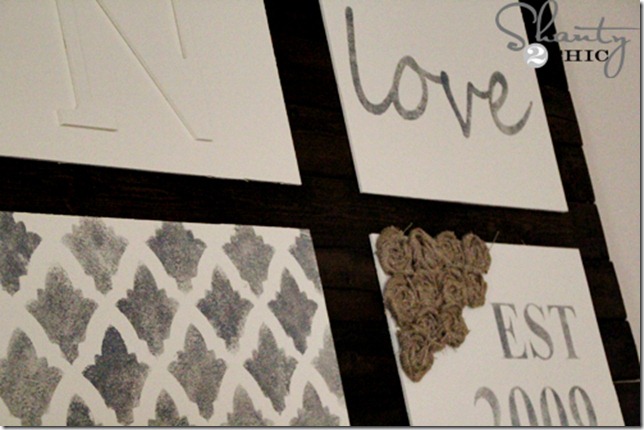
I then attached all 4 scrap Purebond boards to the main pallet sign using Gorilla Glue Epoxy! I let it dry for the rest of the afternoon and then took it to my sisters house to surprise her
She loves it and now I want one for my house Thanks so much for stopping by!
~Ashley



What do you use to hang something like this up? Is there hardware on the back? If so, what kind? It looks so heavy that I just wonder! Thank you!
Thanks A lot for this! I am starting this project tonight:) I am going to look for stencils tomorrow but would you happen to remember the sizes in inches that your letters are? I wish I had a silhouette!! Maybe for Christmas:) thanks again
I’ve made the wood pallet, I’m just working on the decorative part of the project (my weakness by far!). I can’t find purebond anywhere (Ontario), and I was hoping you had a suggestion for something similar that would be available in a craft store? I have scrap plywood, but it seems like it would be way too thick. Thanks so much, I love the idea!
Actually never mind. My craft store doesn’t have the right sized stencils for this, so I’m going to copy your “Love” pallet art and try making my own (gotta love letters with nothing but straight lines!!).
So Awesome! Yall have such great ideas. Thanks for the inspiration.
So cute! How did you do the center of the 0’s? I see the sencil has no centers but the finished product does?
I can’t say thank you enough! You truly are such an inspiration to me! I can hardly wait to see what’s coming next! I absolutely love all your projects and I thank you thank you for the easy tutorial’s that always follow! Sure makes it easier on me! :o) You’re the best!
Looks great girls!! Very cute idea. Now i have a very simple (too simple i know) question… what exactly are furring strips? They must be called something different here in Australia (or I’m blind;-)) coz i can’t find them at our hardware store, even on their online site (bunnings.com.au)? Any info would be great and then i can keep looking. Thanx A & W for ya time!!!
Hi:). A furring strip is just a framing board. It is cheap wood, the cheapest you can buy! I would look for the cheapest 1x’s at your lumber store and those are probably it ( generally with the 2×4 studs). I know prices are different here but for example we can get a 1×4 furring strip for about $1.50 compared to a white wood board at $4.50 or select pine at $7.50! Hope this helps:)
THANKU!!! Wow timber is cheap over there… bit more here but that’s a great starting point.Thank you again!! <3 everything you girls make!
Glad I could help:). Thank you so much:))
Love! Do you ever have problems with your strips being warped and not lining up evenly/flat when you do something like this?
Thank you Amanda:). I used to, when I first started building, however, experience has taught me to spend a while going through the furring strips to make sure they are straight. If I can’t find straight ones. You could purchase white wood or select pine but it would be very expensive!
Awesome! I so wish I had a Silhoutte!!!
Thank you Brooke! Check for stencils at a craft store! There are soooo many cute ones:)
Sent from my iPad