Hi guys!
Well it was ‘Project Organization’ at my house over the weekend. I got a TON done, and managed to make a few things with my ever growing scrap pile!
I had a bunch of Purebond Plywood leftover from my son’s dresser that I built, so I decided to make a toy box for me! That’s right… For me. 🙂
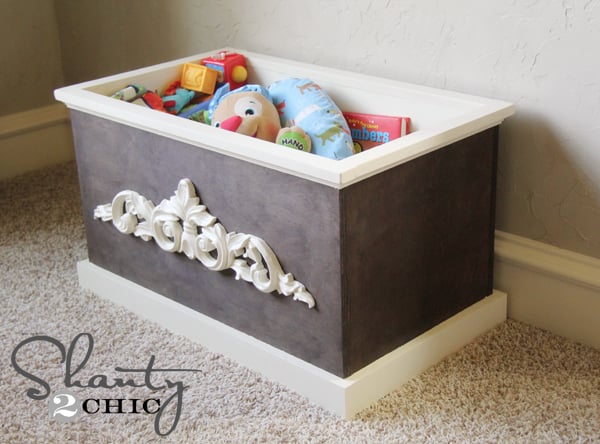
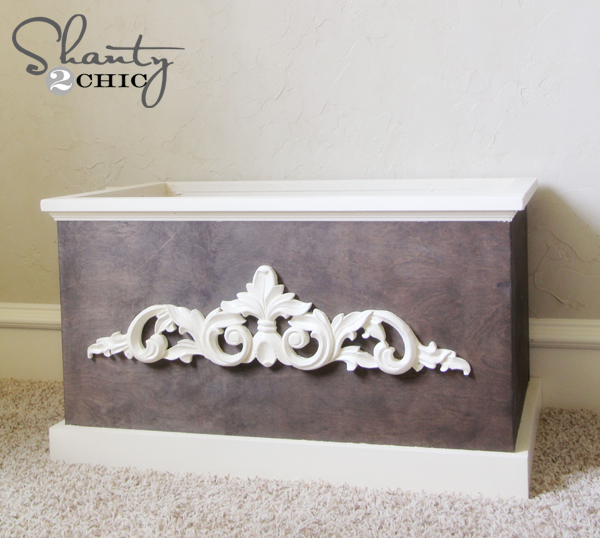
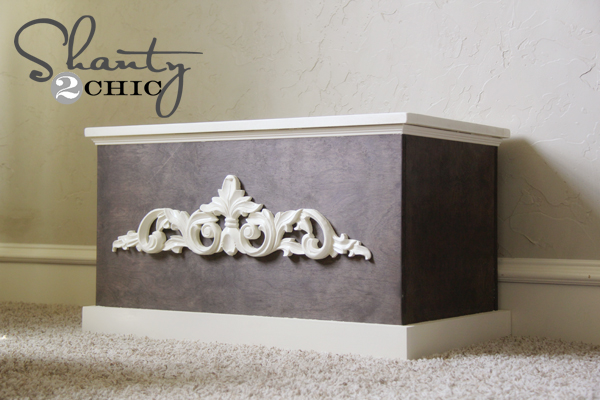
Here is how it turned out…
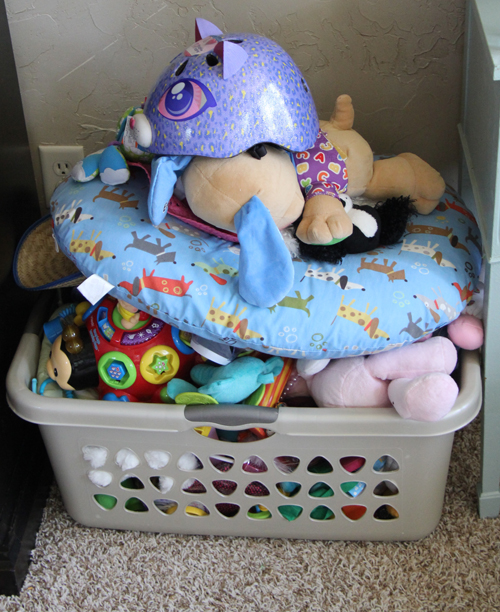
As I mentioned, I spent the weekend organizing. This project knocked out 2 birds with one stone. I was able to shrink my scrap pile and get rid of this doozie that’s been in my room at the same time!
Don’t judge… Ok… You totally can 😉
It’s bad.
But… I am proud to say that the baby’s toys have some new digs…
I adapted Ana’s great plan for her toy box to build mine. I loved hers, but was determined to spend no money on mine. I had to shorten it just a bit so I had enough wood.
I used my incredibly awesome Kreg Jig® once again for this build. Did I mention that you all need one???
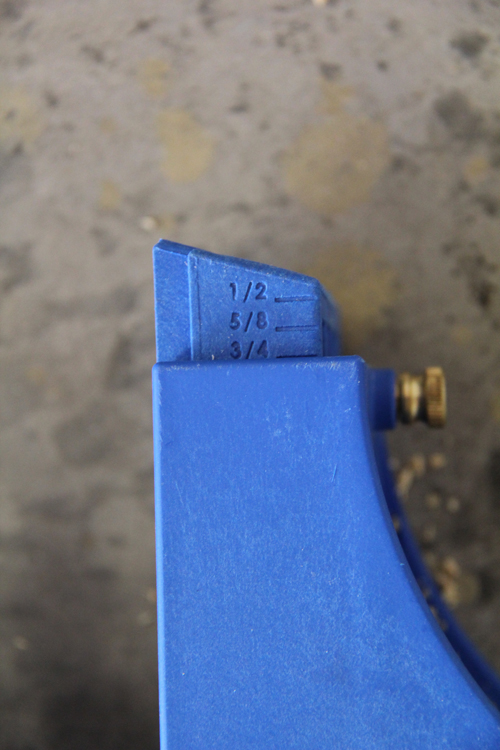
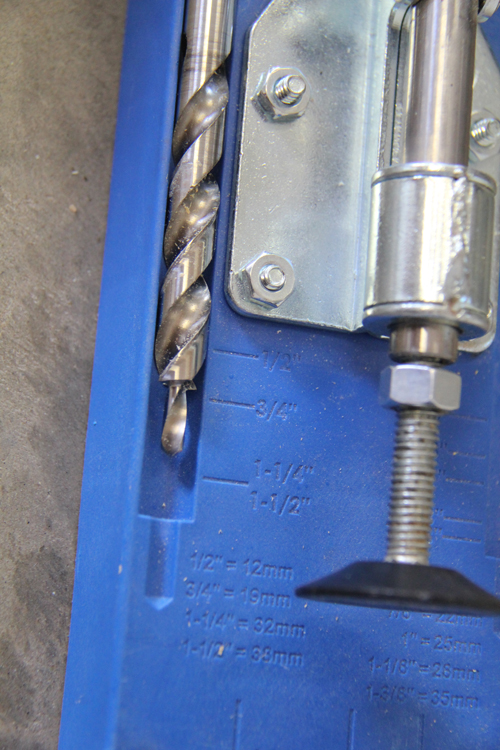
I used 3/4″ pocket holes and my settings looked like this…
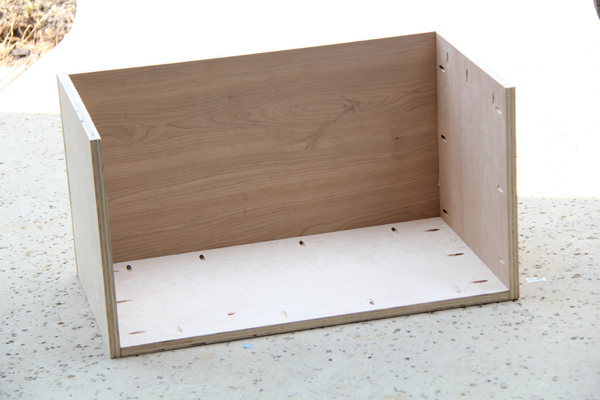
These are the sides of my toy box…
And my base…
I built my box just like Ana’s instructions told me to…
To finish this baby I used a stain and latex paint.
I first stained the box using Rust-Oleum Ultimate Wood Stain in Kona. LOVE.
For my trim pieces I used MDF scraps that I had. You can also use cheap furring strips for almost nothing!
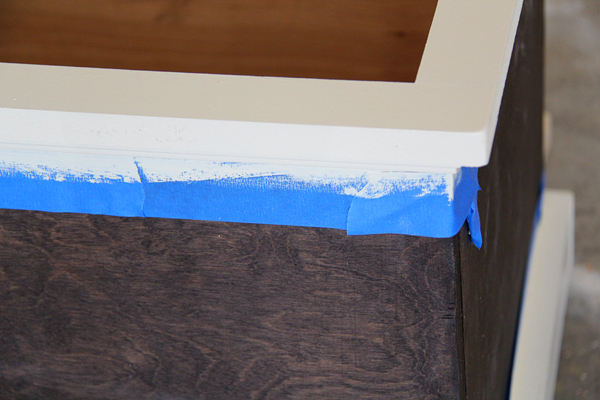
Once I attached them I taped off the stained box and painted the trim with a cream latex paint.
My last step was adding a wood scrolly… Pretty sure they have a name, but that’s what we will call it 😉 You can buy these at Lowe’s and Hobby Lobby also have great metal ones that would be super cute and cheap!
Mine was leftover from a different project. I just painted it with my latex paint and nailed and glued it to the front of the box. That’s it! So simple… And just a little bit prettier than the old clothes basket!
Oh I love me some scraps…
I figure when it doesn’t hold toys anymore it will also make a great blanket basket!
So… What have you made with your scraps?? I would love to hear about it!
Remember you can see the full tutorial on these easy, peasy boxes over at Ana-White.com!
Thanks so much for stopping by!! Have a great Tuesday!
~Whitney








Okay… I am seriously going to make this a Window Seat under my Bay Window! LOVE the simple elegant style 🙂
⭐?⭐?⭐?⭐?⭐?⭐?
I’m obsessed with mine! I built my own using the plans at www. WoodworkPlans.info – highly recommended you check those out too. They are detailed and super easy to read and understand unlike several others I found online. The amount of plans there is mind-boggling… there’s like 16,000 plans or something like that for tons of different projects. Definitely enough to keep me busy with projects for many more years to come haha
Head on over to www. WoodworkPlans.info if you want to learn more – click the pink link above for some more plans! Best of luck on your building adventures!
⭐?⭐?⭐?⭐?⭐?⭐?
Awesome!!!