Hey there! It was such a beautiful weekend for us here! We were able to enjoy our little league opening day and a birthday party for my niece and although it was jam-packed, I managed to squeeze in a little DIY! It took about 30 minutes and $20!
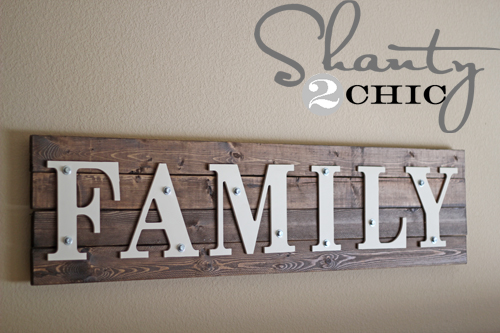
The giant blank space above our PB Inspired Storage System , in our gameroom, finally got the best of me and inspired me to make this Wooden Family Sign;)
Here’s how I did it!
Supplies:
MDI letters from Hobby Lobby ($1.25 after sale)
4 – 1×4 furring strips ($1 each) cut down to 58″
11 – 3/8″x1″ Hex Lag Screws (hardware store $0.36 each) and 1 bag of 5/16″ flat washers (hardware store $2) These were in the nuts and bolts isle.
I started by spray painting the letters with Rust-Oleum Heirloom White🙂
While I waited for the letters to dry, I built the sign. I used Gorilla Glue Wood Glue and my nailer to attach scrap 1×2’s to the back of 4 1×4’s. (You will also need to attach your mounting bracket, if you plan to hang it on a wall, now).
I then stained the sign with Rust-Oleum Dark Walnut Stain.
Next, I used Gorilla Glue Epoxy to attach the letters to the sign.
Now for the fun, finishing touch!
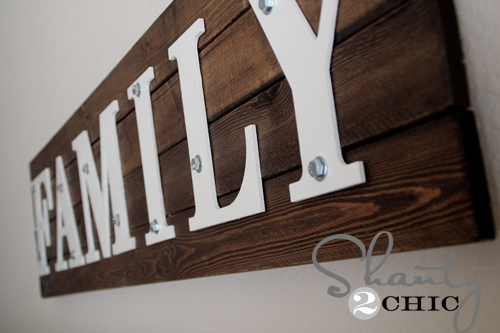
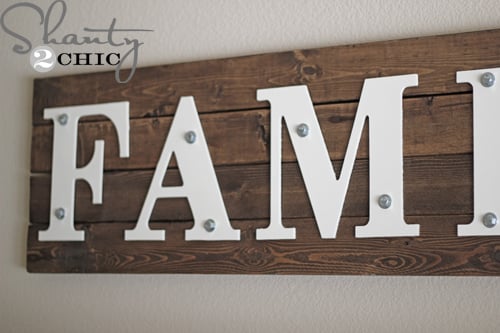
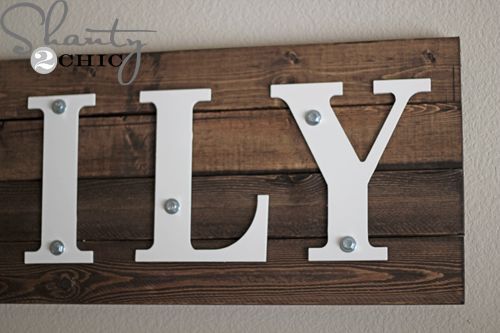
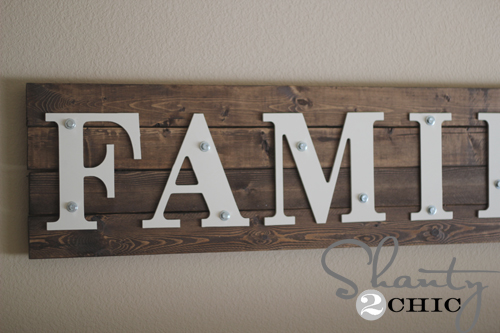
I wanted an industrial look for this sign so I chose to add the galvanized hex screws. I marked off where I wanted the hex screws to be placed (I chose random spacing) and pre-drilled a hole for each screw. I then added a washer and tightened the screw down with a wrench.
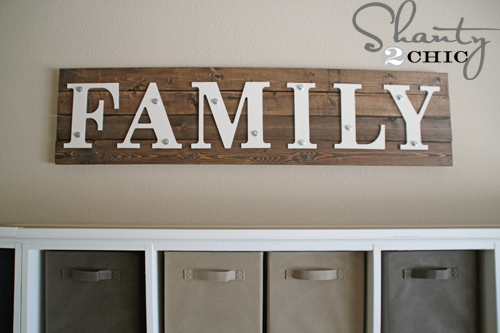
That was it:) 30 minutes and less than $20!
I love how it fills the space now:)
Nothing like a cheap and quick DIY:) If you love it I would LOVE pins;) Thanks ~Ashley
Become a VIP Insider
Stay up-to-date on all the new project, free plans and new products available for you!
That is soo super cute!! I already have the f a m i l y letters and didn’t know what to do with them. Last summer our Dido re-did his front porch and I saved the floor boards!! I know exactly what I am going to make!!
Thanks so much!!
Ash!!!
ADORABLE!! I LOVE it!! Guess what this girlie is gonna bust out this week???
Ummmhmmm.. One of these babies! You girlies rock! Thanks for sharing 🙂
Smooches!

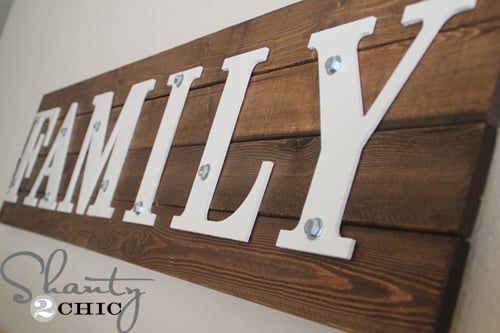 The giant blank space above our PB Inspired Storage System , in our gameroom, finally got the best of me and inspired me to make this Wooden Family Sign;)
Here’s how I did it!
Supplies:
The giant blank space above our PB Inspired Storage System , in our gameroom, finally got the best of me and inspired me to make this Wooden Family Sign;)
Here’s how I did it!
Supplies:
 MDI letters from Hobby Lobby ($1.25 after sale)
 I started by spray painting the letters with Rust-Oleum Heirloom White🙂
 I then stained the sign with Rust-Oleum Dark Walnut Stain.

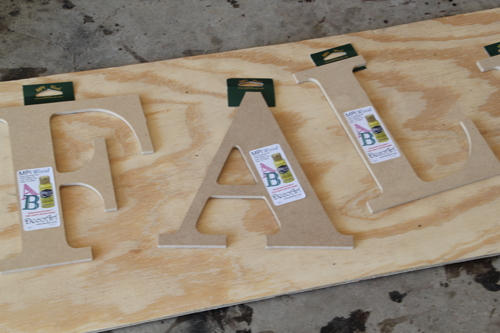 MDI letters from Hobby Lobby ($1.25 after sale)
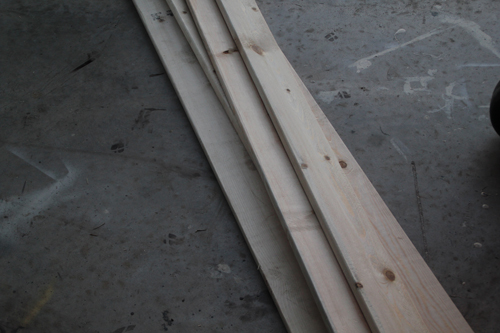 4 – 1×4 furring strips ($1 each) cut down to 58″
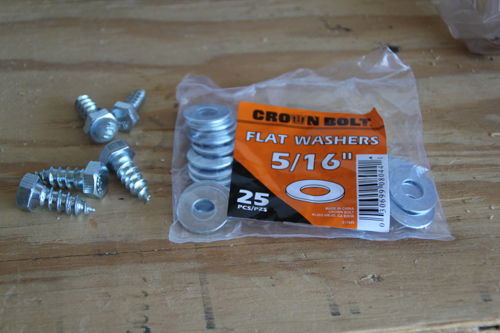 11 – 3/8″x1″ Hex Lag Screws (hardware store $0.36 each) and 1 bag of 5/16″ flat washers (hardware store $2) These were in the nuts and bolts isle.
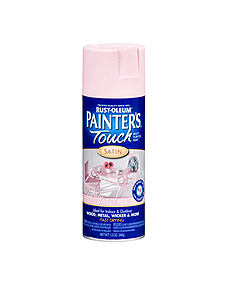 I started by spray painting the letters with Rust-Oleum Heirloom White🙂
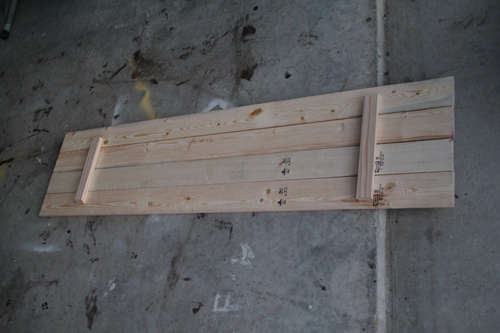 While I waited for the letters to dry, I built the sign. I used Gorilla Glue Wood Glue and my nailer to attach scrap 1×2’s to the back of 4 1×4’s. (You will also need to attach your mounting bracket, if you plan to hang it on a wall, now).
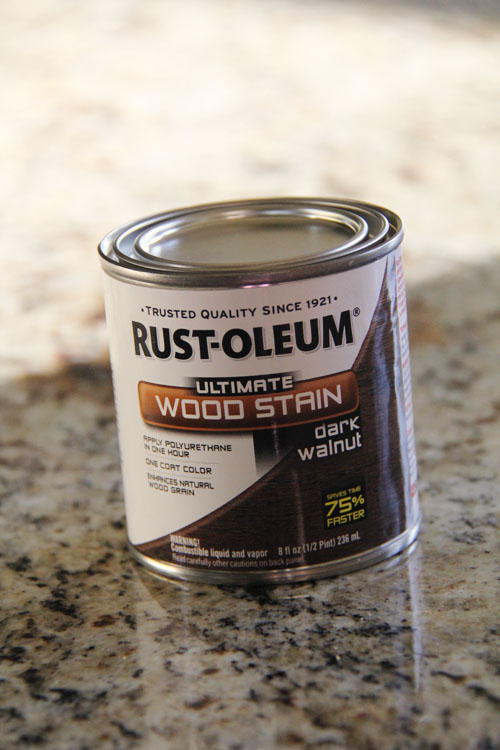 I then stained the sign with Rust-Oleum Dark Walnut Stain.
 Next, I used Gorilla Glue Epoxy to attach the letters to the sign.
Now for the fun, finishing touch!
Next, I used Gorilla Glue Epoxy to attach the letters to the sign.
Now for the fun, finishing touch!
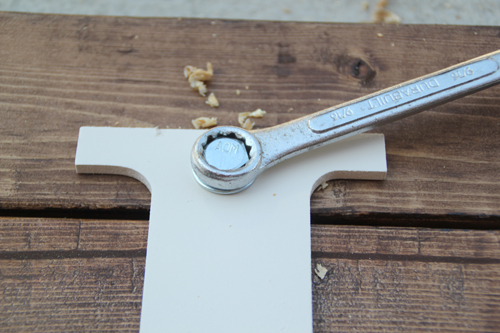 I wanted an industrial look for this sign so I chose to add the galvanized hex screws. I marked off where I wanted the hex screws to be placed (I chose random spacing) and pre-drilled a hole for each screw. I then added a washer and tightened the screw down with a wrench.
That was it:) 30 minutes and less than $20!
I wanted an industrial look for this sign so I chose to add the galvanized hex screws. I marked off where I wanted the hex screws to be placed (I chose random spacing) and pre-drilled a hole for each screw. I then added a washer and tightened the screw down with a wrench.
That was it:) 30 minutes and less than $20!
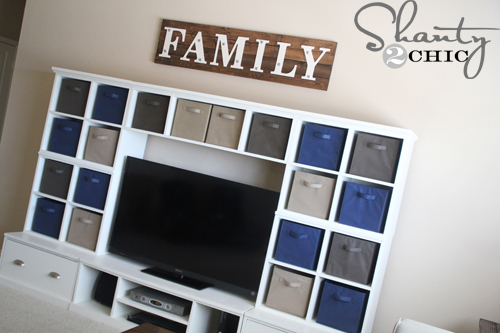 I love how it fills the space now:)
 Nothing like a cheap and quick DIY:) If you love it I would LOVE pins;) Thanks ~Ashley

I love this! I have been looking for something to put above the french doors in my kitchen and this would look amazing. Thank you!
download Lacrae After the Music Stops mp3,12
Where did you get the furring strips? I love this sign. Really awesome.
I found my furring strips at Home Depot for $1,32 ea
Home Depot but most hardware stores will carry them (usually by the 2×4’s.
Love it!!
That is soo super cute!! I already have the f a m i l y letters and didn’t know what to do with them. Last summer our Dido re-did his front porch and I saved the floor boards!! I know exactly what I am going to make!!
Thanks so much!!
Really like this sign – might even try it myself! I pinned it!
You are awesome, u have become my favorite blog!!! I can wait each day to check my email an see what cool thing u have created!!
I love how the sign turned out and it looks great above your media center.
lexmallabooks.com
This rocks…i am sooooo making this as well! Thanks for all the hard work you do!
That is so cute. If I made a sign over the cubbies in my house, it would say Put Your Stuff Away!
Love this project! Thanks so much for sharing 🙂
Thank you Kellie:) Happy you like it:)
I like this. Kind of industrial…yet the wood is kind of a basic feel. Good job.
Thanks Becky! I love mixing in a little industrial;)
This is sooooooo cool!! Thanks for sharing, I love your blog & the fact that “I” can make most of your projects.
xoxo
twentyfour7
Thanks so much Susan! This might be one of the easiest so far:)
Ash!!!
ADORABLE!! I LOVE it!! Guess what this girlie is gonna bust out this week???
Ummmhmmm.. One of these babies! You girlies rock! Thanks for sharing 🙂
Smooches!
Thanks Jennie;))) Can’t wait to see it!!!
I love this! The staining looks fabulous with the white letters! LOVE IT!
Thanks you Karen;))