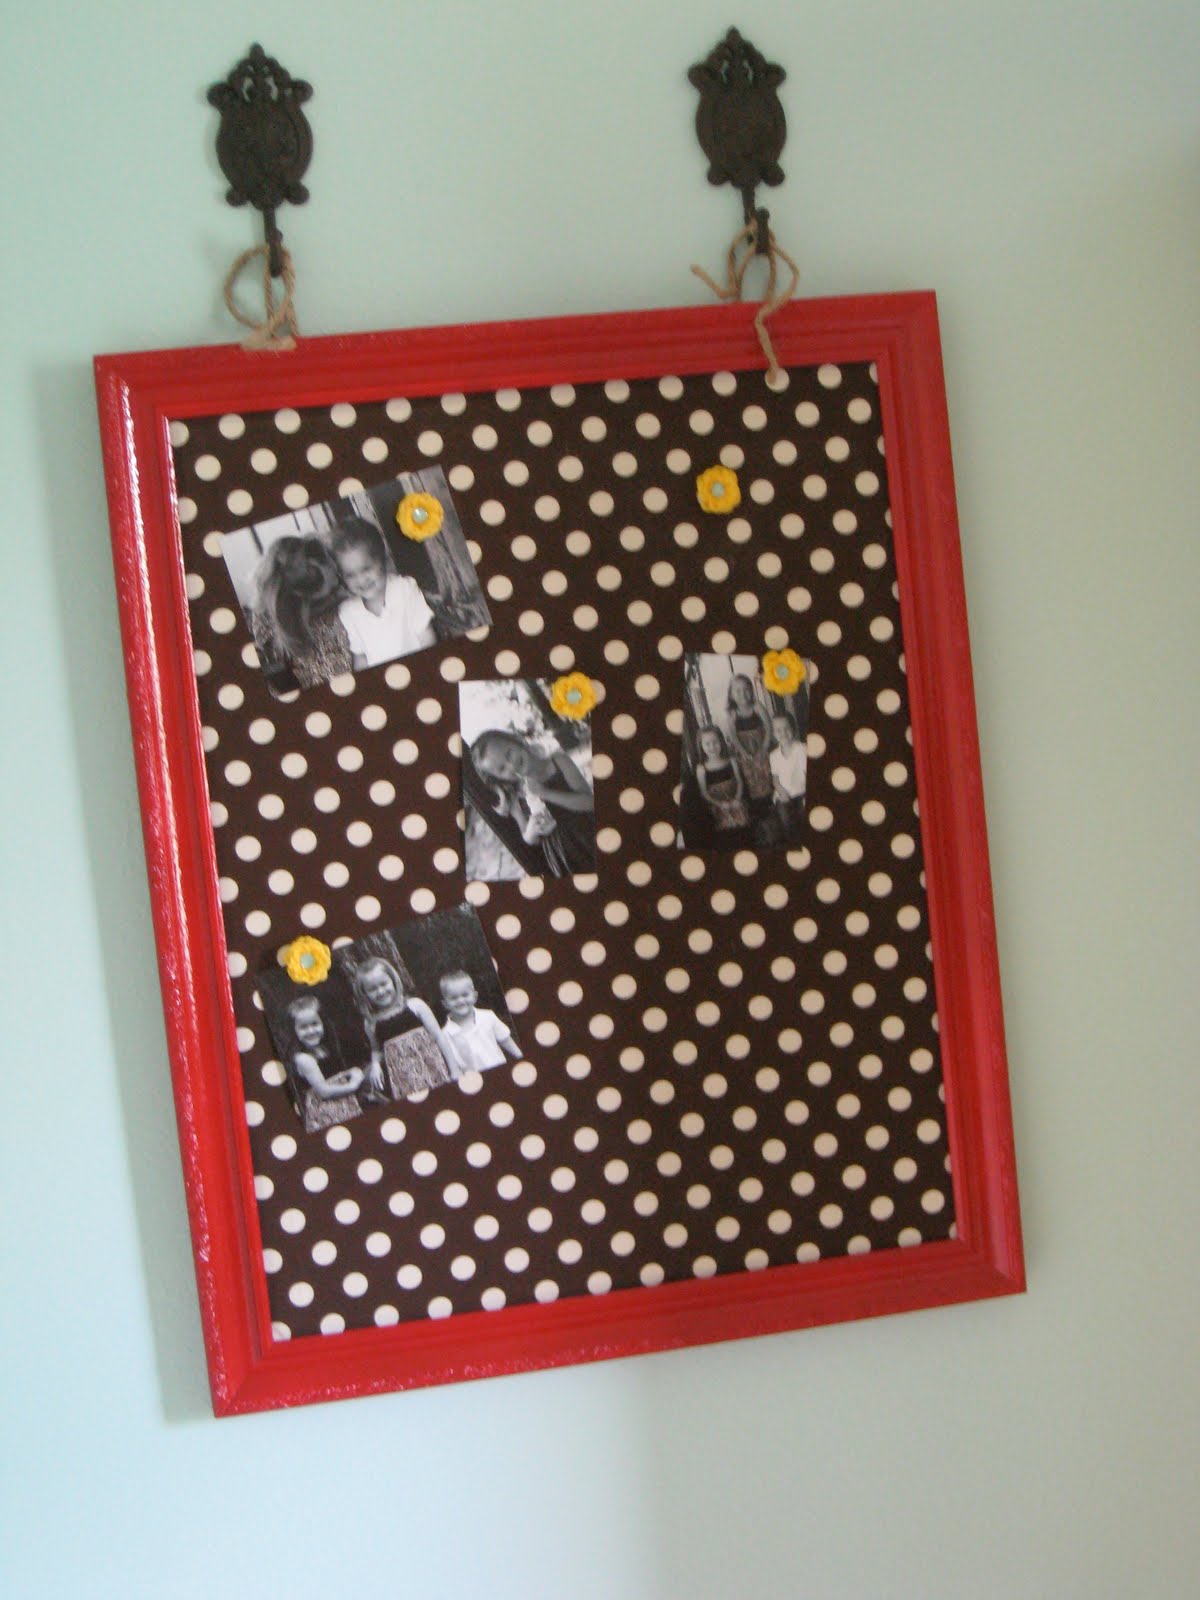
Hey guys!! This has been one of my favorite projects so far. I love how it turned out and I am already in the process of making one for downstairs to go with the rest of the house. I had a large wall space in the baby’s room to fill and I decided I wanted to make a magnet board. It’s something I can put pictures on now and she will be able to play with as she gets older. Here is how it turned out…
Now I will show you how I made it…
I started with an old empty frame I had in the garage. You can find old frames at any thrift store or just buy a cheapo from Walmart. I put it outside to spray paint it.
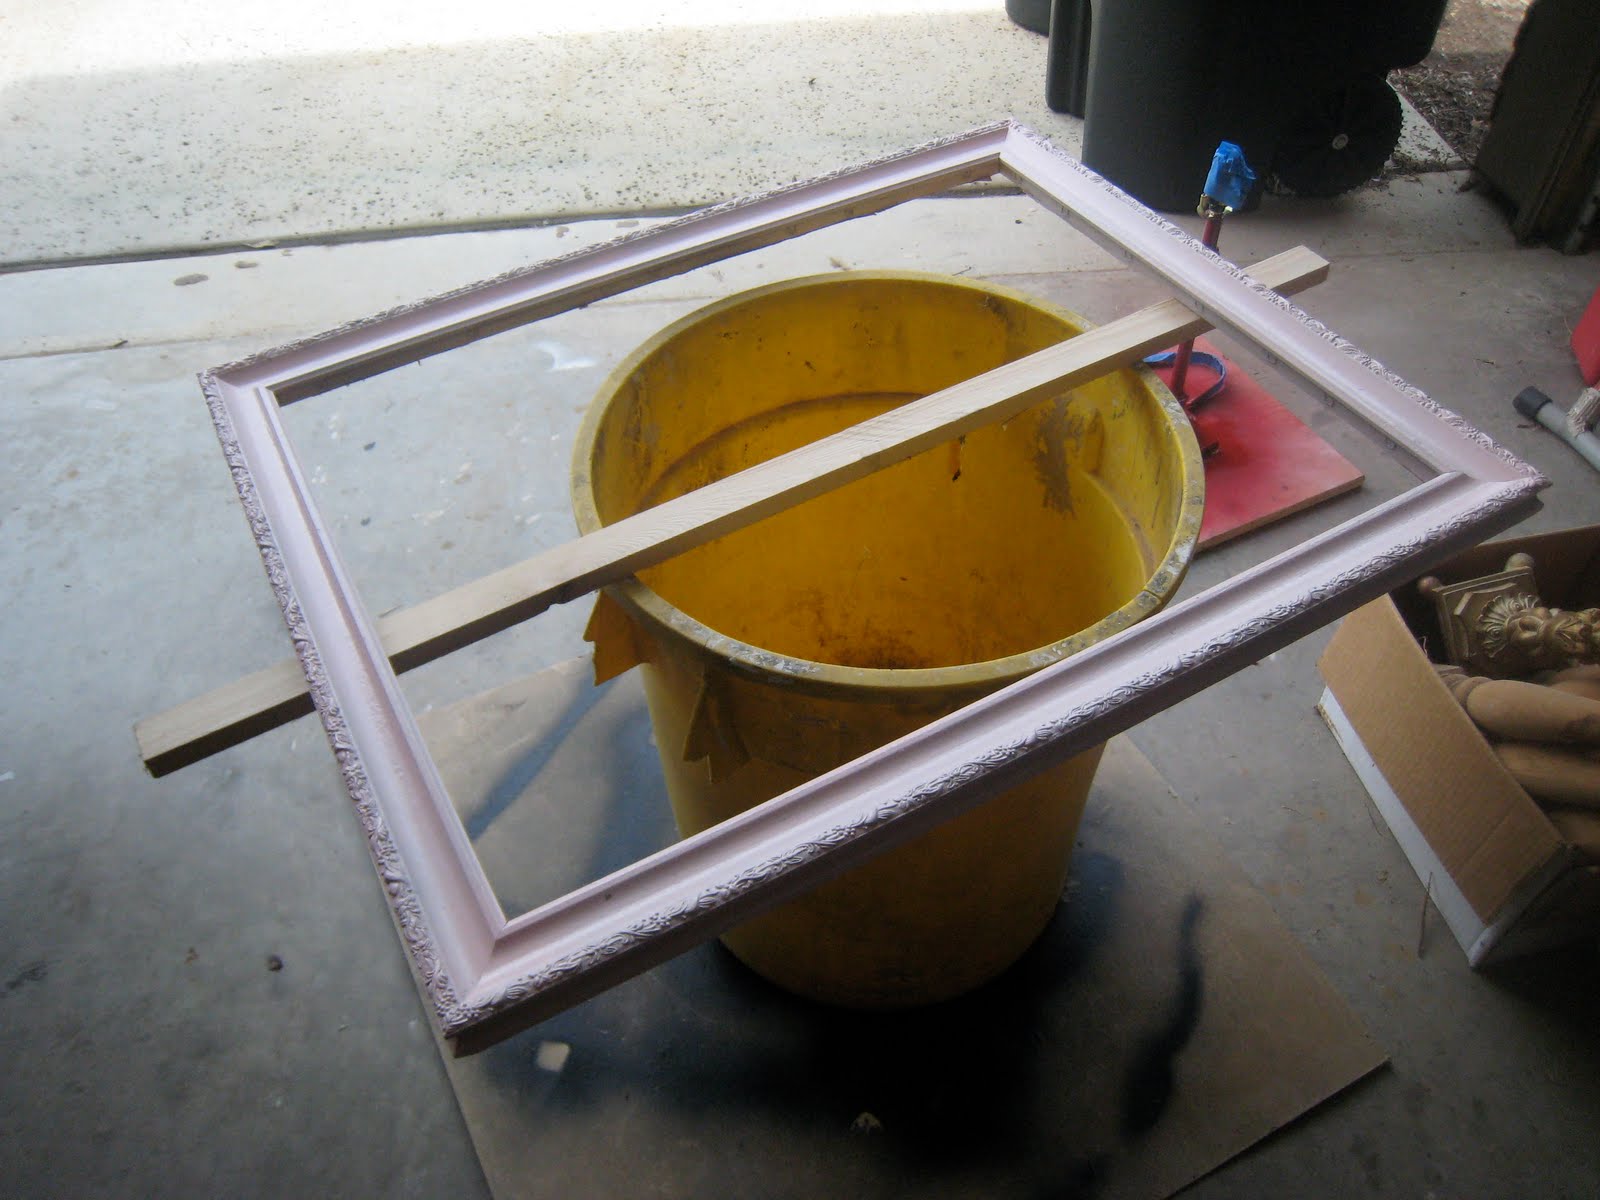
Here it is drying after two coats of Rust-Oleum!
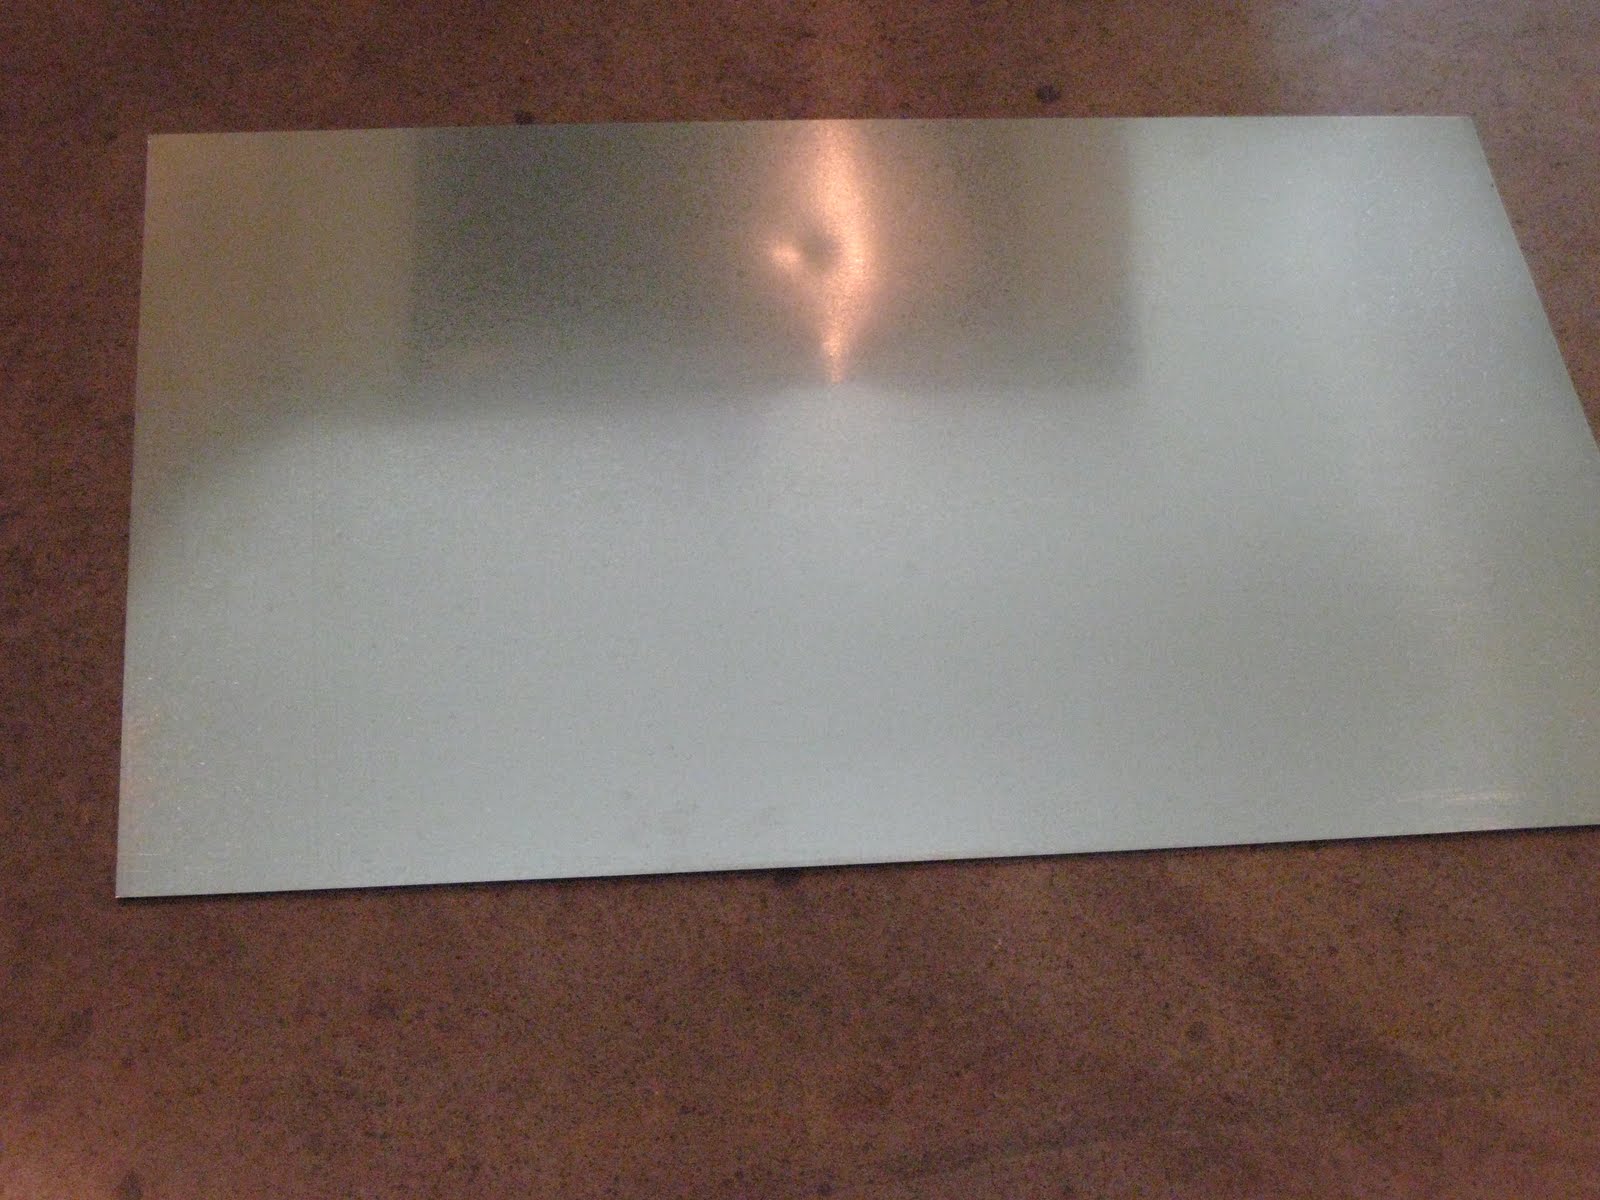
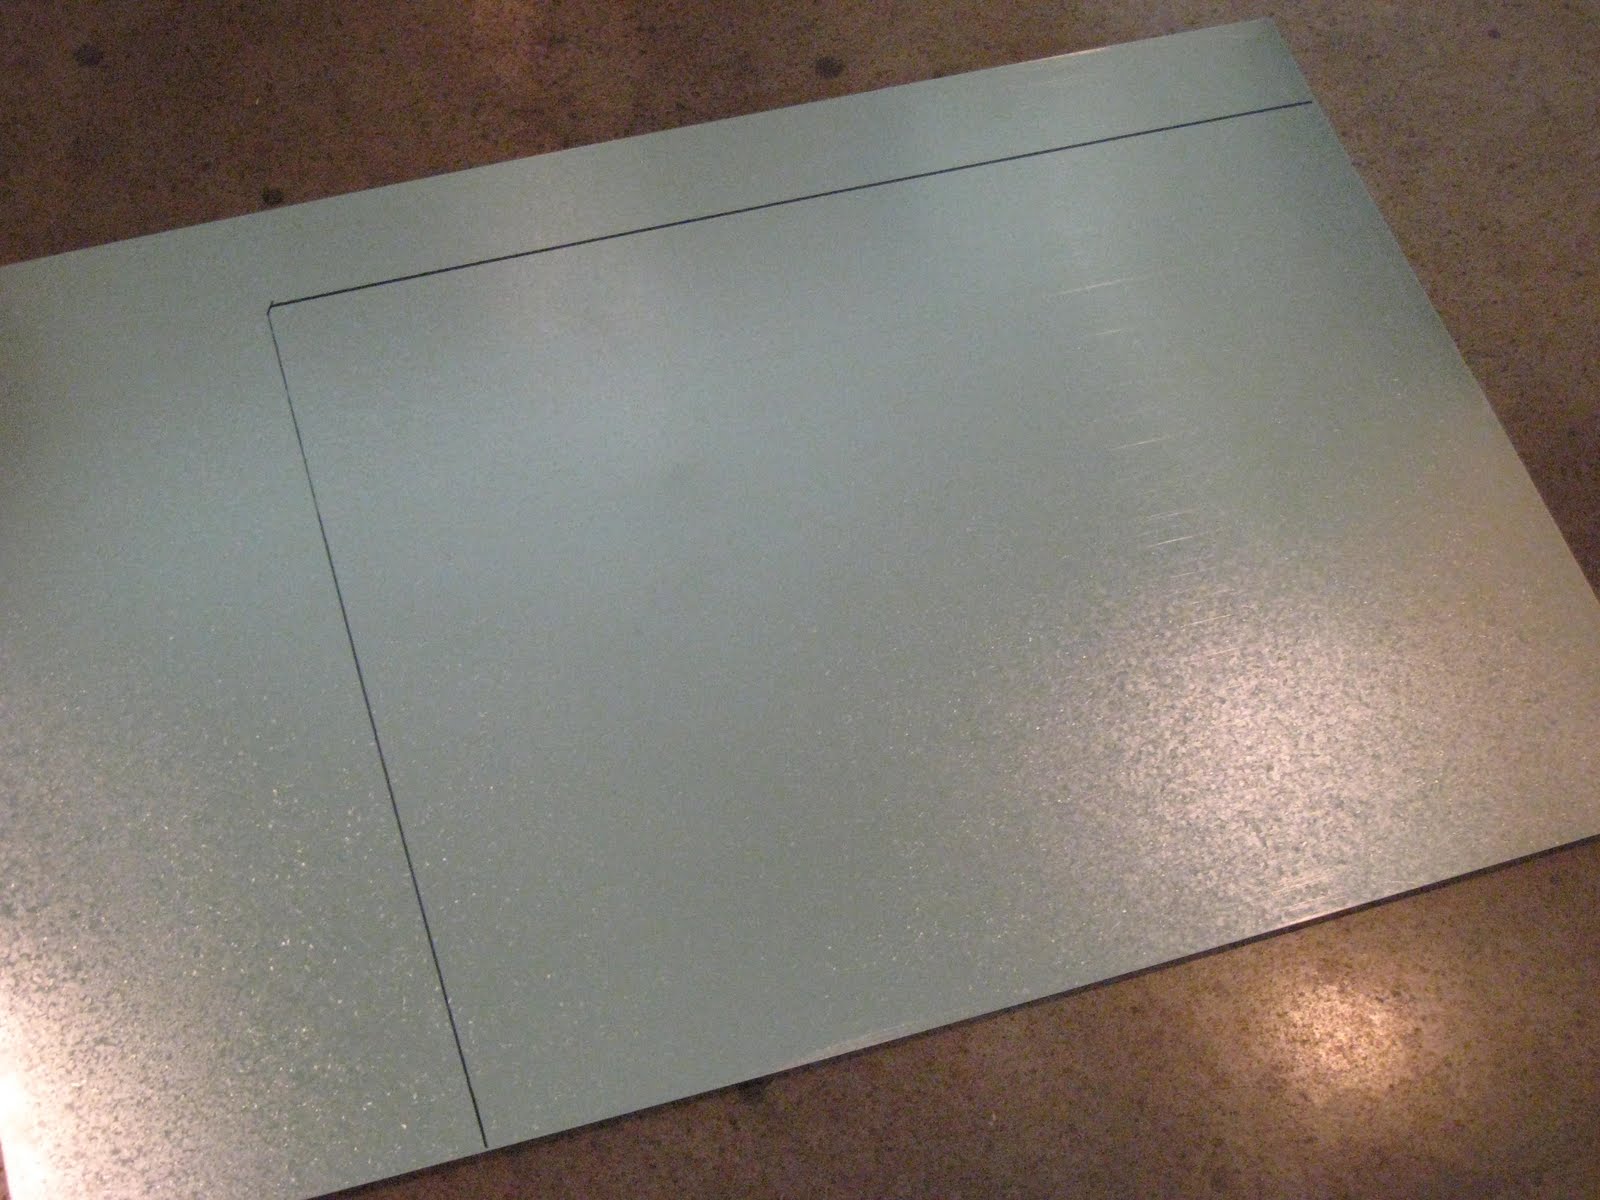
I purchased a 24×36 sheet of galvanized metal from Lowe’s. It is in the PLUMBING section… not the roofing material. It was around $7 for the sheet.
I marked off the area that I would cut with a sharpie. I went an inch less than the inside of my frame all around.
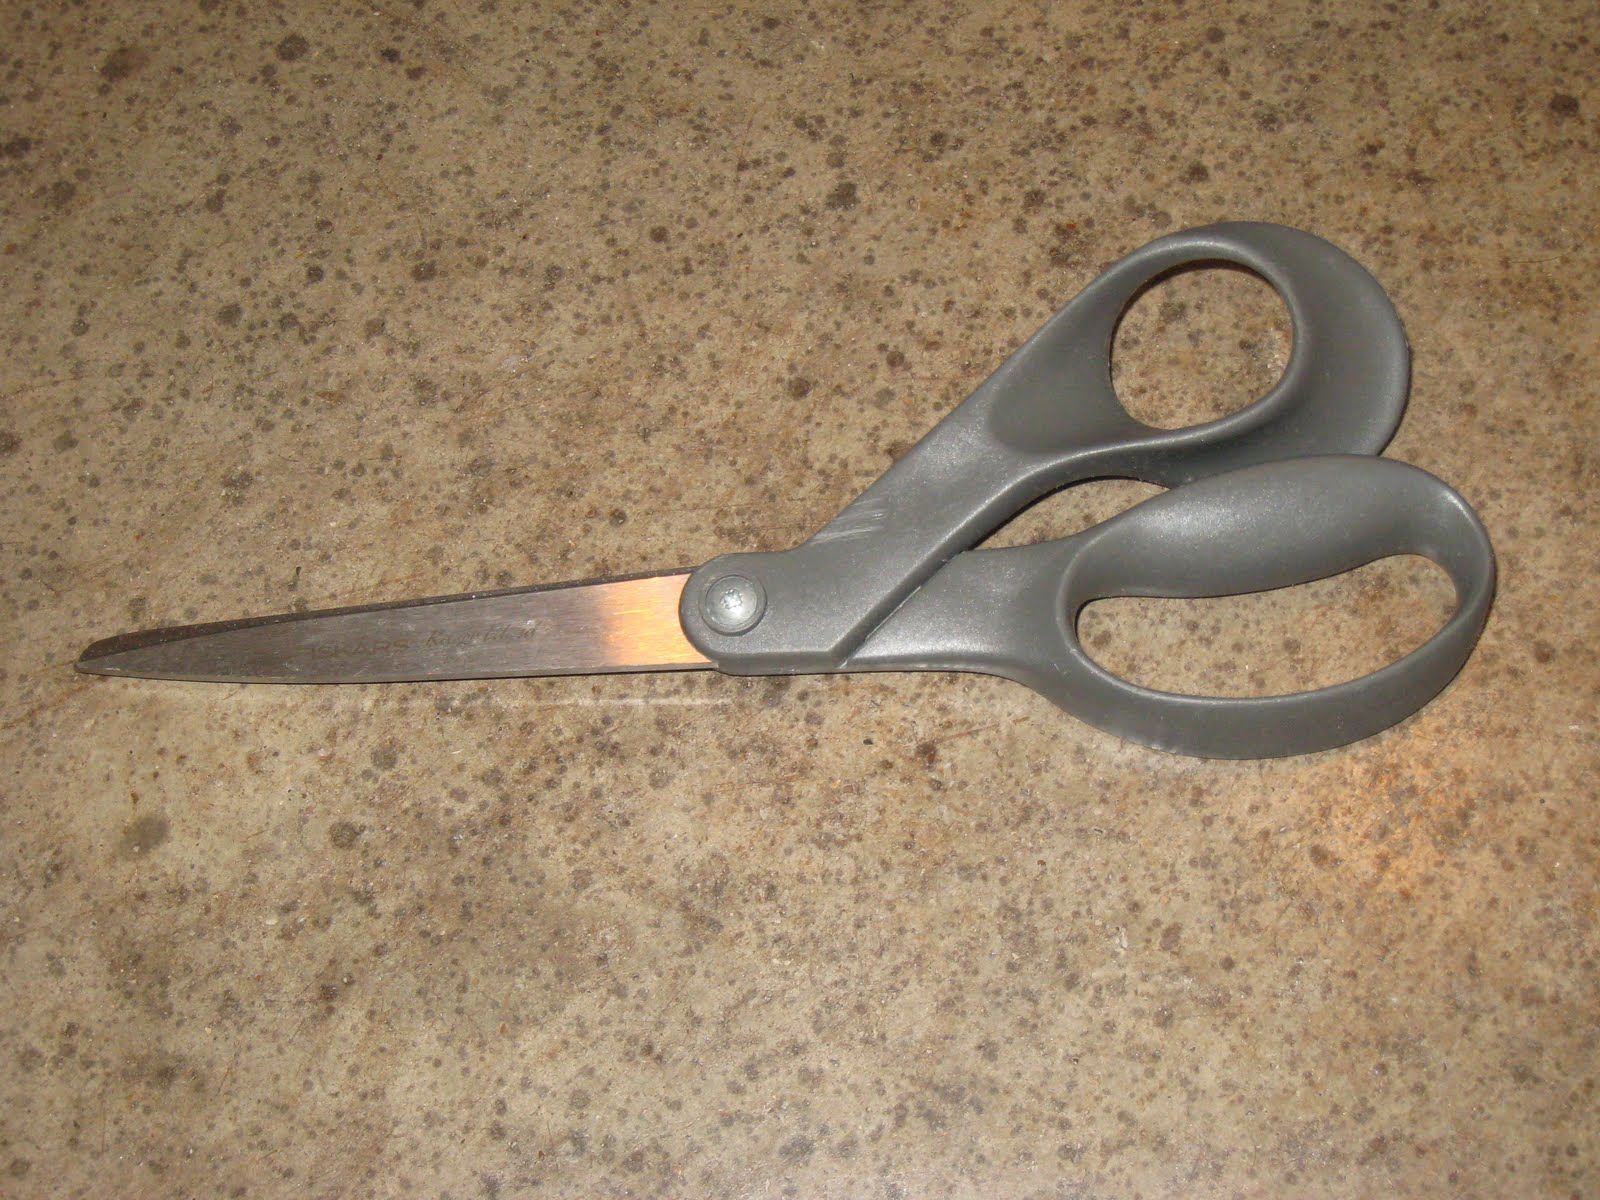
Now I have found that the best way to cut this stuff is to use my sewing scissors. These are Fiskars and I have 3 pair so I wasn’t too worried about messing them up but I sharpened them right after and I don’t notice that it did any damage.
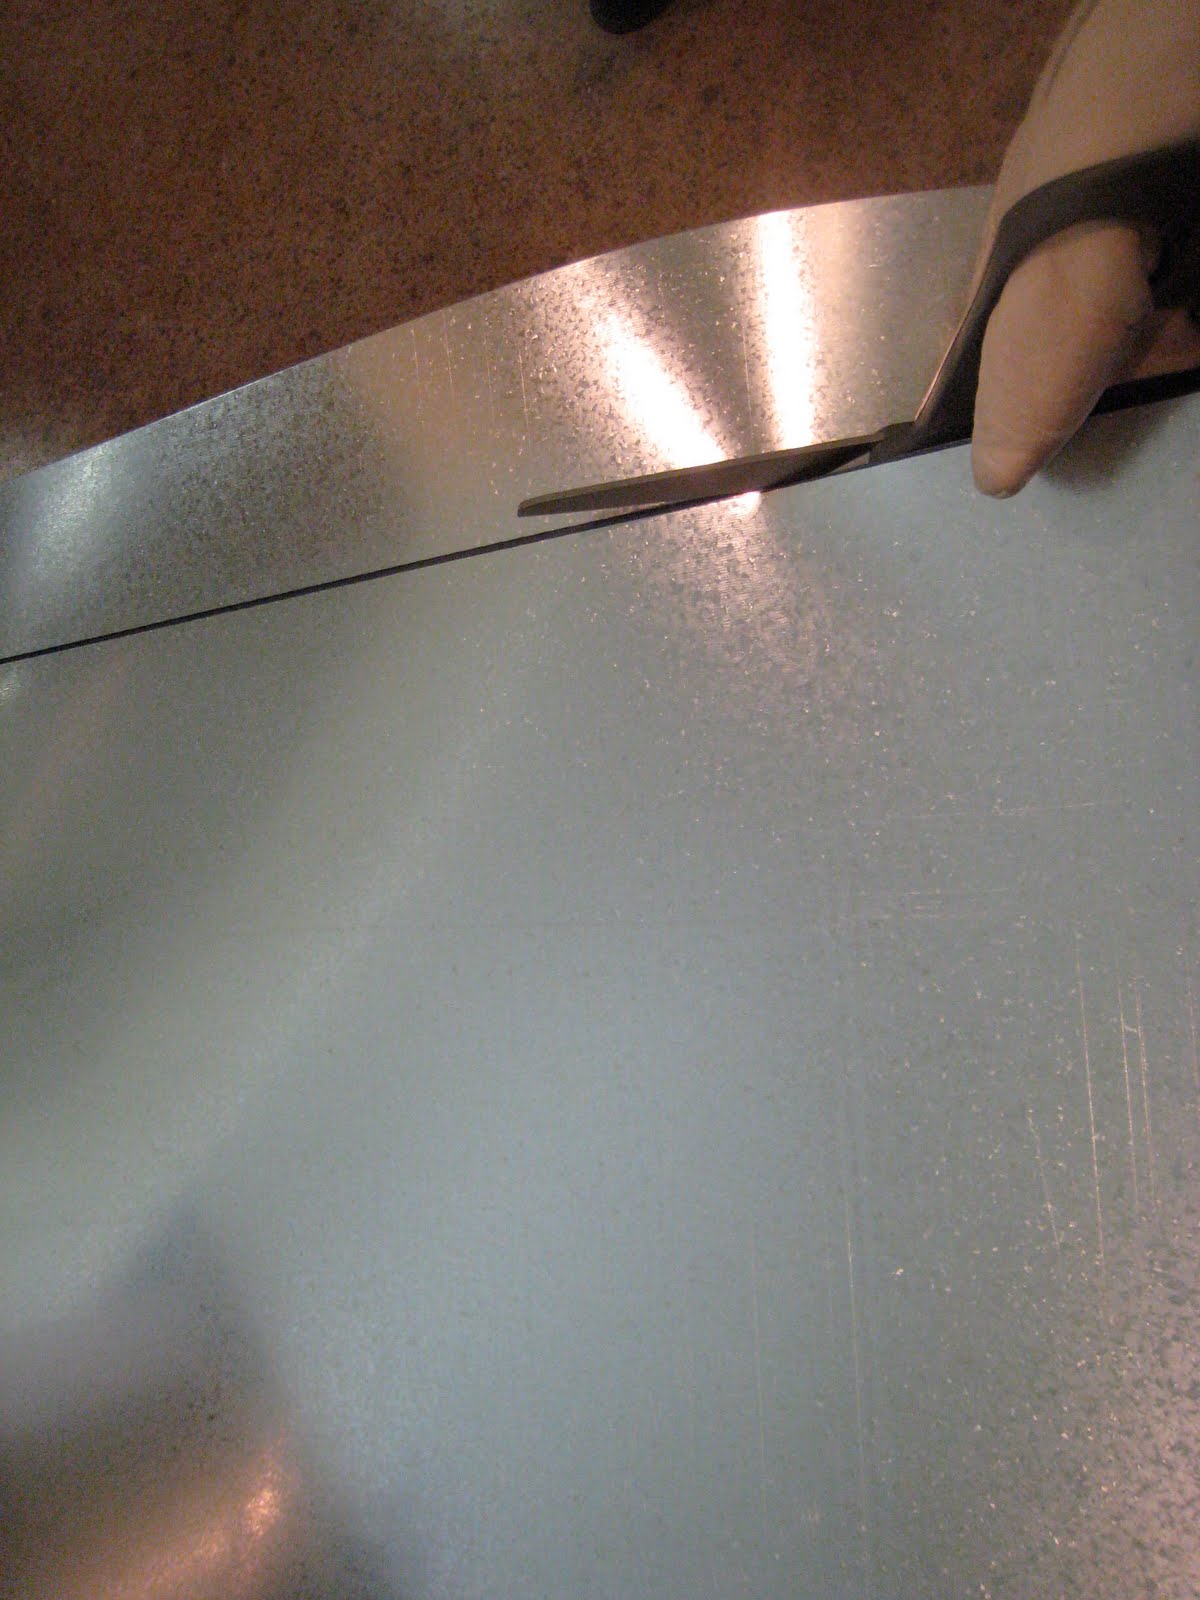
I just cut along the line. It cuts very easily but you have to wear gloves because it is super sharp!
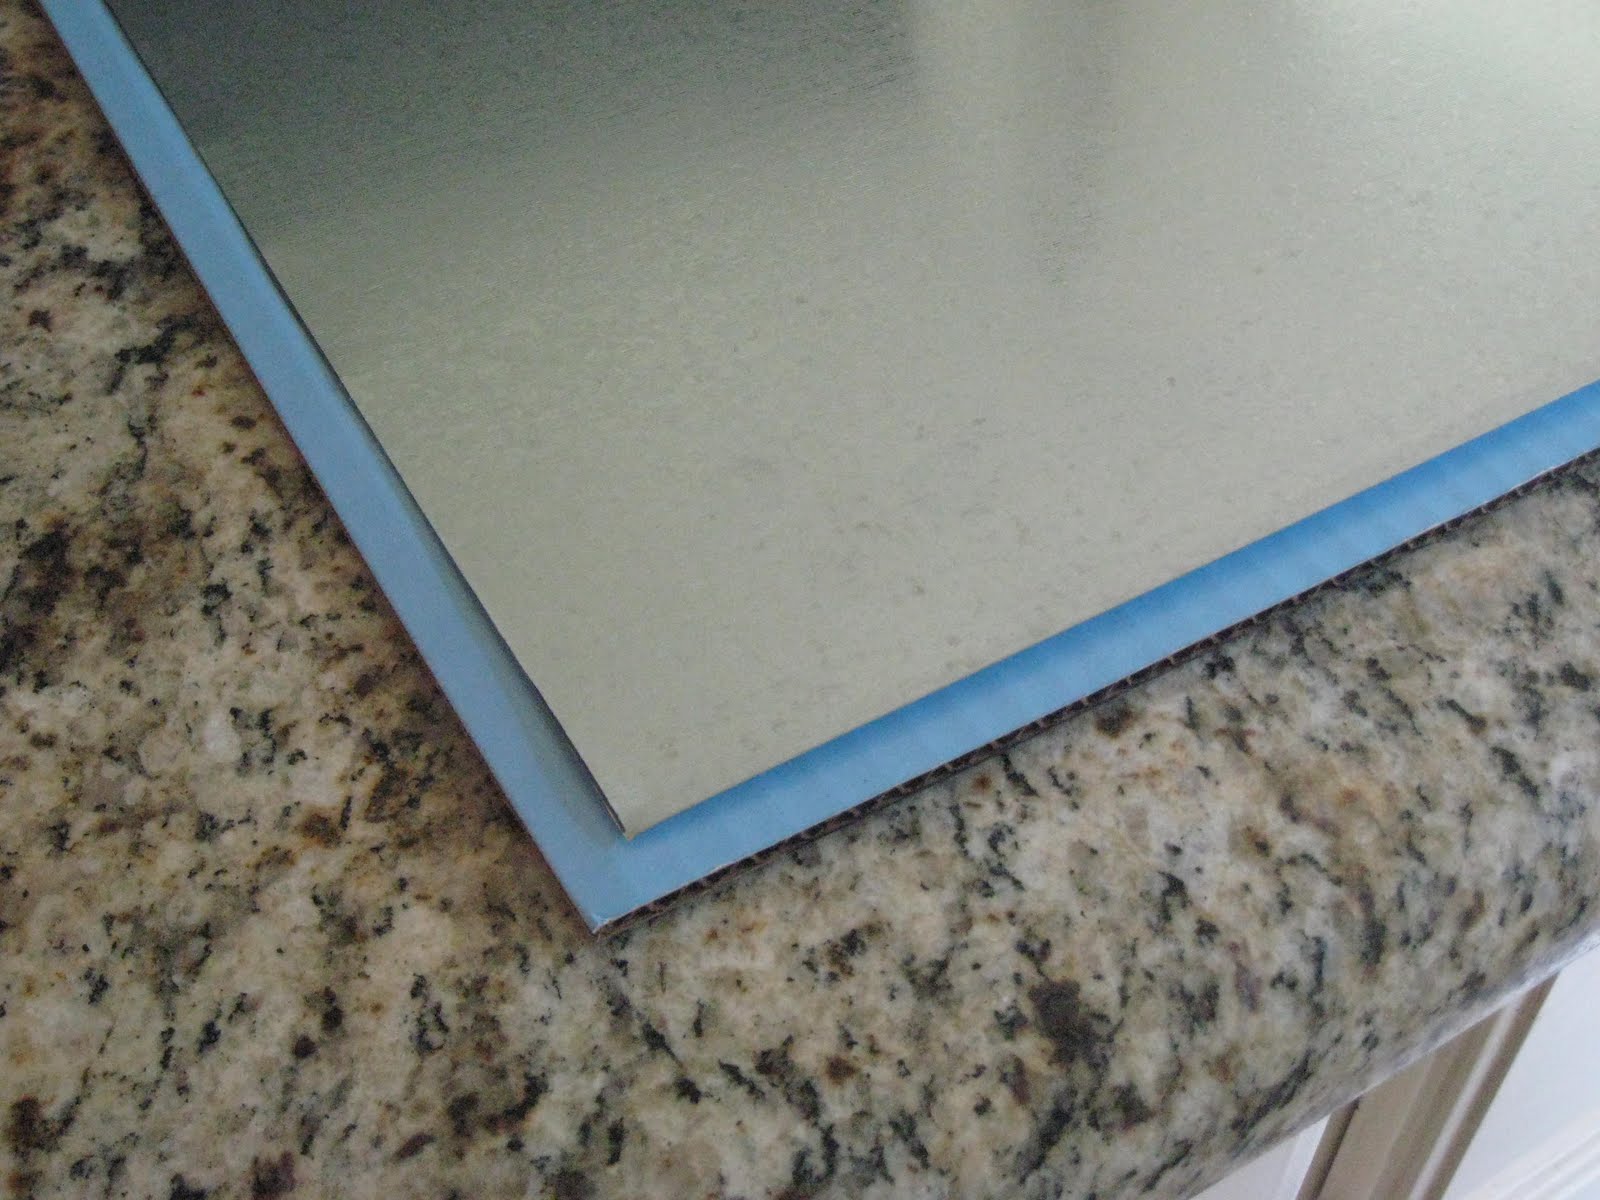
I also purchased a $3 cardboard project board from Hobby Lobby. I was at the Dollar Tree the next day and they had foam board for $1! That was what I wanted for this but it was $8 at Hobby Lobby… Yuck. The cardboard worked great though. I hot glued my metal piece to the cardboard which was cut to fit the inside of my frame perfectly.
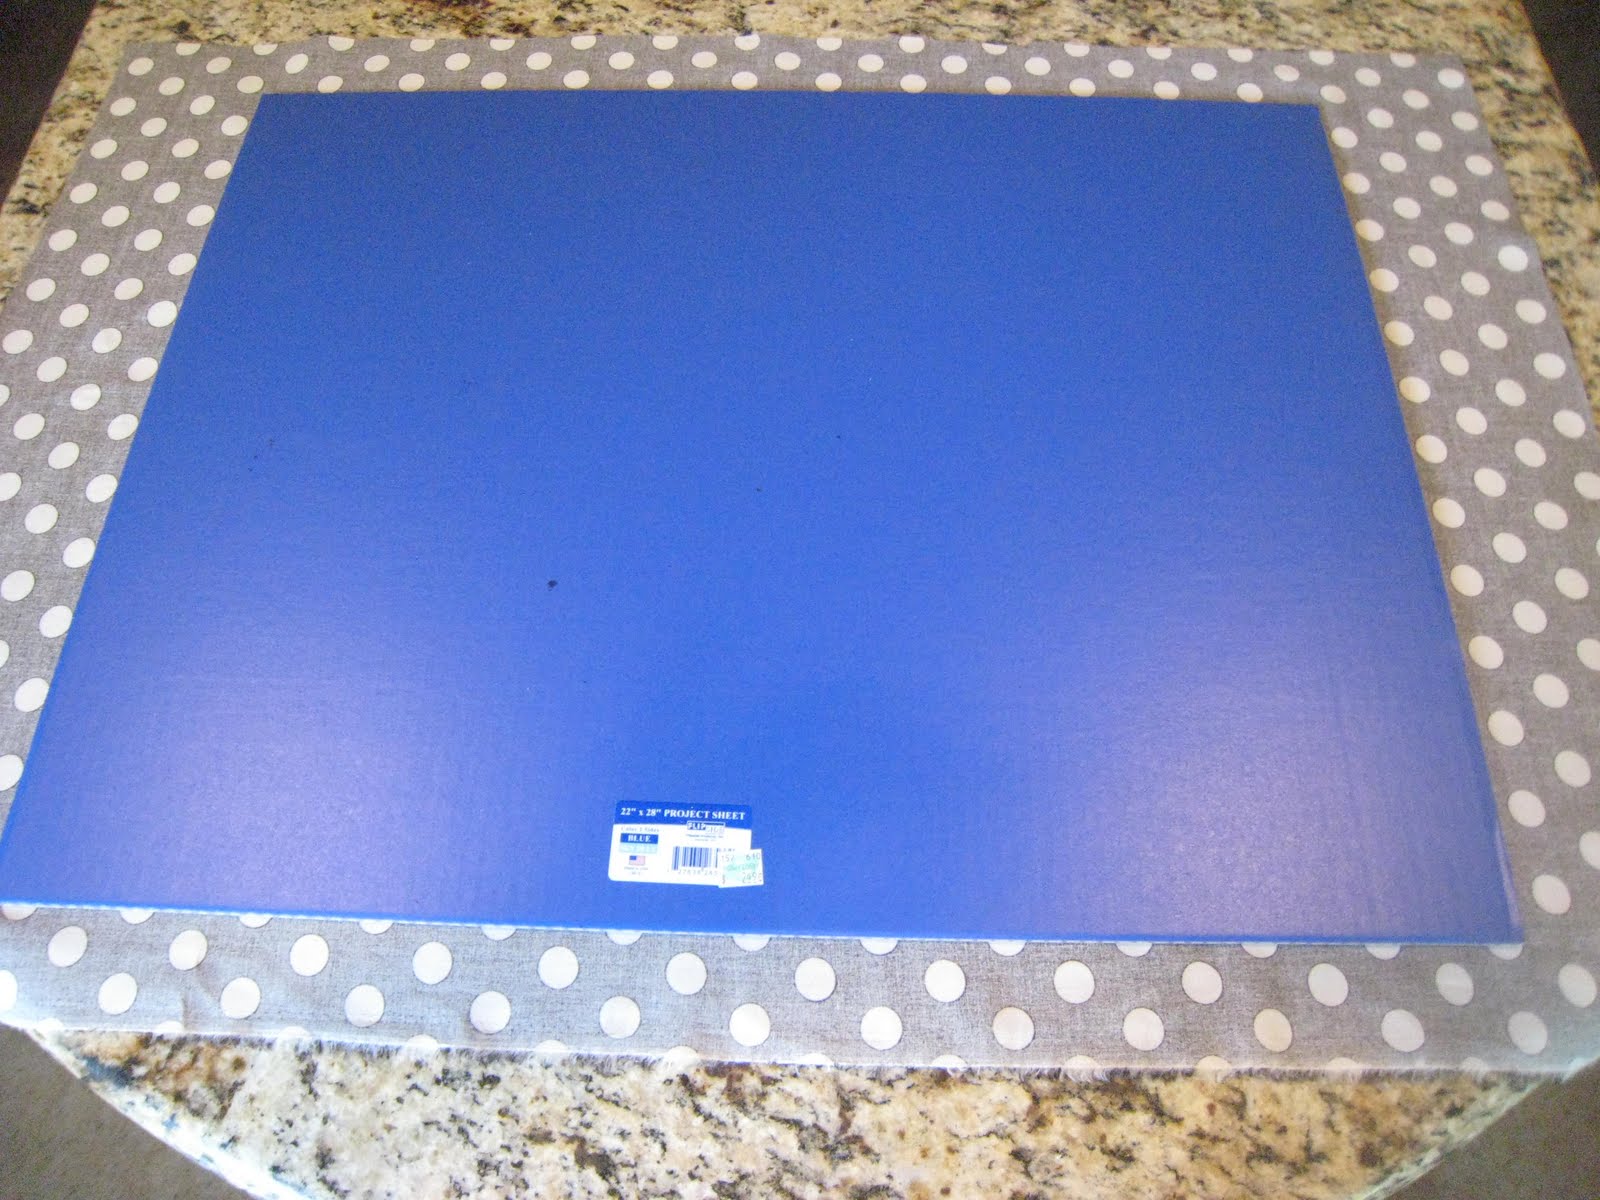
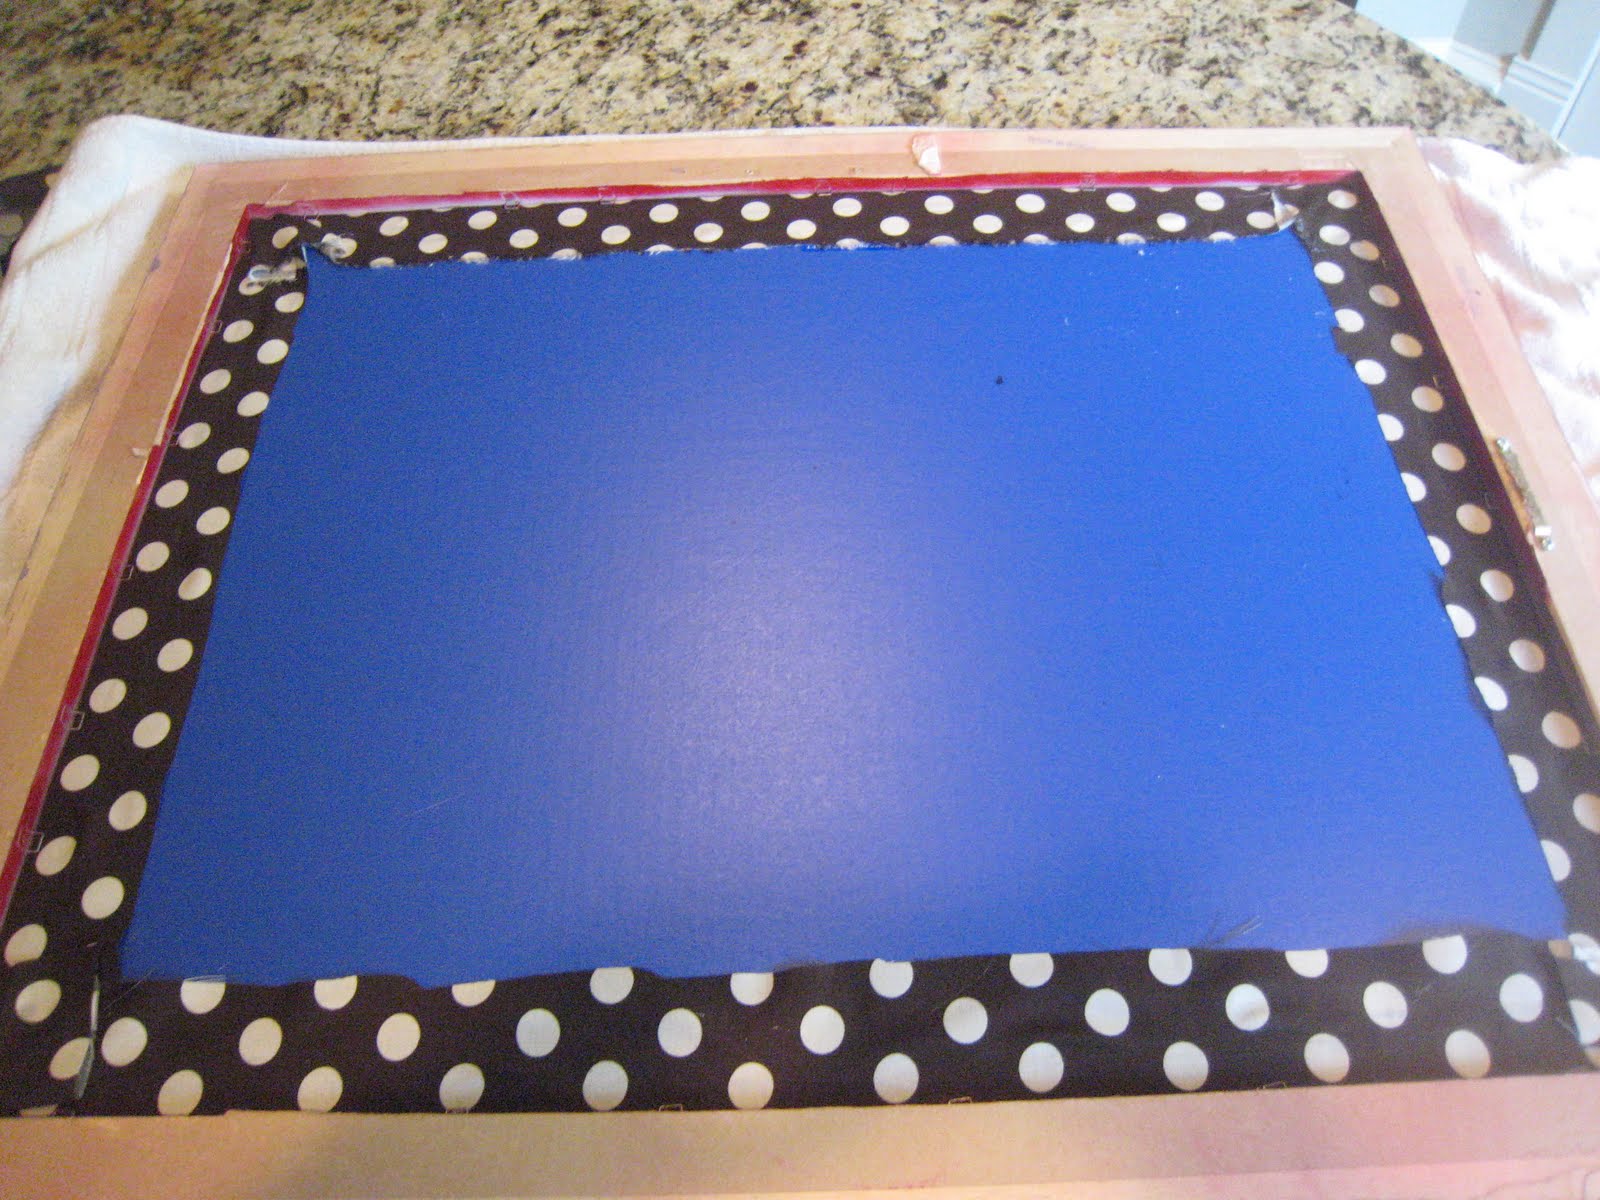
Next, I ironed my fabric and laid it good side down on the table. I put the metal side of the cardboard down on the back of the fabric.
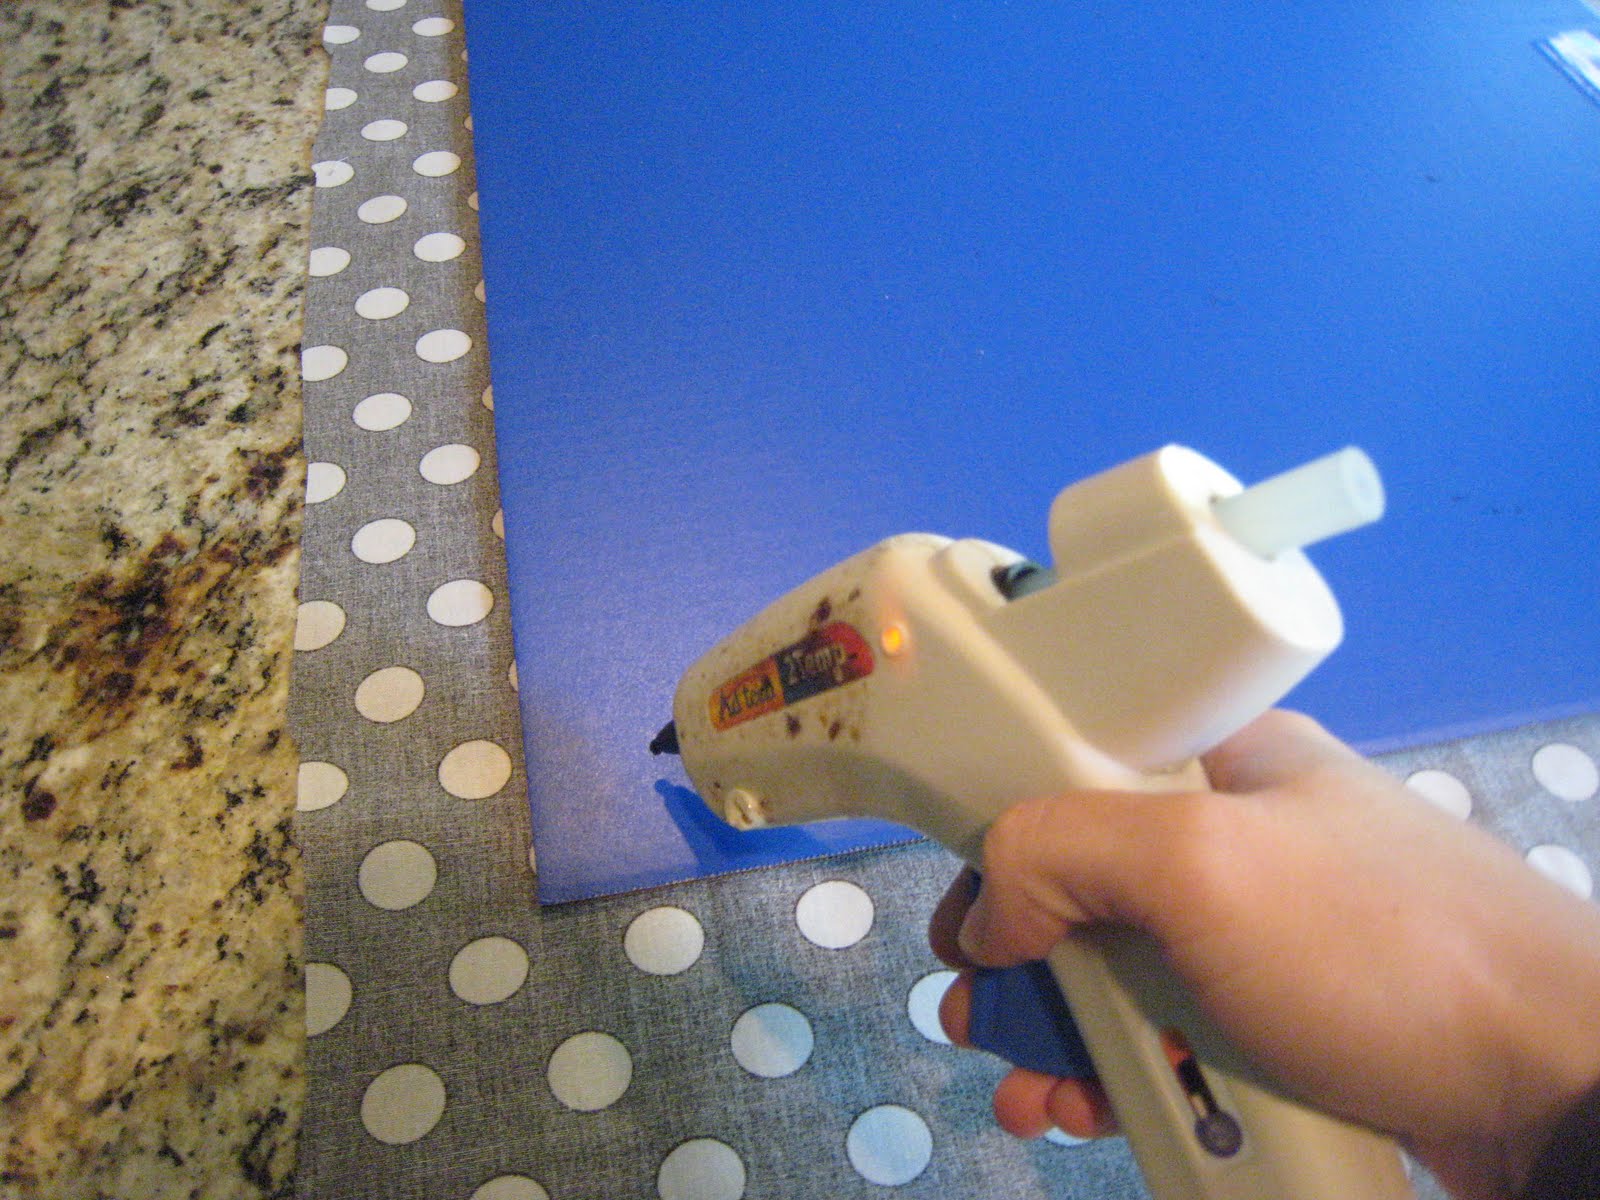
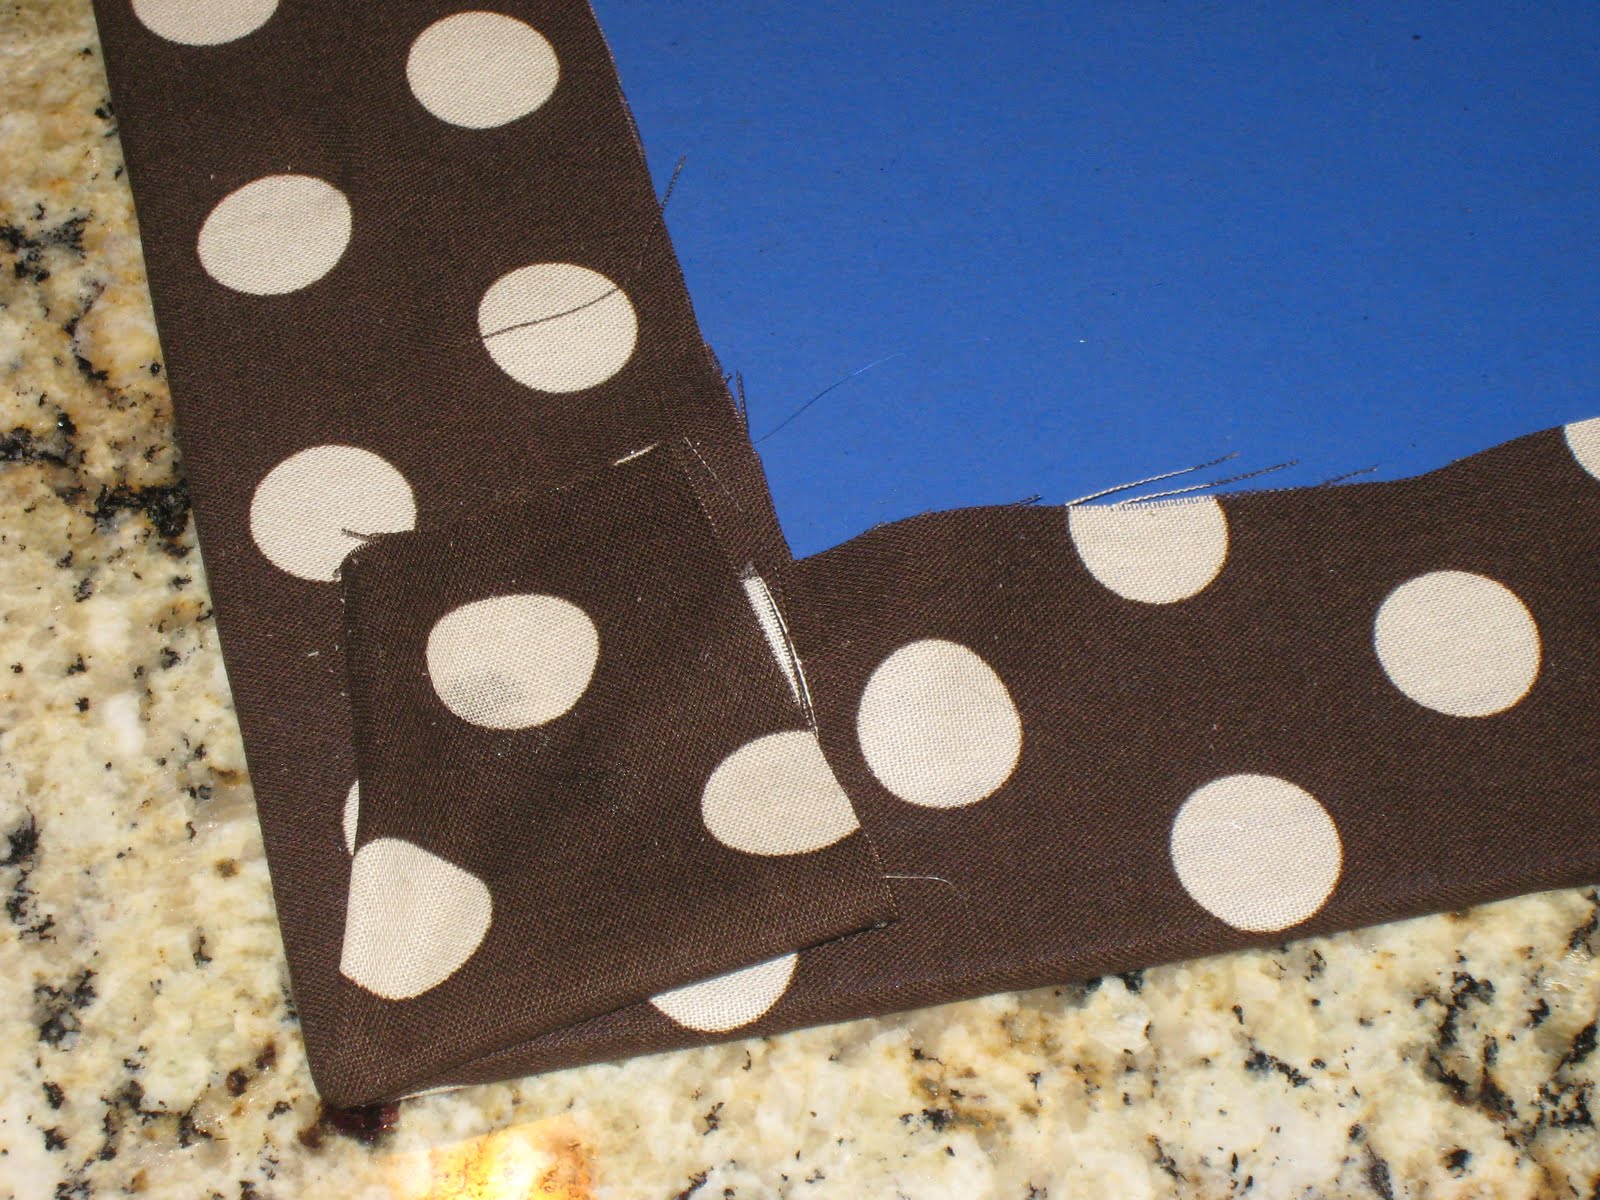
Now it’s hot glue time again. Just hot glue the edges of the fabric to the back of the cardboard. Make sure you are pulling tightly enough so the fabric won’t gather.
Here it is all finished…
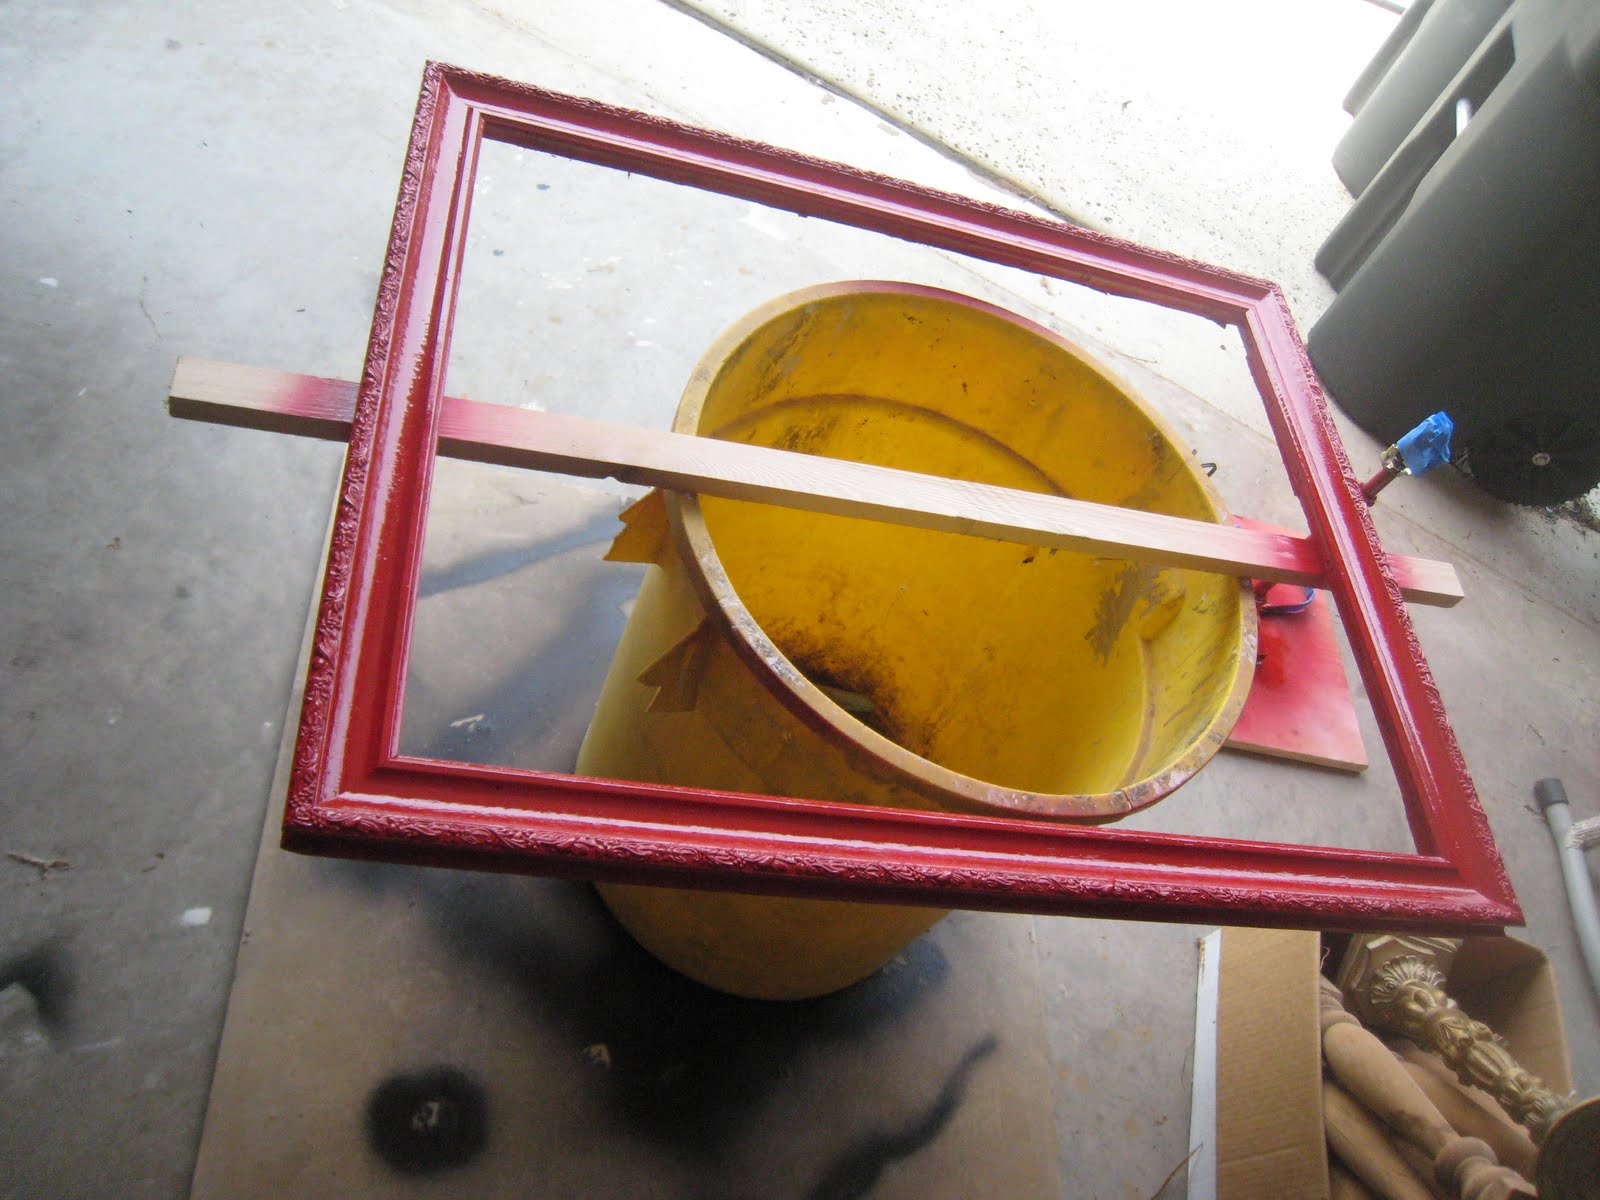
I went and got my cute red frame from the garage…
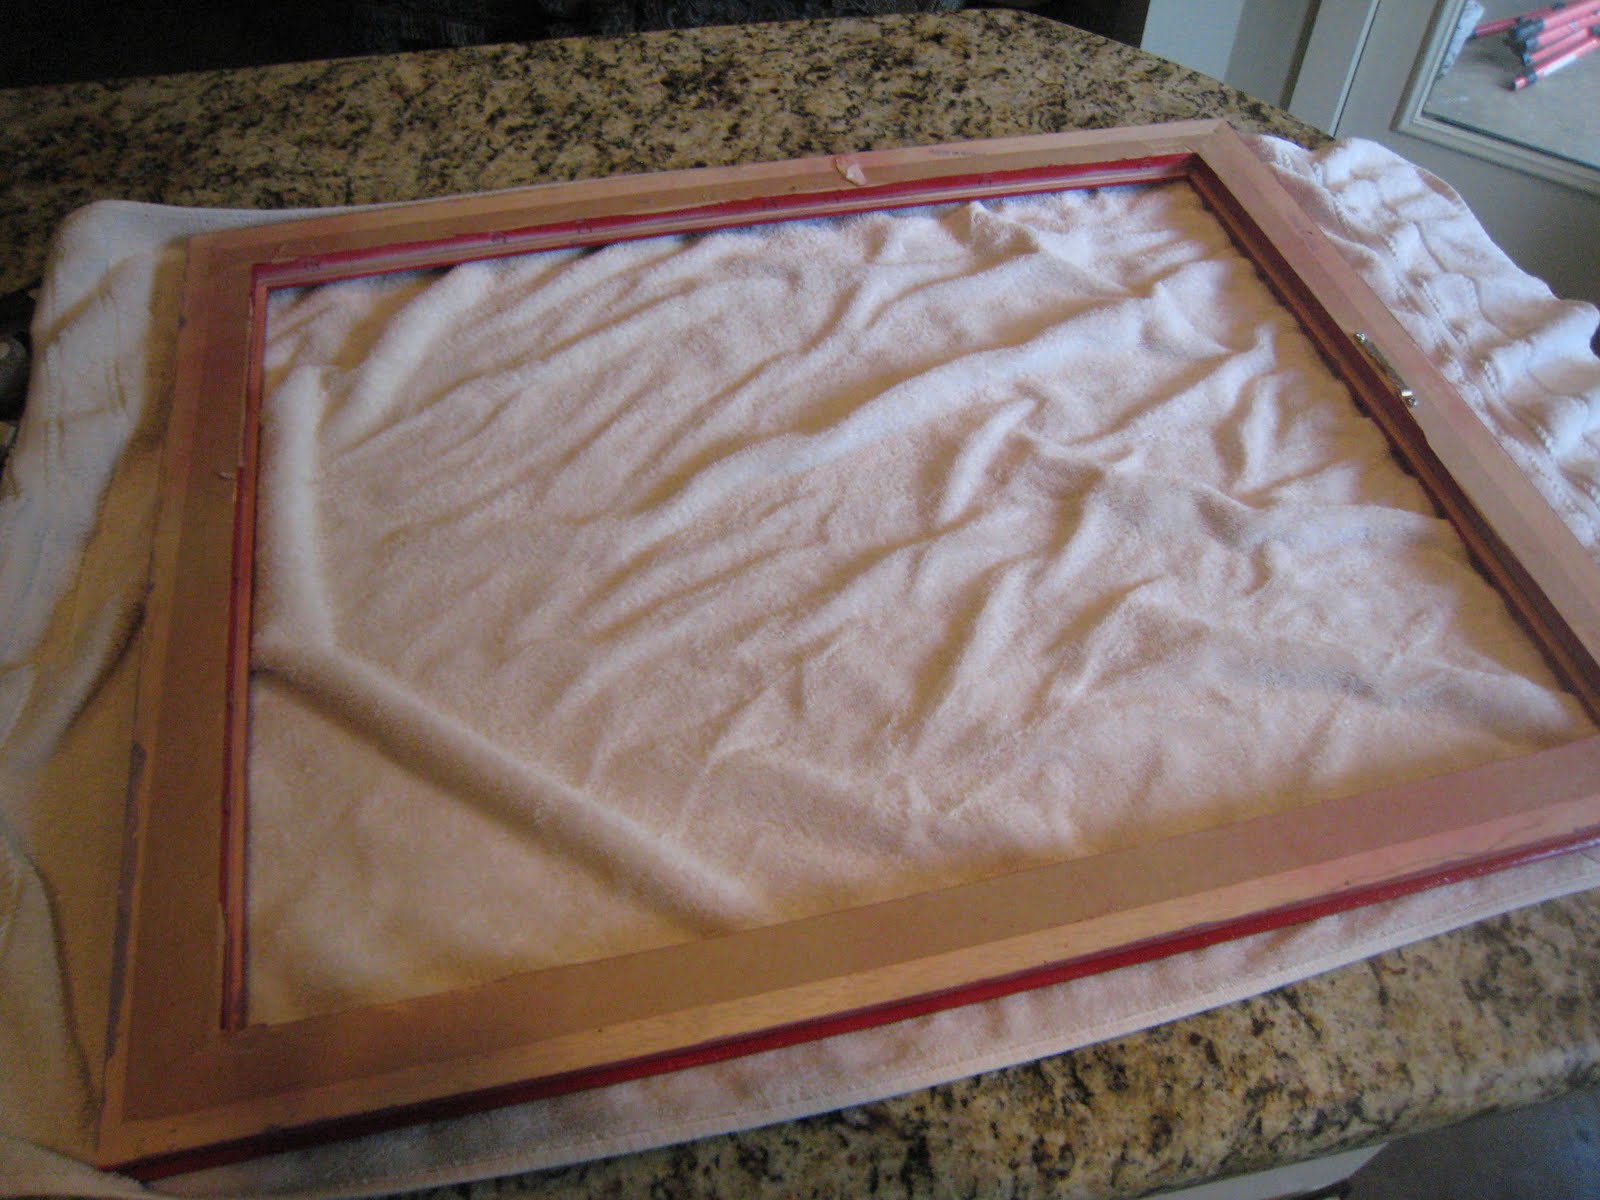
And put the fabric covered cardboard inside…
I actually used Gorilla Tape to hold the piece into the frame and I was done! It was super easy, cheap and I want to make one for every room. Here are a few more pics…

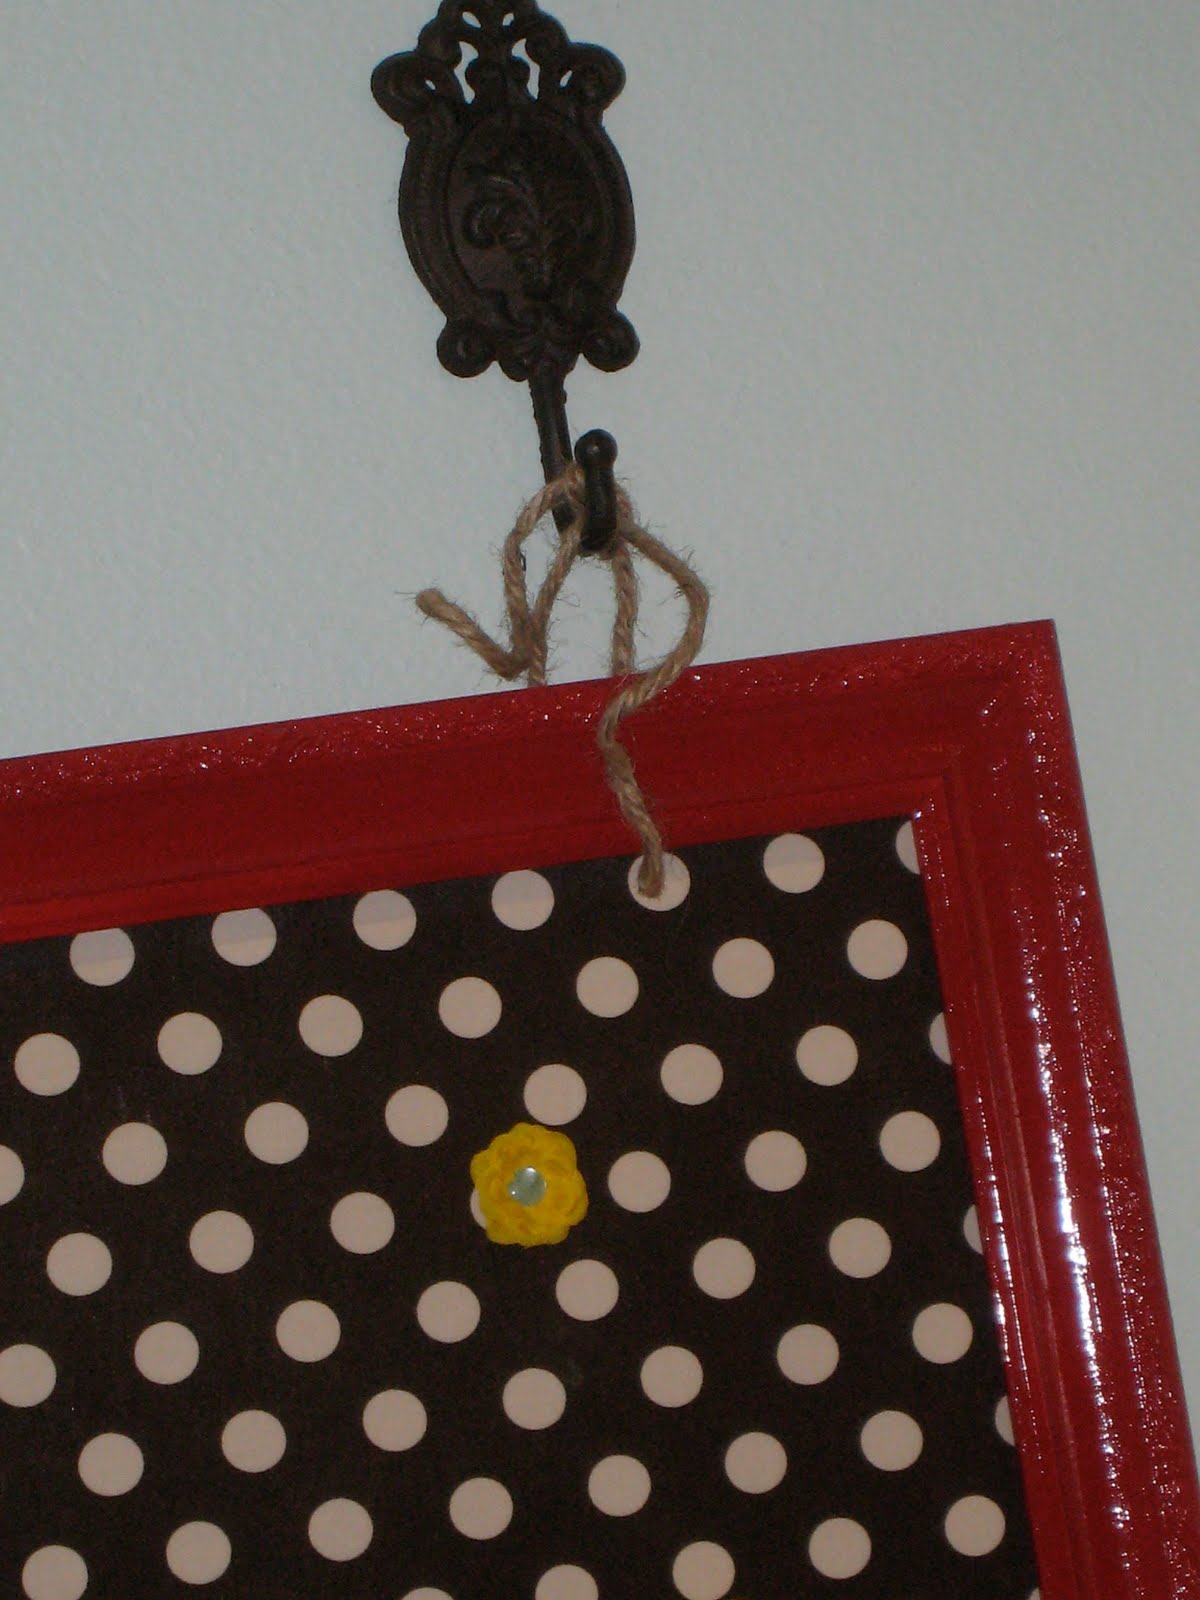
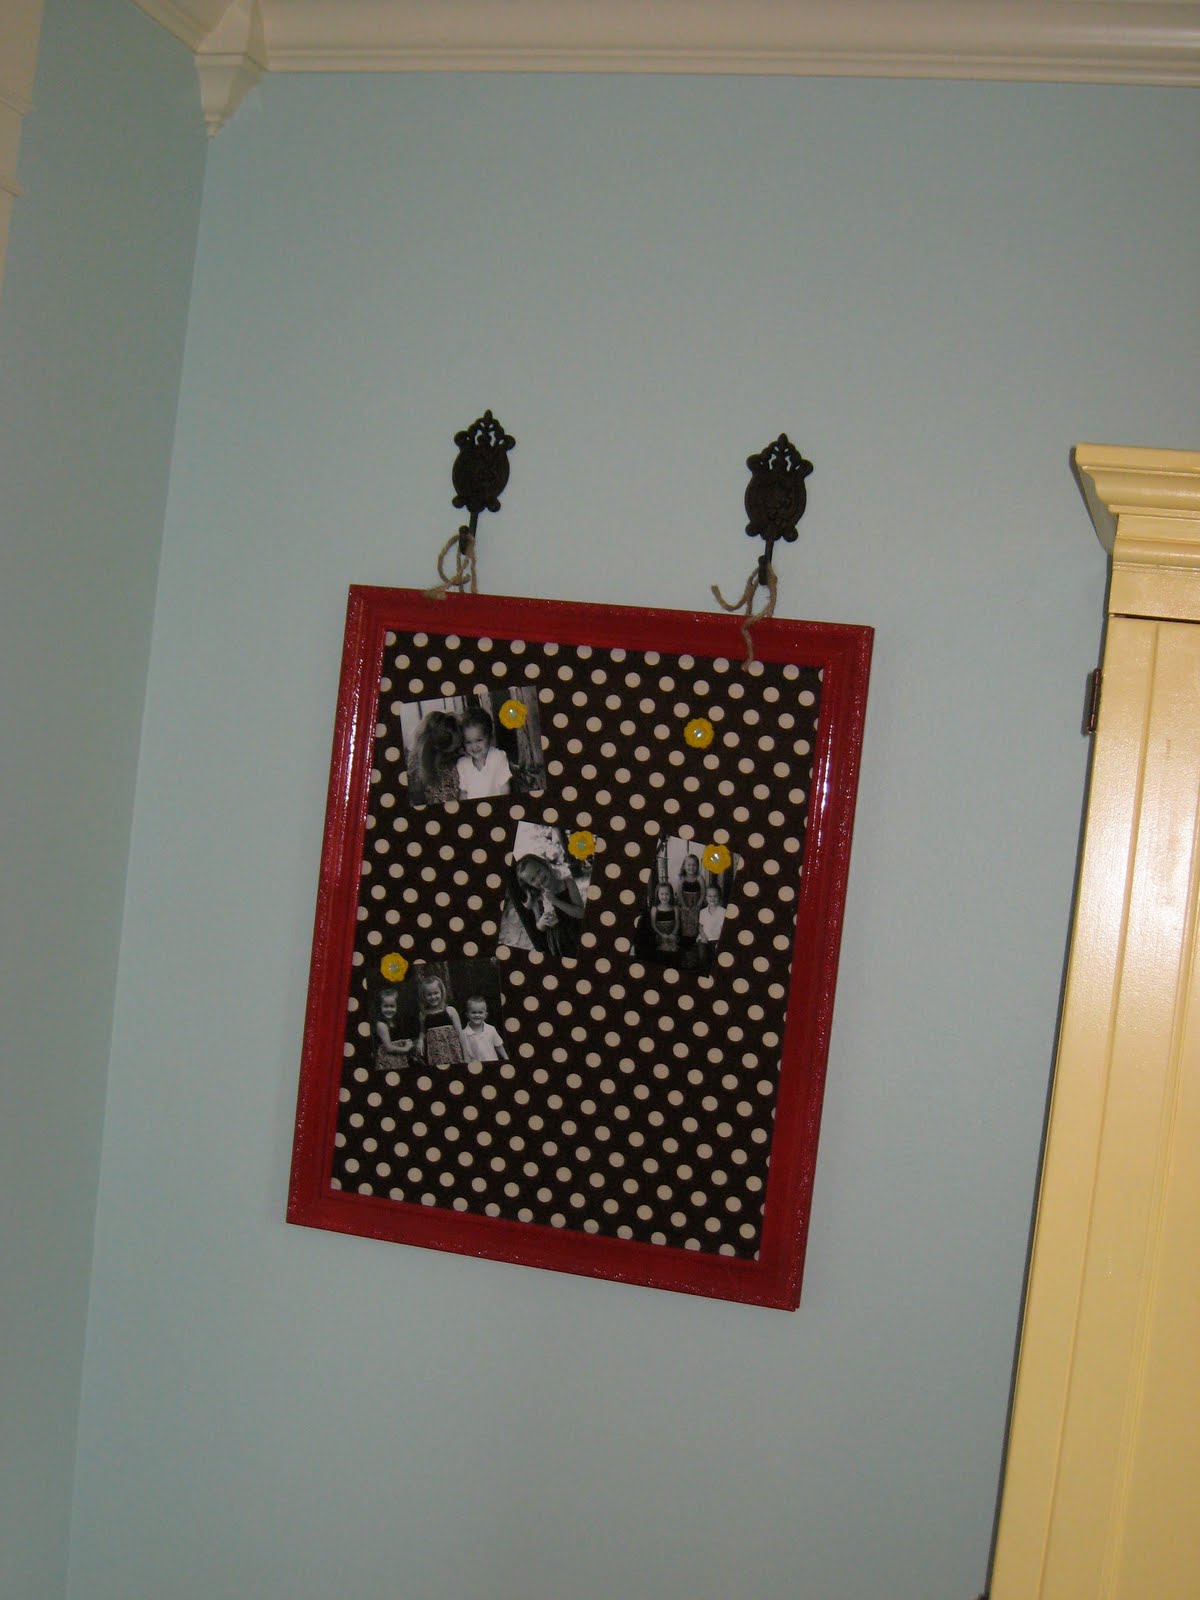
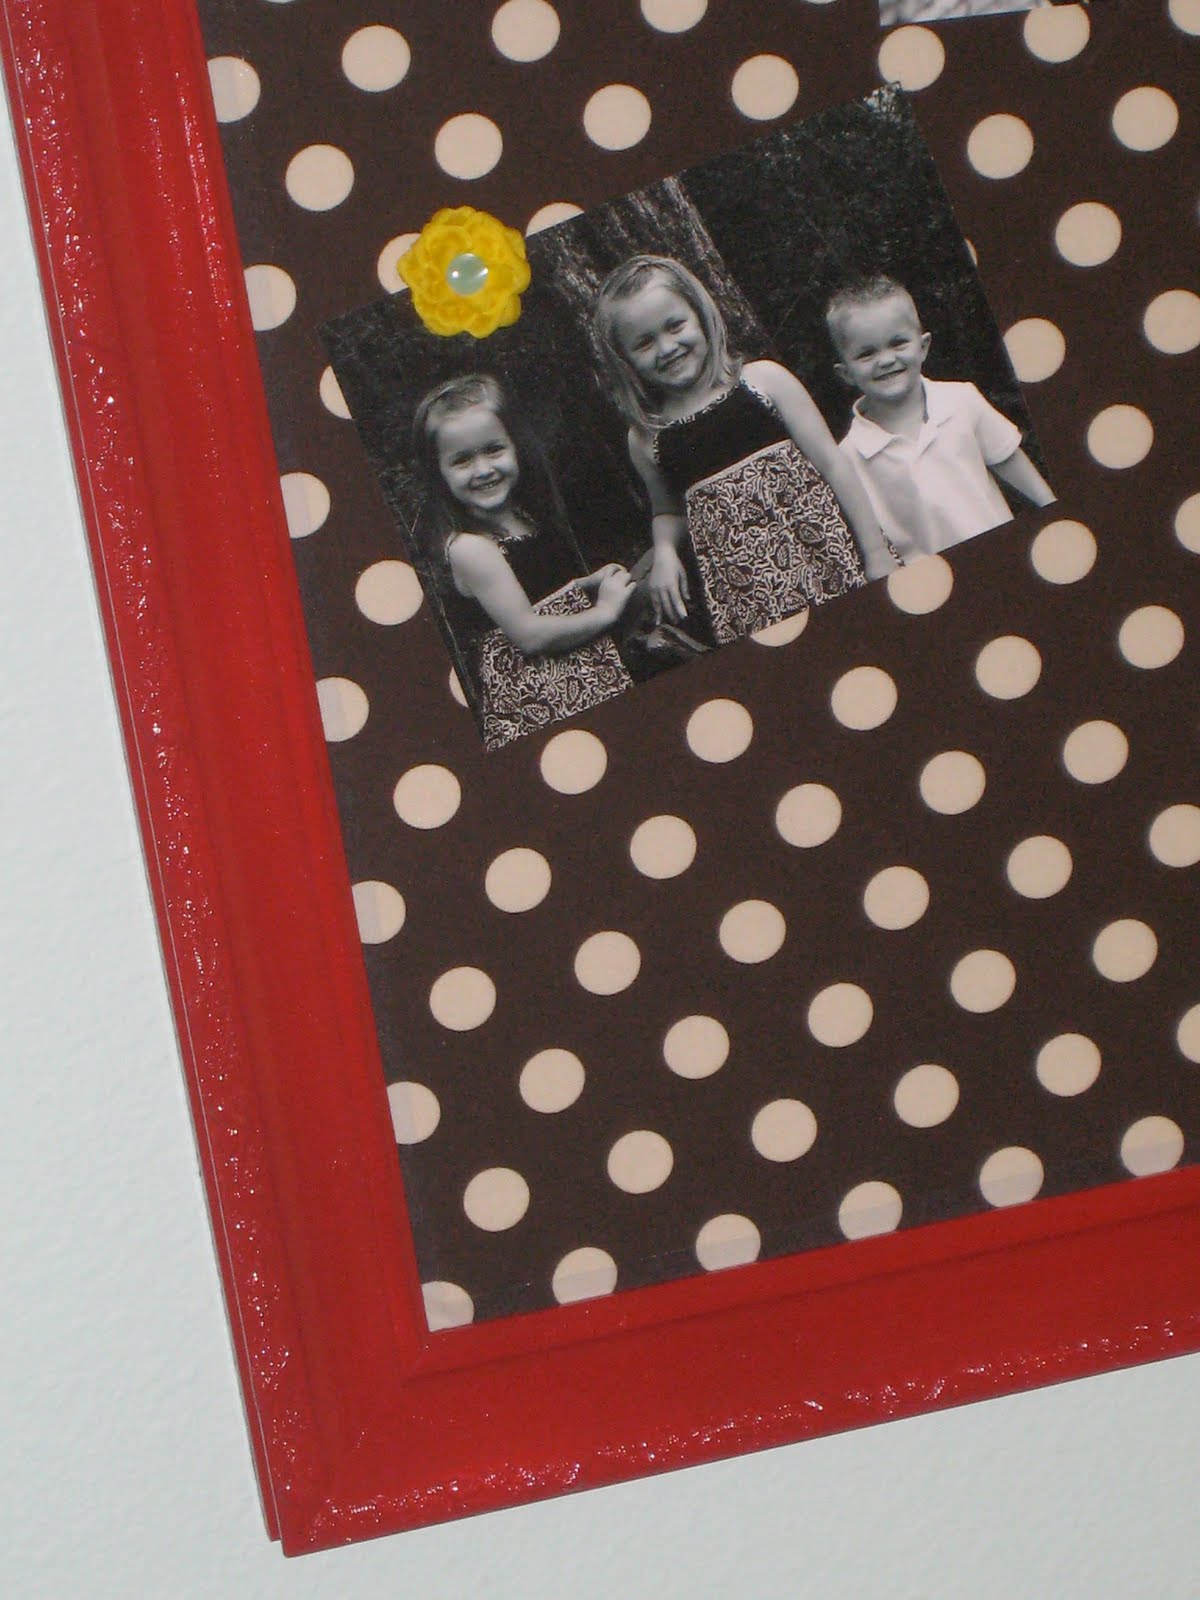
I love it! What do you think??
Want to make the super cute flower magnets? I’ll show you how in my next post. In the meantime I am back to painting. I have painted 7 pieces of furniture in the last 48 hours or so… this is some serious nesting! I love it! Have a great Friday!!
~Whitney


Does the fabric lessen the strength of the magnetism?
I did this for one of our teachers for teacher appreciation day.
I’ve been looking for magnet boards and I think this project is perfect, easy and decorative for any room. I’d like to make one for my granddaughter’s room and a few for my home, even makes nice gifts!! Thanks =)
When I saw this post I was all over it. I made a magnet and a cork board right away. Since then I’ve made at least 3 more. I just finished 2 for my office at work. I can’t pass a frame anymore without thinking about making a board out of it! Thank you so much for this fabulous idea. It’s one of those projects that’s fast, easy and really works!
So glad I found your site! Hopefully I’ll have something to share soon! Thanks
That’s awesome Vicki! Glad to have you here!! 😉
The New World begins here: http://i.roadtrue.com
You can publish your links at the page “Your site”.
I love it and I will make it and share with you when it is done
I just used your tutorial to make my own fabric magnet board, to display magnets we buy as souvenirs when we travel (and to get them off my fridge)! You can see it here: http://missionorganization.blogspot.com/2011/07/diy-project-fabric-magnet-board.html THANKS so much, your directions were JUST what I was looking for!!
I think I might totally use this idea!! thank you for the amazing tutorial! 🙂
That is the coolest idea! I'm gonna have to remember that one:)
Very nice. Great tute. I really should do something like this and get the magnets off the fridge!
I love it! Thanks for the tutorial! This looks like it would be super easy to do!
I was just thinking about what to do for my husband's work and this is a great solution. He needs to see 5 months at a time, so I could alter this and make it work!
That is adorable!
I really like this idea, and we are running to Home Depot in a little while for a different project, but I see some galvanized metal in our future 😉 Thank you for sharing!