
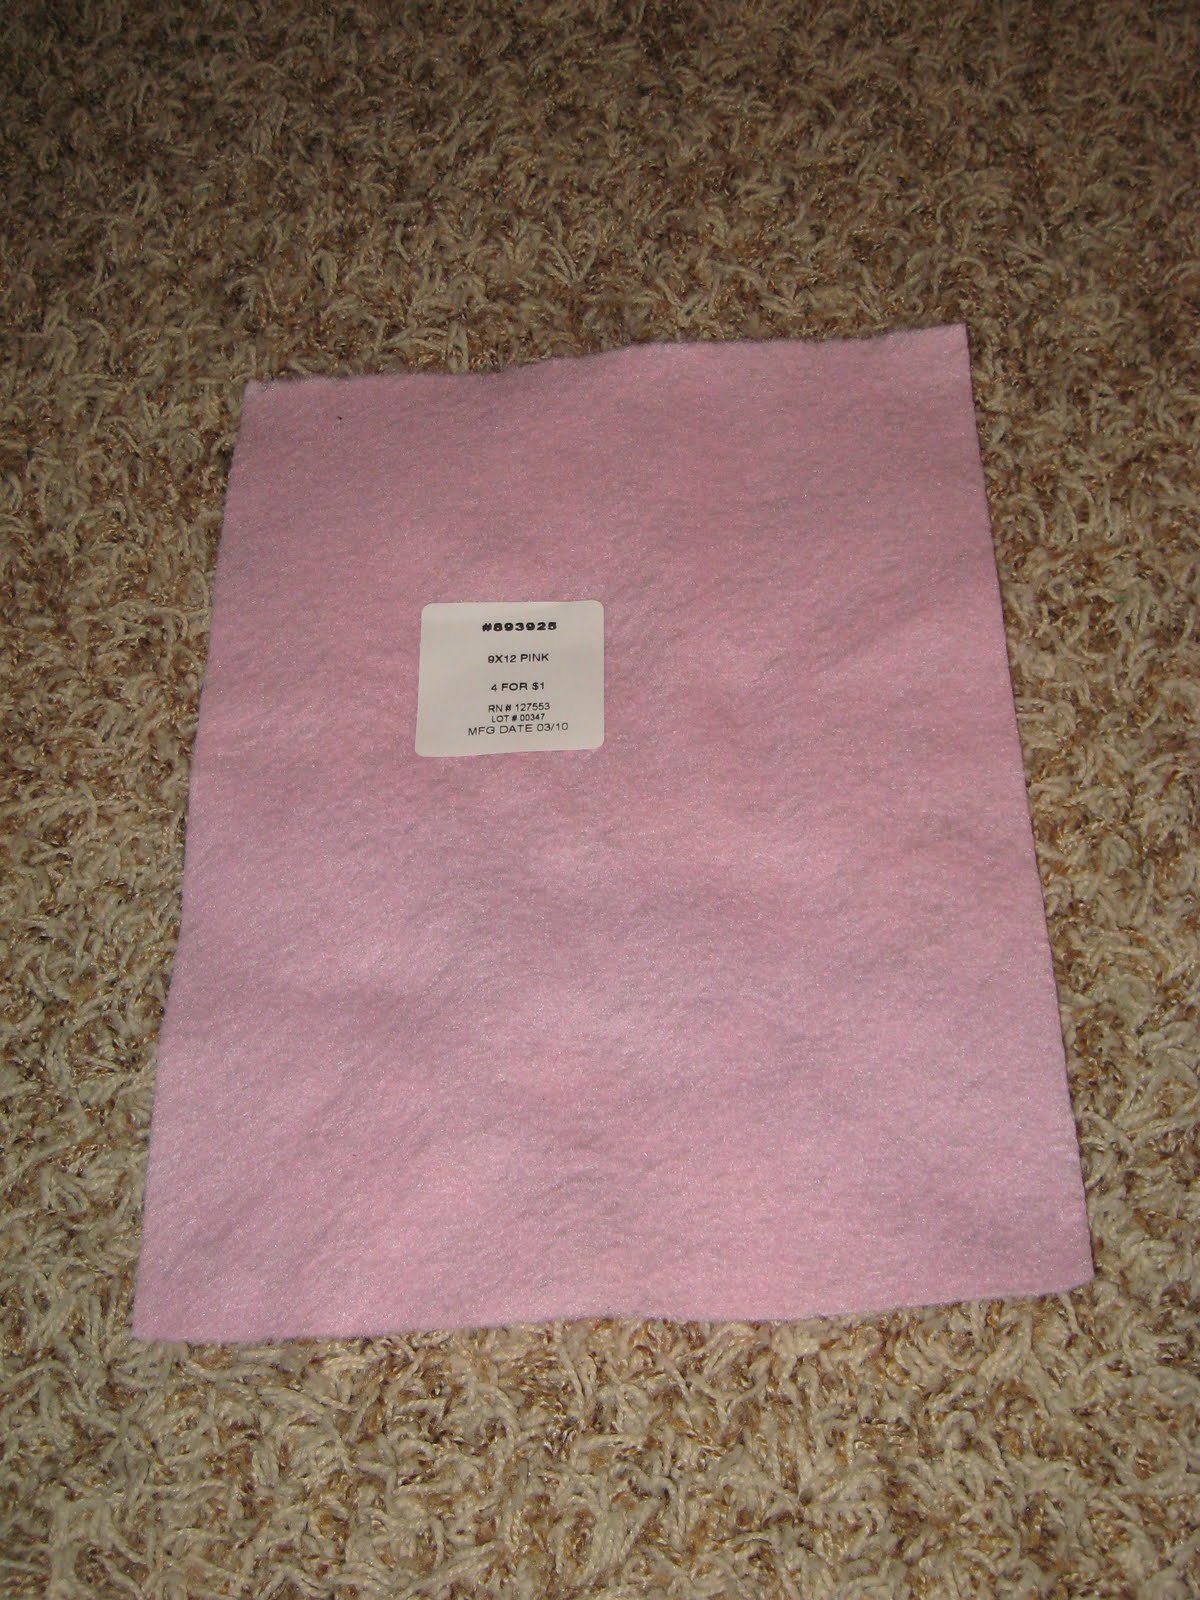
This will be my first of three tutorials on fabric flowers. I went googleing a few weeks ago for some tutorials and after reading a few, I came up with a few of my own methods that I felt saved me lots of time. The first one I want to share with you gals is a rolled rosette. These are super easy and quick to make. I start with a piece of felt the color of my rosette fabric. I got mine at Hobby Lobby for $.25 a piece.
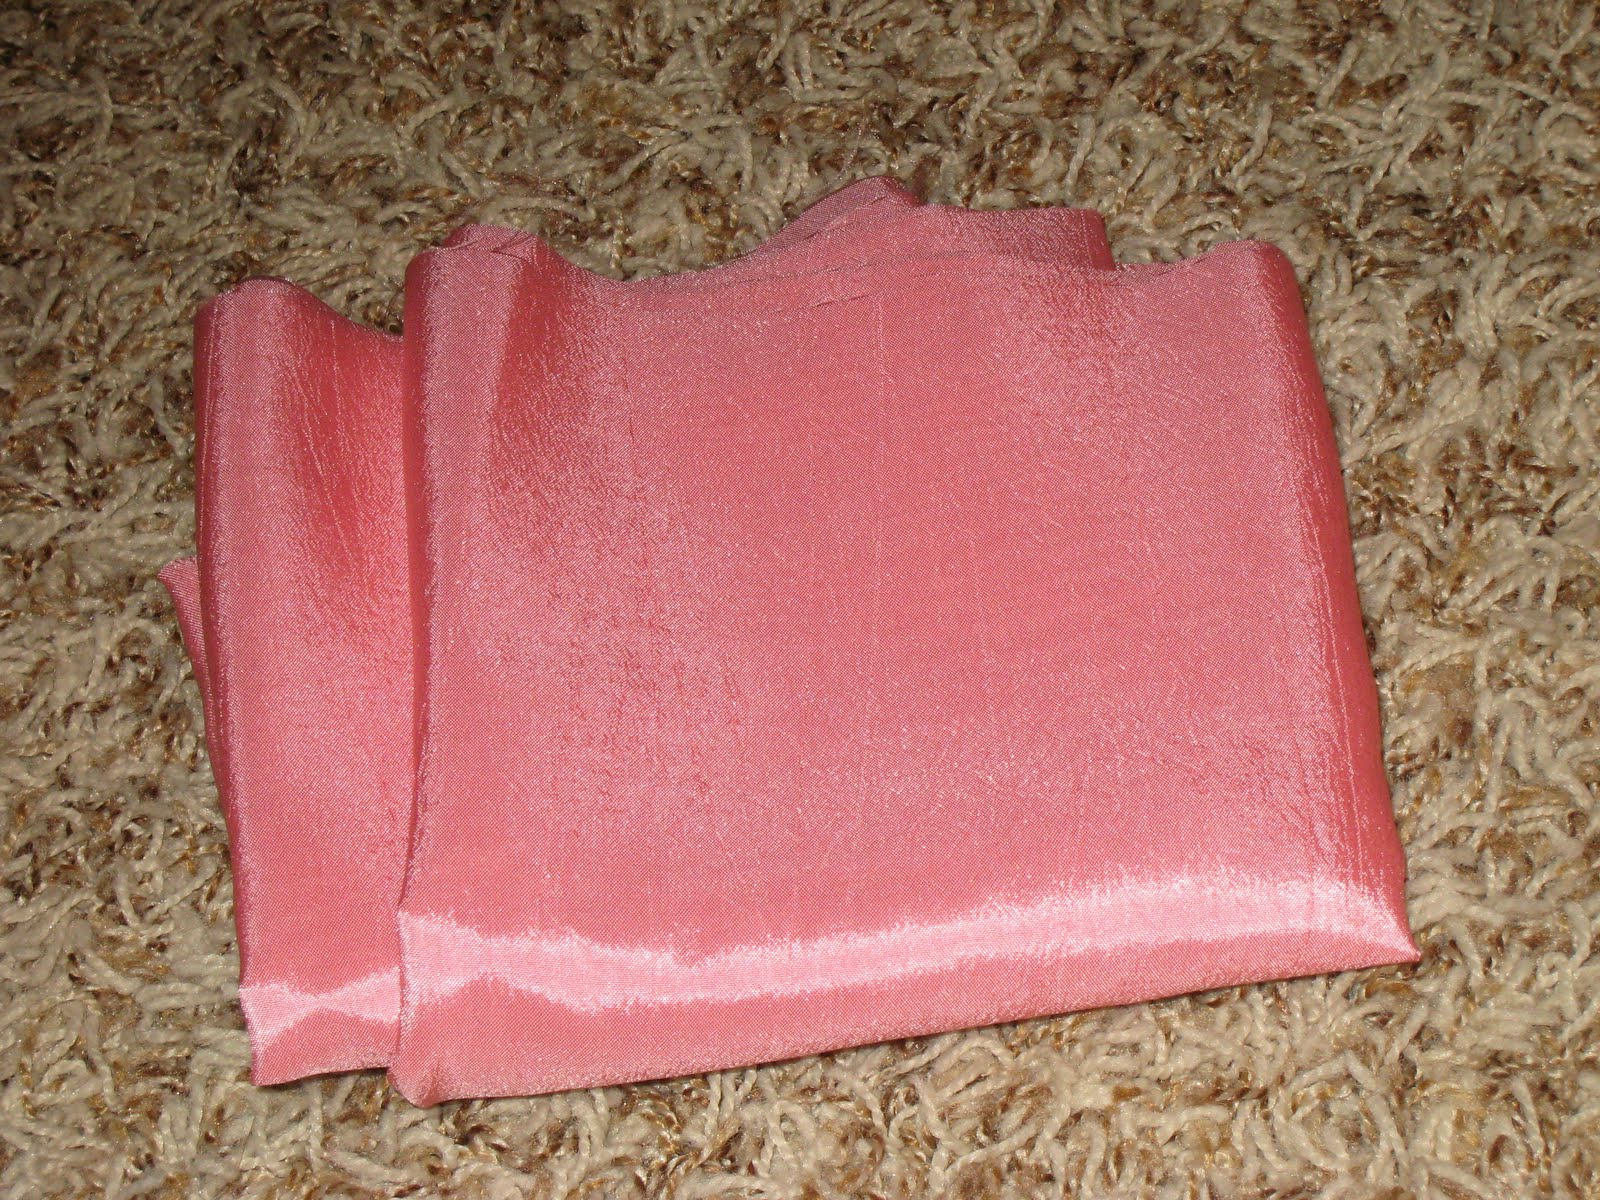
For these flowers you will want to use double sided fabric… Not sure if there is a more technical term but that is how I see it. You want a fabric that is not just printed on one side. For my fabric I used this silky solid I found at Joann’s for $2.50 a yard.
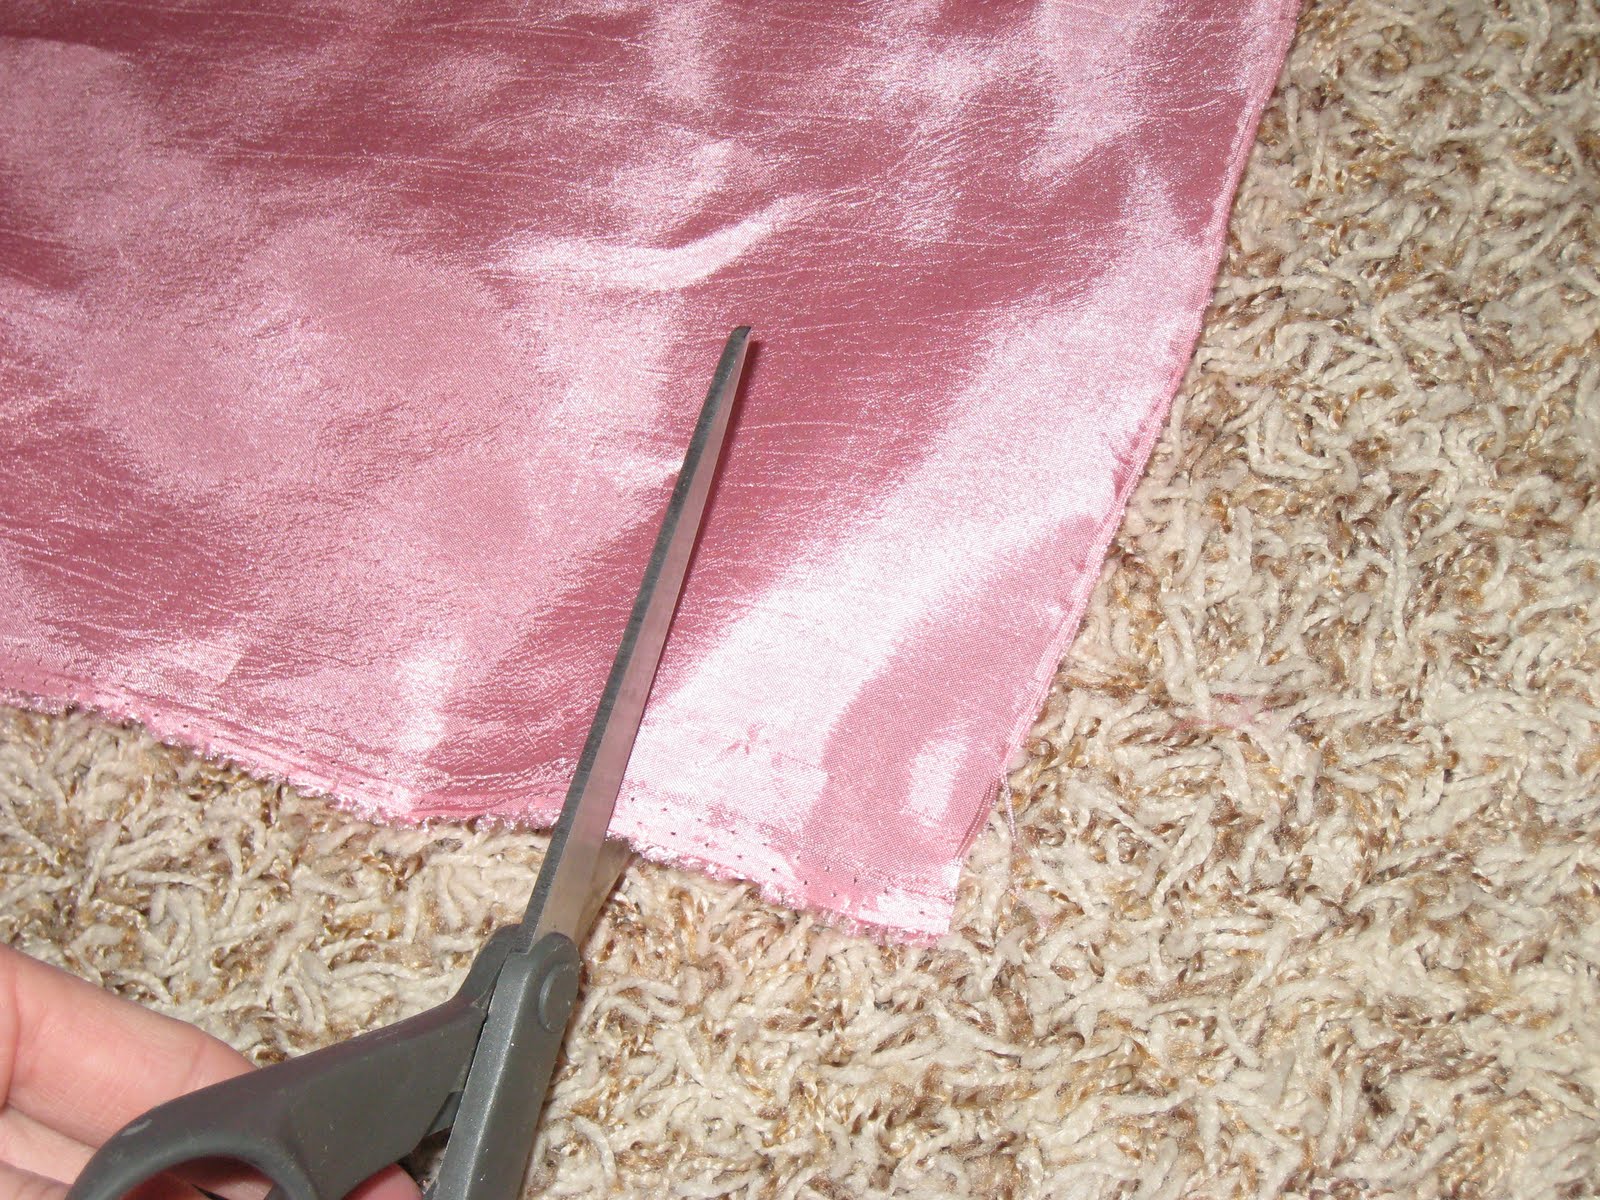
I started by cutting a small cut about 1.5″ from the edge of my fabric.
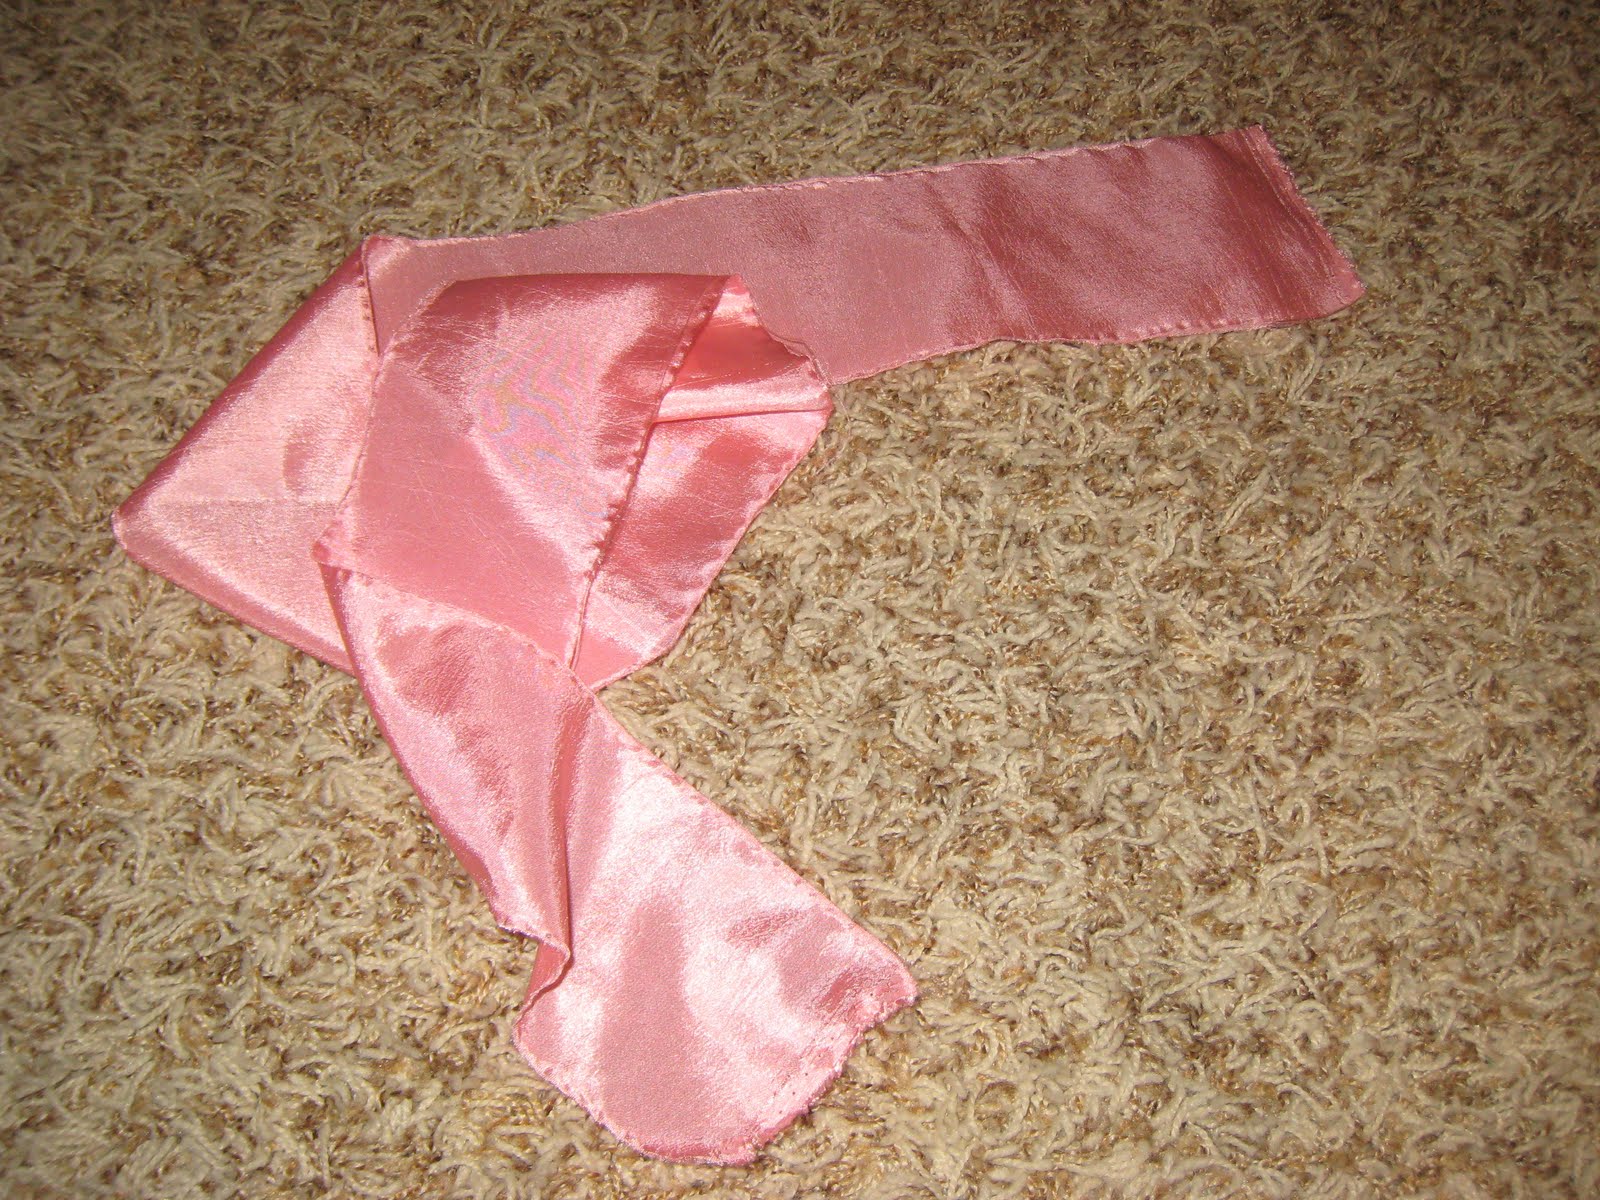
Then I just grabbed both sides of the cut and ripped it all the way to the other end of the fabrc. That left me with a 1.5″ strip.
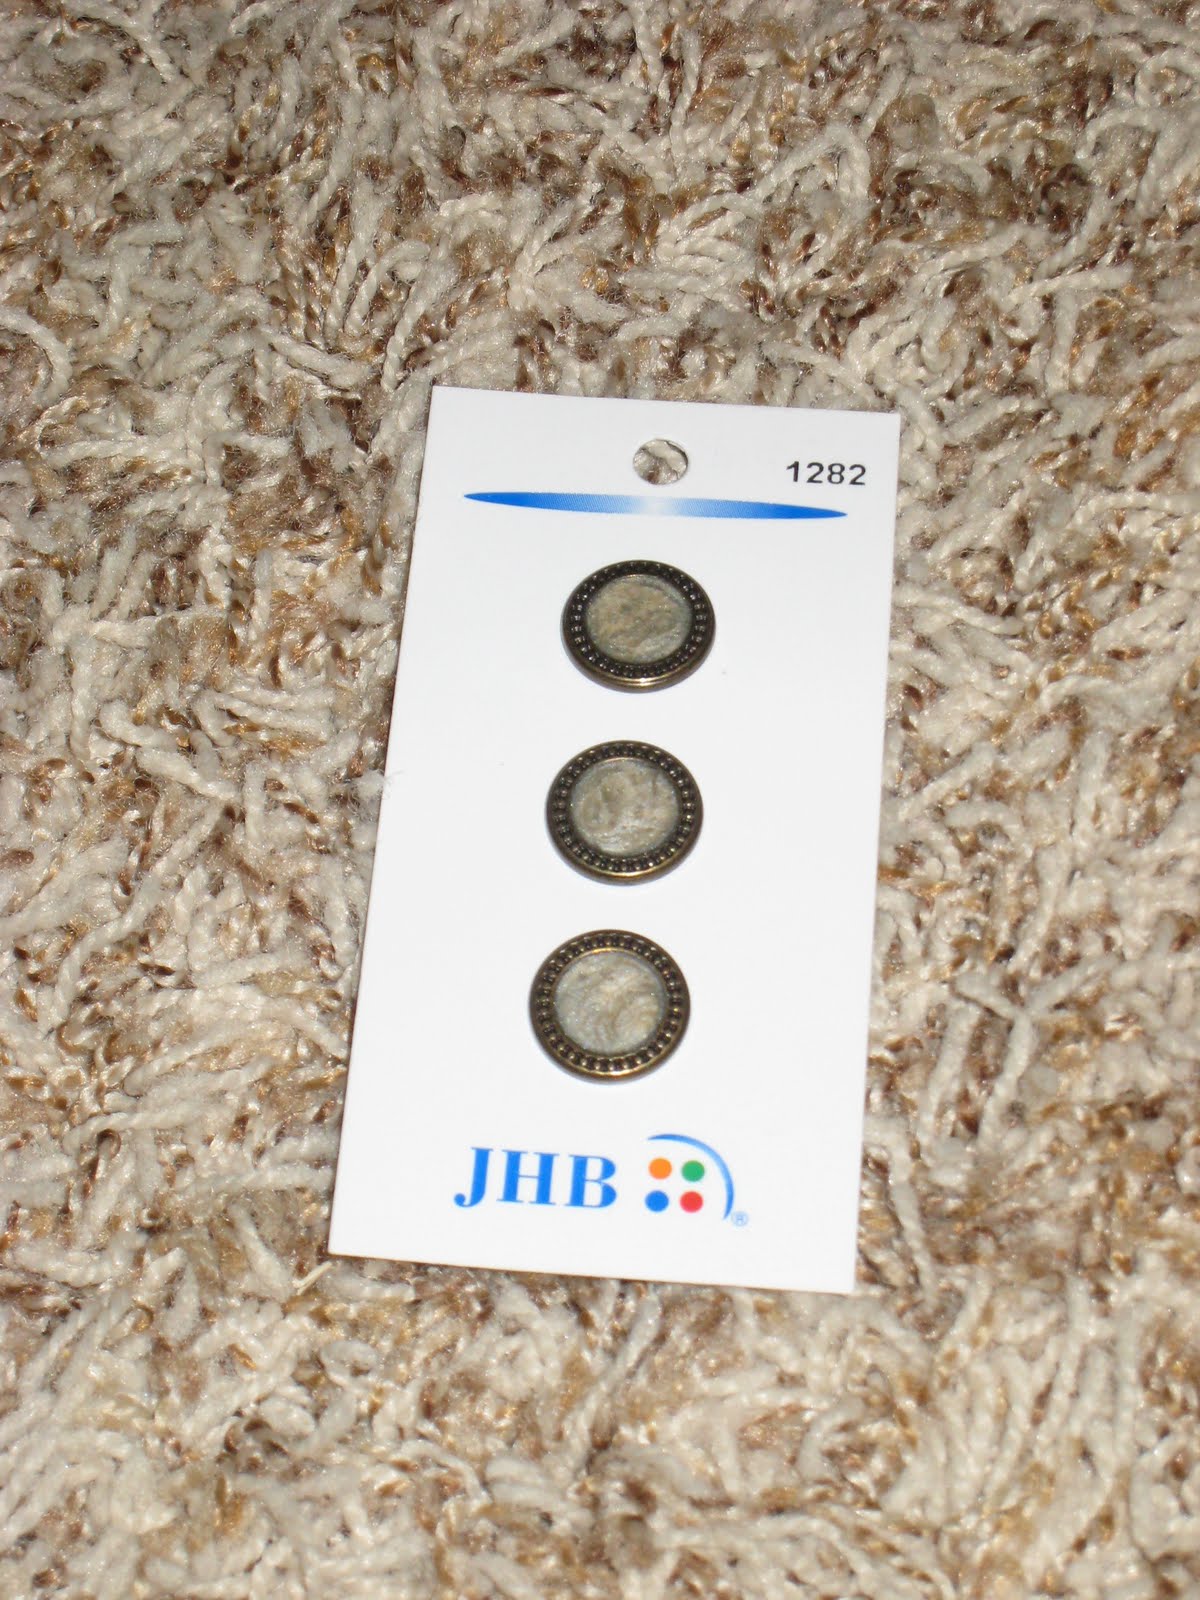
You will need a button for your center piece. I love the look of vintage buttons so I chose these from Joann’s that gave me a vintage look.
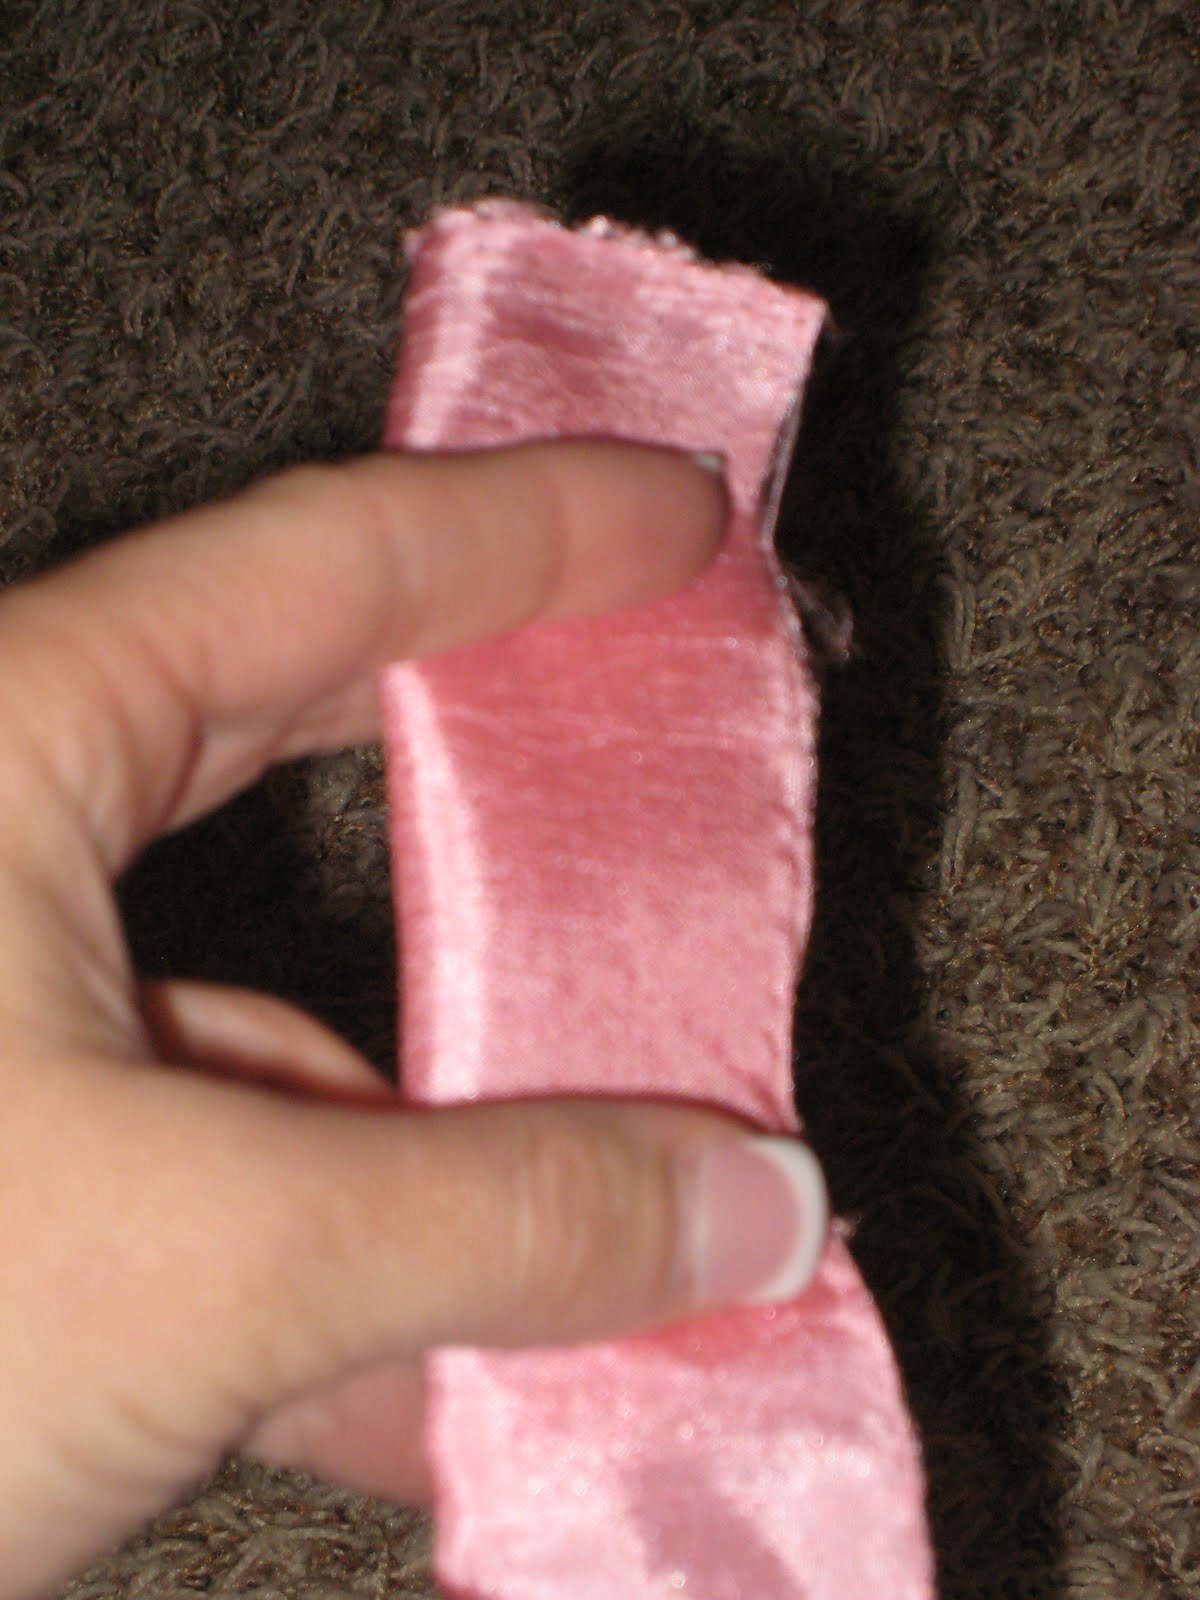
I folded my fabric in half.
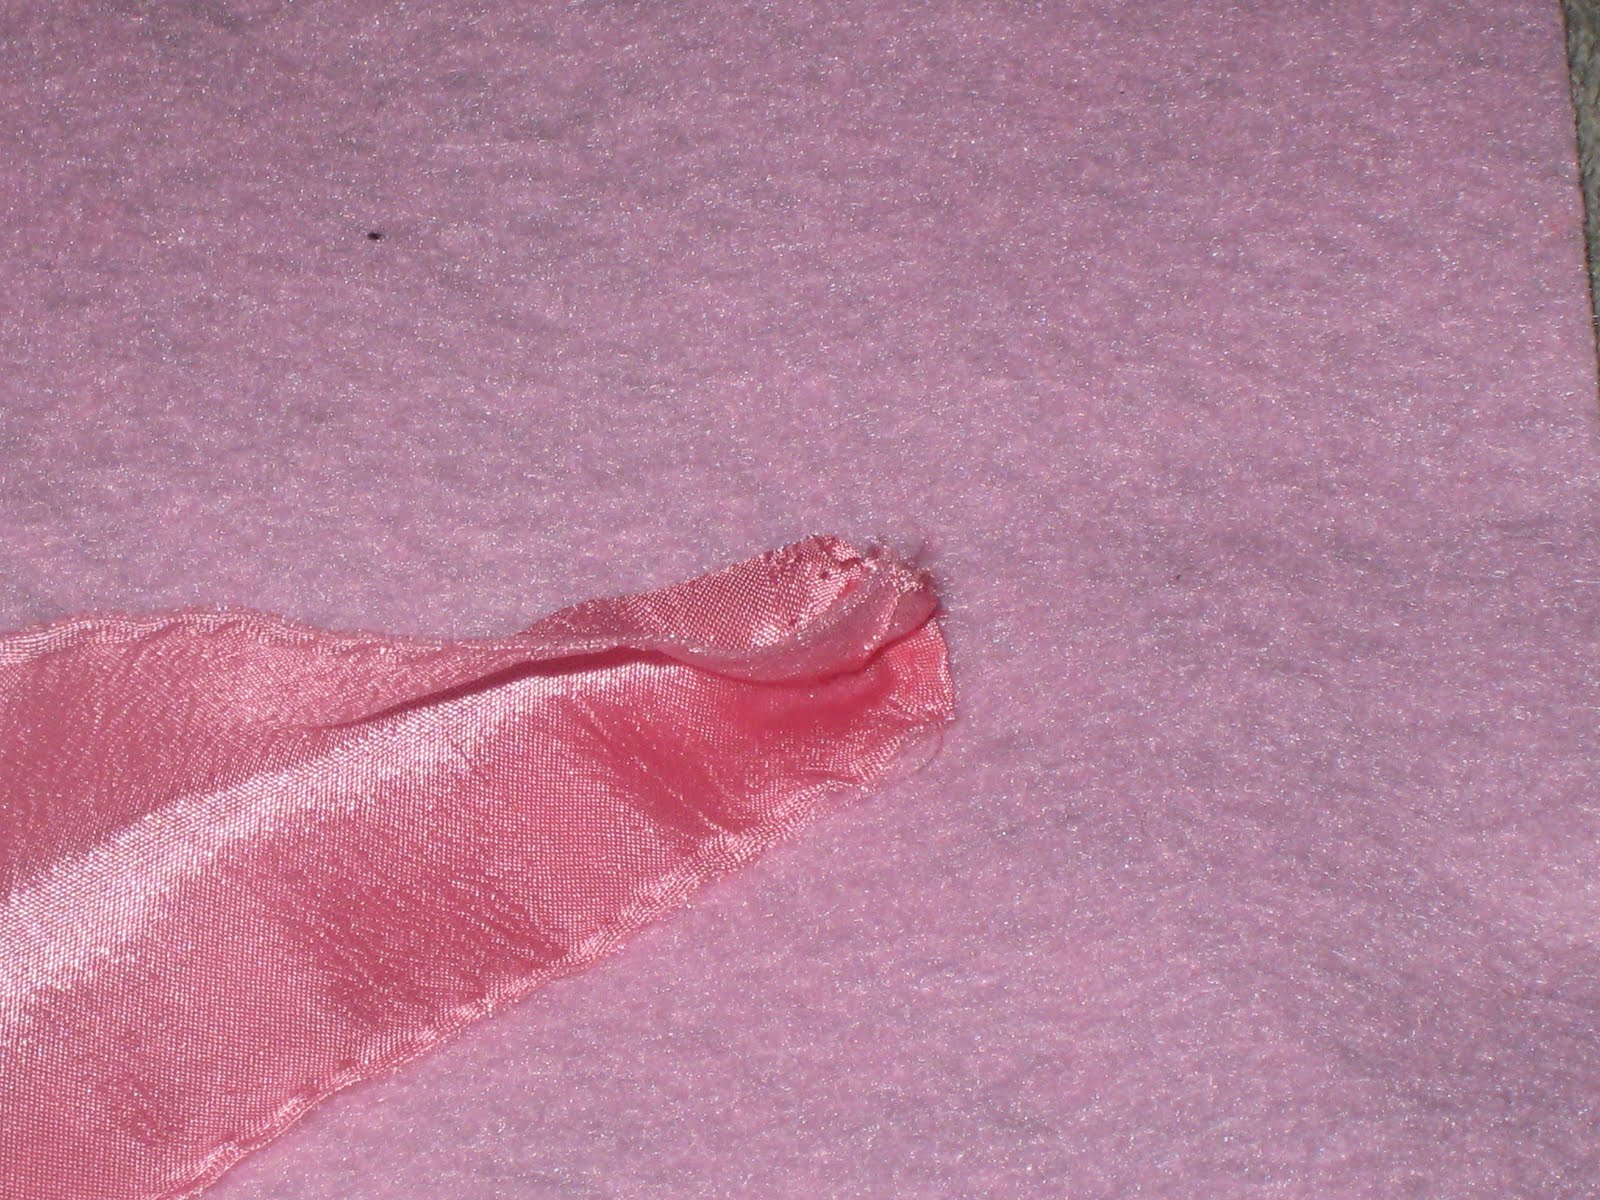
I then put a drop of hot glue on my felt.

I put my folded fabric down on the glue and then glued my button to the top of that.
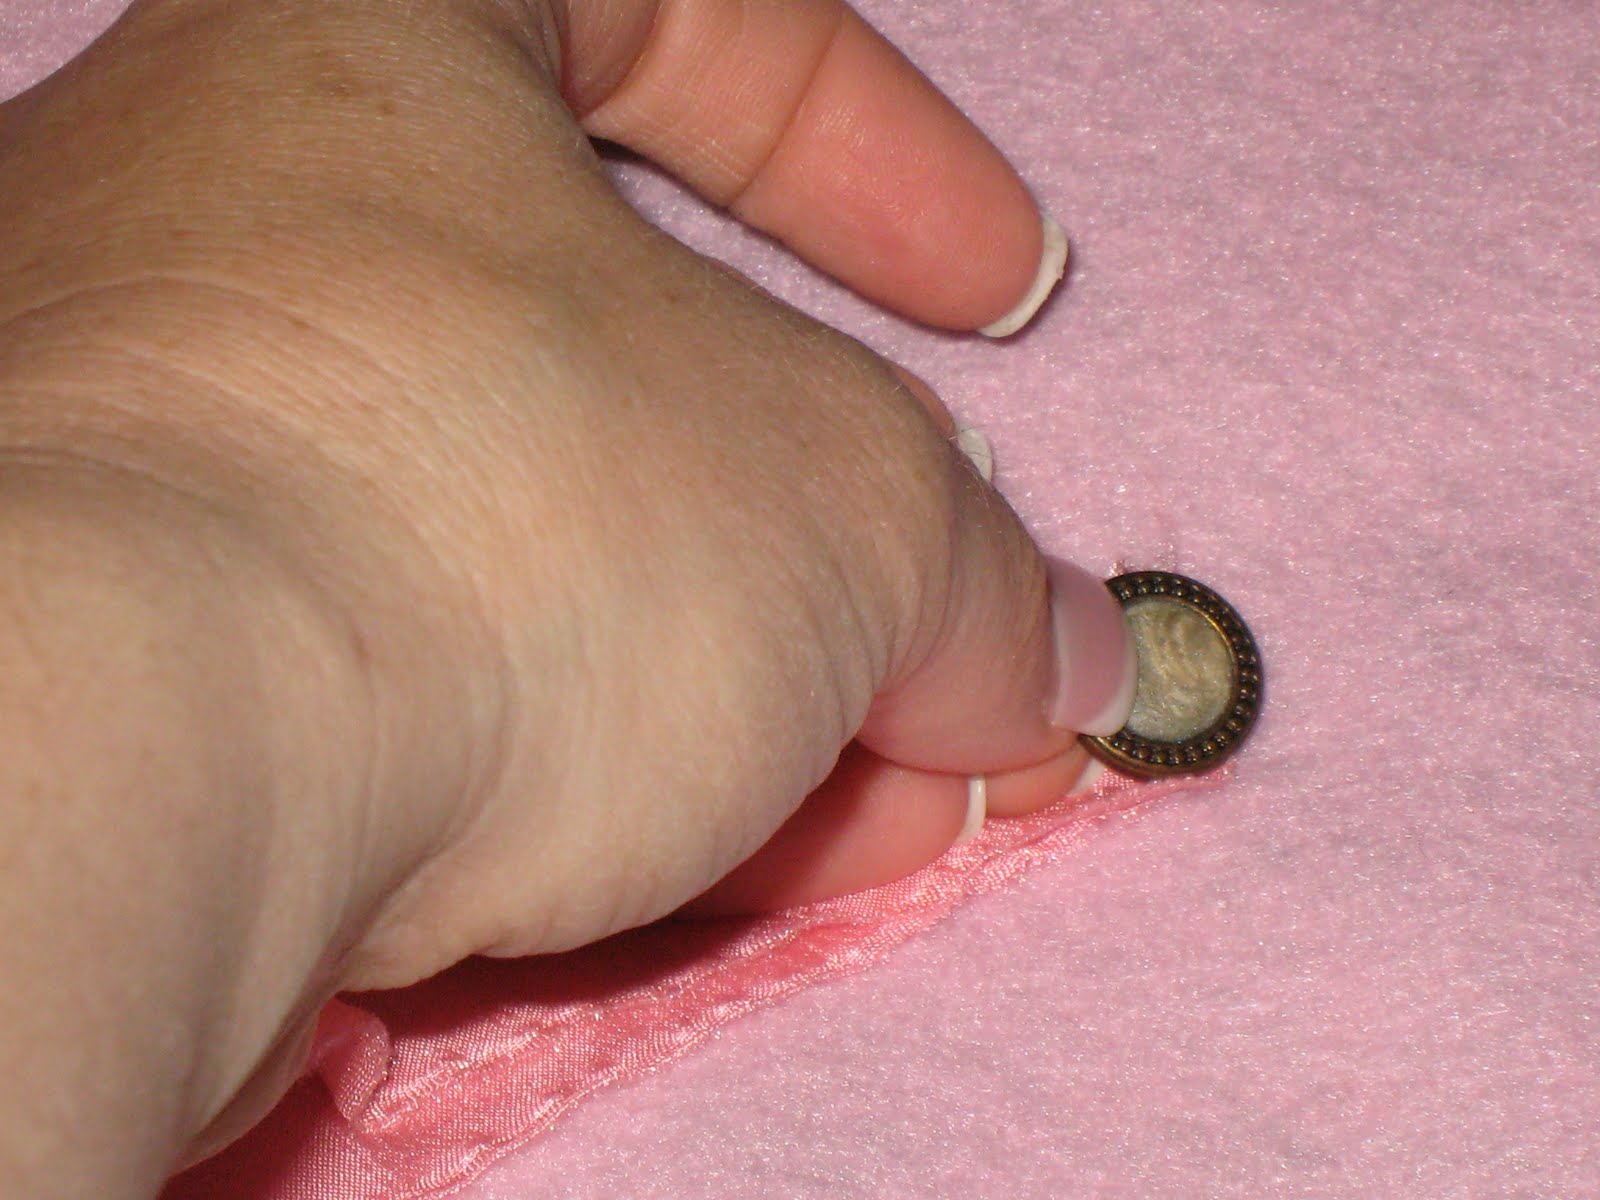
Now it’s time to roll! I kept my fabric folded in half as I rolled my fabric away from the center button.

I would roll about 3-4″ and then wrap them around the center button. As I wrapped I hot glued the rolls down to the felt. I did not have to use much hot glue at all.
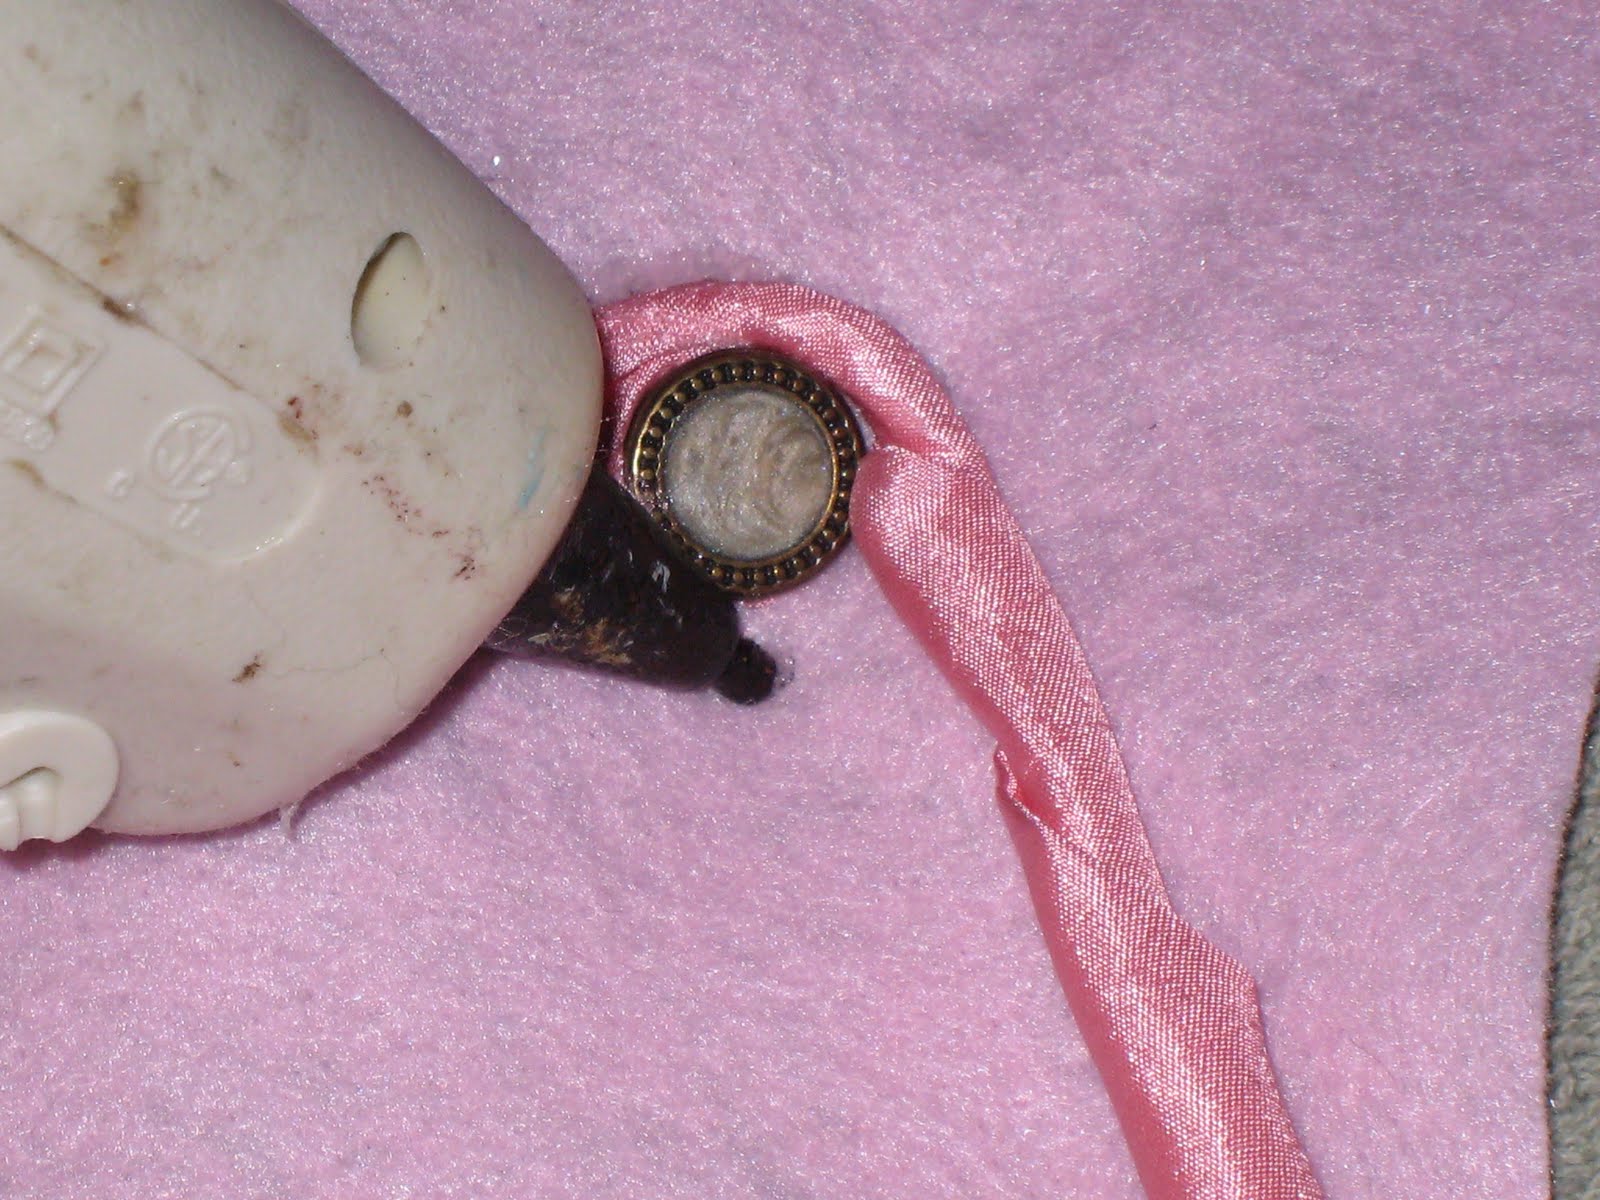
Keep rolling and gluing!
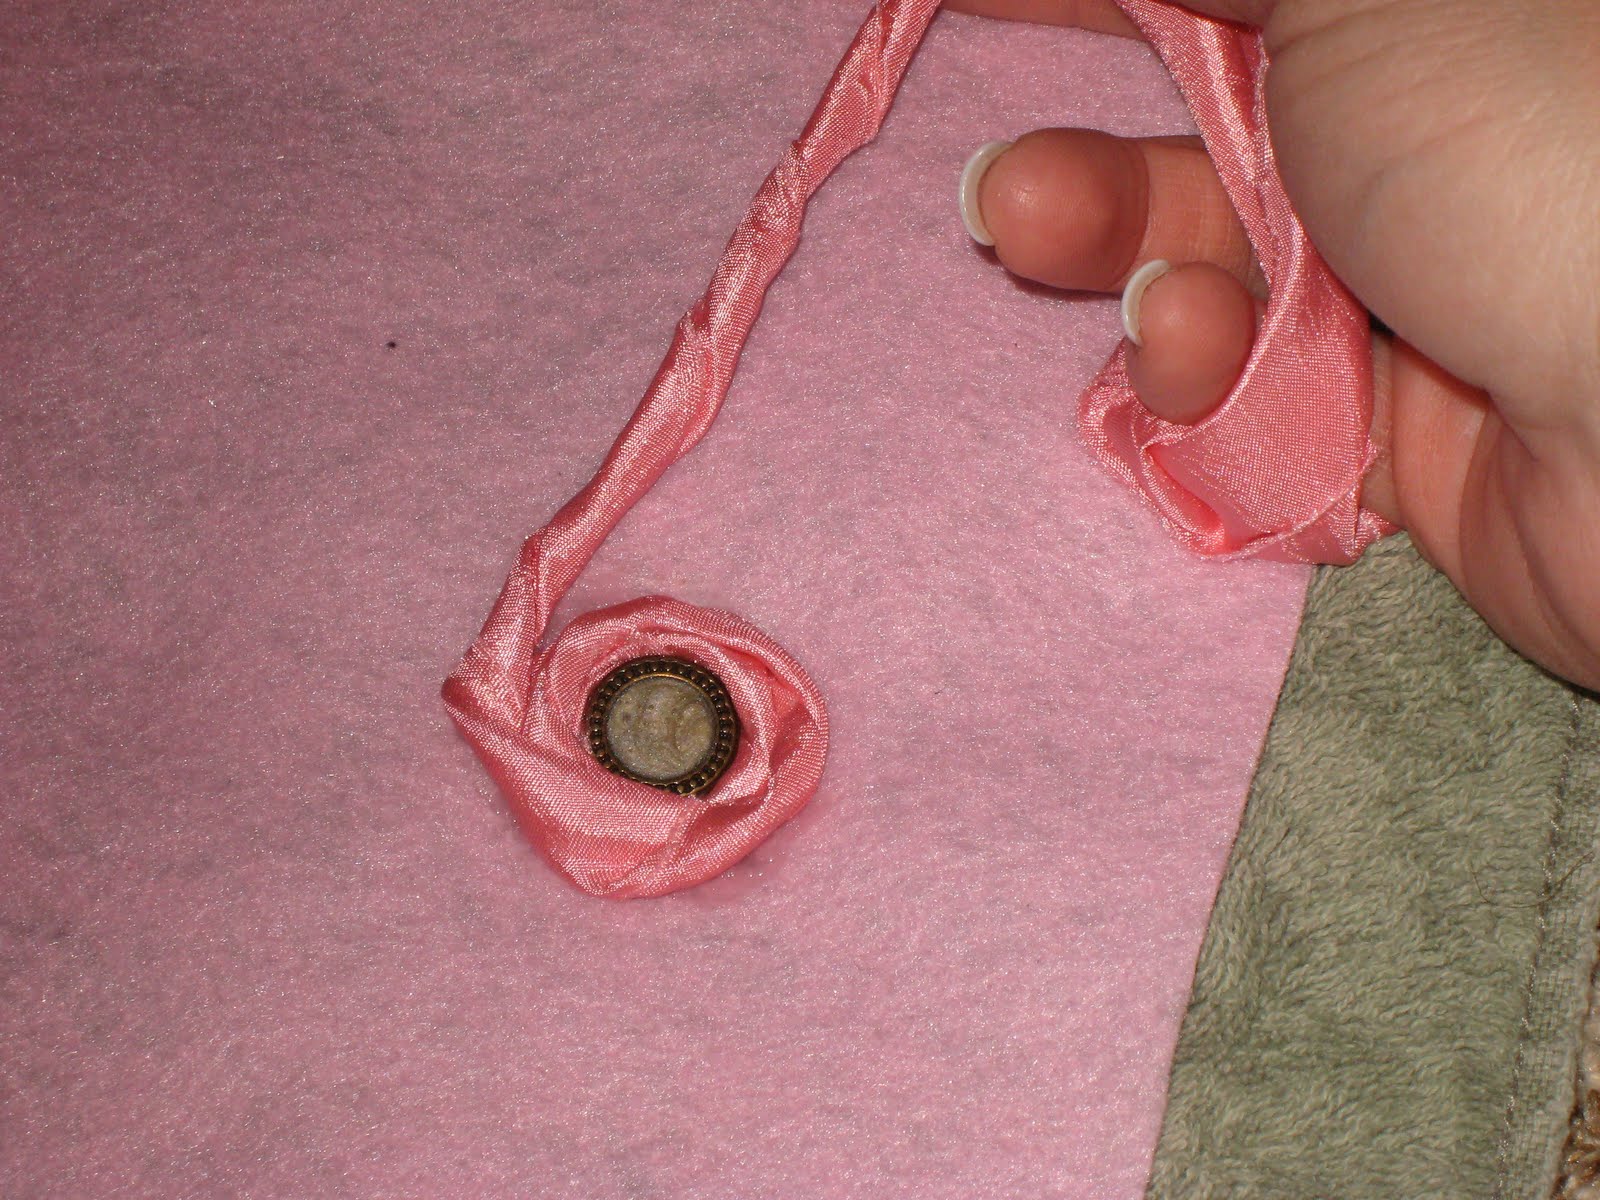
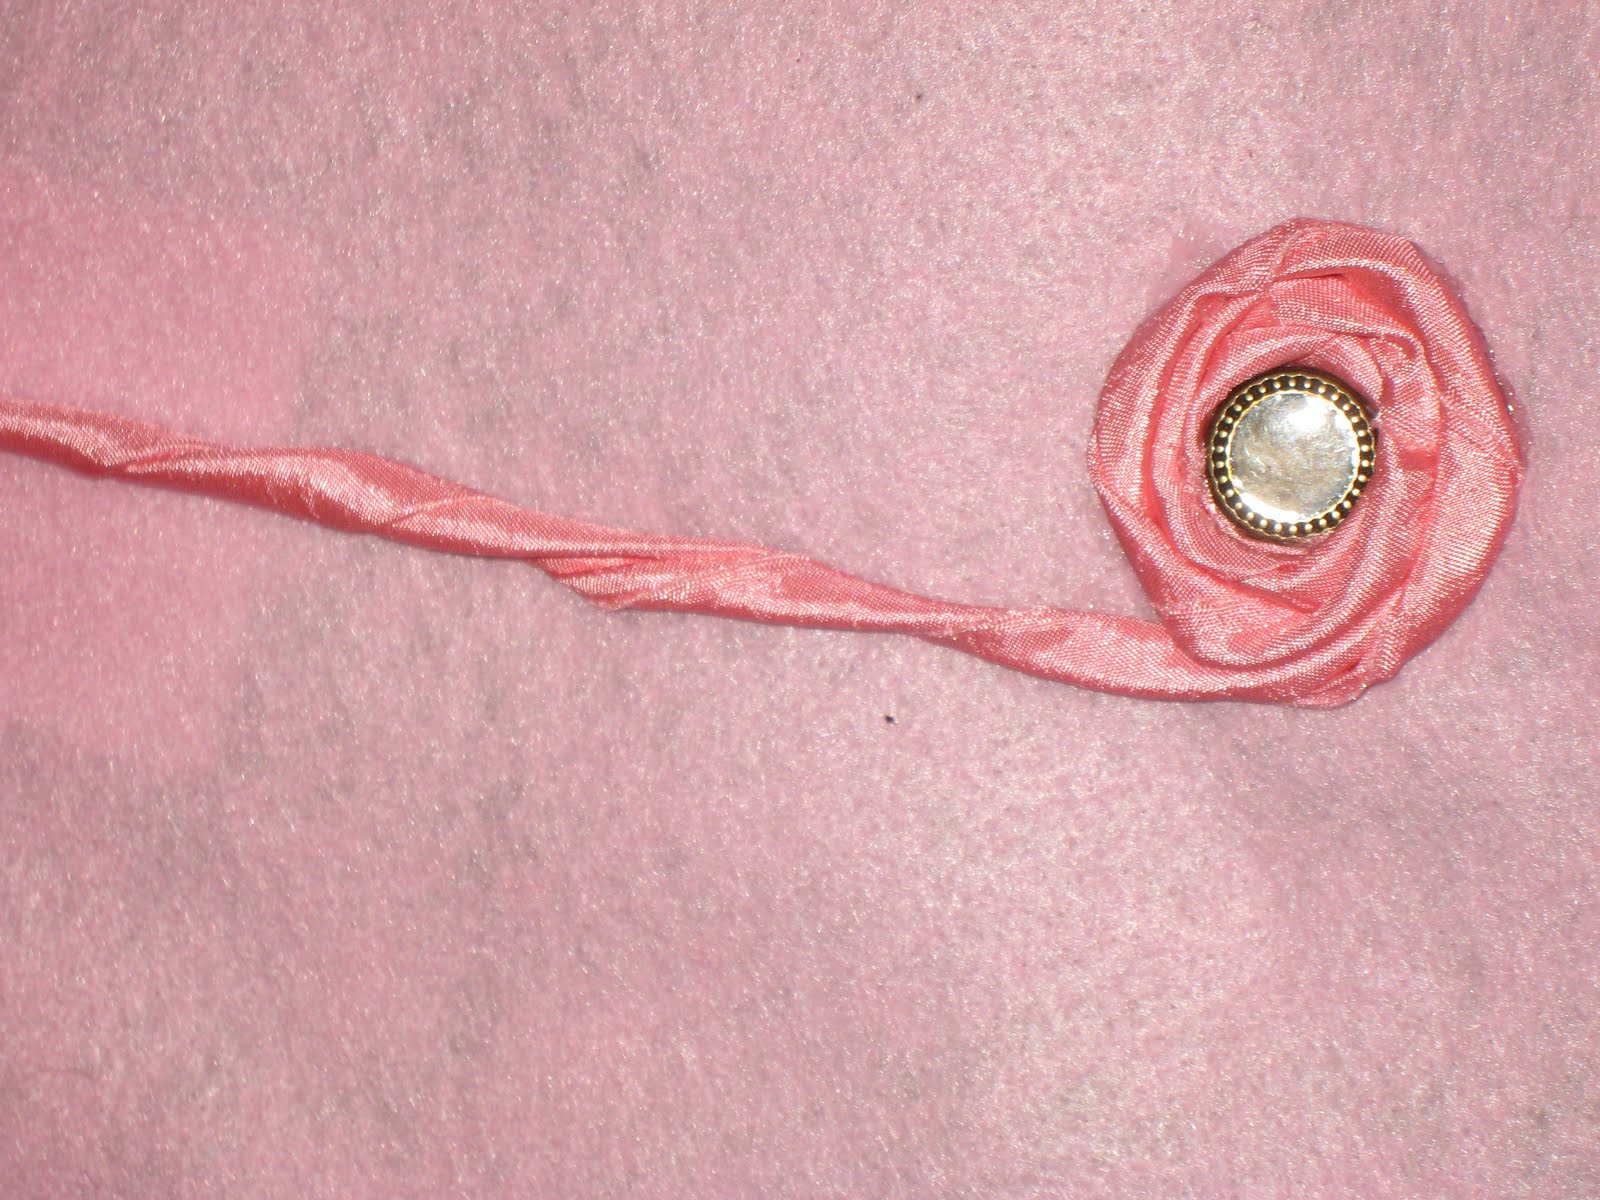
The tighter you roll your fabric the skinnier your flower will look. I would loosen it up a bit at different places to change it up a bit.
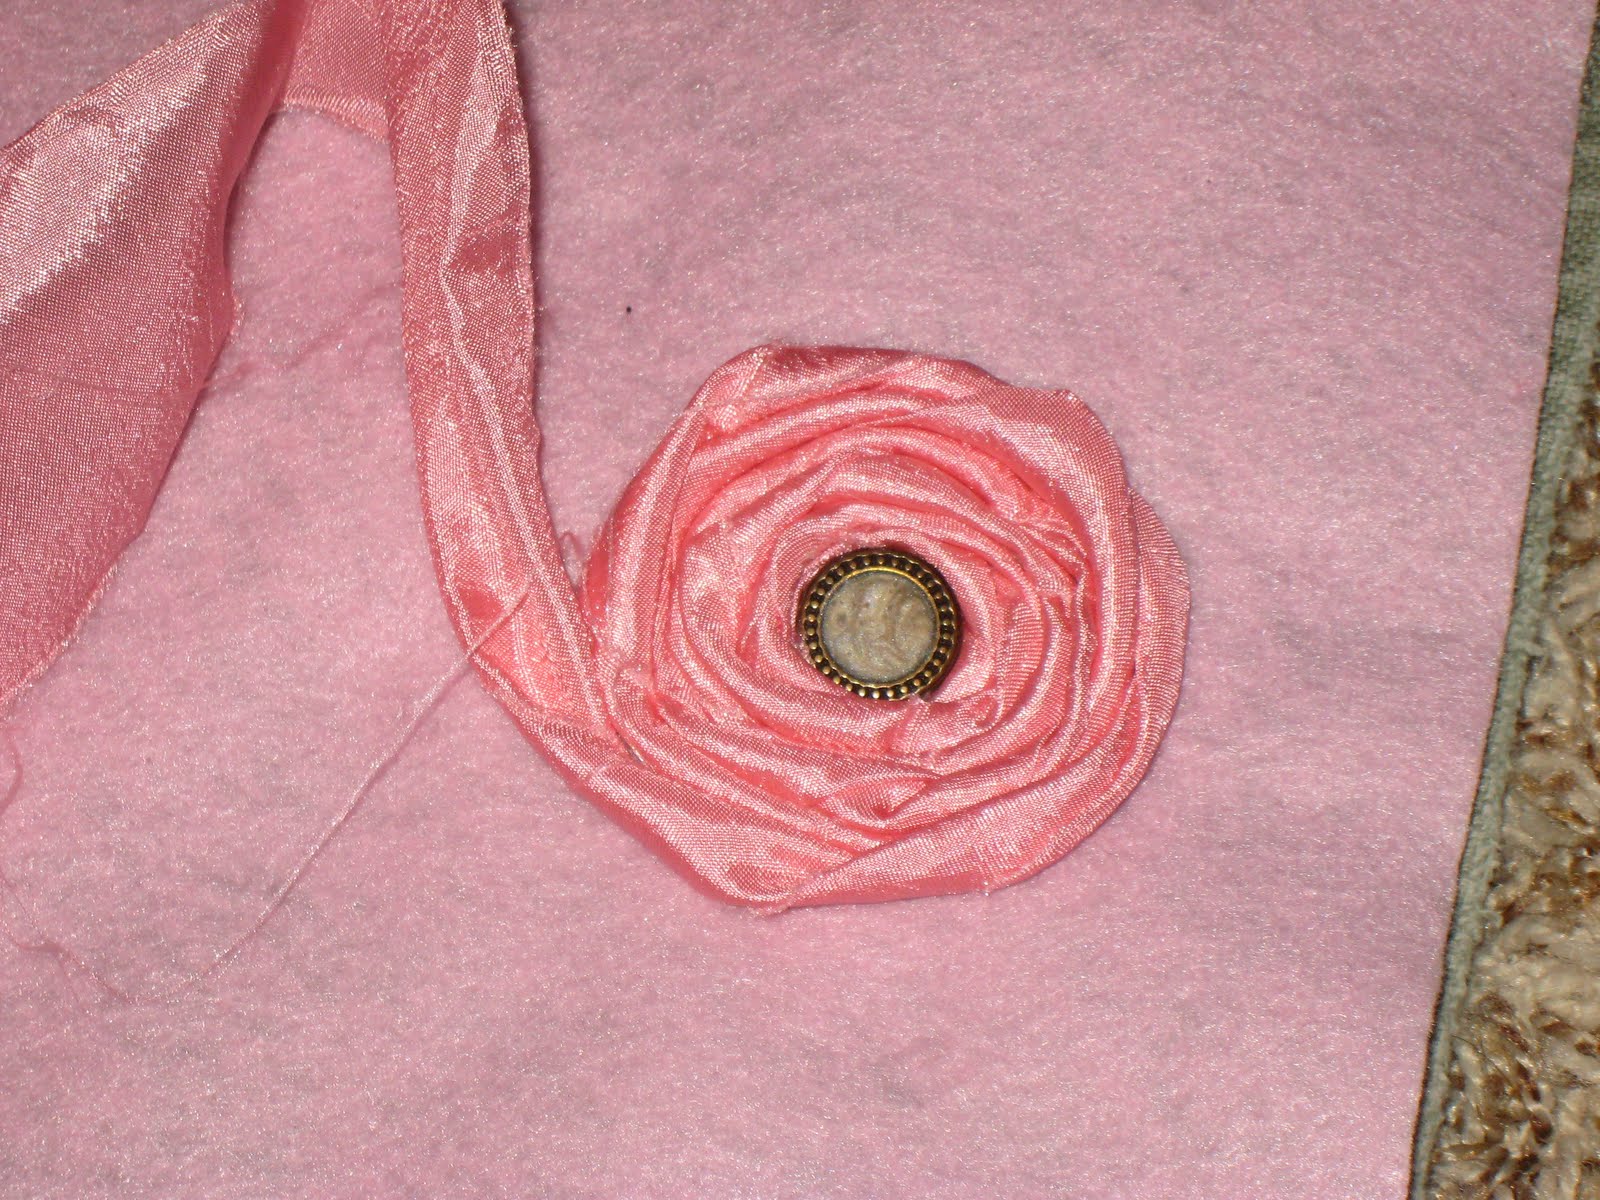
I finished rolling until I had about 2″ left of my fabric strip.
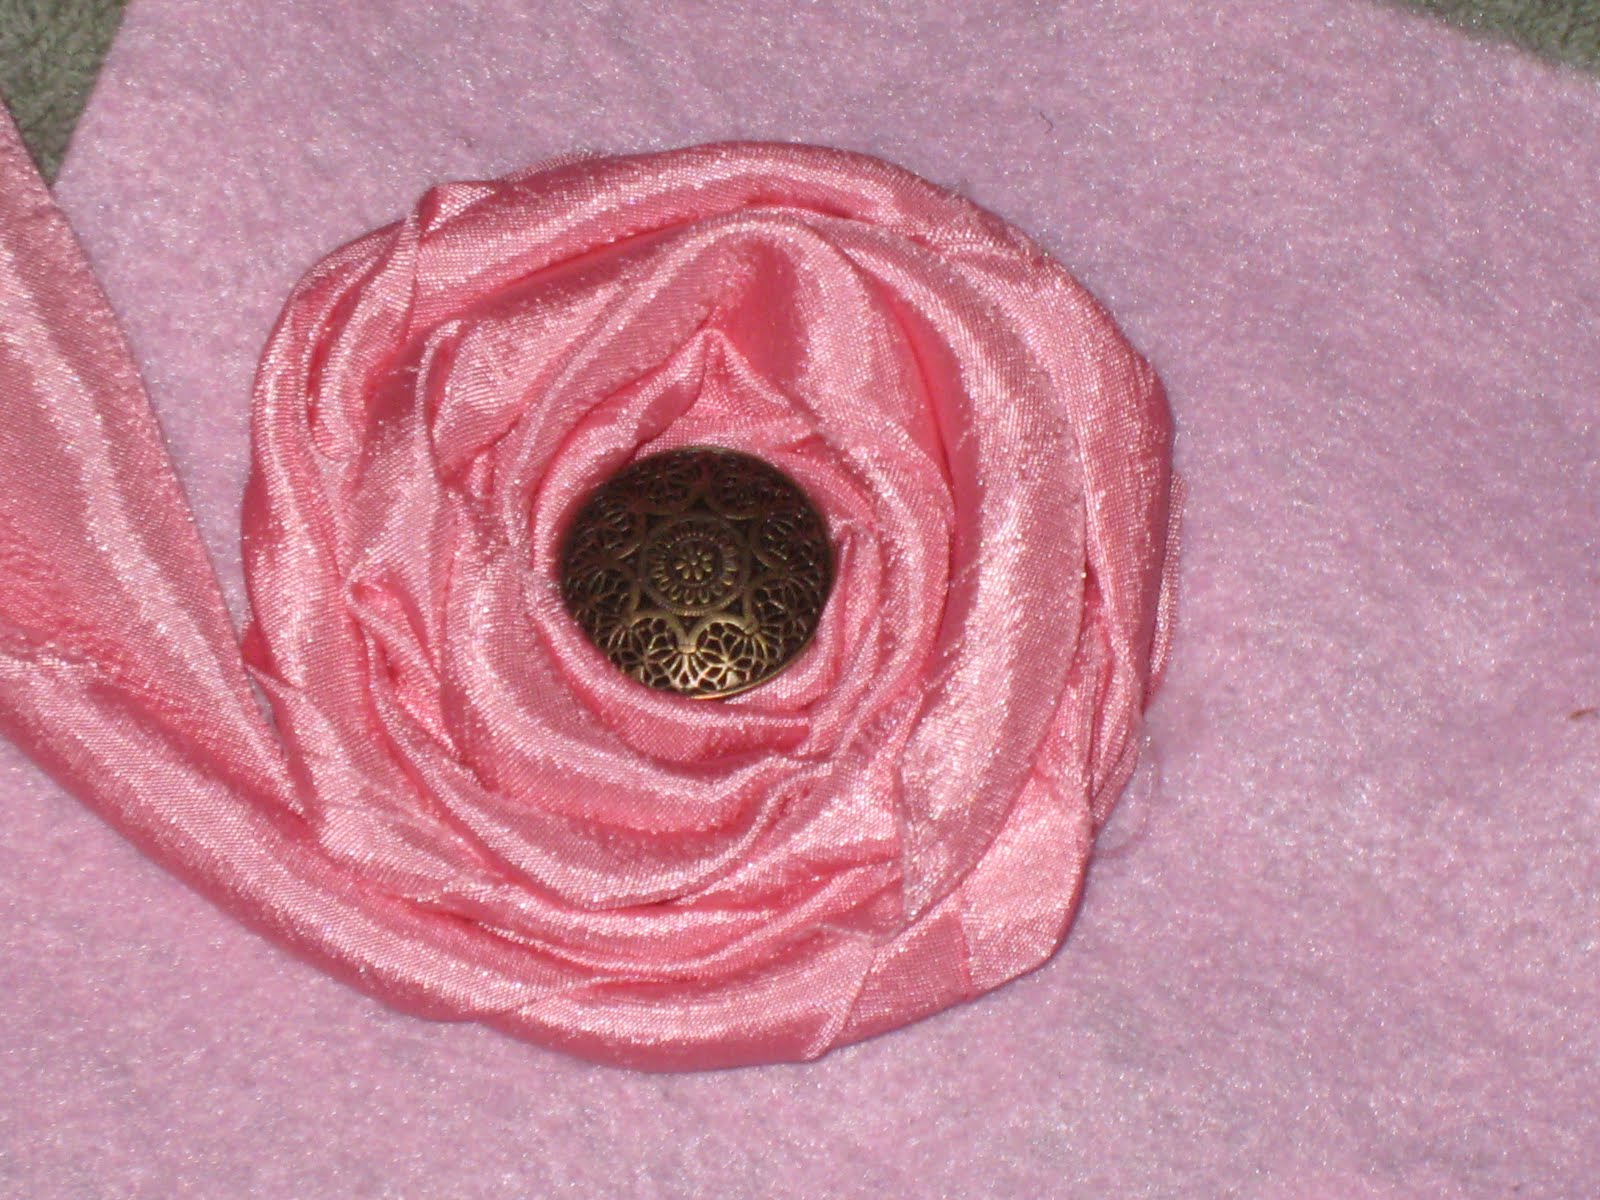
At this point I waited for the last of my glue to dry good and then I used a pair of scissors to cut the felt around the flower. I was careful to use very little glue on the last wrap around the flower so I could cut my felt just a bit smaller than the width of the flower. Once that was cut I glued my remaining fabric to the back of my rosette.

That’s it! You are done. The back is a bit shanty so if you are worried about that just cut another small circle of felt and cover the back. Here are a few that I made…
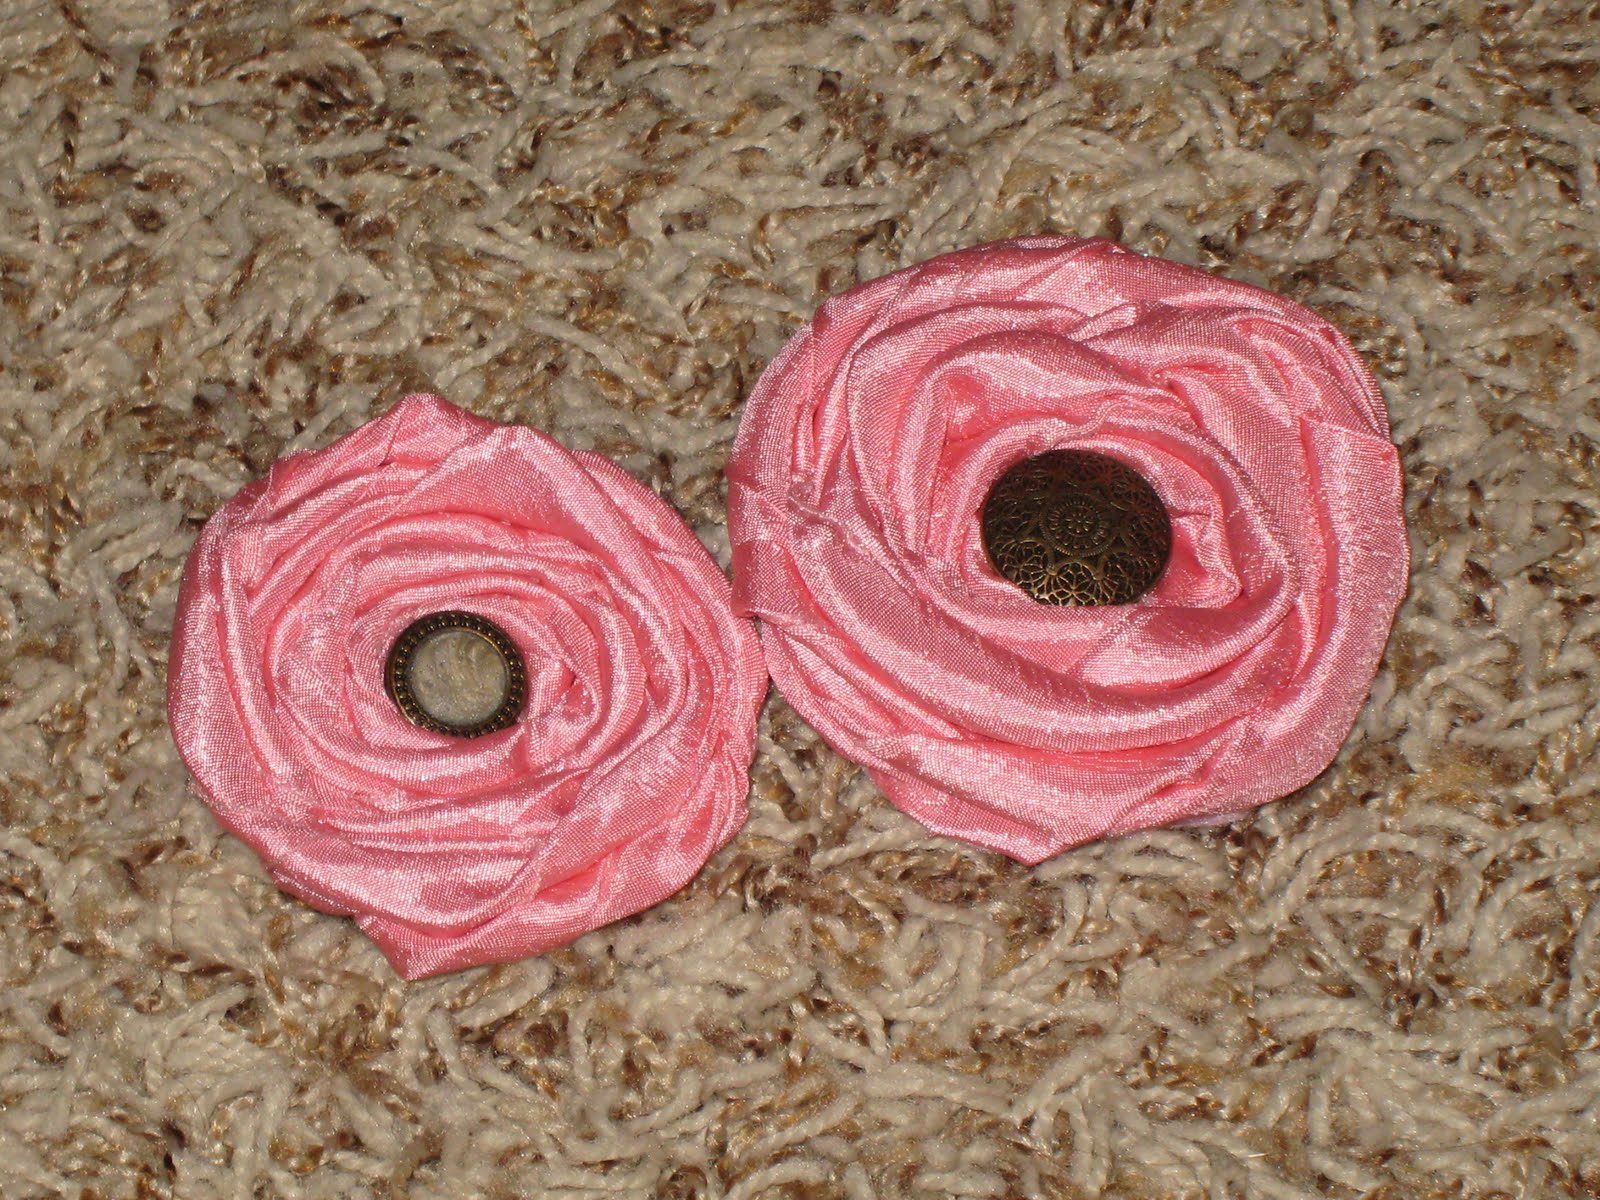
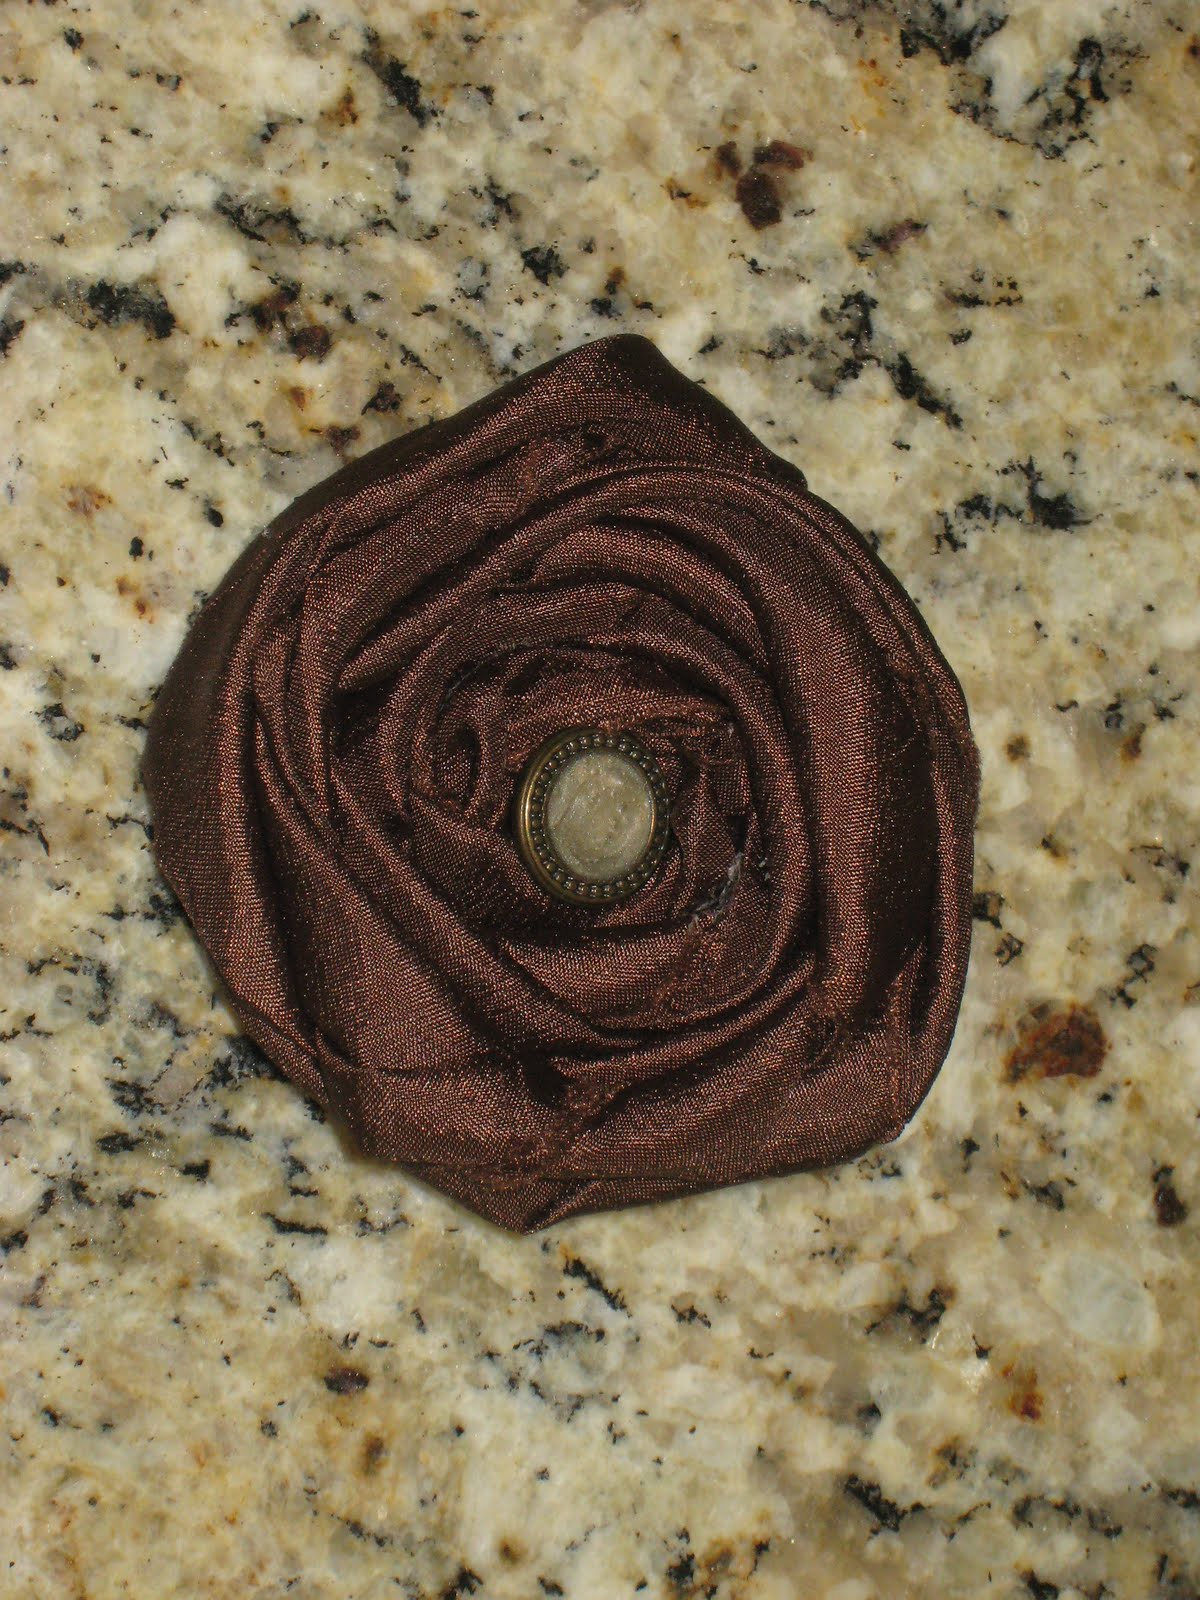
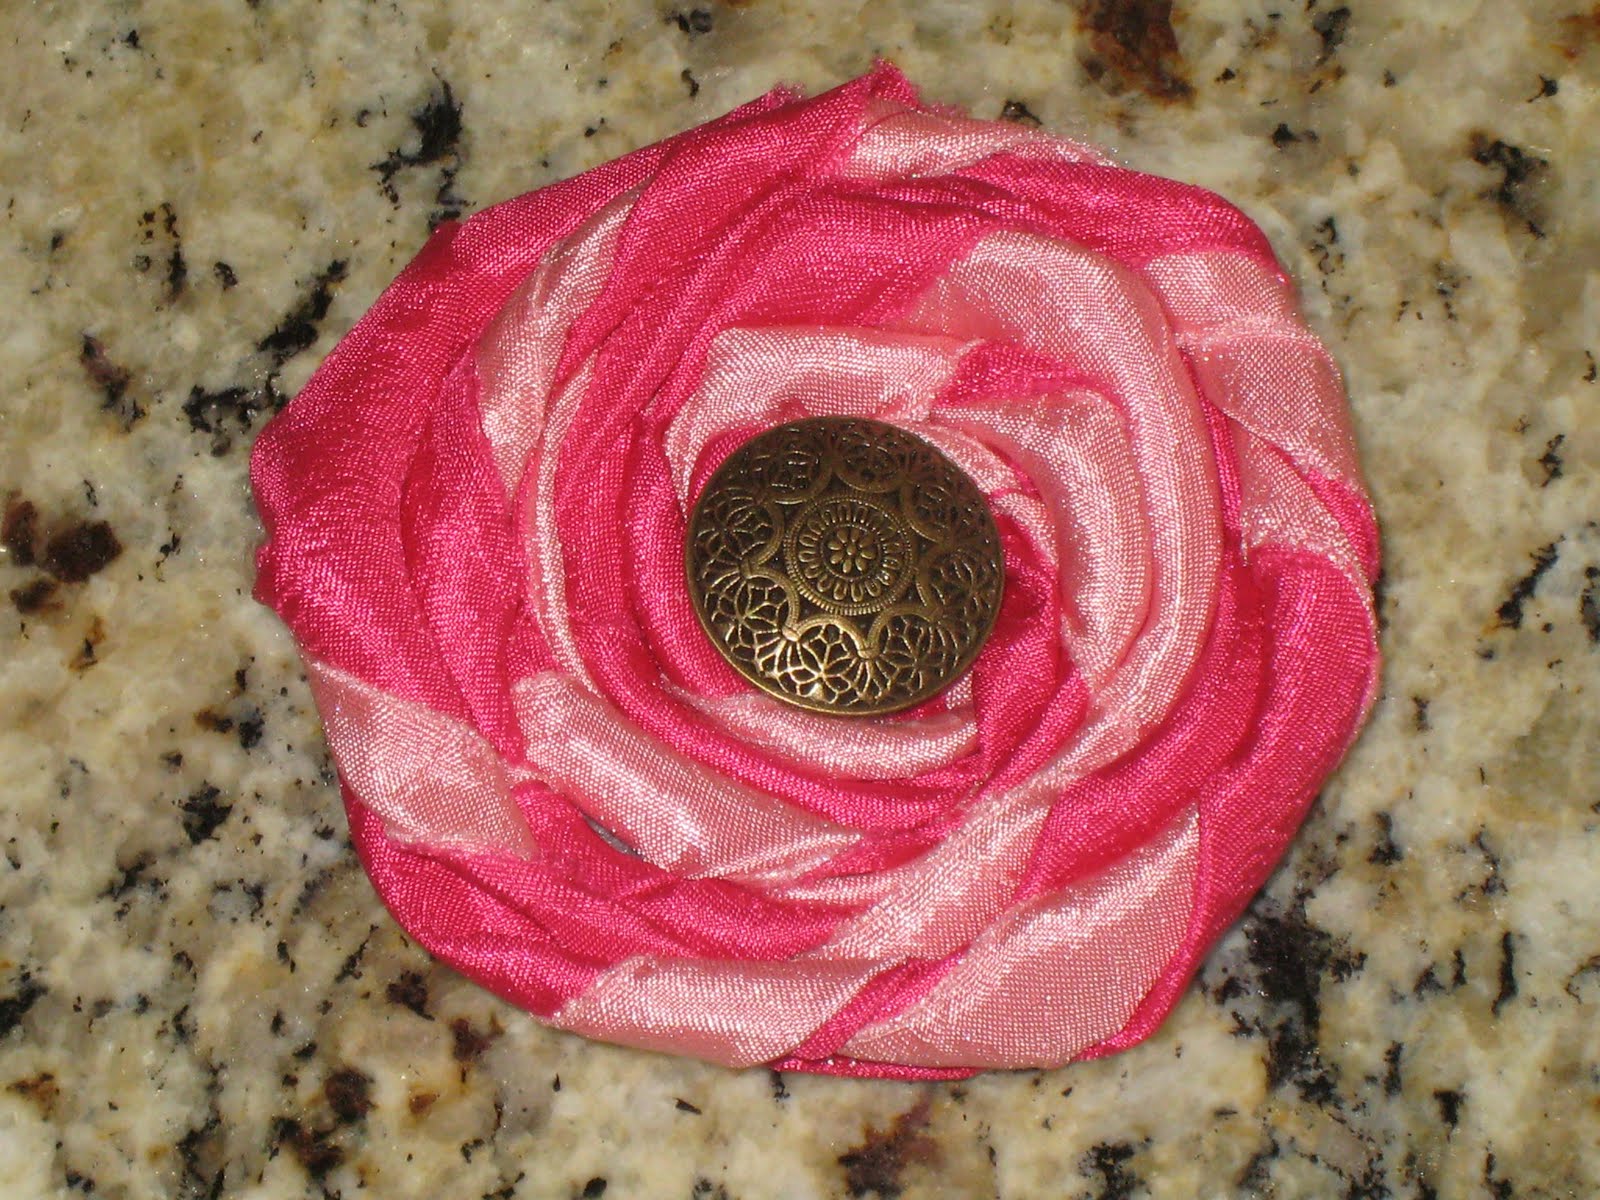
I used two strips of fabric back to back on this last rosette. I cut them a bit skinnier and didn’t worry about folding them in half…. So cute! These will all be for clips but I will be making more for around the house. Next I will show you girls how to make the folded rosettes I used on my wreath.

They are just as easy and again… No sewing! I’m sure there are so many ways to make these cuties but I wanted to show you guys how I had the best luck. Let me know if you have any questions at all. Thanks so much and have a great weekend!!