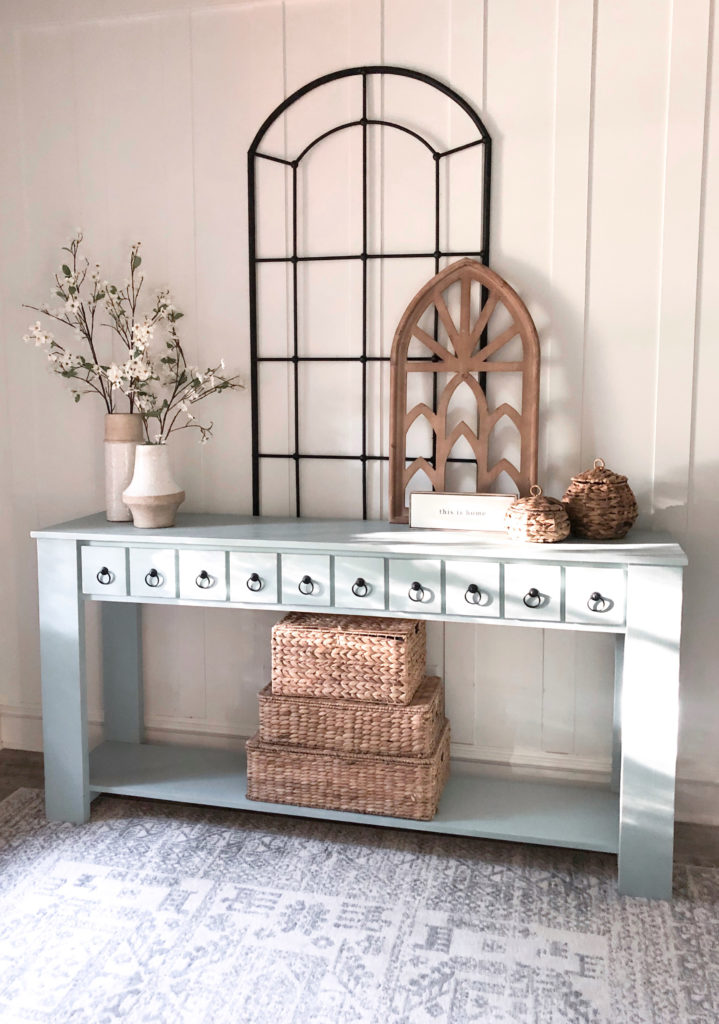
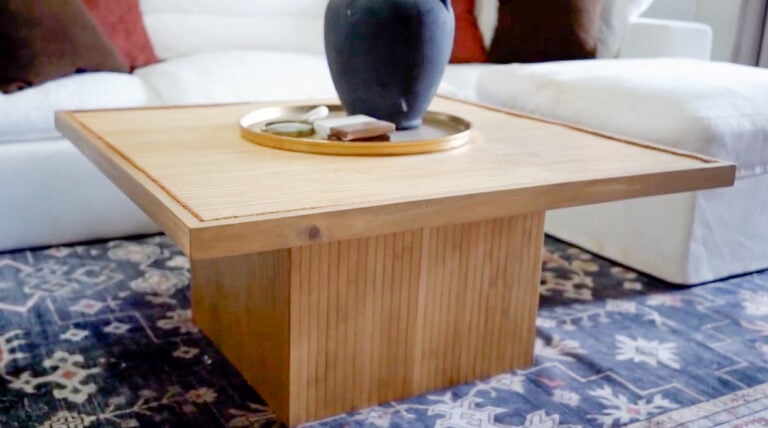
I LOVE how cute this DIY Faux Drawer Console Table turned out! I was looking for a way to create a cute and functional entry table that didn’t break the bank. This one is super easy to build, and the supplies cost me under $100! Check out this super easy how to paint furniture section below too.
We get asked about how we paint our furniture ALL the time. Really, it’s the finishing of a piece that takes it to the next level. We like to say it makes it look like we didn’t make it in our garage 😉
We teamed up with Ace Hardware to show you guys just how easy finishing your pieces can be! Ash and I both agreed, this is the thickest paint we have used. We were shocked at the coverage we achieved on raw wood in the first coat.

I’ll walk you through the process here, and be sure to check out our video tutorial by clicking the button below!
Our first step, sometimes the hardest, was picking a paint color. Why so many choices?! Ace also has a really cool interactive site called The Paint Studio that makes picking out your colors easier and fun!

We also had the help of Clark and Kensington’s paint deck and chose one of the prettiest blue colors called Lucky One.


We ran to our local Ace Hardware to pick up our supplies. We had so much help in the paint section from one of the Ace employees. You can find an Ace Hardware location near you by checking out their store locator HERE!


While he mixed our paint for us, we picked up the other supplies within a few minutes.


One of our favorite products we picked up were Ace’s sanding sponges. They literally took all the guesswork out of picking your sanding pads.

Now for the fun part! Let’s get to work!
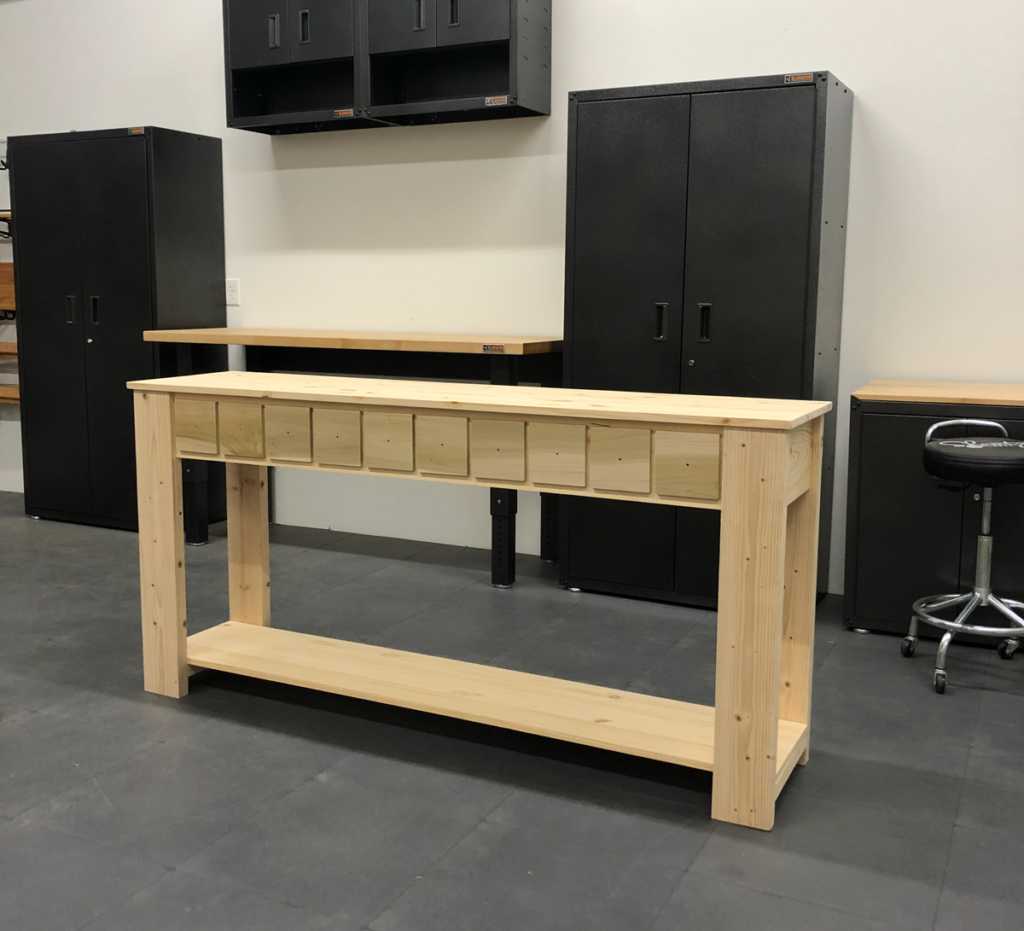
Here is our console after we finished building it. I will add a link to the free plans at the bottom of this post if you missed them!
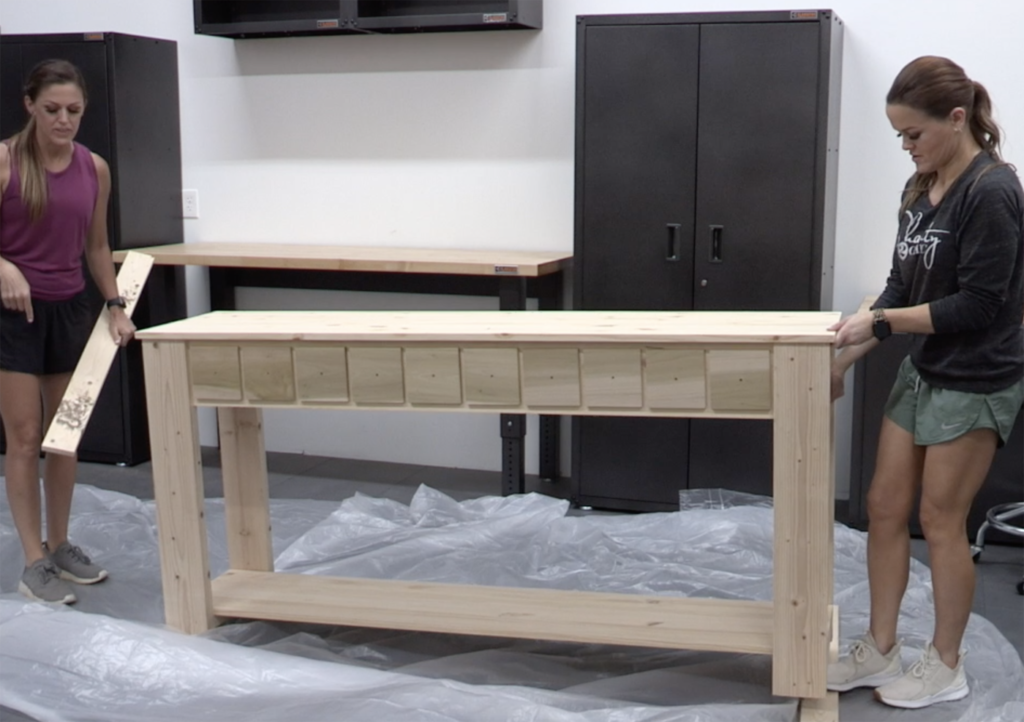
We always start by placing our pieces on a drop cloth. We like to buy the big inexpensive plastic ones and just toss them after we finish each piece. We set the piece on our drop cloth.
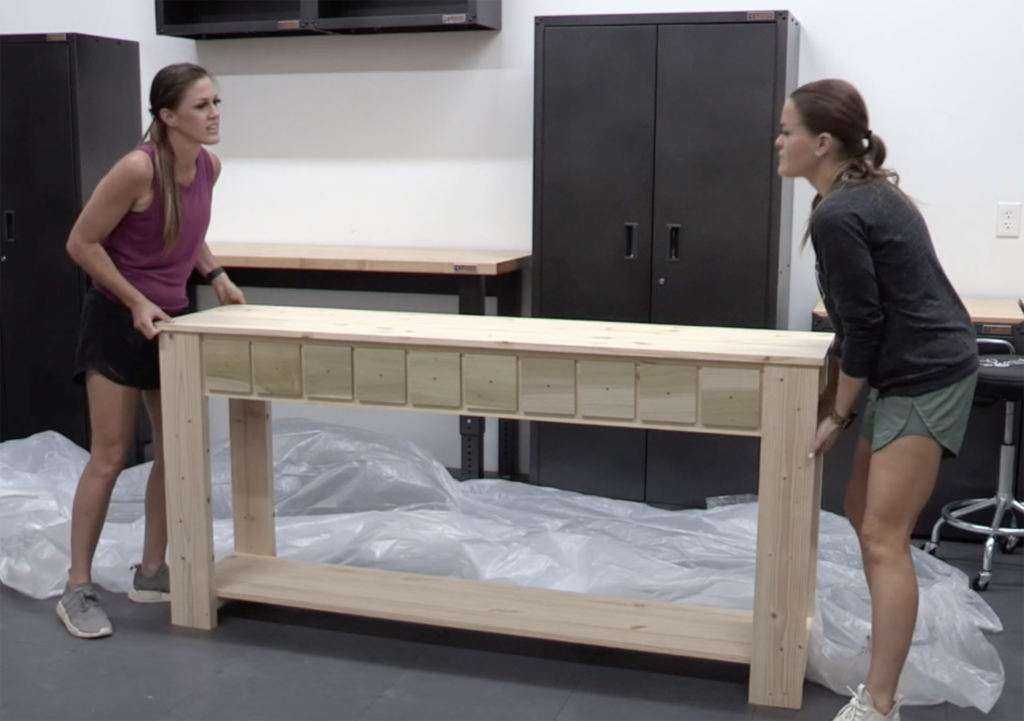
One of our favorite tips is to use some scrap boards on top of the drop cloth and under the piece of furniture. This gets the piece off of the actual floor and makes painting the lowest part lots easier. It also keeps your piece from sticking to the drop cloth when you get all finished.
Now it’s time for the sanding. We like to use a 3 step sanding process to get the smoothest finish possible. We start with coarse grit, then medium and then fine. This creates a super smooth finish, and if you are staining it also helps you achieve the best color.

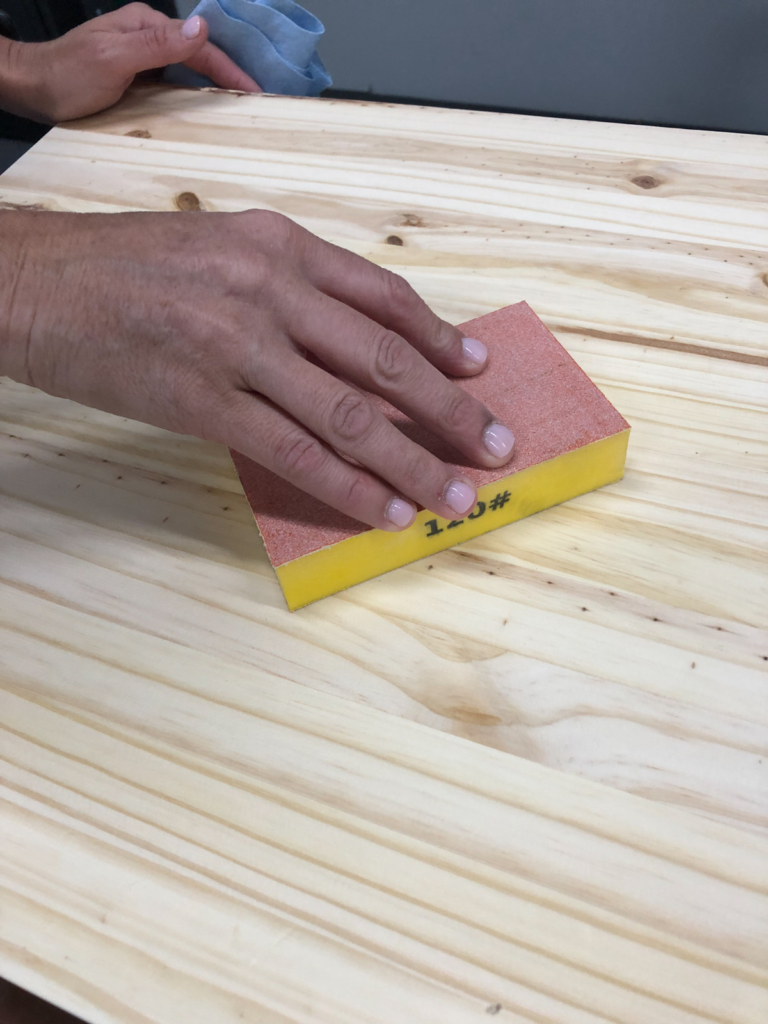

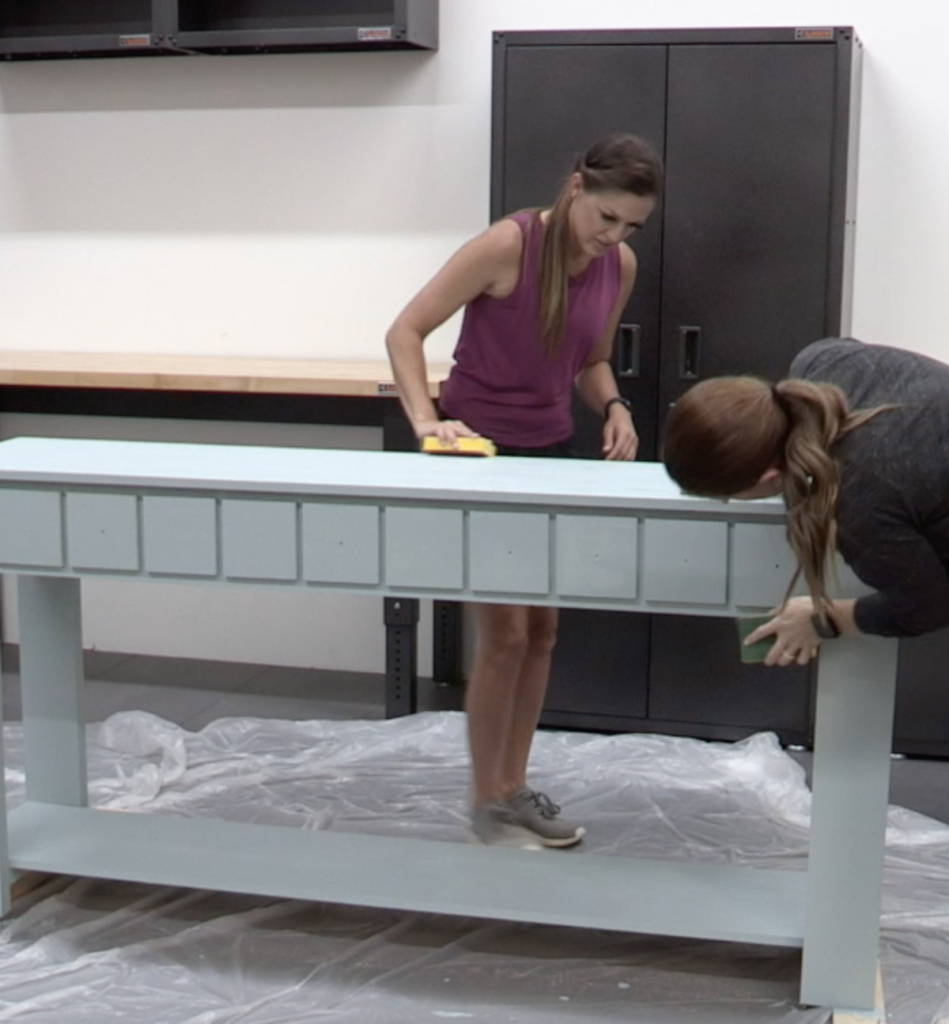
After sanding is finished, it’s important to wipe away all of the dust so that it doesn’t get mixed into your paint. You can use tack cloth for this, or any kind of wipe. We just used some shop towels.

Time for paint! We like to use the inexpensive plastic paint trays and toss them as well once the excess paint drys up after our project.

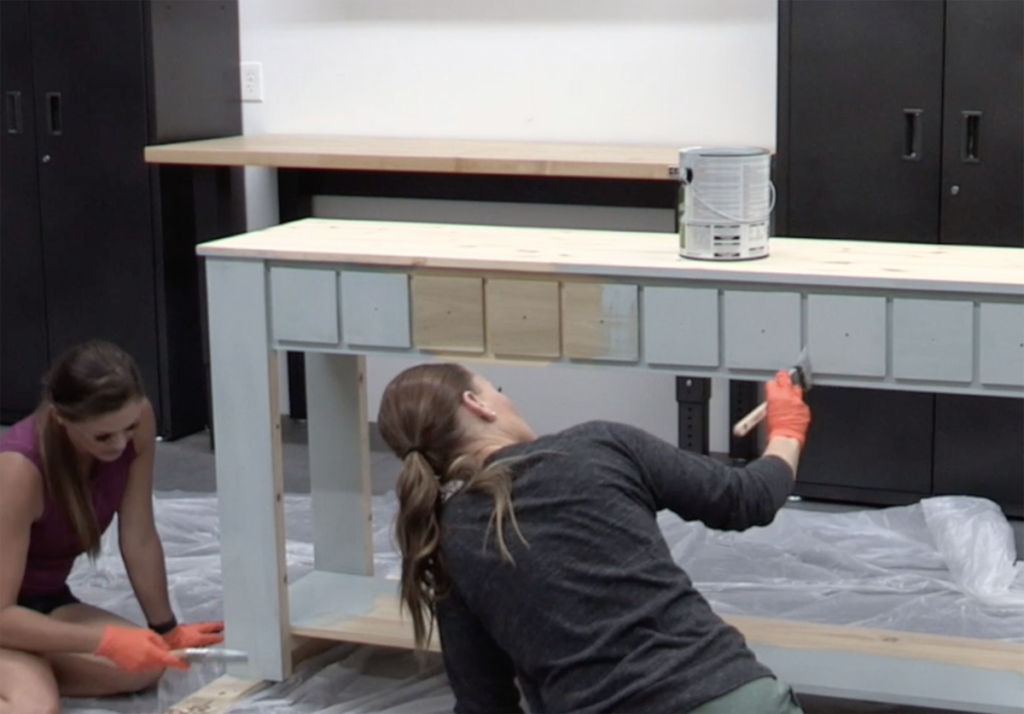
We each took a paint brush and got to work. We like to use the smaller angle brushes to get into the smaller spaces like in between the drawer faces. The straight brushes are great for covering a wide area.

Then, it’s just a matter of making your way around the piece. This is our first coat. Like I mentioned, we were shocked by the coverage we achieved with 1 coat. This paint is the thickest we have used, and went on so well. And, the price was GREAT!

We waited several minutes for the first coat to dry. We like it to be dry to touch before starting on the second coat. We then added the second. Sometimes you may feel that you have achieved a good finish with the first coat, but we always suggest adding a second. Not only does it help give an even color overall, it also helps give an even sheen overall.

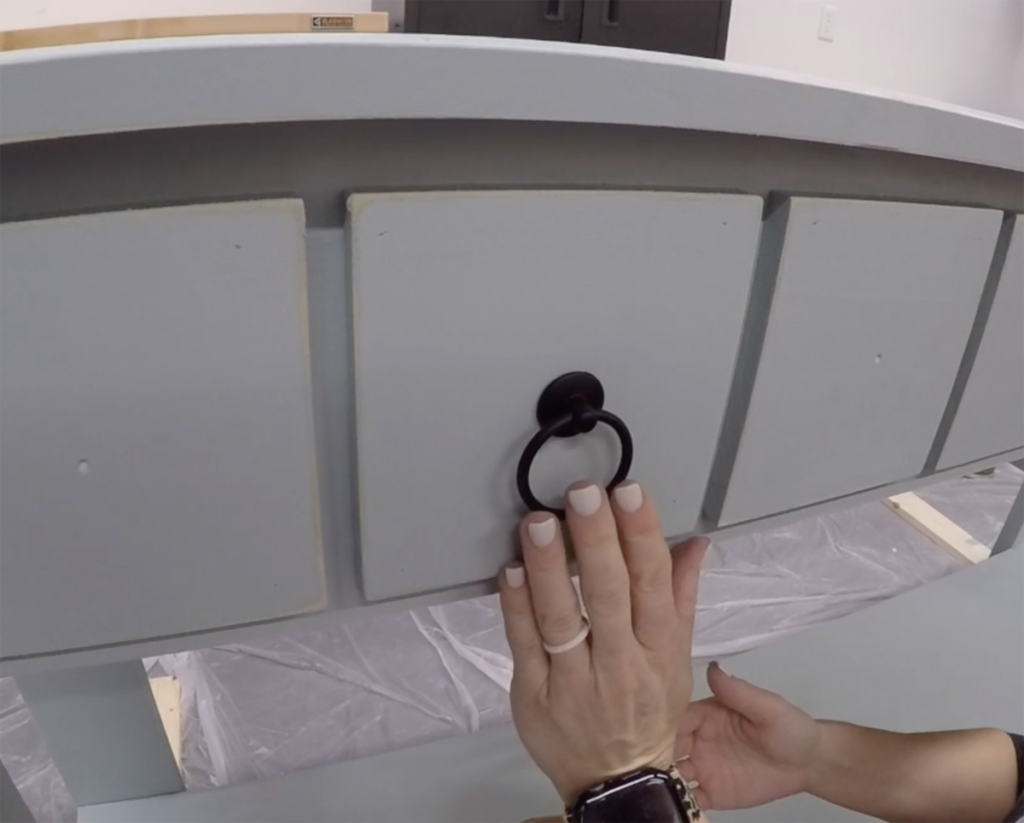
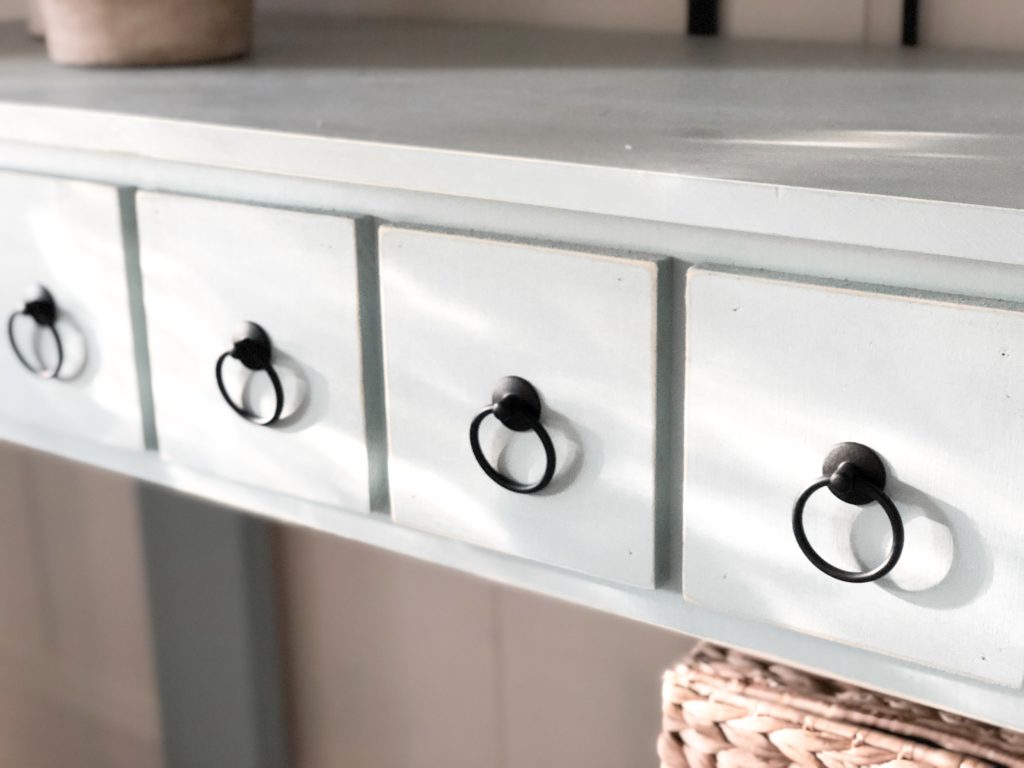
We decided to add just a bit of distressing to our piece. We love the look it adds, especially on this specific table. We used the coarse grit sanding sponge to sand away our edges and corners and reveal the raw wood under the paint. We like to start with minimal sanding and then decide if we want more. It adds so much character to your piece!
And, when it was all finished, we added the “jewelry” of the piece! How cute are these ring pulls??
Want to see her all finished up?! Us too!
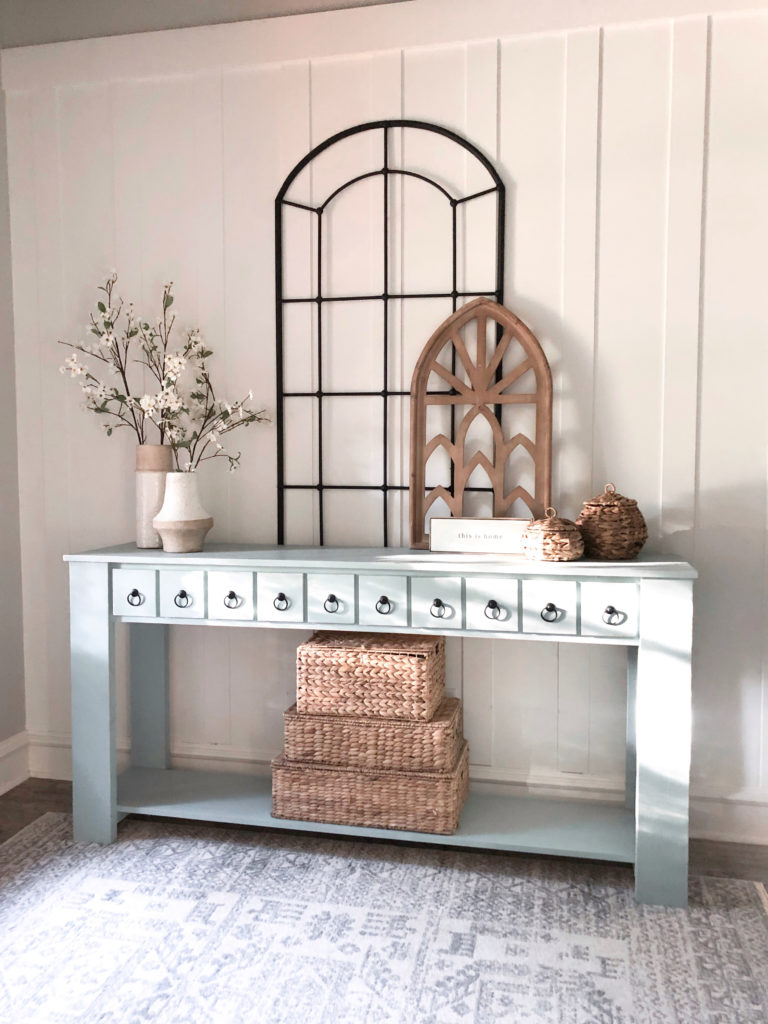
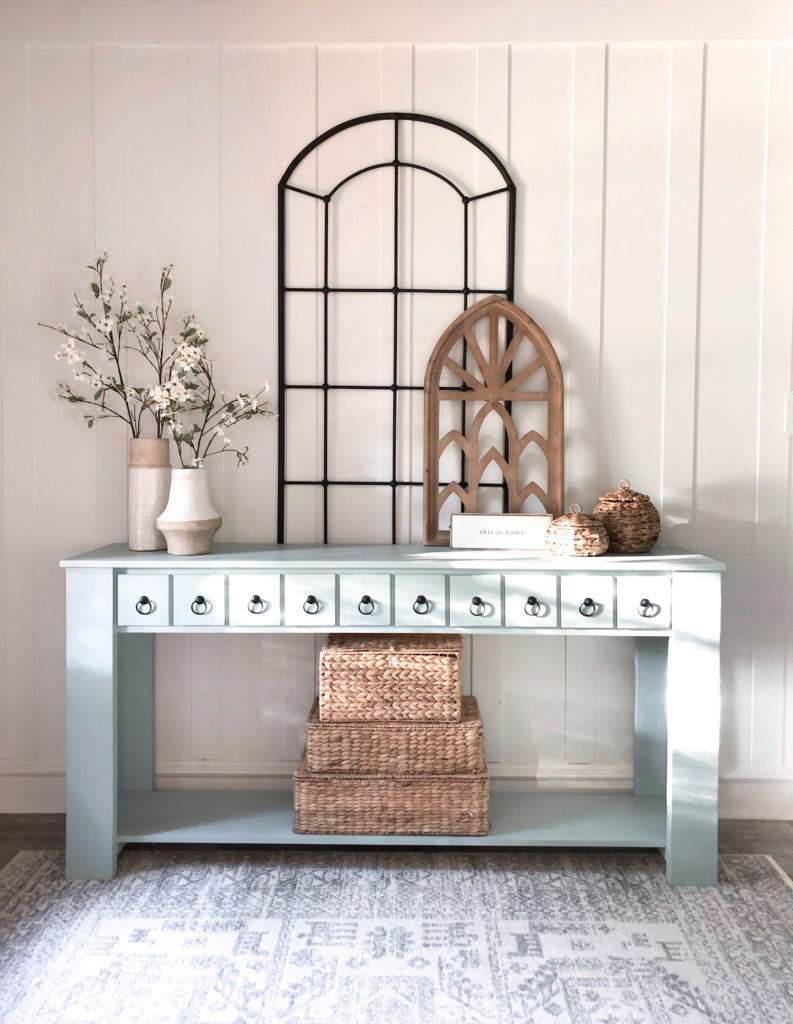
We LOVE how cute this table turned out. And, it really was the paint and finish that took it from a table we built in the garage to a showstopper! Thanks so much to Ace Paint for working with us on this table. We had a blast visiting your store and we were blown away by the quality of your paint and products, and by the helpfulness of your staff! That is 100% our opinion, and these words and experience are entirely ours.
Thanks so much for stopping by! Send us pictures of your next piece and share on social media by using #shanty2chic

I absolutely love this design. Color, knobs and all is fantastic. I’m headed to Ace now.
What finish paint did you use?..Satin, eggshell? And why not put a coat of poly on it?
I have the same question. Hoping they will reply!!
Where is the link to for the free plans to make this piece please?
Hey! Love your blog – you guys are the reason why I bought a Kreg Jig! A quick question for you: why don’t you re-use your paint drop sheet + paint trays? With all the worry about disposable plastic, I would love to see you guys be more environmentally friendly with your supplies!