Hey guys! Whitney here…
I wanted to first say a big thank you to those of you that left prayers and sweet messages on our facebook page last week. For those of you that don’t know, I was put in the hospital last week with low amniotic fluid. I am 32 weeks pregnant and it came as quite a surprise. The baby looked super healthy and happy on the monitor after a couple days, so I was sent home to take it easy and make sure I feel him kicking. My family was a huge help in taking care of the other kids during this time. I am so thankful to them. I am also thankful for you guys. Your messages were awesome.
Long story short… I probably won’t be building any new furniture pieces in the next 6 weeks, but my hot glue gun will be seeing lots of action 😉
That leads me to my next project! I started this before I went to the hospital and finally got the darn thing finished… Yeah!
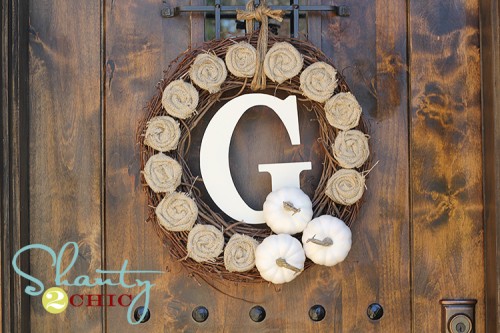
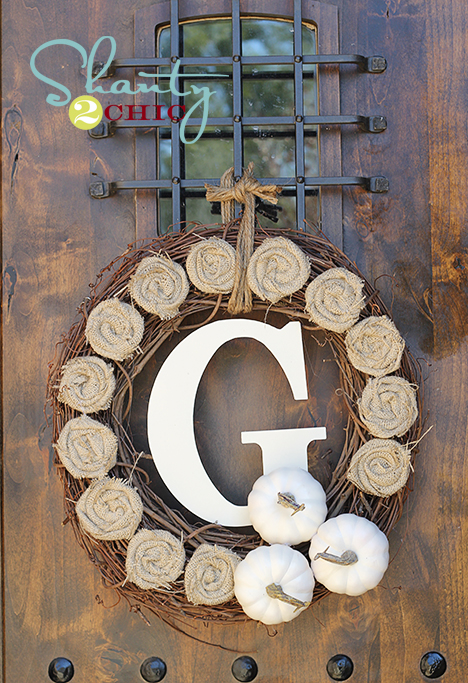
My front door needed a new Fall wreath.
Here are my supplies…
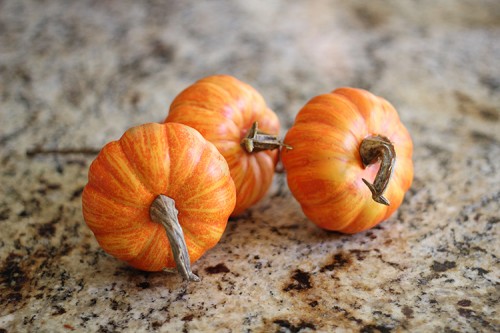
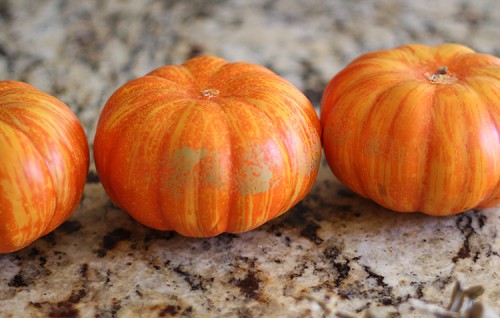
3 fake pumpkin stems… I found mine at Hobby Lobby for around $1 a piece
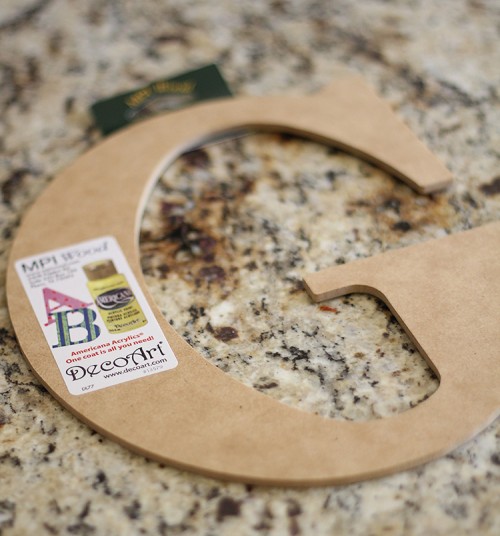
Wood Monogram – Hobby Lobby for $1
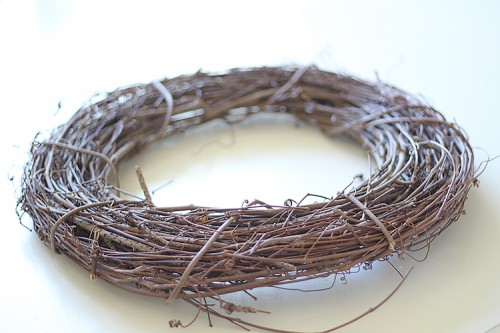
Grapevine wreath – Hobby Lobby for $3
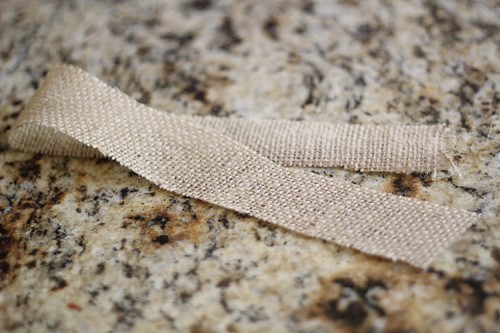
Burlap cut into 2″ strips – I bought 1/4 yard at Hobby Lobby for under $2.
You will also need some cream colored spray paint.
I started by pulling apart my pumpkins. I took the stems off the top and pulled the sticks out of the bottoms.
I took the pumpkins and the “G” into the garage and gave them a good coat of cream spray paint. While they were drying I got started on my rosettes!
I have done a few rosette tutorials, but in case you don’t feel like searching here is a refresher.
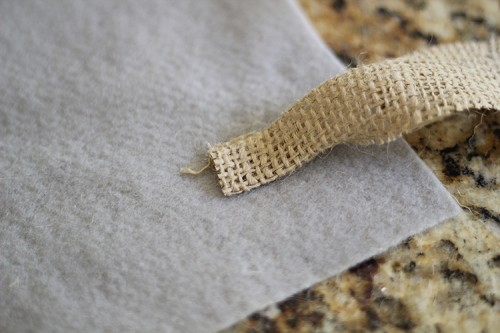
I fold my strip into 2 folds and hot glue the end to a piece of felt.
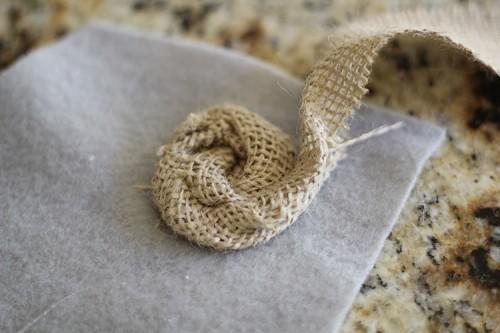
Now I just roll my strip towards the outside as I am gluing it down. This is not very technical I know, but that’s the best way I can describe it. It’s super easy. 🙂
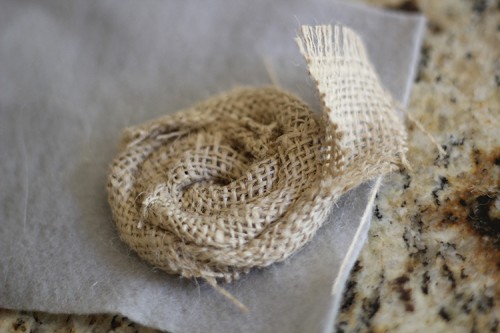
At the end you will have a little tail of fabric like this. I cut the rosette out and hot glue the tail to the back of the felt. That’s it! Super easy.
Once I finished all my flowers I started hot glueing it all together. I just glued each flower and then the pumpkins to the bottom. I also glued the pumpkins together so they would stick well. Finally, I added the monogram and just glued it to whatever it was touching… Love me some hot glue.
I used some thick twine to hang it from my door. Want to see it all finished??
Hope you like it! My old wreath was looking a bit sad, so this brightens things up a bit. Thank you so much again for everything! I appreciate you guys 🙂 Have a great week!!!
~Whitney





Looks great!
Loved it so much, I shared it as an inspriration on my blog! Here’s the post: http://glamorousbride.blogspot.com/2012/08/fabulous-fall-wreaths.html
Loved it so much, I featured in on my blog with link back to your site, take a look!
http://glamorousbride.blogspot.com/2012/08/fabulous-fall-wreaths.html
I love the wreath, however, I think the door is fabulous.
Love the idea to glue the rosette to a piece of felt. I’ve been struggling with having them retain their shape and this solves the problem! Appreciate it! And … gorgeous wreath!
Thanks for sharing this cute wreath! I put white magnolias instead of pumpkins, but did everything else the same. It came out so cute, and I’m giving it as a Christmas present for a anytime of year wreath. 🙂 Thanks so much. My florets don’t look anywhere near as good as yours though! Thanks again!
First time visit to your site…what a beautiful wreath and so easy. Thanks for sharing this. Hope all is well for you and your family.
I love this wreath, but have never made rosettes. Mine are definitely not cute and I can’t get the hang of them. Wish you were here to show me. 🙂
Very creative!!!!!! Chic and yet homey at the same time……
This, My Dear, is quite stunning. I might just have to imitate this!!
This, my dear, I might just have to imitate! Simply stunning!
Absolutely love this wreath! About to get brave enough to try the rosettes;) Have pinned them long ago!
Glad you and baby are well. That is really scary for a mama!
Amanda
I love this!! It’s just gorgeous…the huge monogram in the center is my favorite part, and I also love the look of the rosettes all around it…definitely pinning this one. I’d be so excited if you’d link it up to my Door Decor challenge!
http://oneartmama.blogspot.com/2011/09/falling-for-crafts-challenge-3-door.html
I LOVE it!!! And we’re finally getting a Hobby Lobby in CA in a few weeks and I CAN’T wait!! Definitely want to copy this one 🙂 Thanks for sharing..so glad that you are home and well!
Love & prayers to you and your family!
xo
(found ya on a link party)
Love this! Im obsessed with wreaths.. and this one is awesome!
I LOVE this! I made one using your tutorial as inspiration, I wanted a little more color on mine especially since our front door is a creamy color. Here’s a link to my blog with pictures (BAD pictures, but oh well!) http://andyandkizzie.blogspot.com/2011/09/fall-craft.html
This is soooo cute! I love it! (Too bad I do not have a local Hobby Lobby… will have to look elsewhere for pieces just as inexpensive.) Also love your front door! I can only imagine what the inside looks like! First time I’ve seen your blog… will be back for sure! Glad you and baby are doing well. Best of luck for an un-eventful rest of the pregnancy. 🙂