Hey guys! Happy Sunday!
I wanted to share my latest project with you.
I recently had an itch to revamp my laundry room. I decided that if I changed it up a bit it might make me fall in love with doing laundry… I’ll let you know how that works out for me 😉
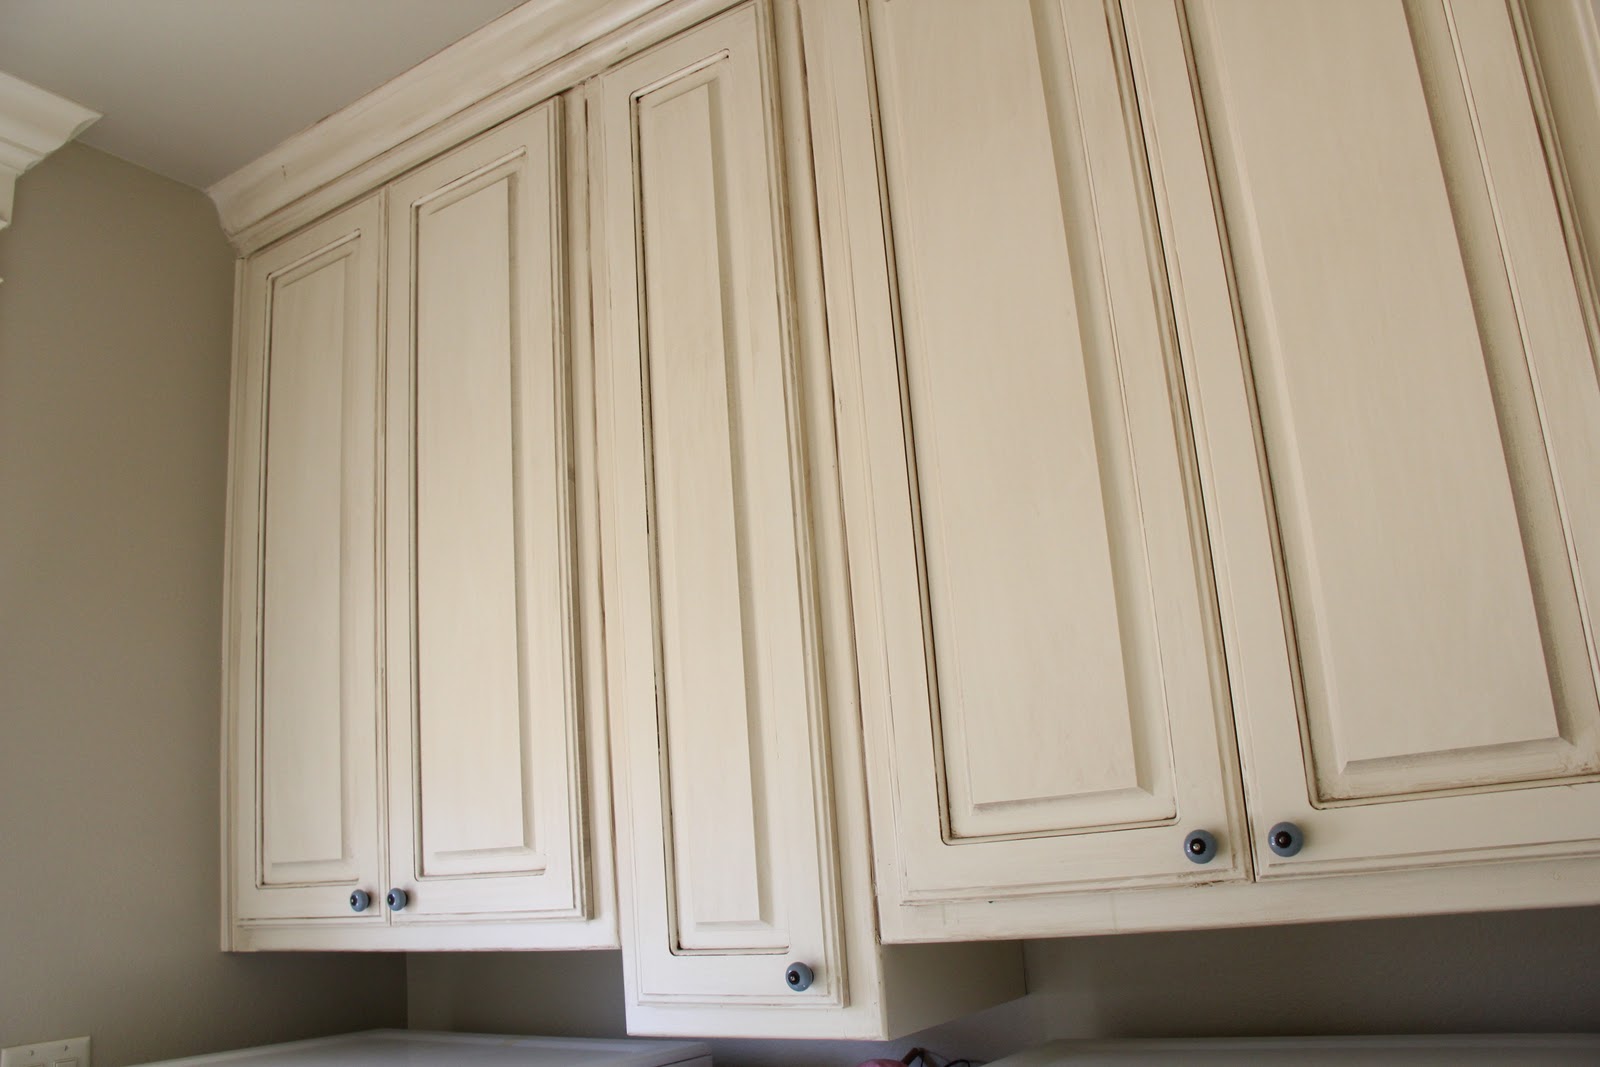
Here is how my laundry room looked before this weekend. It has looked like this for 2 years with no change at all whatsoever. I’ve never even hung anything on the walls.

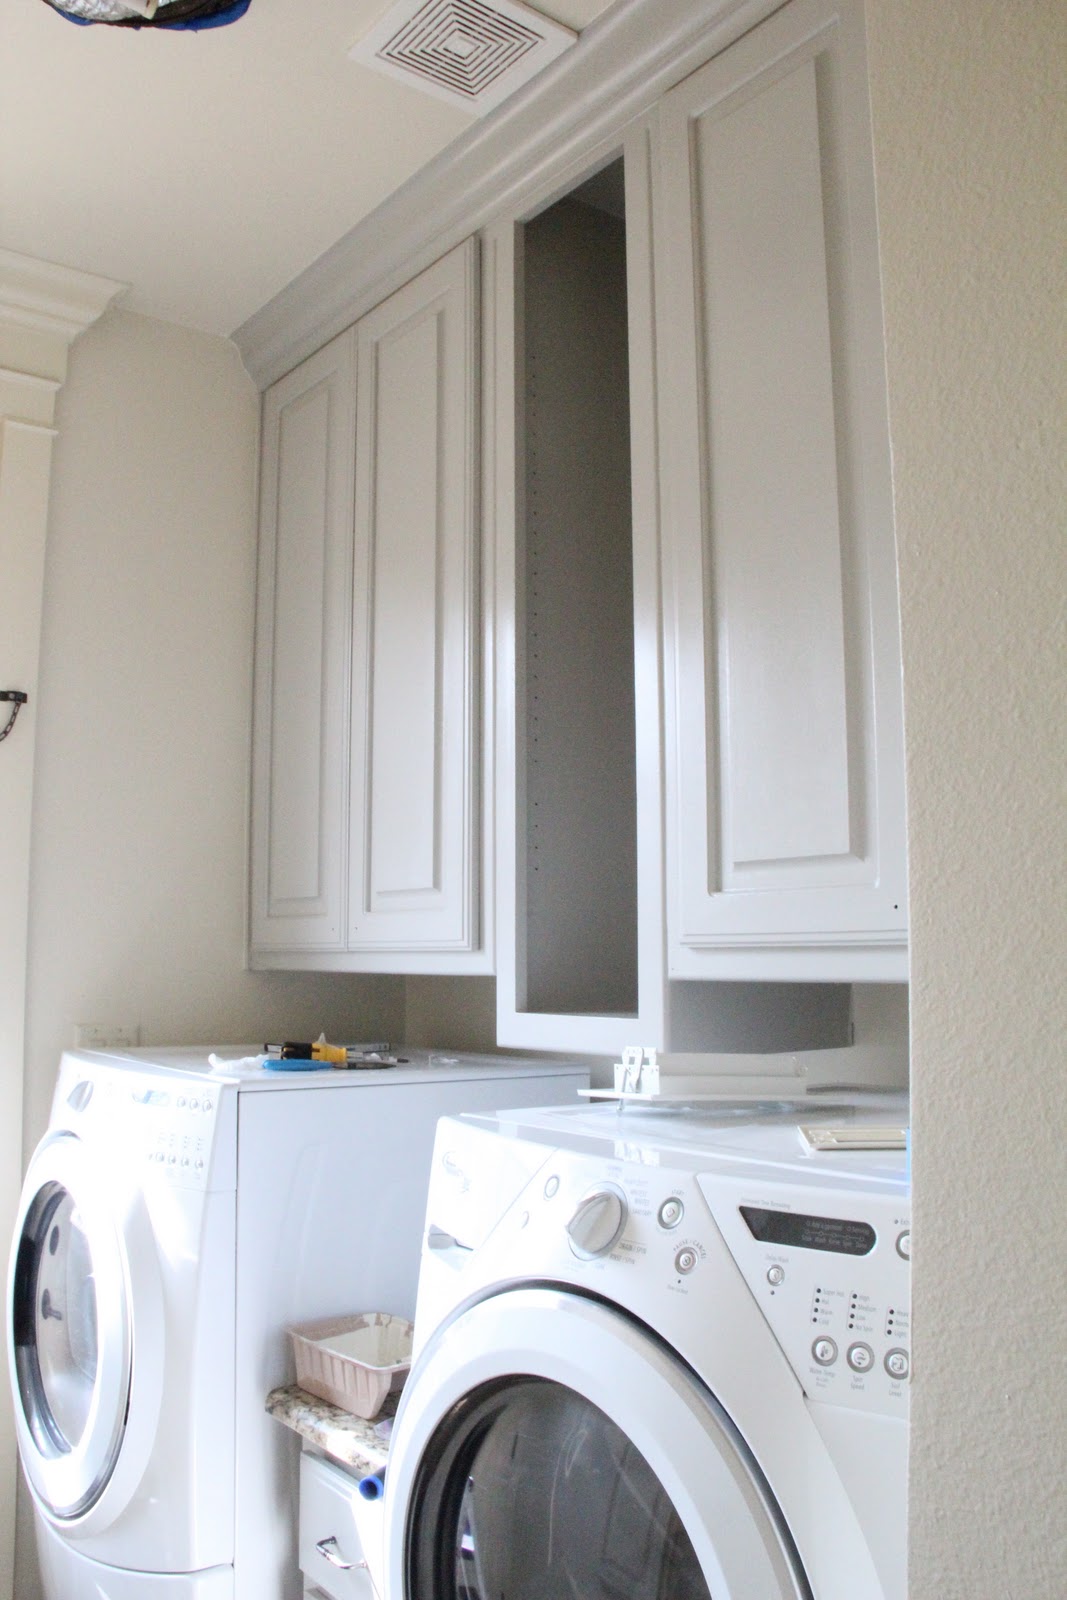
Here’s my uppers…
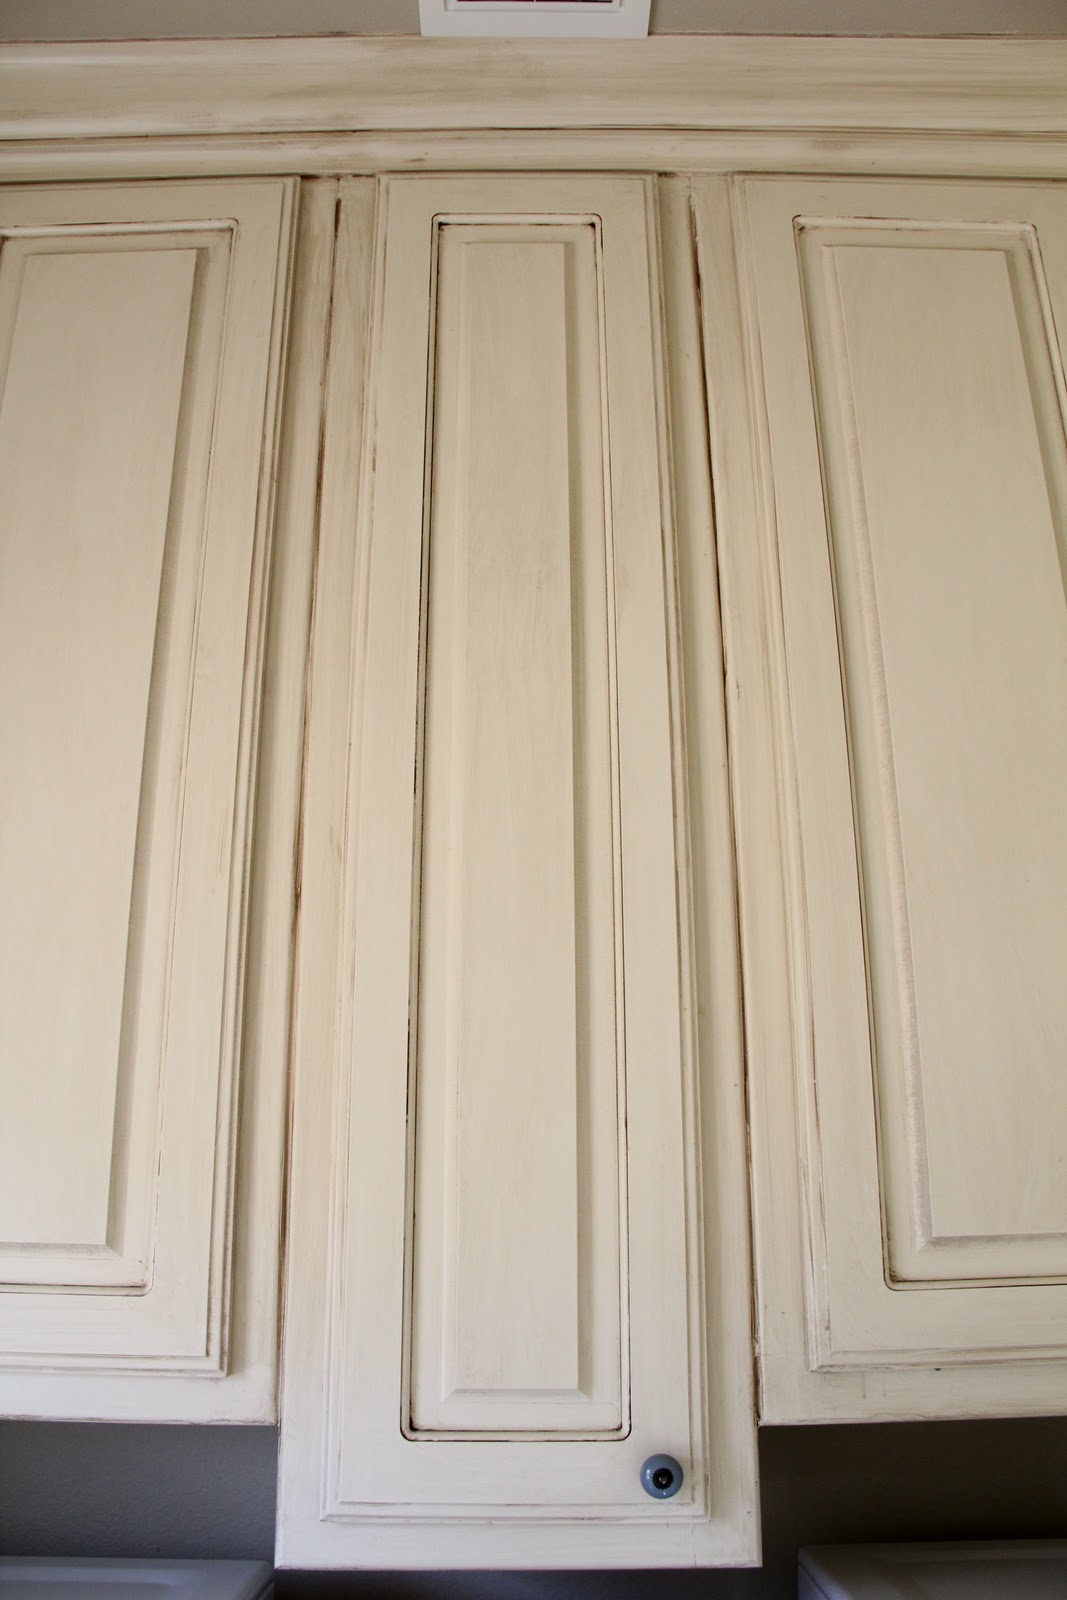
And I have this long one in the center with adjustable shelving.

So there is not really anything wrong with it. I’m just over it. My ceilings match the wall which is fine in the rest of the house but I was wanting to brighten this room up and change that window up for sure.
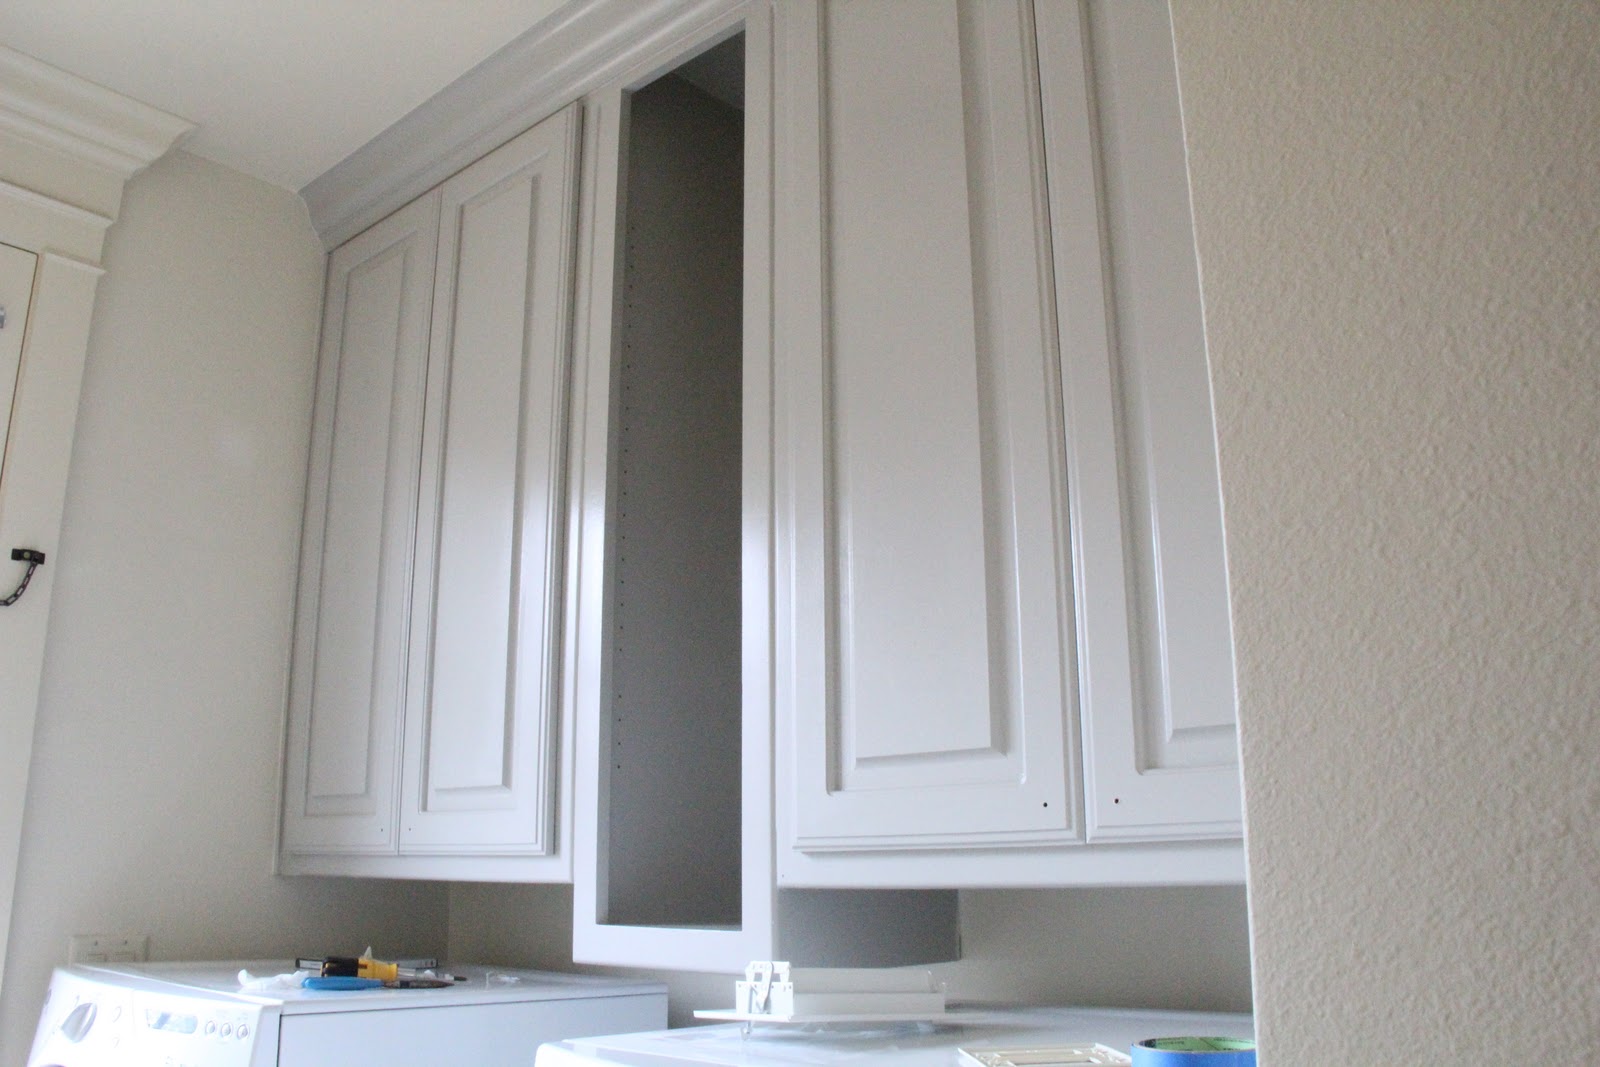
I decided to go gray.
I LOVE gray cabinets. I especially love when I see gray cabinets mixed with traditional lines and hardware. That is my goal in here. Today I am just showing you how I painted them.
I went with Valspar’s Woodlawn Colonial Gray
My original cabinets were painted with an oil based paint. I wanted to put a latex paint over them so I went to my local paint store and was told my a very helpful man to use THIS primer.
First, I removed all my doors, drawers and hardware and laid the doors out in the garage. I put two coats of primer on everything. I didn’t tape off the walls or cabinets yet because I knew I would be painting the walls a different color.
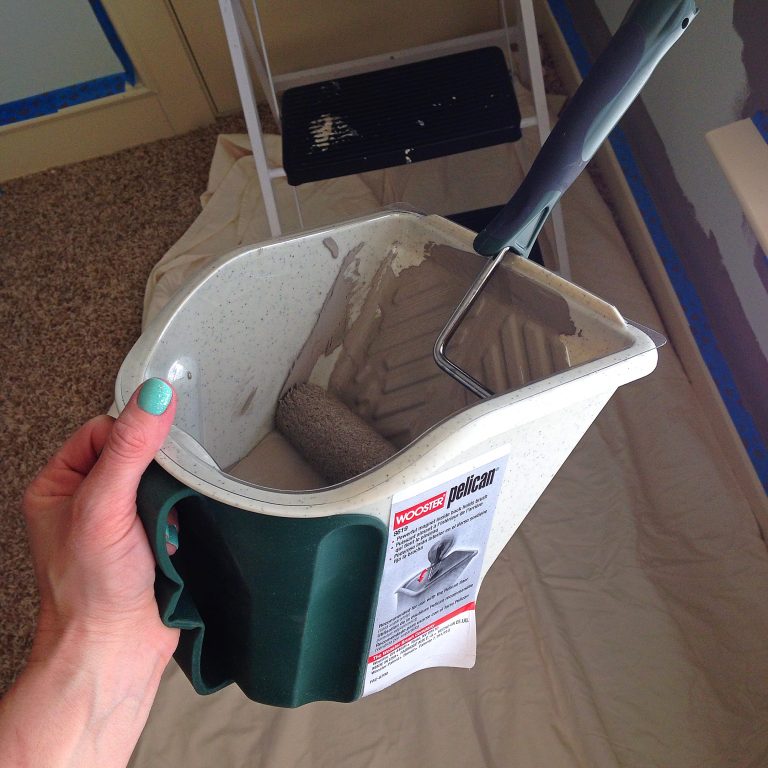
I love when I find new favorite products!! Many of you ask how I apply paint to some of my projects. This is my first time using these and I will never paint walls, cabinets or furniture again without them.

I found mine at Lowe’s and it comes with a 4″ tool like this.

I used 2 coats of primer on everything. After that dried I started on my gray. For the doors I would use an angle brush to get in all my grooves like this first.
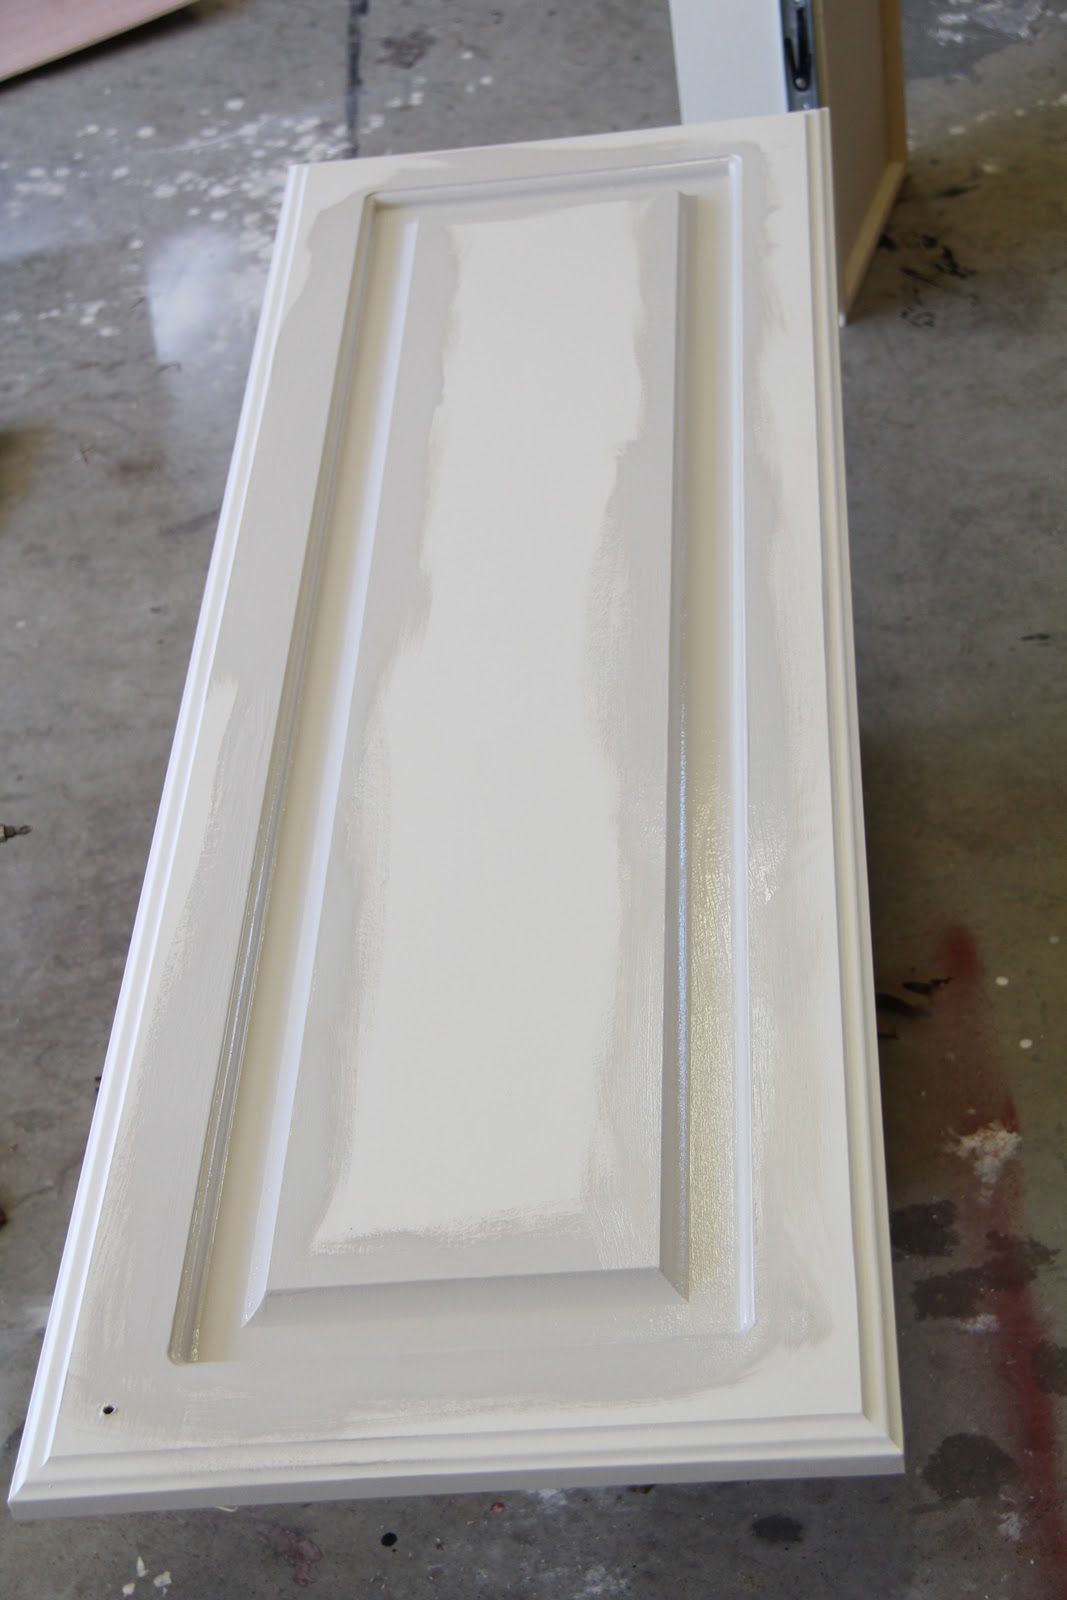
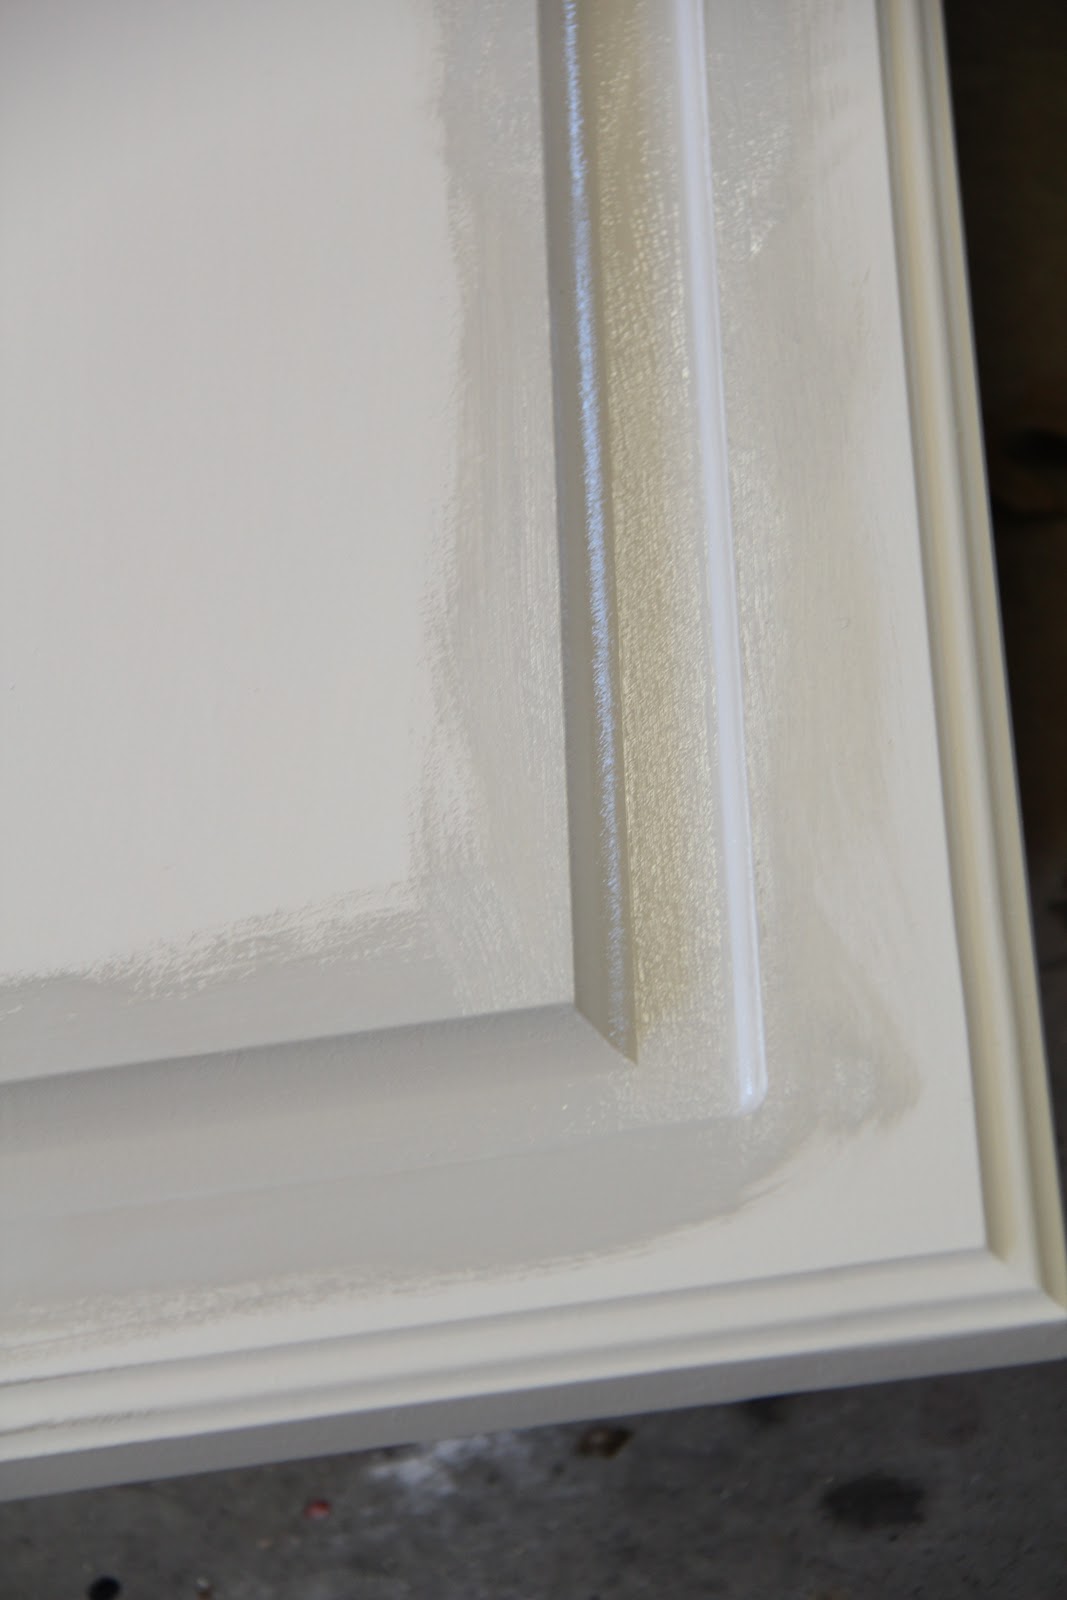
Then, I would use my Whizz roller to cover the rest of the door. I used the roller on my cabinets and the angle brush on the crown at the top. It took two coats of gray to get everything smooth and I was done!

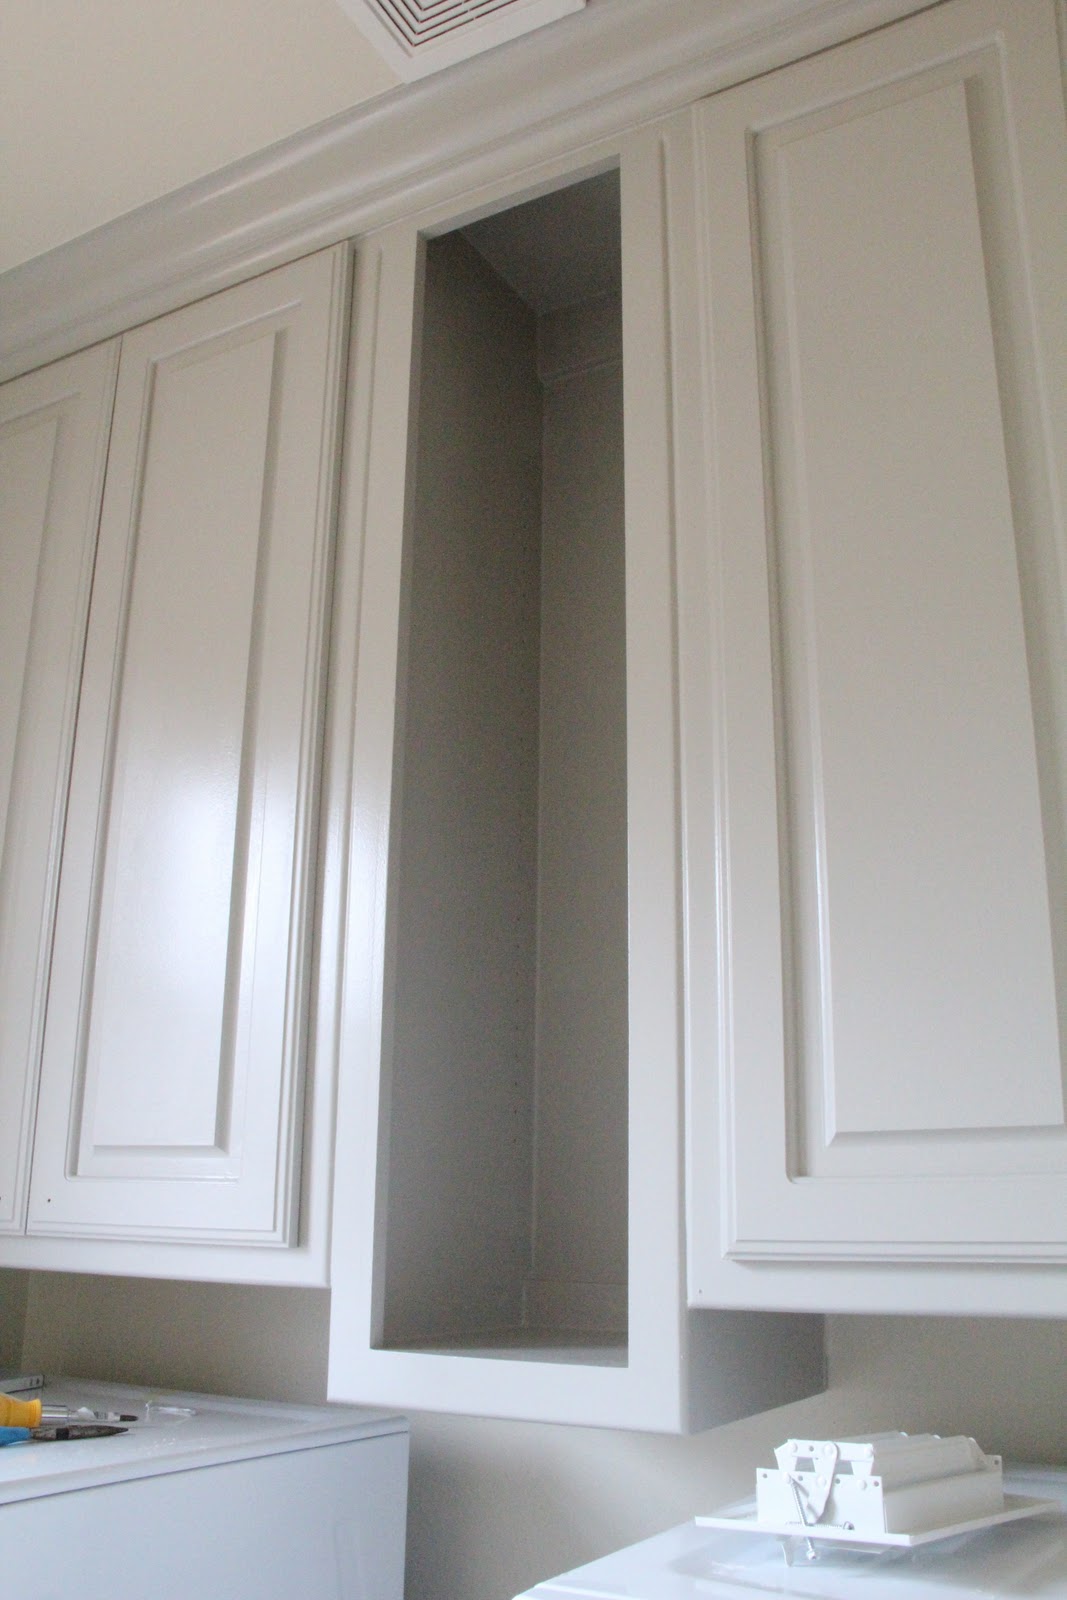
I decided to leave that middle door off. I filled the holes from the hardware with some wood putty, sanded it and it looked brand new. I am going to do something fun on those shelves just because.
Remember my knobs??
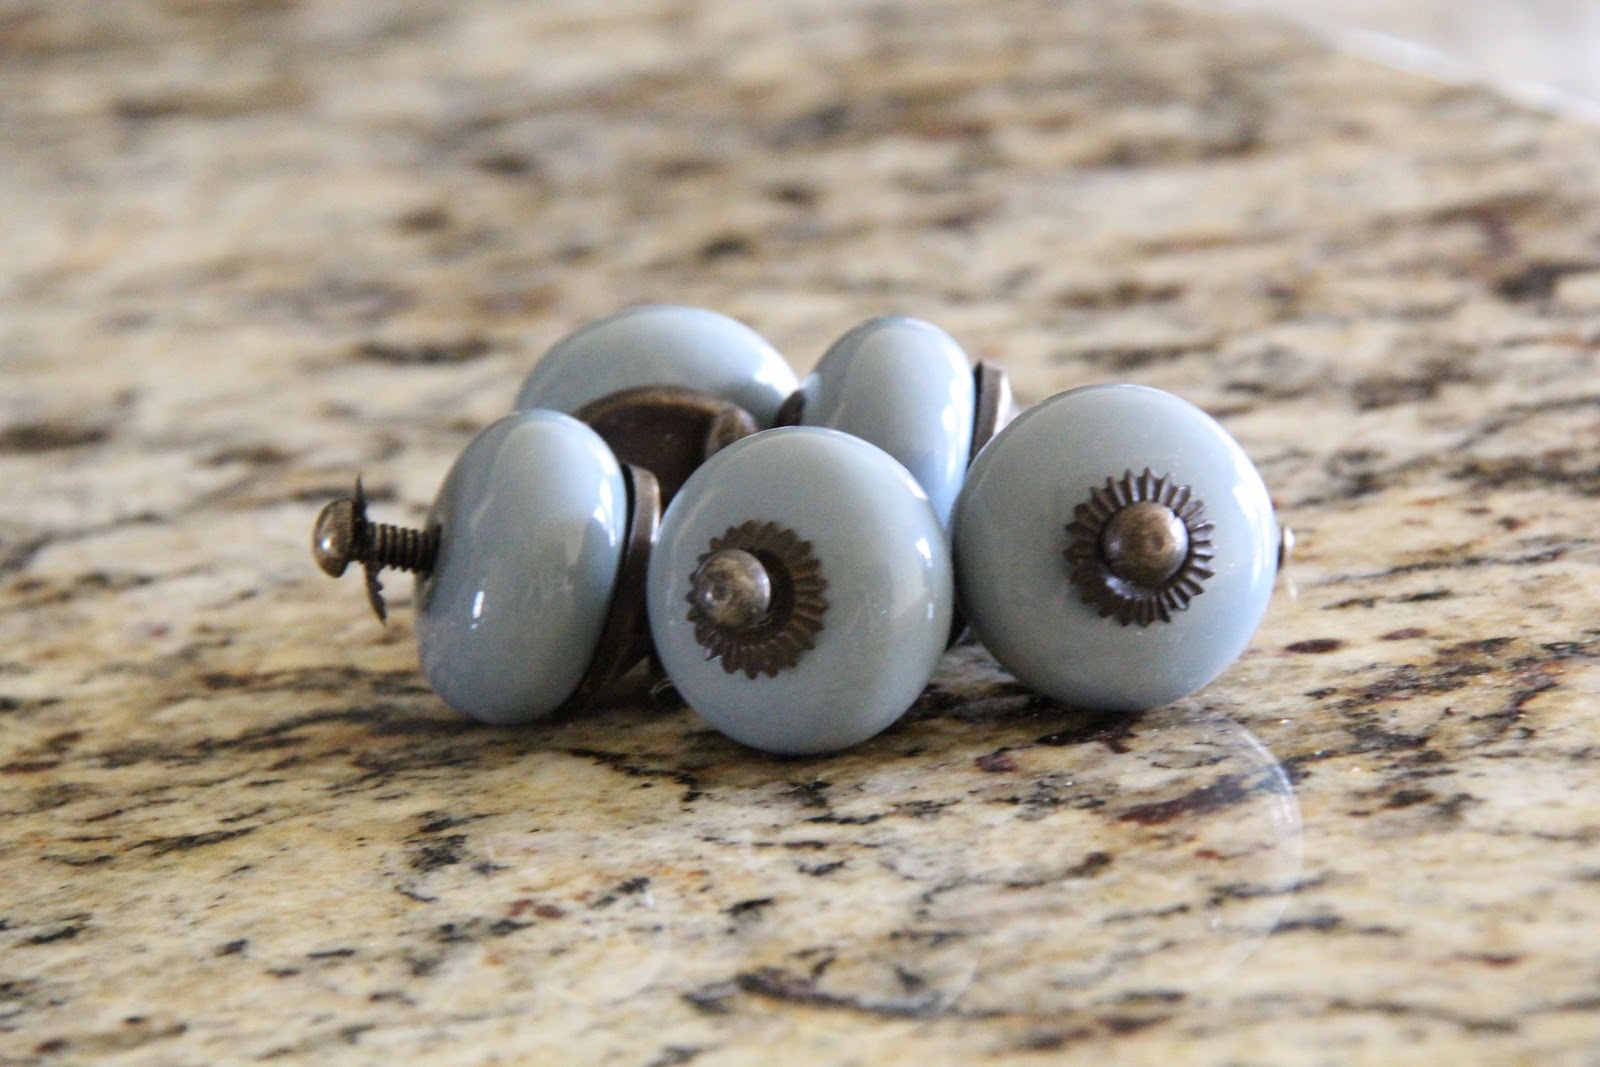
Yep… They got a little revamp too! I will show you those in my next post when I get them all on and start to get this room back together.
I hope you like them. I love them! It was hard, but only because I was working in such a small space and I had to keep climbing over the washer and dryer. Ooooh… I should have taken pics of that for you guys 🙂
I am so happy I asked the nice man at the paint store about my primer. That stuff went on perfect and I didn’t have to sand anything!
Let me know if you have any questions! Have a great week and I will be back soon with an update.
~Whitney


What type of primer did he recommend? There’s a link for the primer, but it no longer works. Thanks! 🙂
Question. You said you used an angle brush for the grooves (picture shows those on the inside) did you also use it on the outside grooves?
Did you have to put a top coat over it when you finished. If you painted kitchen cabinets would you put a gloss over it to protect it? Thanks!! love your blog!!
gorgeous! I am seeing grey around on so many blogs,and am thinking about doing my laundry room with grey now. But the adjoining room (dining room ) is painted beige… would that clash? hmmmm…
Laundry room looks great…I would love to win some tape! 🙂
I love to paint! My family kids that if it sets still long enough, it'll get painted!
OMG The cabinet knobs are beyond wonderful!
So awesome! I have been thinking about doing my kitchen cabinets forever–you are getting me a little closer to actually DOING it. Thanks for sharing that primer.
Looks great! I really love gray!
Can't wait to see it all done!
Love, love, love it! I am dying to paint my lovely honey oak builder's grade cabinets, but have been forbidden by the hubs. Hmph.
Did you sand your cabinets or just prime them? It is looking great so far!