Good morning guys!
I am super excited about a little series Ash and I will be sharing called ‘Shanty Storage Solutions’!
We both have a healthy amount of OCD from our mom (Ash received more than me), and one of our favorite things to do is organize! Our goal is to use our love for wood and DIY to create solutions for our kitchens and our homes that help things run more smoothly and efficiently. We also hope to free up some much needed space in the process! The great thing about creating these items on your own is that each one of them can be customized to fit your family’s and home’s needs! Love that! With 8 kiddos between the 2 of us, we hope to offer you guys so cute ideas with a whole lot of function!
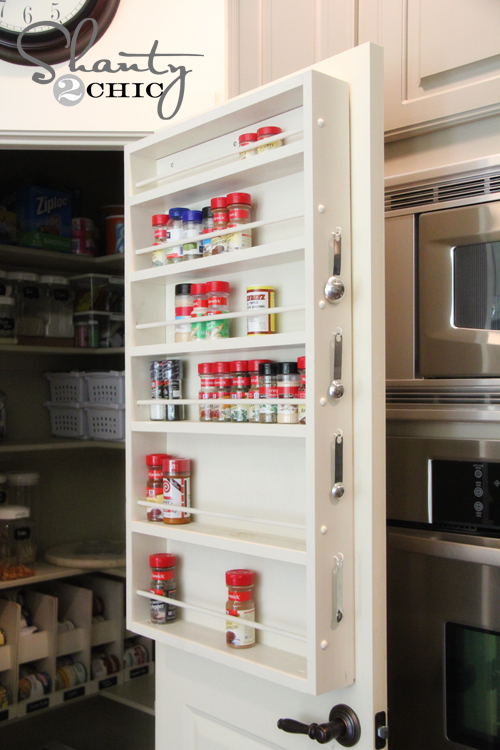
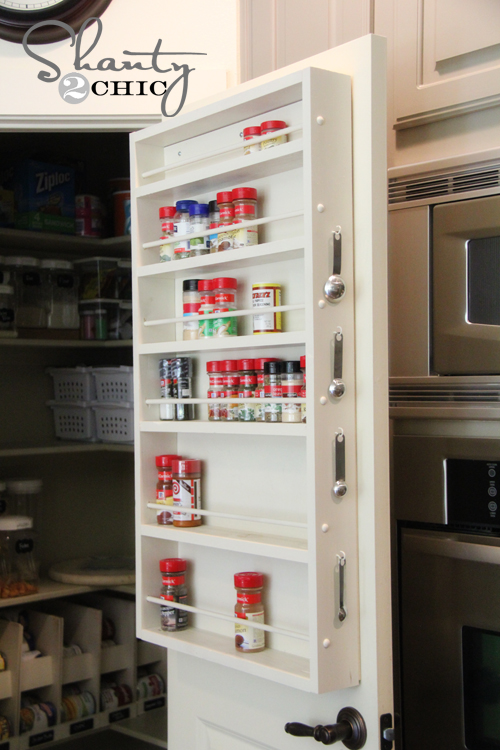
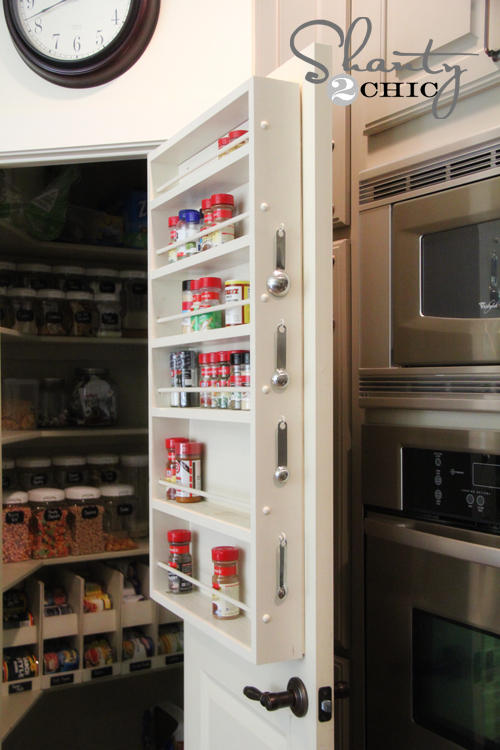
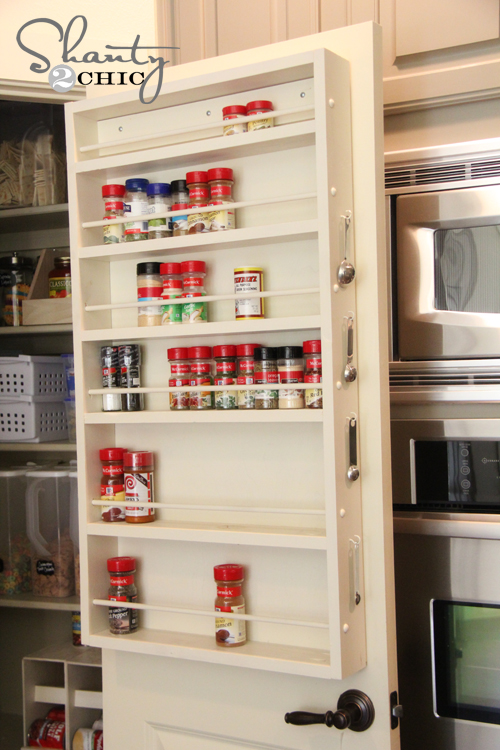
I will start it off today with a little something I made for my pantry door! One of my goals is to use just about every inch of my pantry. Since moving in, my spices have been taking up space in a big drawer. They were ready for a new home, and I was ready to get my drawer back! Here is what I came up with…
You like it? I do! This baby is super easy to make! I decided to make mine for the top half of the door to keep my babies from playing with the spices! Plus, I have a fun plan for the bottom half I will be sharing soon!
I used my Kreg Jig® to build mine, but you can also use finish nails and wood glue if you aren’t a Kreg Jig® owner!
Materials –
2 – 1x4x10 whitewood boards (I actually used 3 – 1x4x8 because they are easier to get in my car ;-))
3 – 4ft 3/8″ dowel rods (found mine at Lowe’s for under a buck a piece)
3/8″ dowel buttons (right next to the dowels at Lowe’s)
cup hooks (hardware aisle)
1/4″ plywood for the back (I used a PureBond plywood scrap I had on hand, but you can buy a 2×4′ sheet at Lowe’s or HD and have it cut down to 21″ x 39″)
Total cost – Around $30 depending on what you use for the back of your spice rack
Here is how I made it!
I made all my cuts first.
1×4 cuts –
8 at 19.5″
2 at 39″
Dowel cuts
6 at 20.5″
Plywood back cut to 21 x 39
After making my cuts I drilled my holes for my dowels. I used a drill bit just 1 size larger than my 3/8″ dowels. I knew my holes would be exactly the same on both side boards, so I clamped them together and did them at the same time. This saved a little time. If you don’t have a clamp you can just do 1 board at a time!
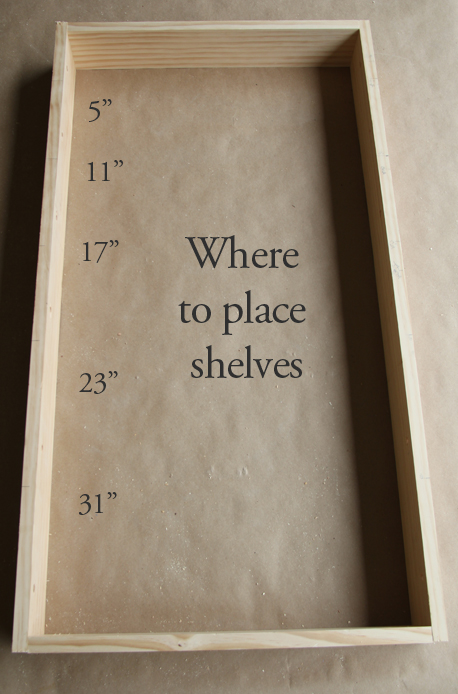
Here are the measurements of where to drill your holes! All of my holes are made 3/4″ from the side of the boards.
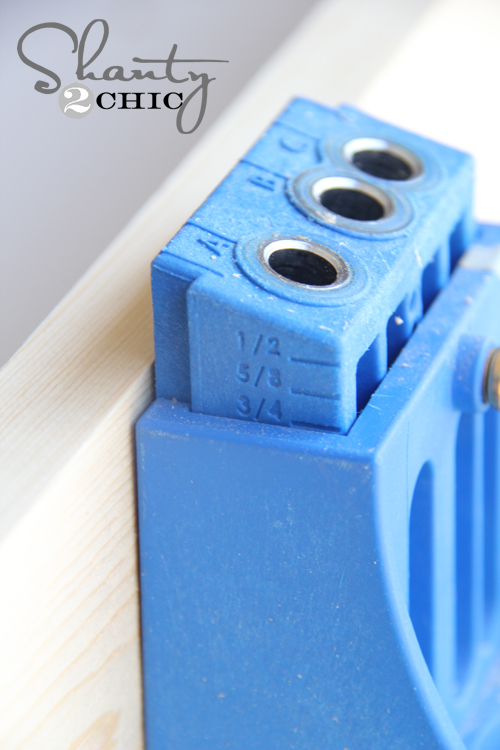
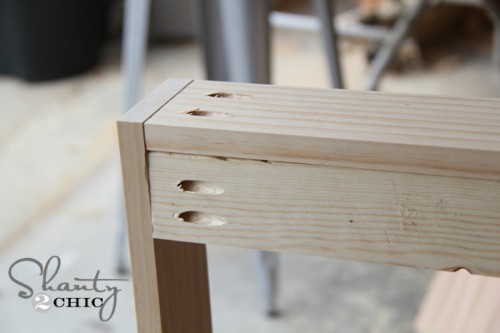
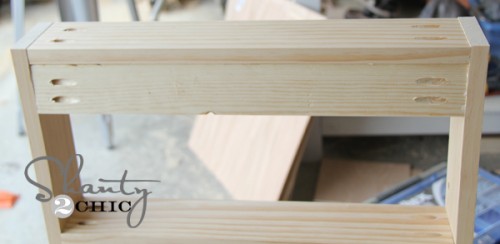
Next, I used my Kreg Jig® to add pocket holes to my top and bottom pieces, and to all of my shelf pieces. Again, if you don’t have a Kreg Jig®, you can use Gorilla Wood Glue and finish nails to attach the boards.
I used 3/4″ pocket holes and 1 1/4″ pocket hole screws.
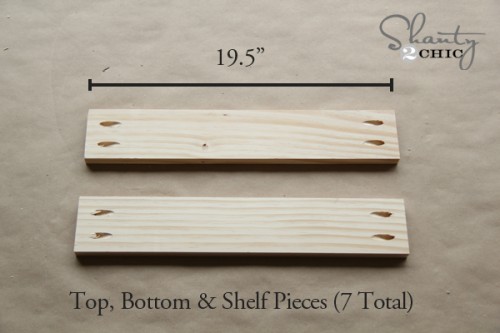
Here are what my top, bottom and shelf pieces look like.
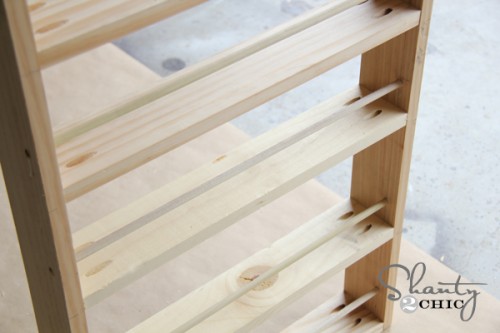
I built a box like this…
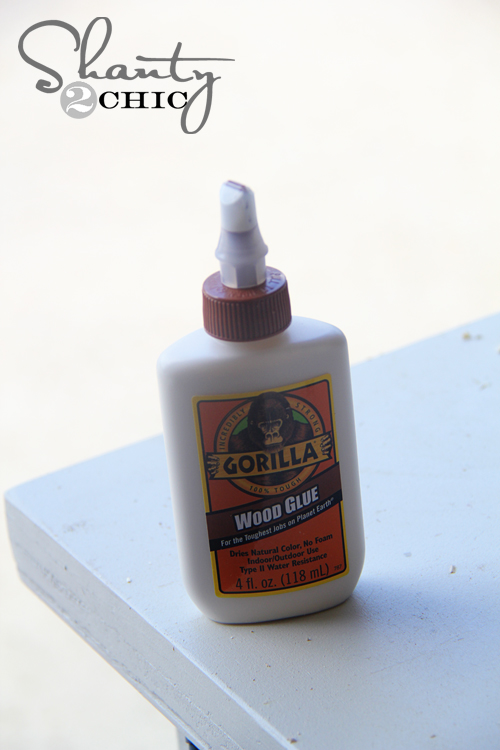
I used Gorilla Wood Glue for all of my joints.
Now to add my shelves!
Here is the placement of the shelves. The measurements are from the top of the box, to where the bottom of each shelf will be.
I also added a board on the top back side. This will be used to hang my spice rack on the door. Again… use the Kreg Jig® or nails and wood glue from the sides.
Now for the dowels!
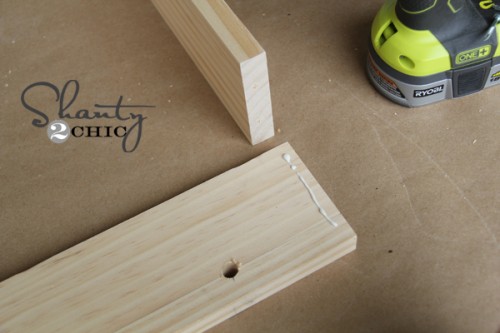
Just add some Gorilla Wood Glue to the inside of your holes…
And stick your dowels in like this!
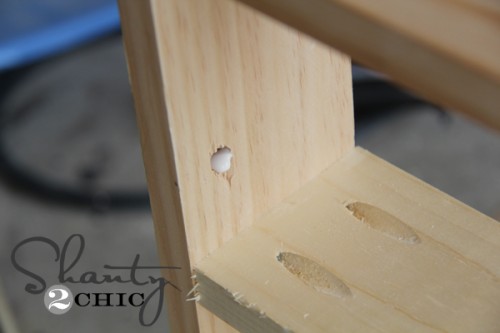
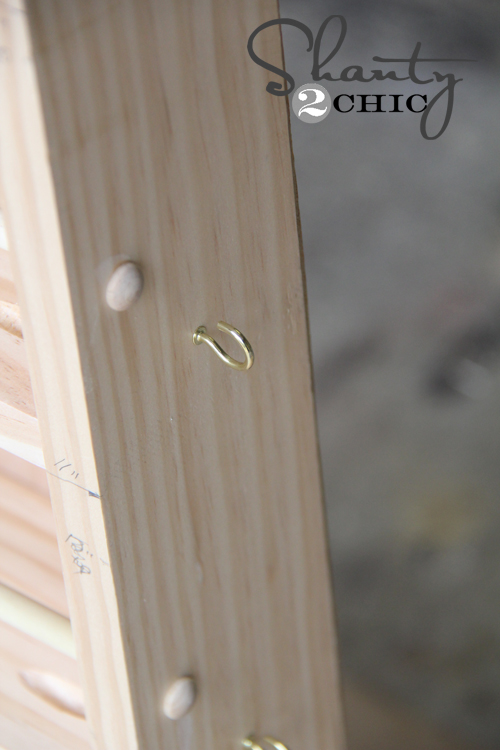
Then, use your dowel buttons to cover the holes on the sides. All you do is add a bit of wood glue and push them in!
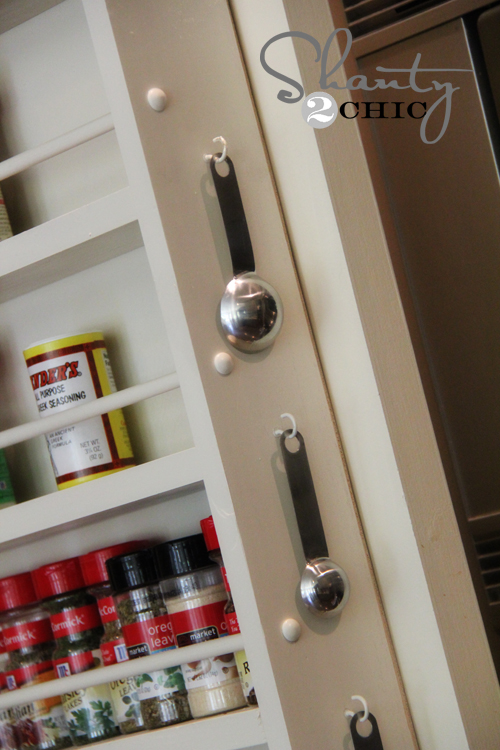
I decided to add some cup hooks to the side of mine to hang my measuring spoons… Spices and spoons go hand in hand, so it helps having them in 1 spot!
I added some Gorilla Wood Glue to the back of the whole thing, and attached my 1/4″ plywood to the back with finish nails!
That’s it!
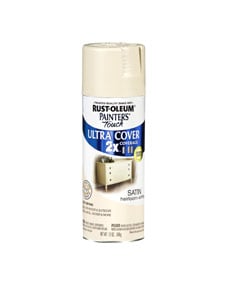
My very final step before hanging was to give the whole thing a coat of my fav!
Rust-Oleum Painter’s Touch in Heirloom White – It’s very close to my door and trim color, so it was an easy choice! You can find this at HD!
Now to hang it…
Like many of you, I have hollow core doors in my home.
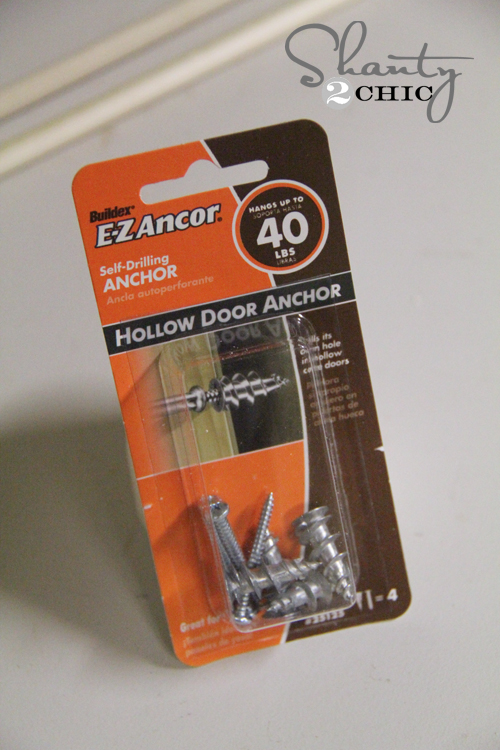
I used these Hollow Core Door Anchors to attach mine. This is so easy!
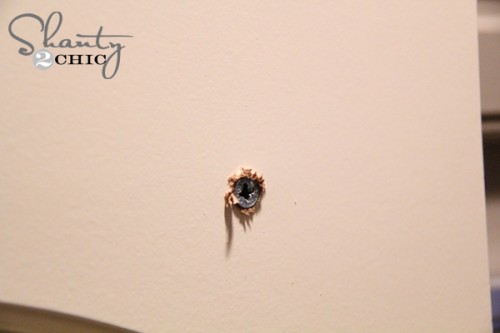
I started by drilling some small holes into my spice rack where I would be placing my screws.
Next, I used a pencil and my hubby to mark those holes on my door. He held it in place and I used a mechanical pencil with the lead out really far to mark where the holes would be. Pretty shanty, but it works!
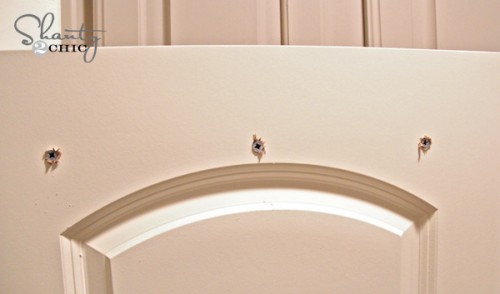
Next, use a drill to attach the anchors into the door. These are self drilling, and all you have to do is make them flush with the door.
Next, use the screws to go through your spice rack, and into the anchors. Easy!
I also added 1 wood screw through the bottom of the rack to keep the bottom attached to the door. No anchor on that one… Just a little screw.
That’s it! Seems like a lot, but it’s because I tried to be super detailed to make it easy. This took me 1 nap time to build and a few minutes to hang! And… I LOVE IT!
Here are a few more pictures…
Hope you love it!
I am so excited to share some of the other goodies we have come up with!
I would love for you to share and pin this project below!
Also, make sure to keep up with the Shanty Sisters on our Facebook page!













Great idea! I made 2 one for the top and another for the bottom. The one on the bottom I used 1×6 for more depth for larger spice jars. I also only have 3 shelves on the bottom for more height. I put the Kreg holes on the bottom so you can’t see them. Loving the extra space I have in my pantry. Thanks
Hi. I just built this, but when I went to hang it, the screws barely stick out of the back. I bought the identical anchors, so did you have to find longer screws for it? I just don’t trust the weight with 1/4” of threads in the anchors.
Love this! I still need to attach the back and paint. Can’t wait to hang this up!!
Well I have to tell you I thoroughly enjoyed making this. As you can see I added a door/chalkboard and a railing underneath for hanging stuff. I don’t have a closet in my kitchen, hence the cabinet door. I added cork tiles to the inside for hanging recipes, coupons, etc.
I am like you & don’t have a closet in my kitchen and I so love this idea!
Thanks! I just recently got into making furniture and really enjoyed this project.
AWESOME!!
I’ve been looking for a spice rack that was easy & one I liked…
Now I have the plans for one… Thank you Ma’am!!
The ONLY adjustment I can see I have to make, is to make it smaller…
We do not have a pantry or a pantry door at my home, so I’ll have to mount it on the wall in the kitchen somewhere….BUT I LOVE IT!! and it will save me so much time & energy because I will no longer have to literally hunt down the spices I need for various dishes.
TY again for sharing this! 🙂
I love this spice rack. My husband and I built it last week as our first project using the Kreg drill and it turned out great. We had to use longer screws (1.75 in) though than the screws that came with the anchors (1.5 in) because the extra panel on the back of the cafinet put it over the maximum 3/4″ thickness recommended for the screws that came in the package. Also, I think if I were to do this again, I would use thinner dowels. The names of the spices are covered by the thicker dowel rods, but it is still easy enough to make out what they are. We are very pleased with the spice rack and are enjoying a neater pantry. Thank you!!
What did you do to the front of the door (When it’s closed) to hid the screws? My husband is concerned about that.
The screws will not go all the way through the door when you screw them into the back with the anchors, so they will not be visible from the front.
This is a great idea. Just curious why you didn’t use the wood plugs to cover the pocket holes after the screws were all in? They serve the same purpose as the dowel plugs you used, but are for, and shaped to fit, the holes made with your Kreg Jig. A drop of glue, a swipe of sandpaper, and your fav finish, and viola` holes disappear, and shelf is all nice and smooth!
Do you need heavy duty hinges for the extra weight on the door?
I don’t! Just the regular ones 🙂
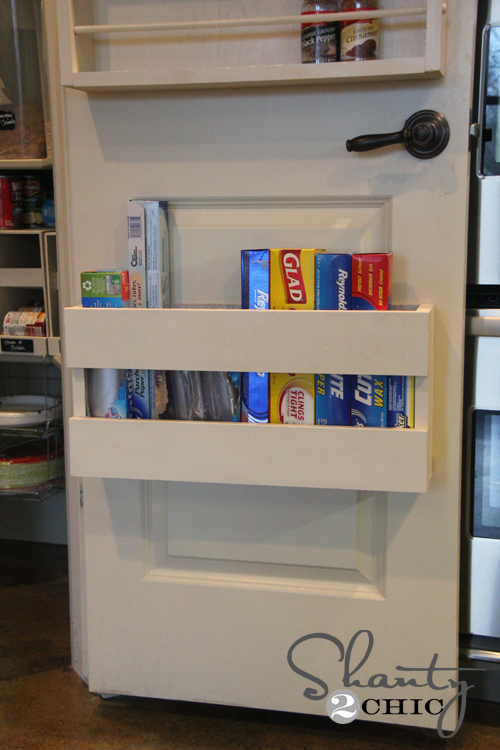
We just finished this and the Foil & More Organizer and stocked them up tonight. I love it! Freed up a drawer and almost a whole shelf!
Yes! I made one following most of your instructions! (But I filled it with Penzey’s spices)
Thanks!
@Mary C. Well aren’t you special. “Look at Mary C. everybody, she has trendy spices and she needs all of us to acknowledge how special she is!” Your level of insecurity is staggering.
Funny and deserved call out Brian. A simple thank you to the author for sharing such detailed and usable plans would have been more appropriate than trying to one-up her bragging about your fancy spices.
Chris, do you remember what happens when we ASSUME something?
Well aren’t you special, Brian Moss! Look at Brian Moss everybody. He had to call out someone for demonstrating pride and needs us to acknowledge how unkind he can be. Your level of rudeness is appauling!
If I made these, I would turn the shelves over so you can’t see the Kreg holes. I would also blind drill the holes for the dowels. Doing that you wouldn’t need to use buttons to cover the holes, because there wouldn’t be any holes to cover. I would drill four Kreg holes on the sides to attach to the door.
I love this idea…Some of your spices look like they just barely fit in the 3 middle shelves. Is it easy to get them in and out? I’m just wondering if you had to do it over again, would you have added a little more space between shelves more like the bottom two?
I followed directions perfectly and my spices fit just fine.
Planning on making this…but have a question. Do the spices slide around when the door open and closes?
My spices don’t slide around.
I made this and followed the instructions to a T and it turned out great! The only issue I ran into was that it was almost too big for me pantry. It fit on my door fine, but when I closed it, the front corner on the side of the door handle ran into the door frame. I had to shave it down about a quarter inch before the door would actually shut. ?
Love this! My sister has much smaller cabinets and a tiny kitchen, so this is how we corralled her spices: http://createbakecelebrate.blogspot.com/2012/02/spice-storage.html