Hey guys!!
I want to first thank all of you that have voted for Shanty2Chic as Country Living’s Best Craft Blog. We are so thankful to all of you for voting, and for making this award even possible for us! You can continue voting everyday until the 17th by clicking the blue button below! THANK YOU!!
![]()
Now on to the fun stuff!
I have been sharing my bedroom revamp over the last week or so. Today I wanted to share my shelves I made for under $15! These are the same type of picture ledge I made for my oldest son’s room, but I took a different approach on mine. I am hoping to show you just how versatile these babies are! You can see the full set of plans for these on Ana White’s site!

I will also be showing a few more details on how to build these with your Kreg Jig®. This is a great first project for those of you that still haven’t pulled your Kreg Jig® out of the box! This is also another excuse to put a Kreg Jig® on your Christmas list!
You can totally make these using wood screws and glue, but the Kreg Jig® makes it easier, prettier and sturdier… Good combo! 😉
For each shelf you will need three boards.
2 – 1×4 and 1 – 1×2 cut at the same length
You can get these at the hardware store already cut at 4, 6 and 8 ft. You can also have them cut them for you.
I started by setting my Kreg Jig measurements. This is easy! I set the bit length to 3/4″ because that is the width of my wood.

I also set my top piece to 3/4″ like this…

I made pocket holes down each of my bottom boards (1×4) just like this…

Easy!
To attach my boards I also used Gorilla Wood Glue.

I started by adding a line of glue and putting 1 1/4″ pocket hole screws into my pocket holes.

And a longer view….

Your last step is attaching your 1×2 to the front. I added a small line of Gorilla Wood Glue and attached it using finish nails. I didn’t worry about filling the holes because I wanted these shelves to look shanty! 😉


Easy Peasy!
Seriously… You have no excuse to avoid your Kreg Jig® anymore! The time has come.
I have lots of stained pieces in my room, so I knew I wanted to balance this with some white. I decided to use our distress painting method to achieve the look I was wanting.
I started by staining both shelves with Rust-Oleum Ultimate Wood Stain in Kona. You can buy this at Lowe’s!


After that dried I gave everything a coat of the latex paint I have on my trim. You can also spray paint, but I had the latex handy!

After that was done I went to town sanding it down. You can see a full tutorial on this distressing paint method that Ashley shared HERE.
Here is how mine turned out…

Yup… I kind of love it. I added a few modern frames to balance out the shanty and I was done. Here are a few more pictures!


Hope you like them!!
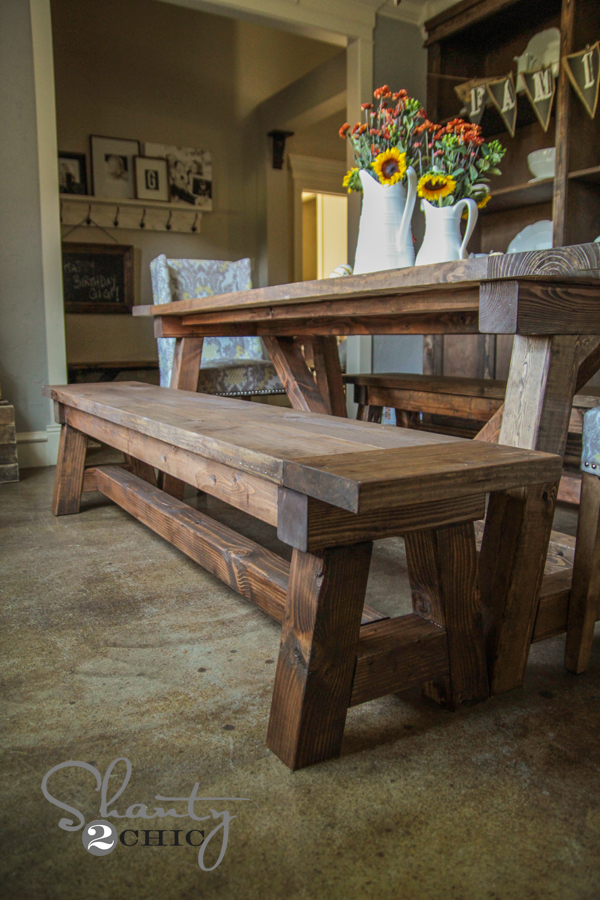
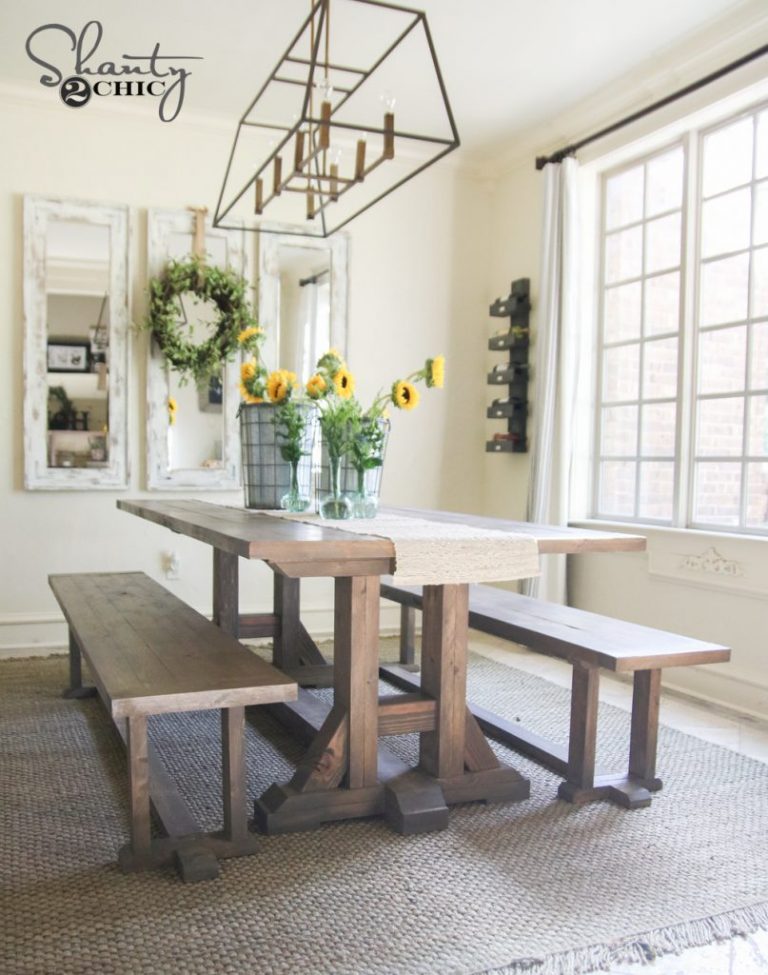
You can see a few more posts on my bedroom below…


Thank you so much for stopping by!! Let me know if you have any questions! Have a great Wednesday! 😉
~Whitney


Loved this! Thanks for the awesome and easy tutorial. You’re making style and design clueless people like me feel like rockstars! I made sure to link you in my post! http://thedizzymom.blogspot.com/2013/02/photo-gallery-wall.html#