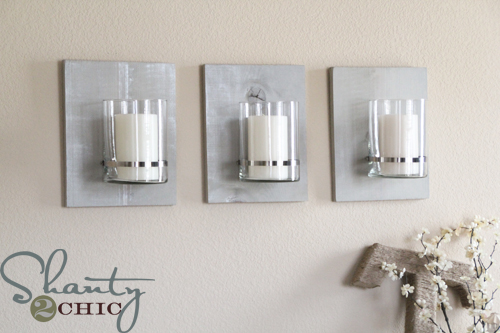
Hey guys:) I have seen these done by so many and I really needed new pillars for my fireplace. I decided to do my own spin on them and I love how they turned out!

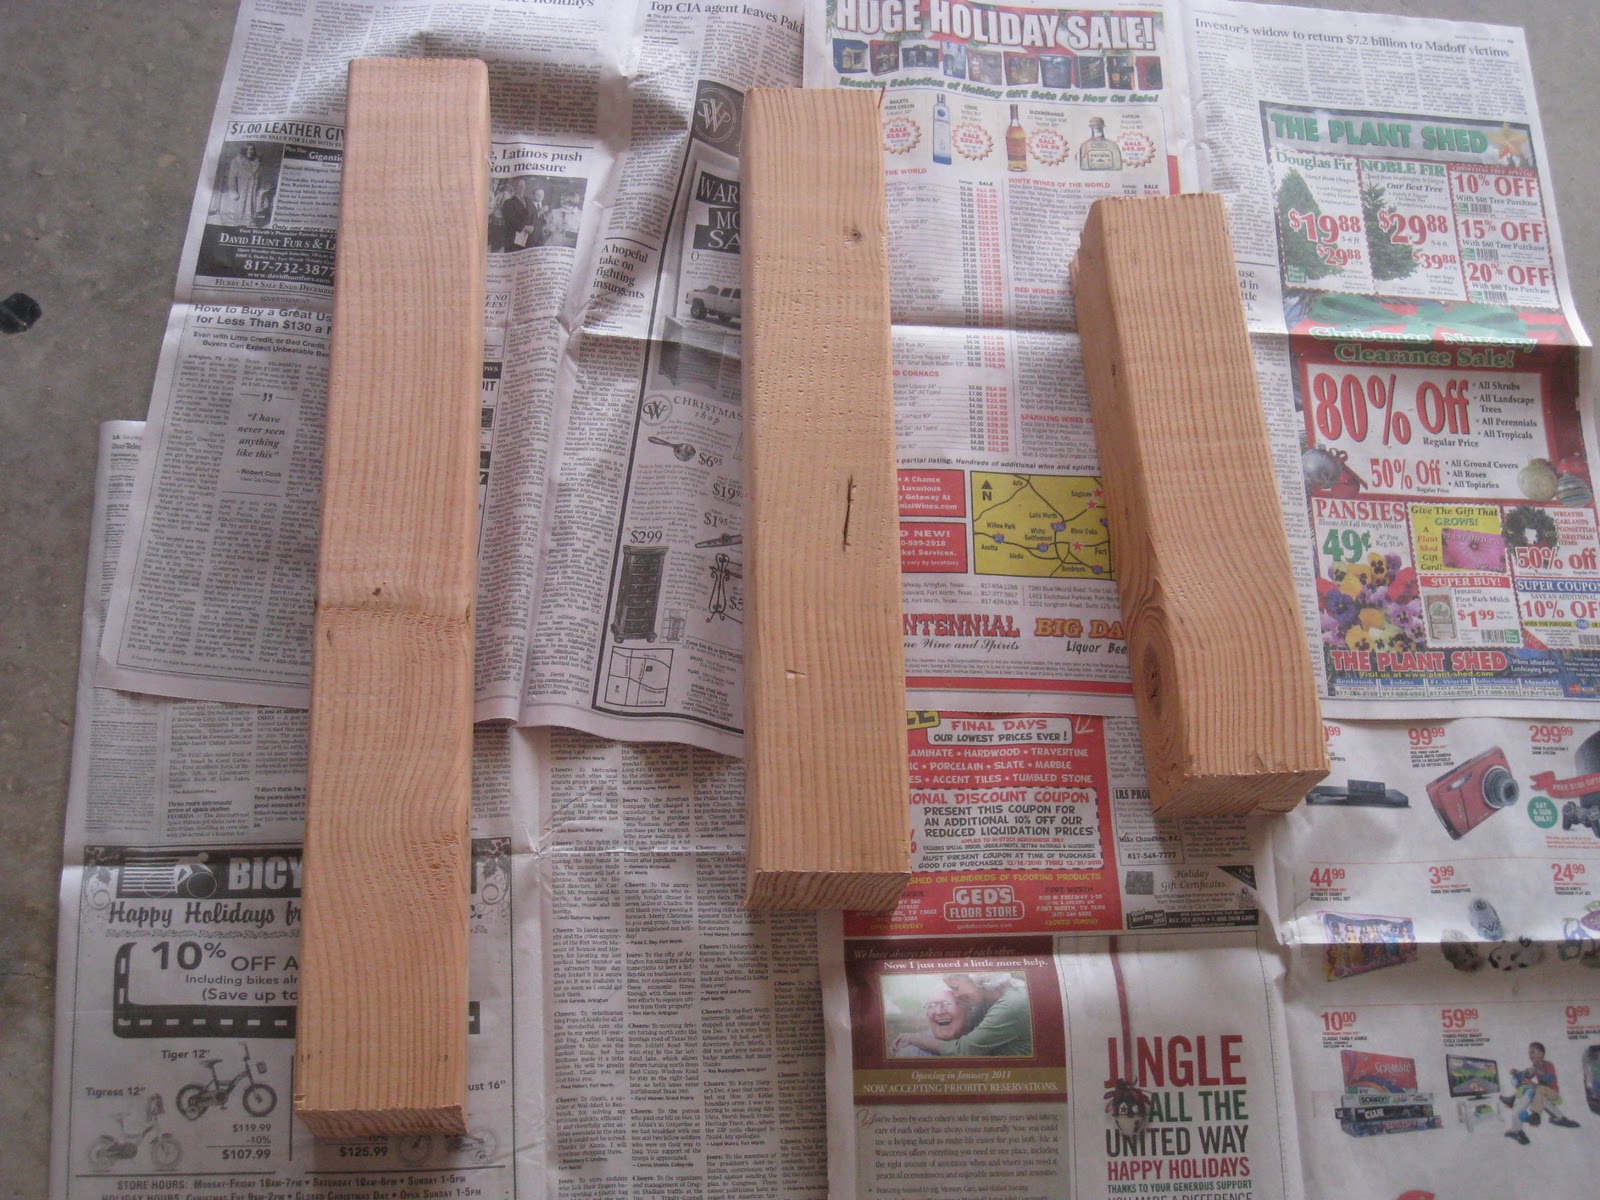
I started with a 4×4 that I purchased at Home Depot. I cut them down to three different sizes. The magic numbers for me were 25″, 20″ and 15″.
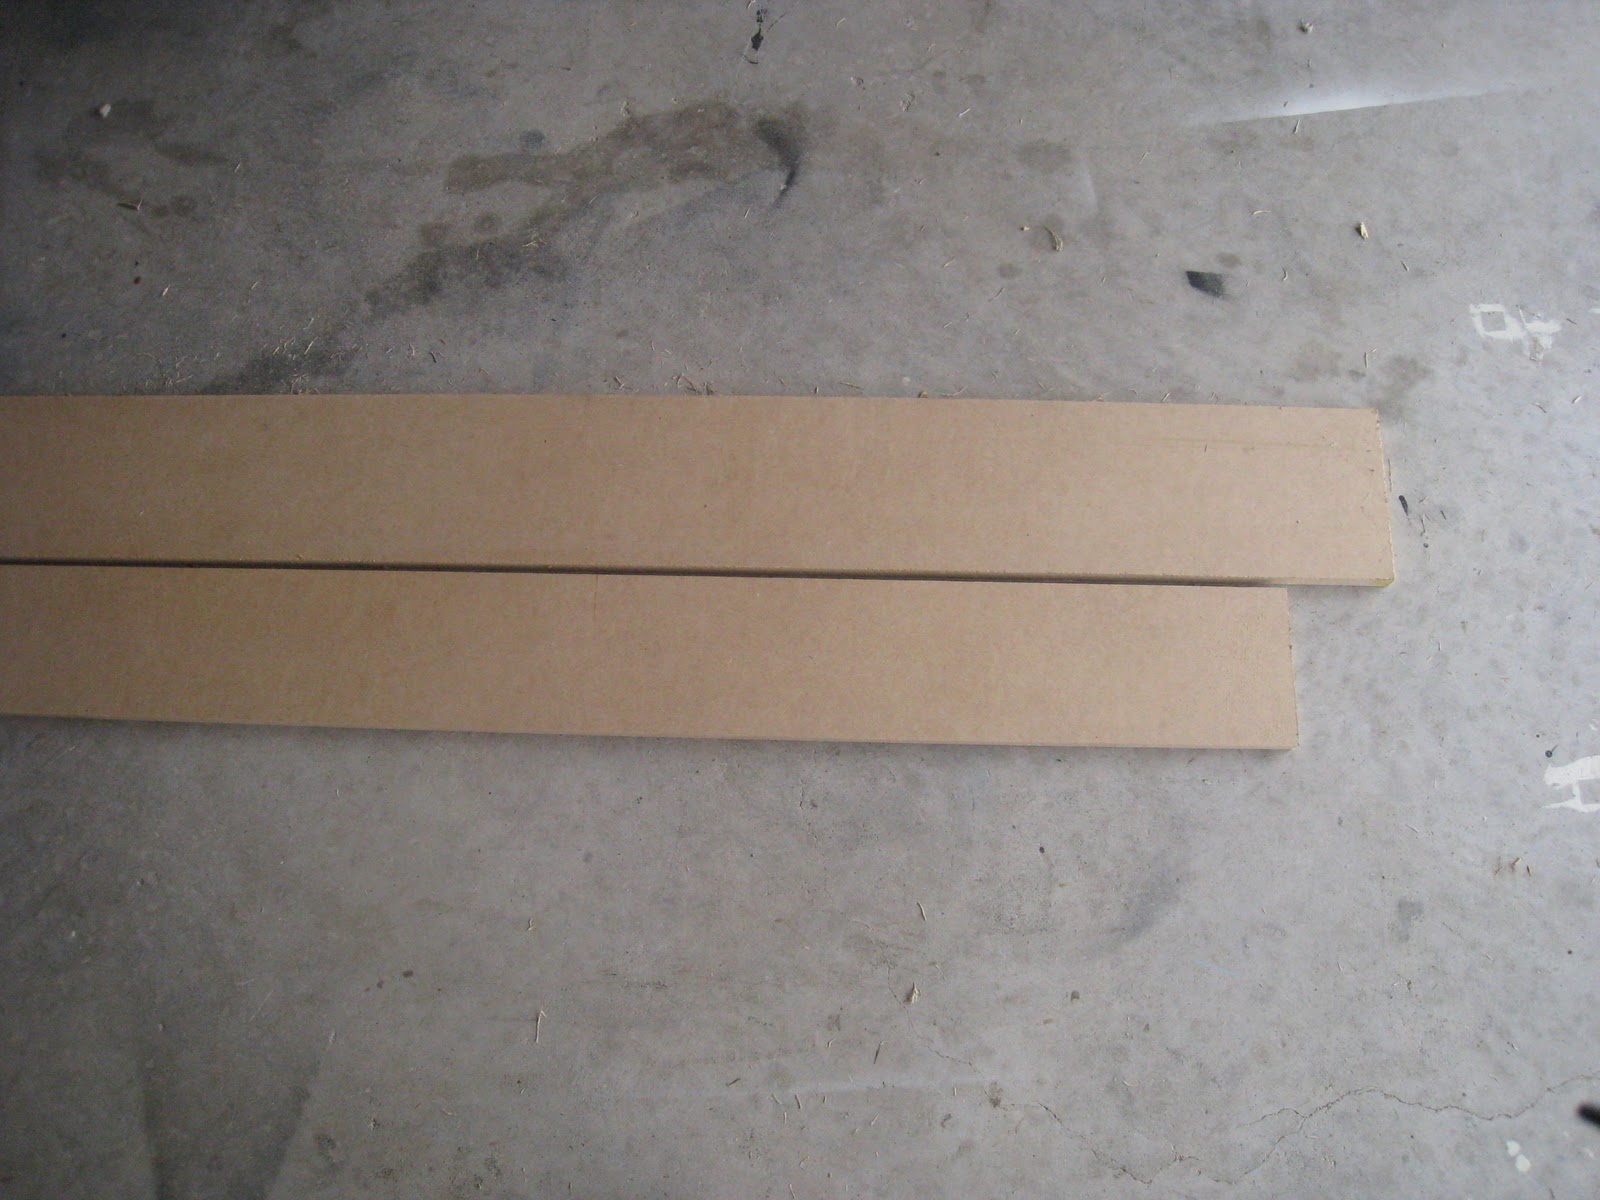
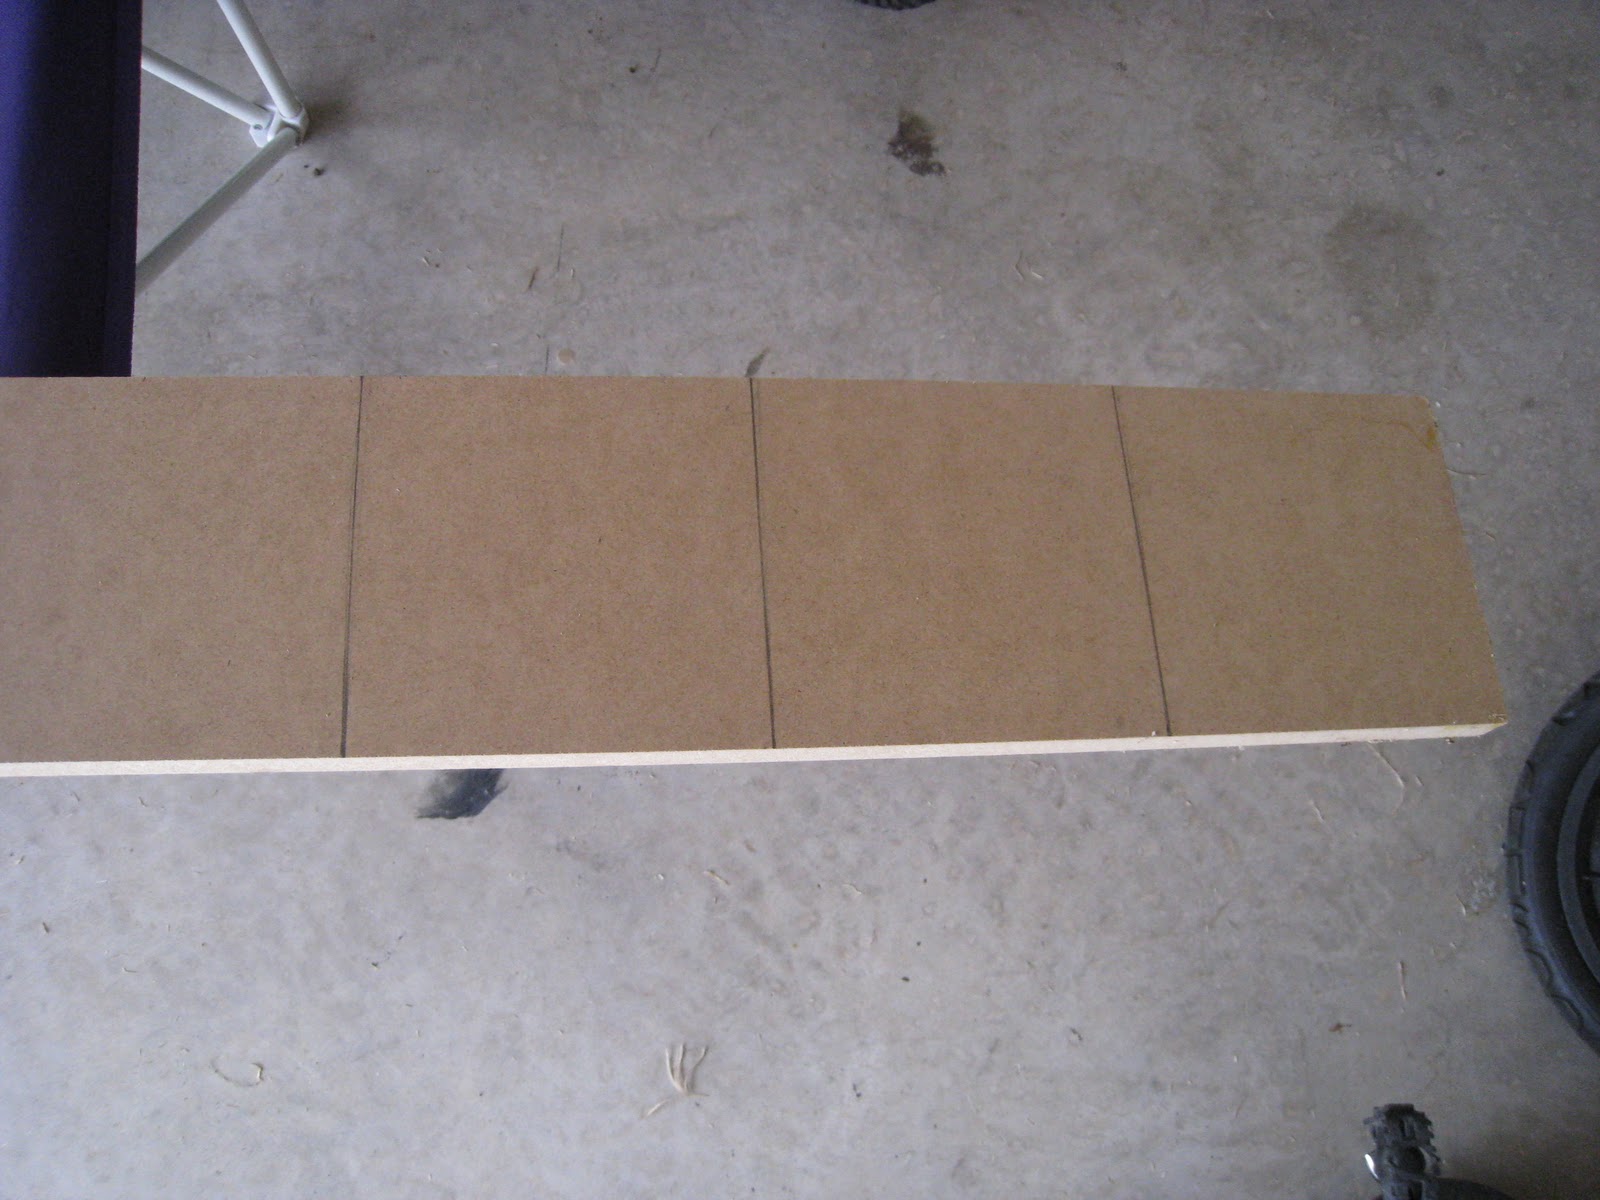
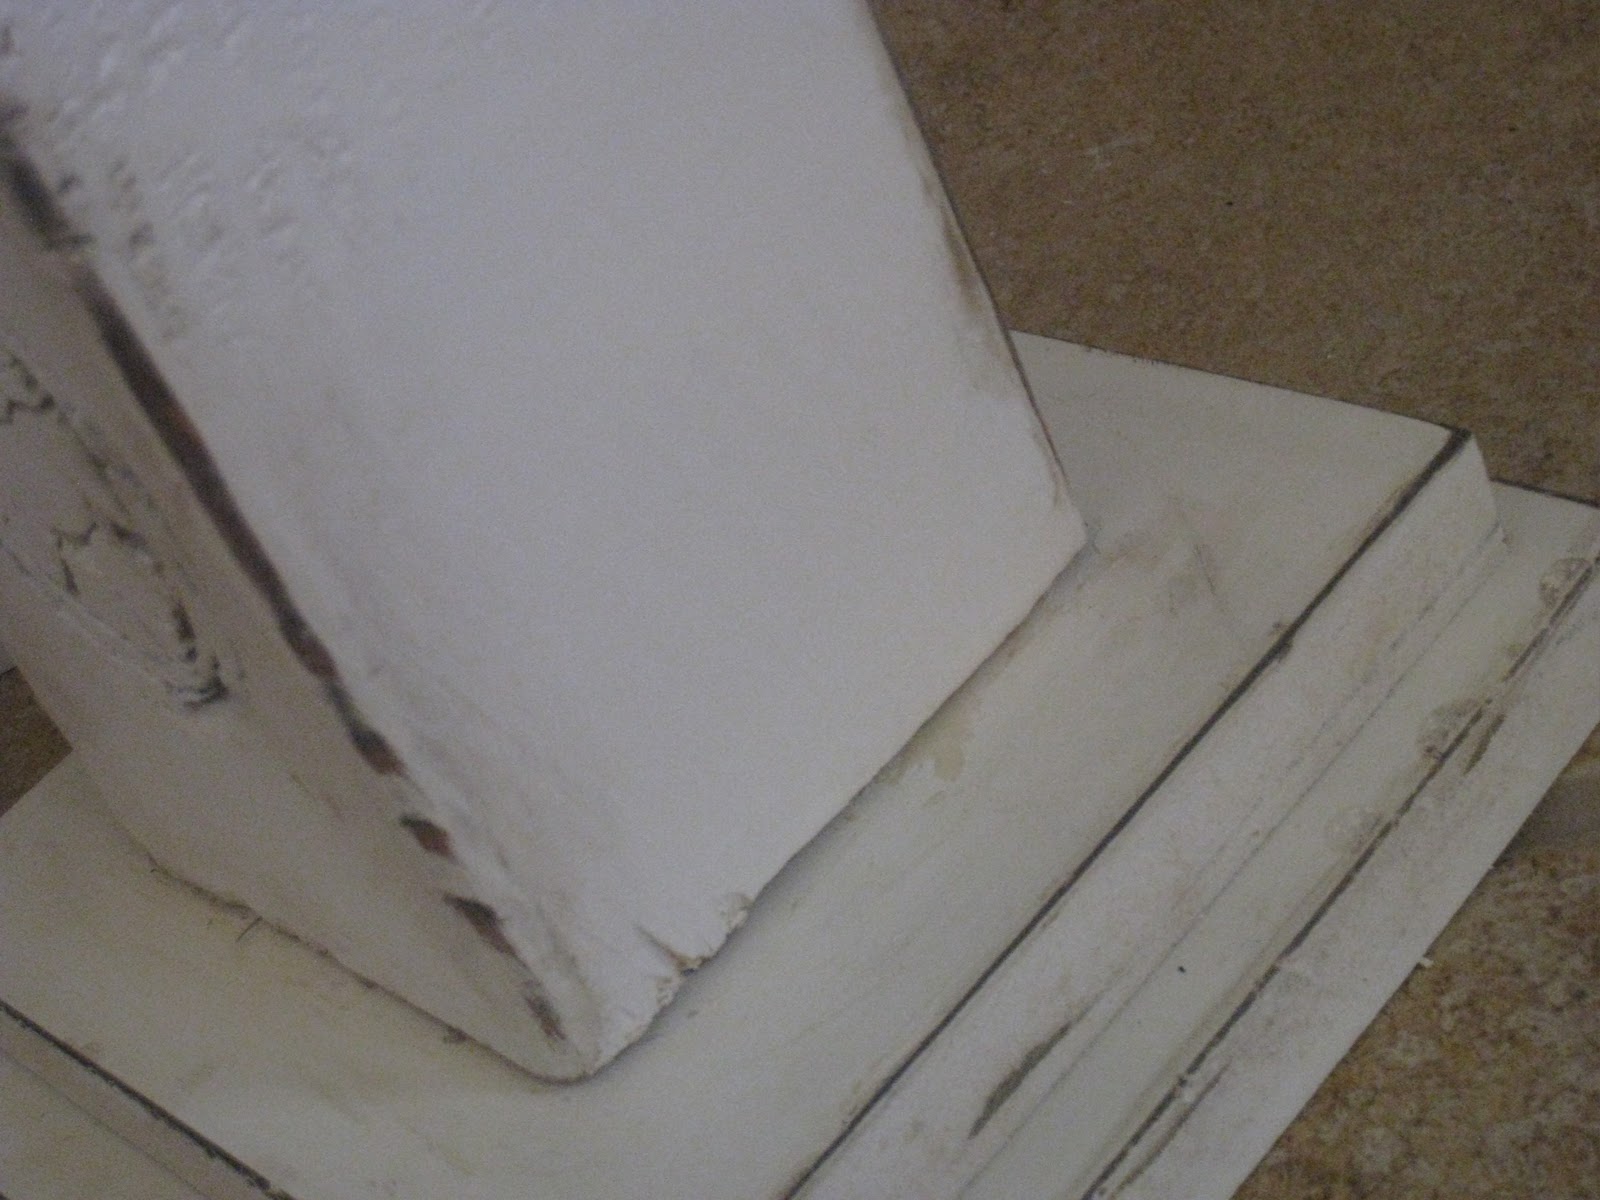
I also had some extra MDF scrap boards in my garage so I cut these down for bases. I cut the square pieces down to 3 pieces at 6.5″x6.5″ and 6 at 5.5″ x 5.5″.

Next, I used Gorilla Glue Wood Glue to stack a small square on top of a large square.
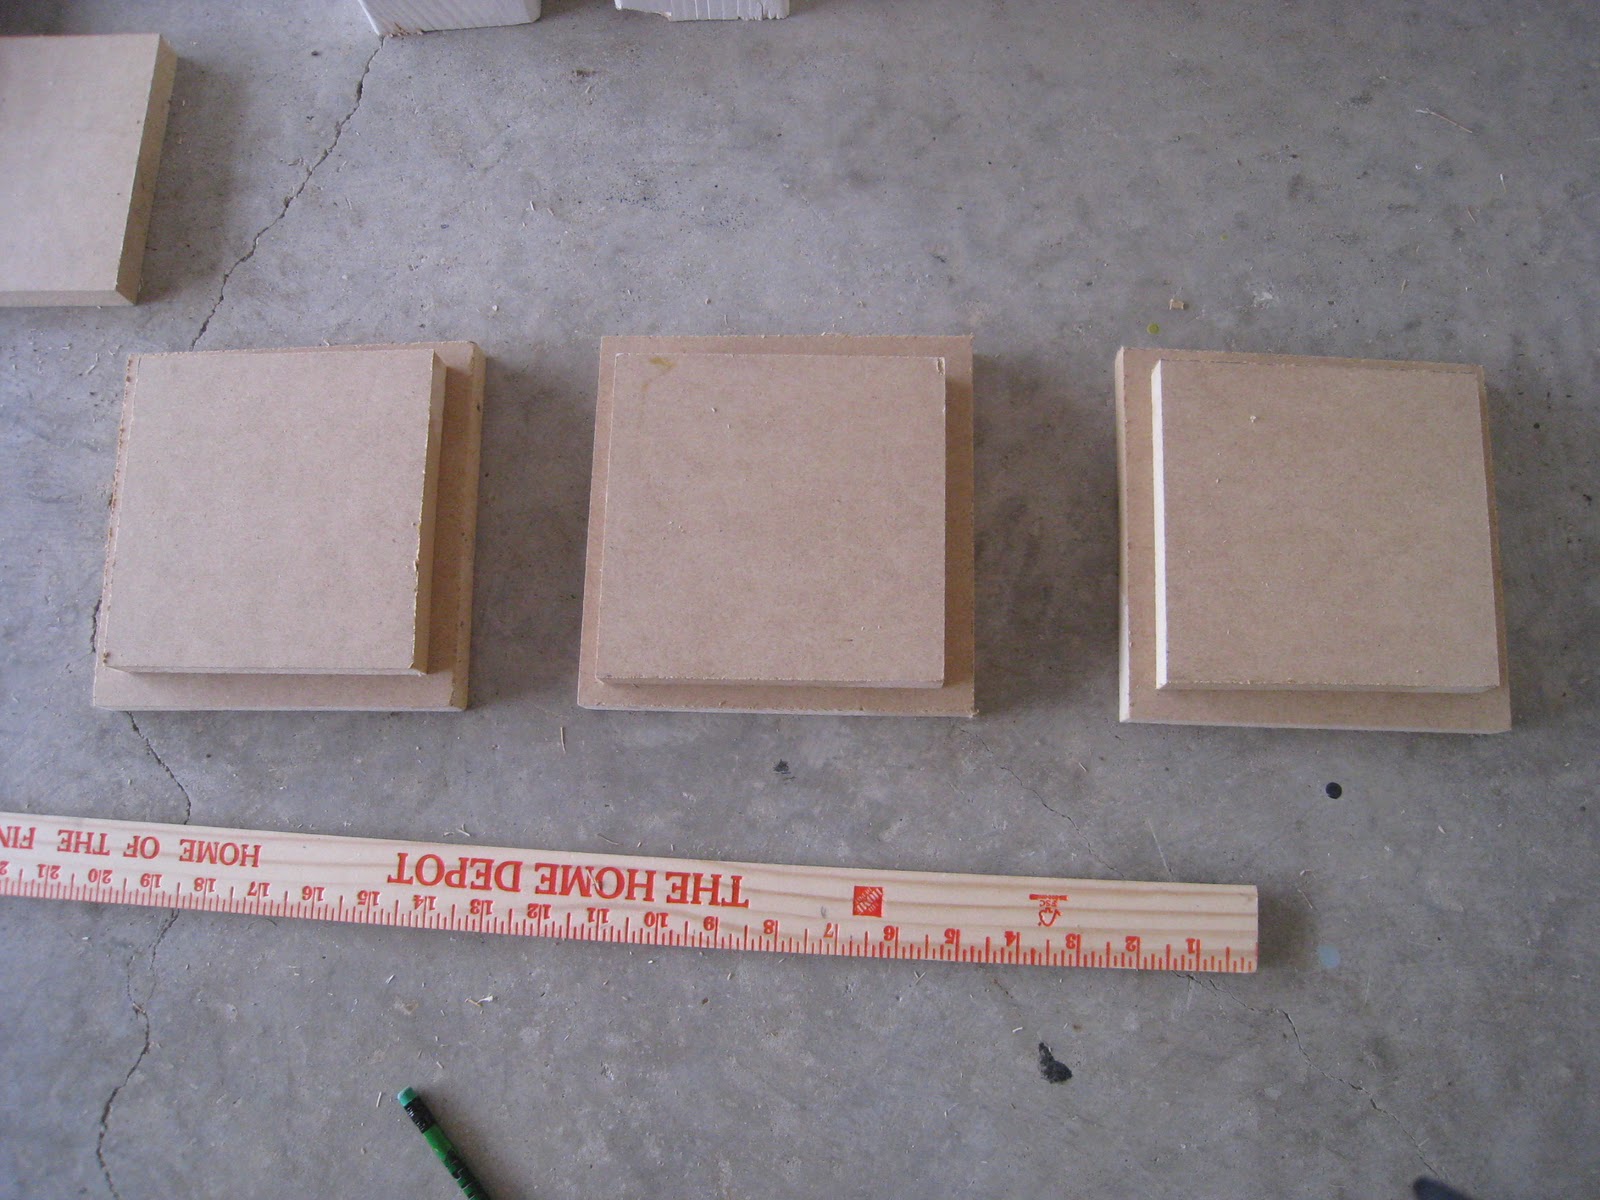
I repeated this two more times to construct the pillar bases.

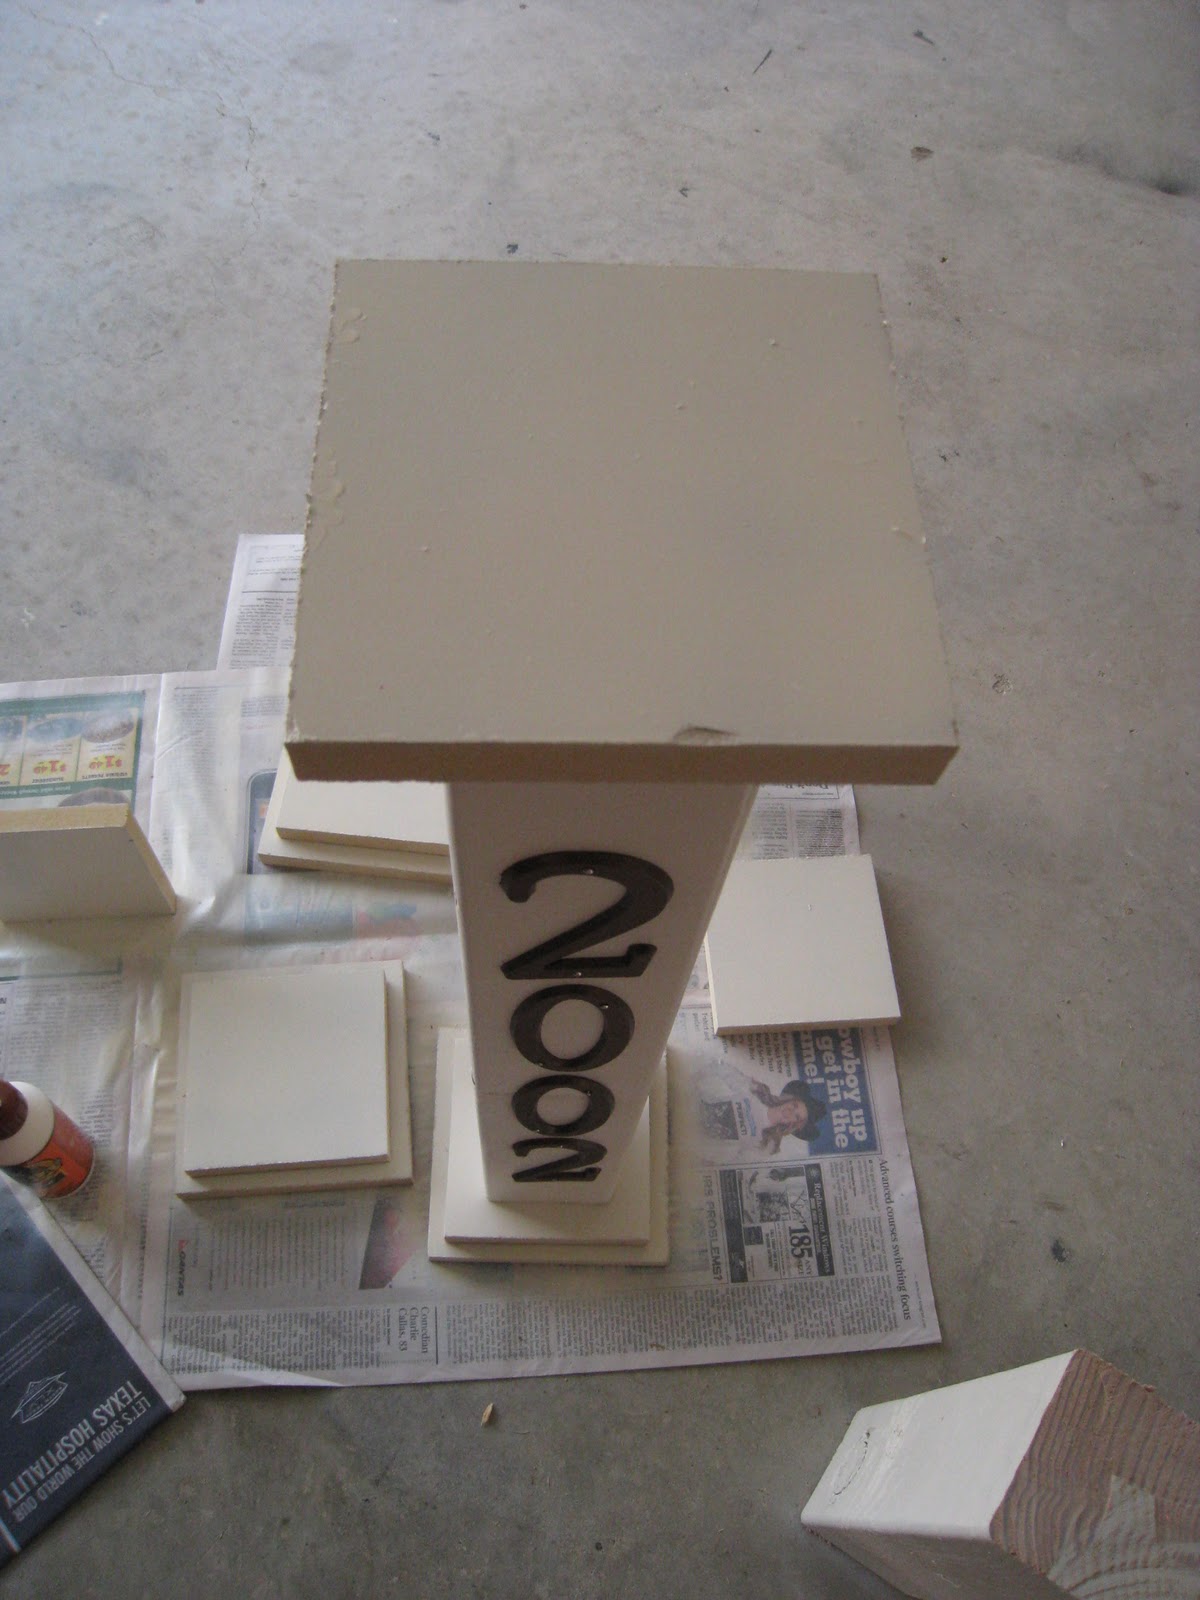
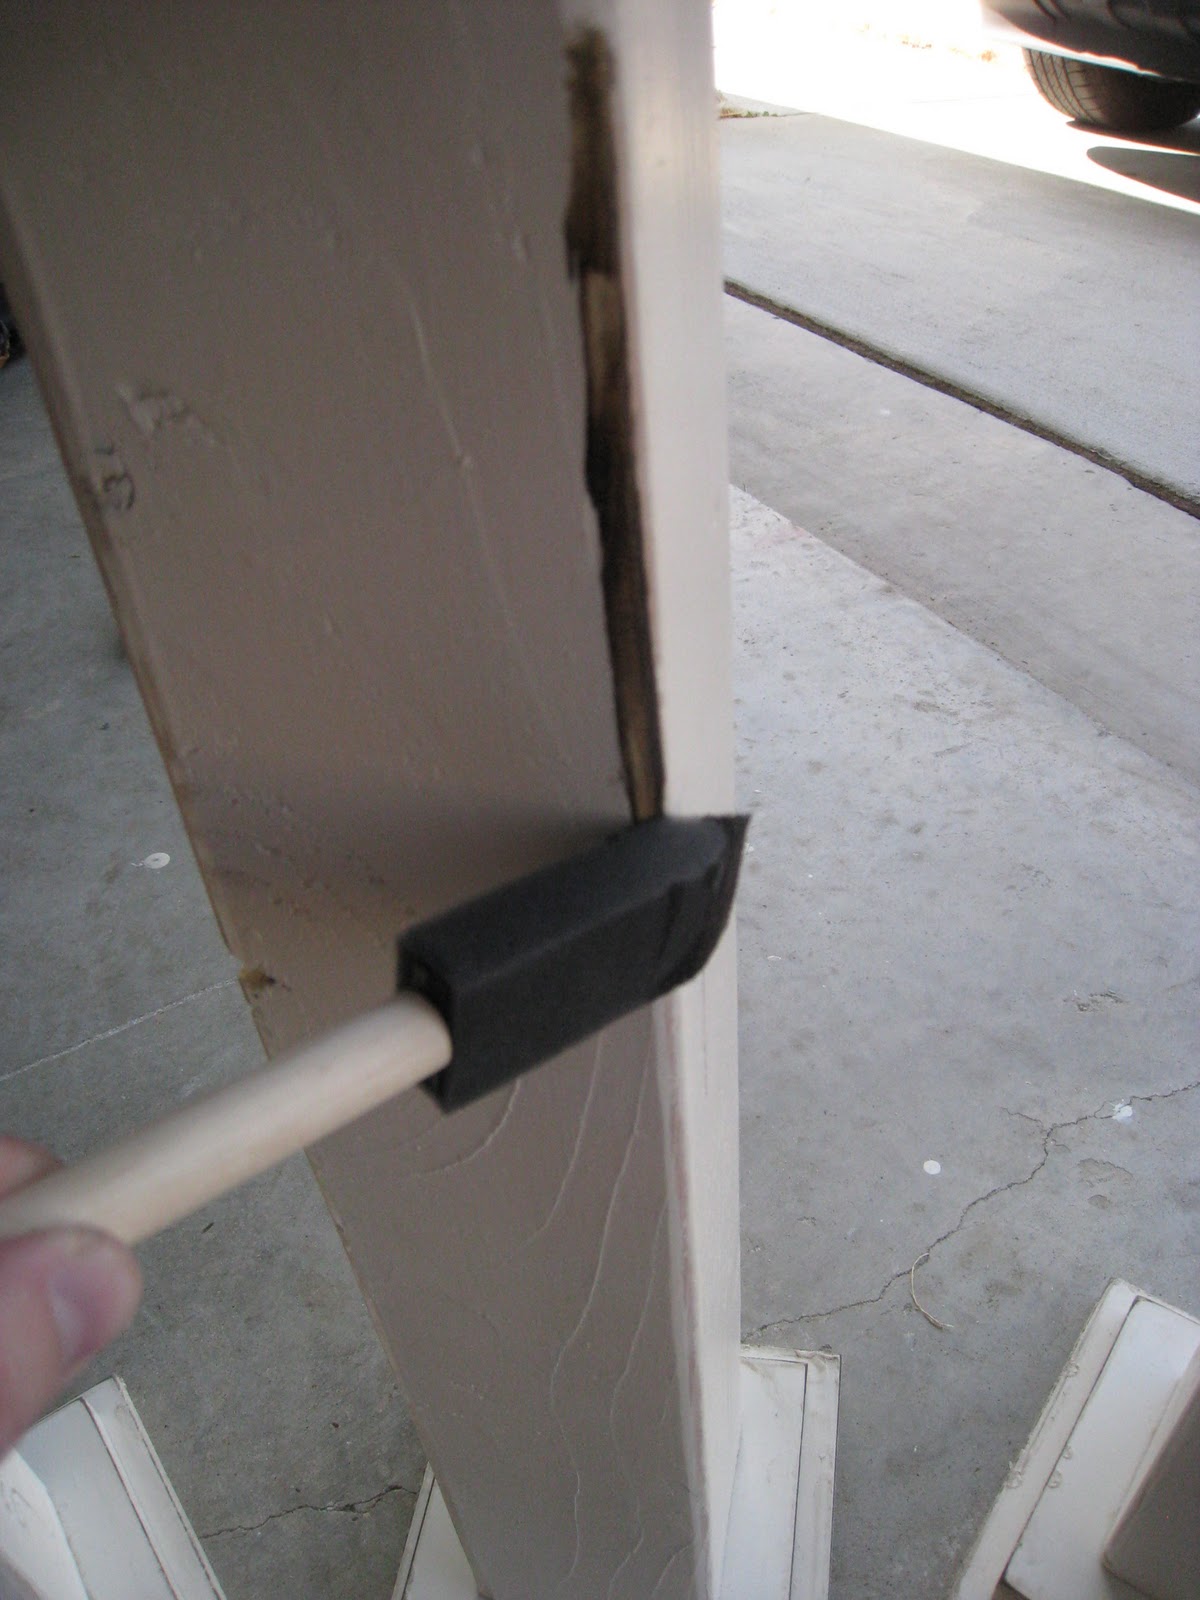
I spray painted all of the pieces with Rust-Oleum Heirloom White.
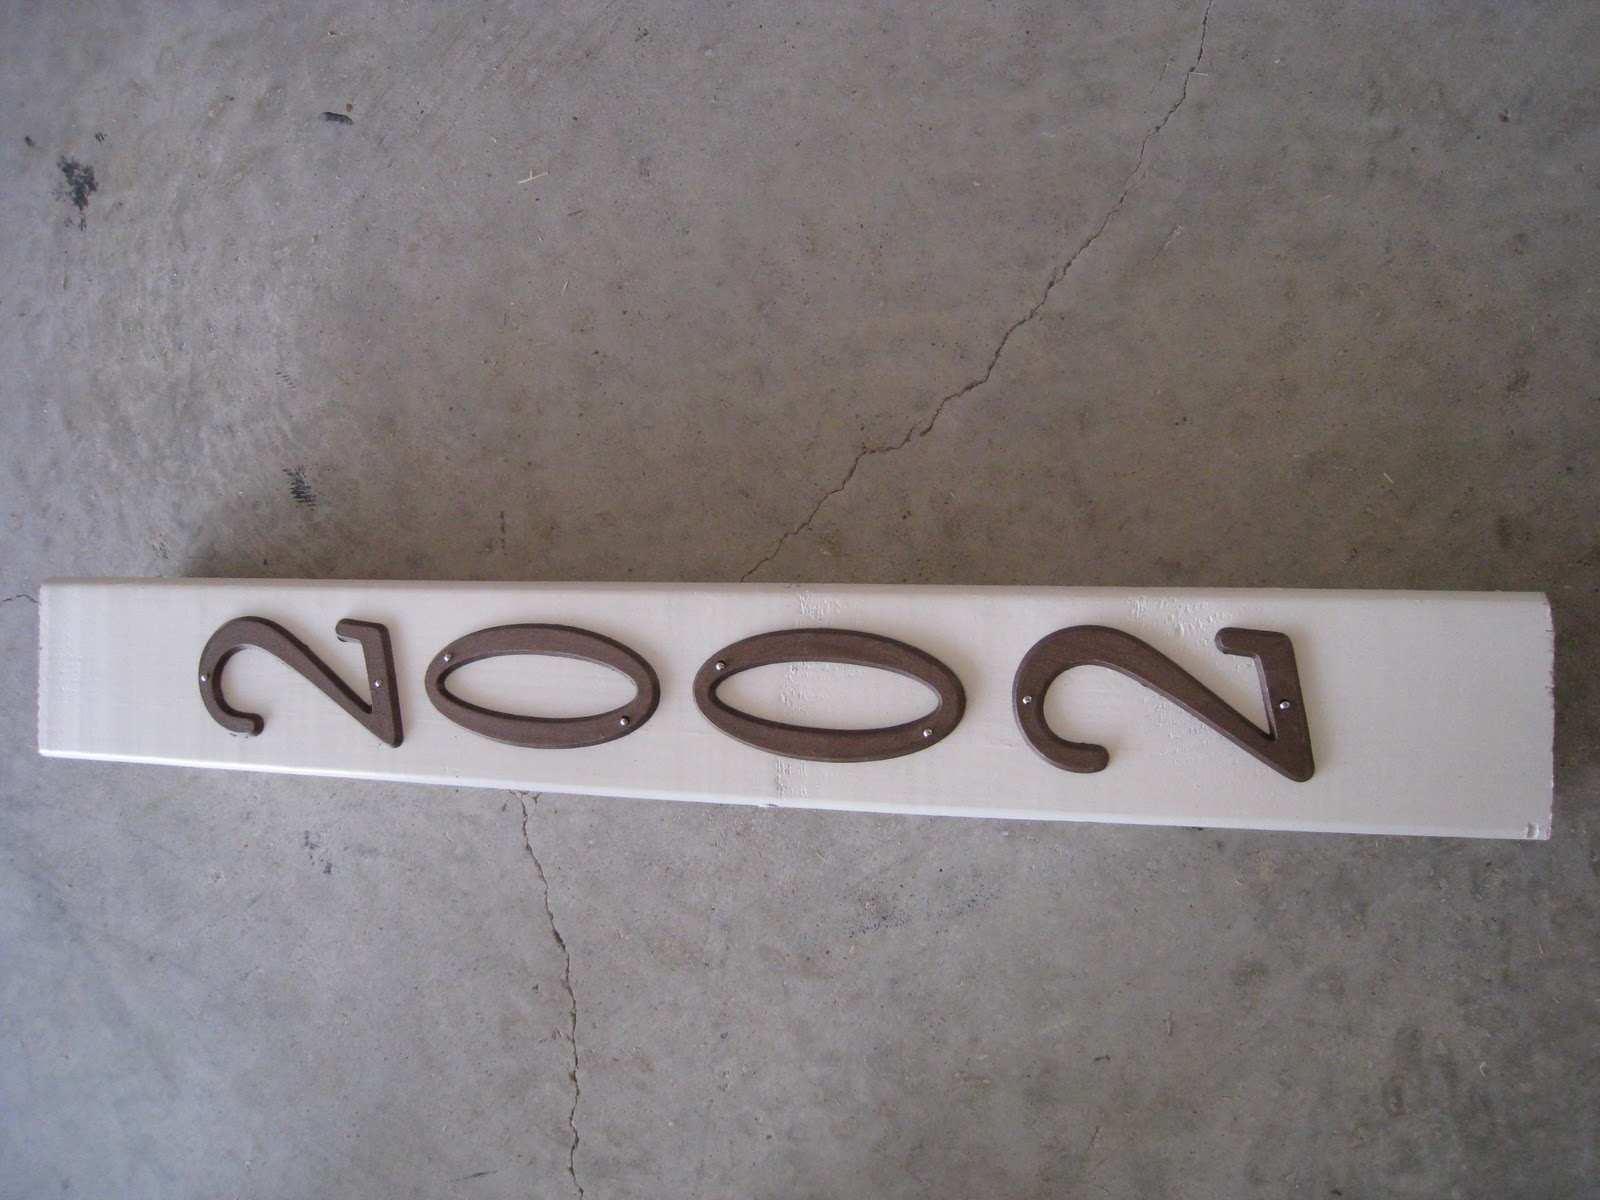
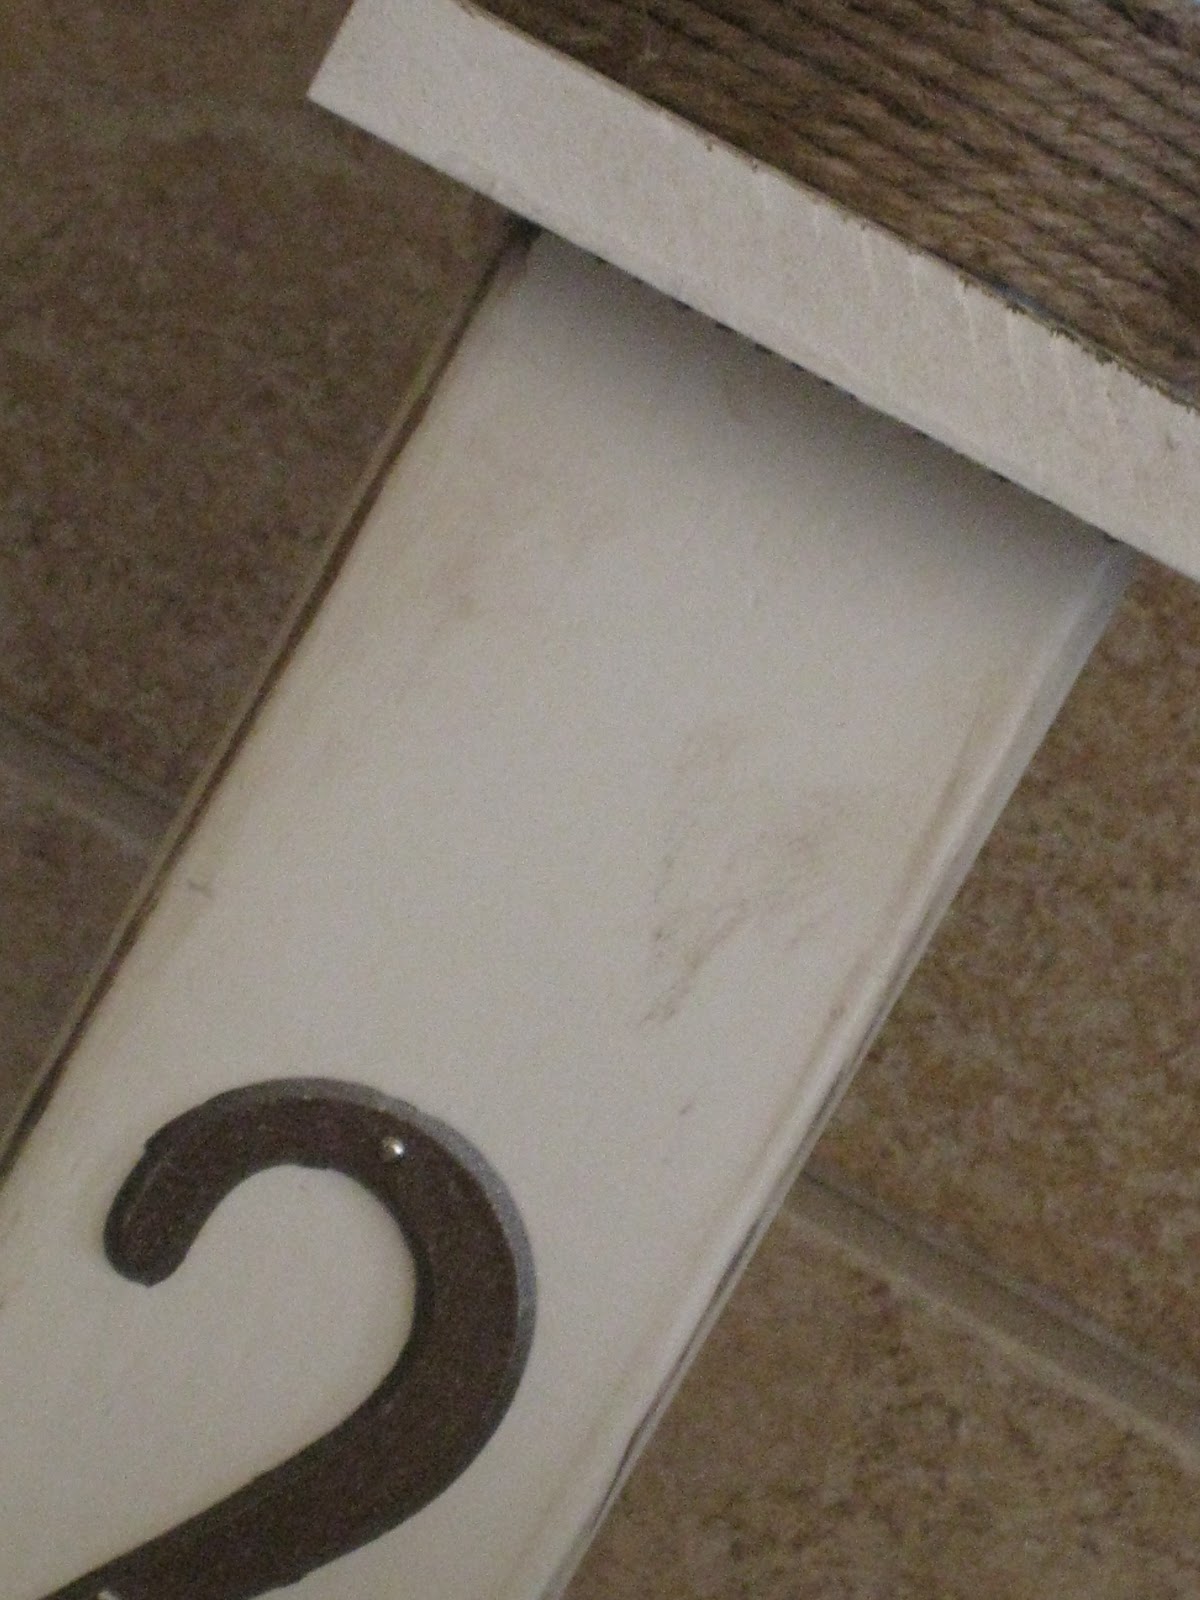
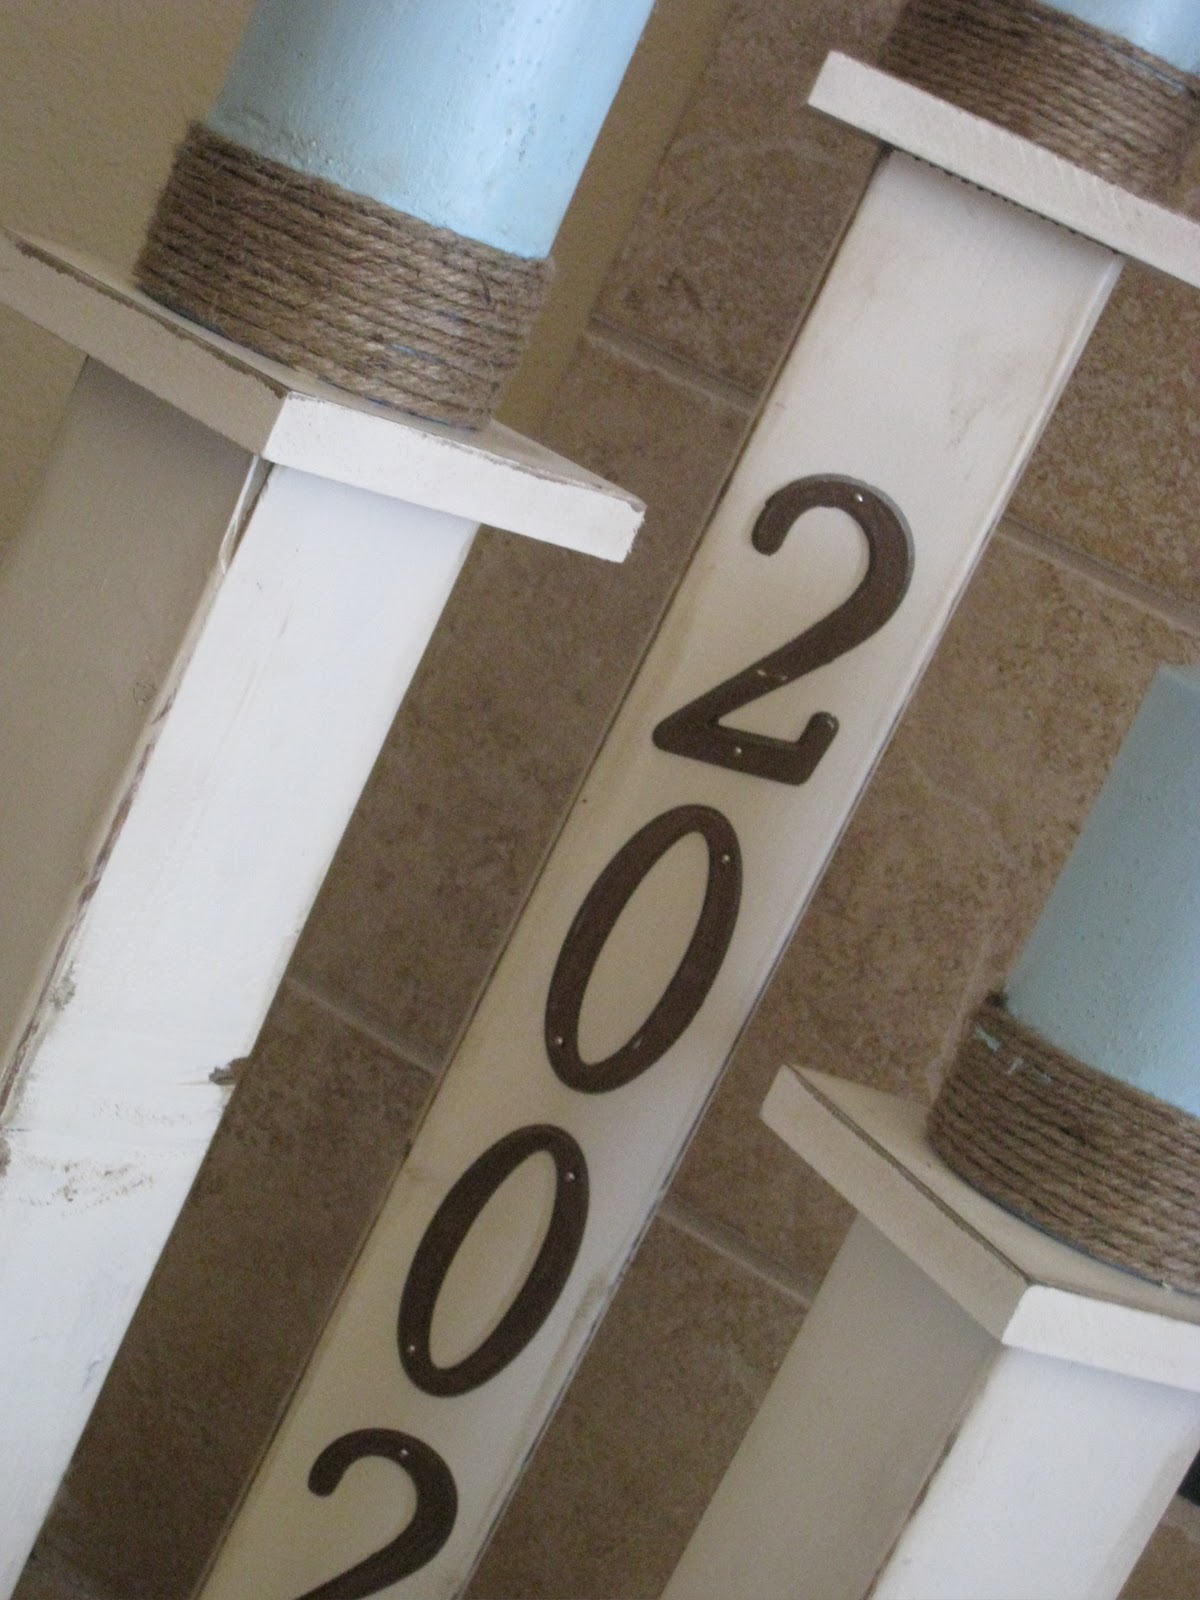
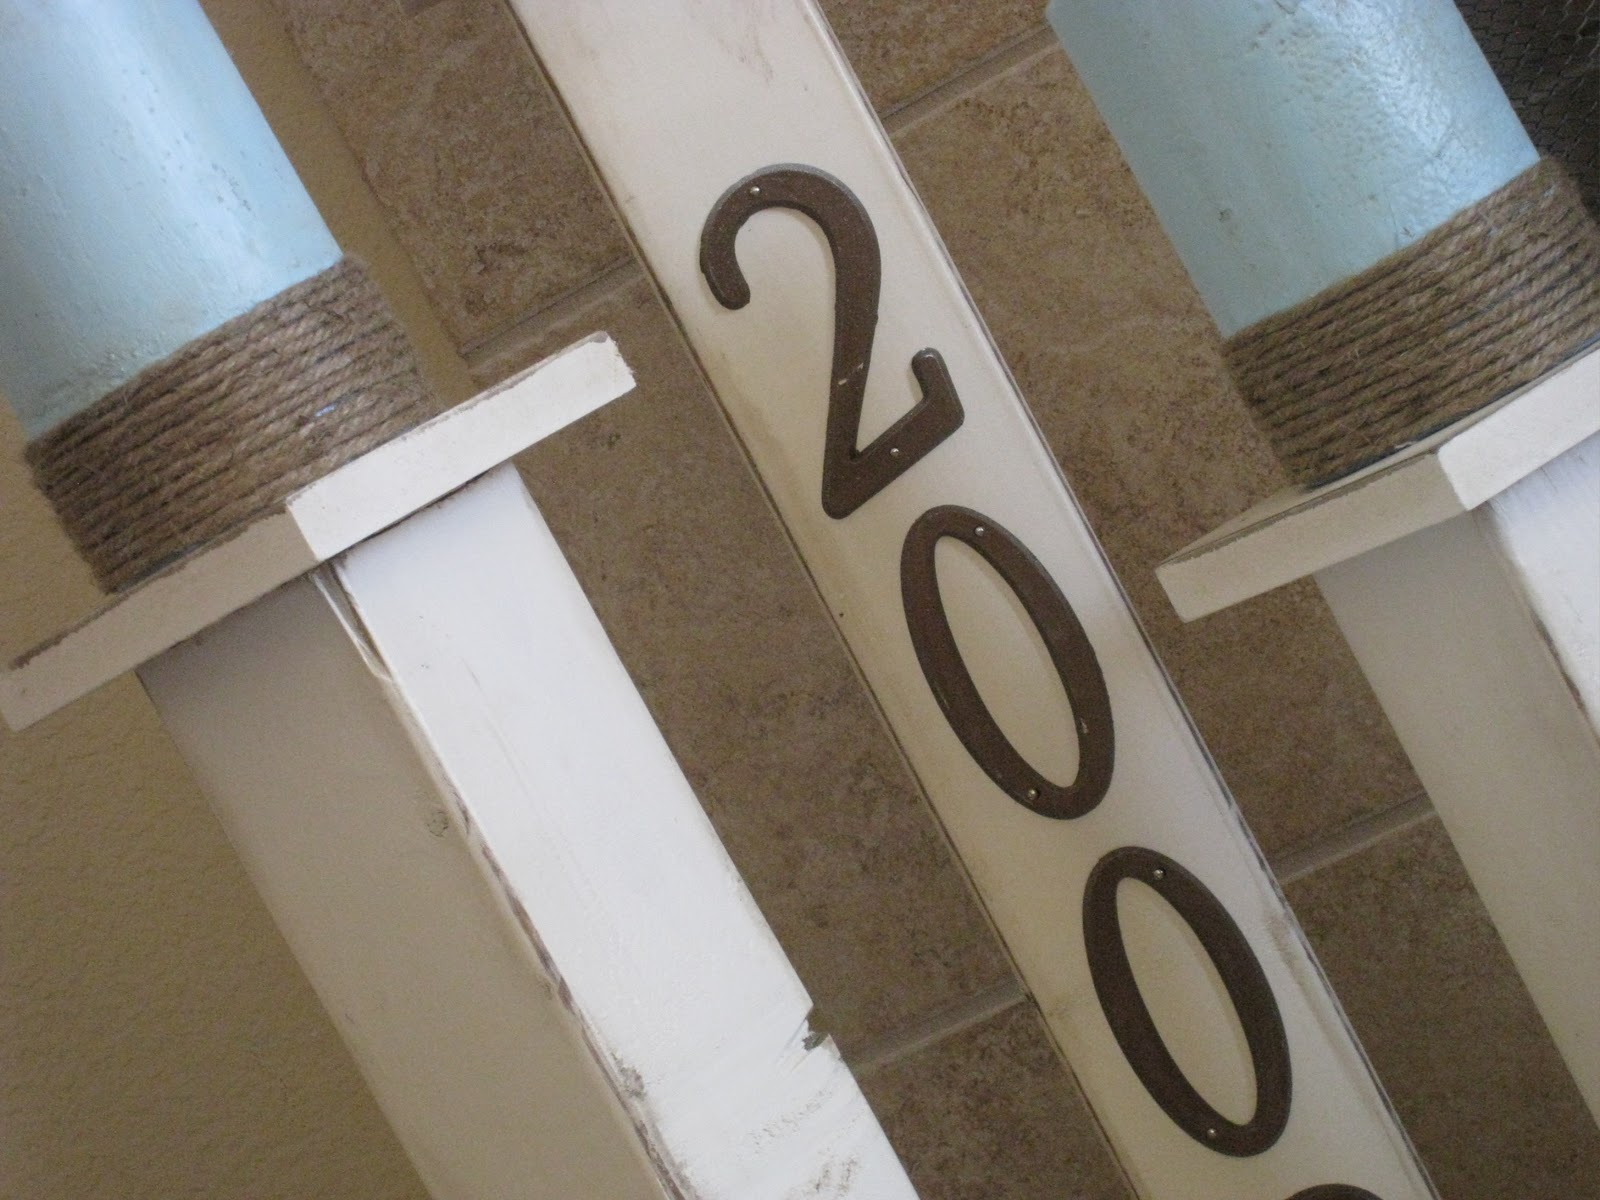
John and I were married in 2002 so I thought it would be cute to incorporate that into the pillars. I found these super cheap numbers at Home Depot. They were silver but I painted them with Rust-Oleum Metallic Accents Metallic Classic Bronze.
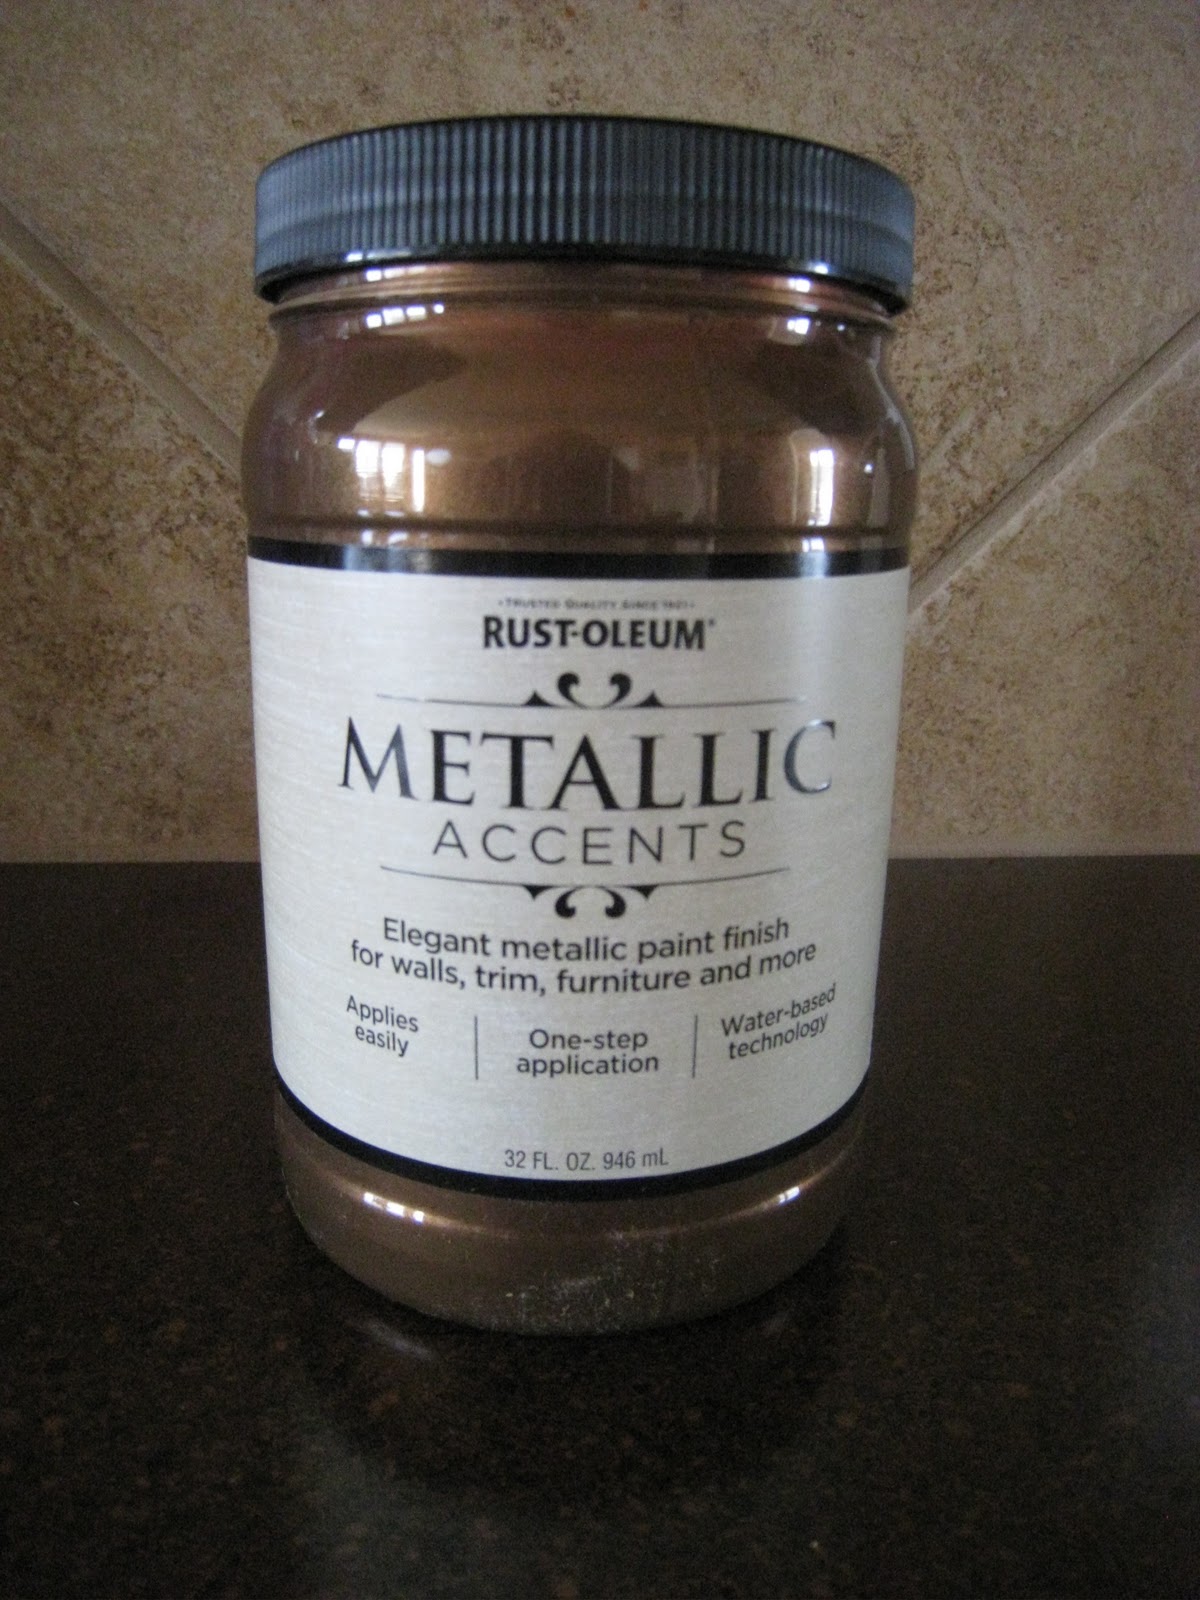
This stuff is cool!
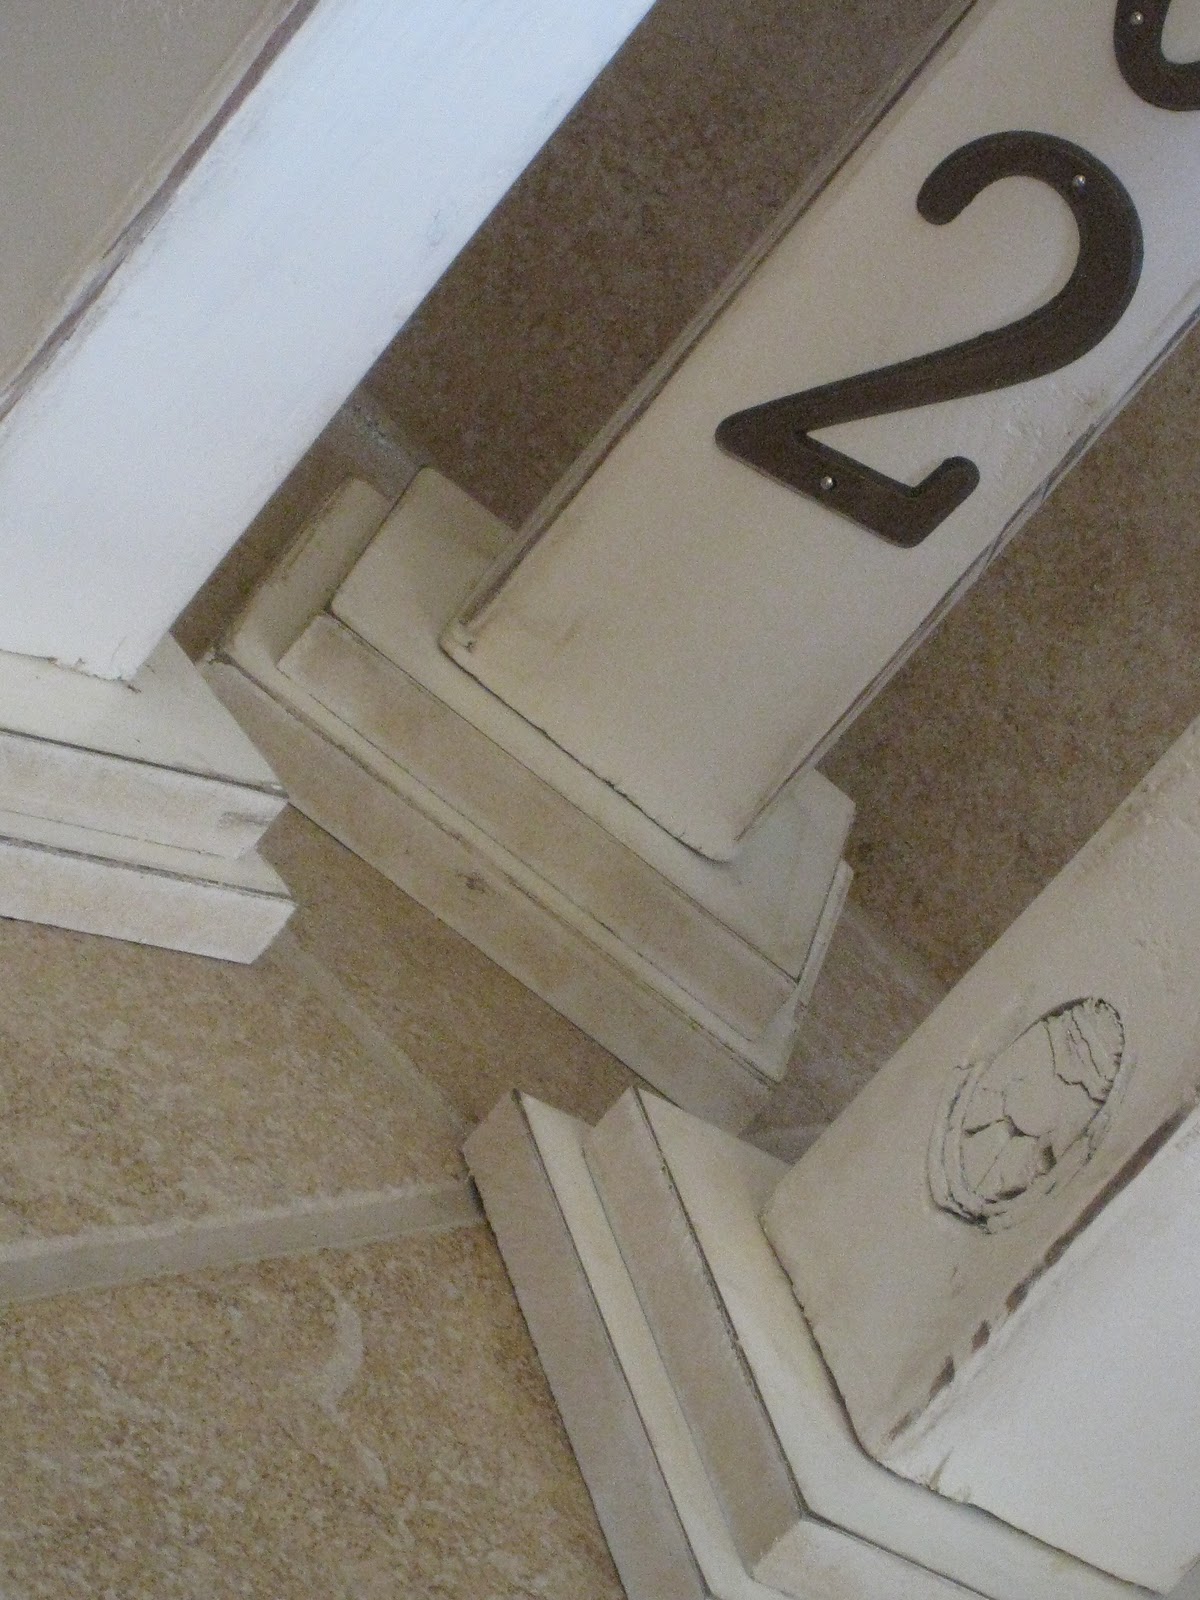
After everything was painted I used Gorilla Glue Wood Glue to build the pillars.
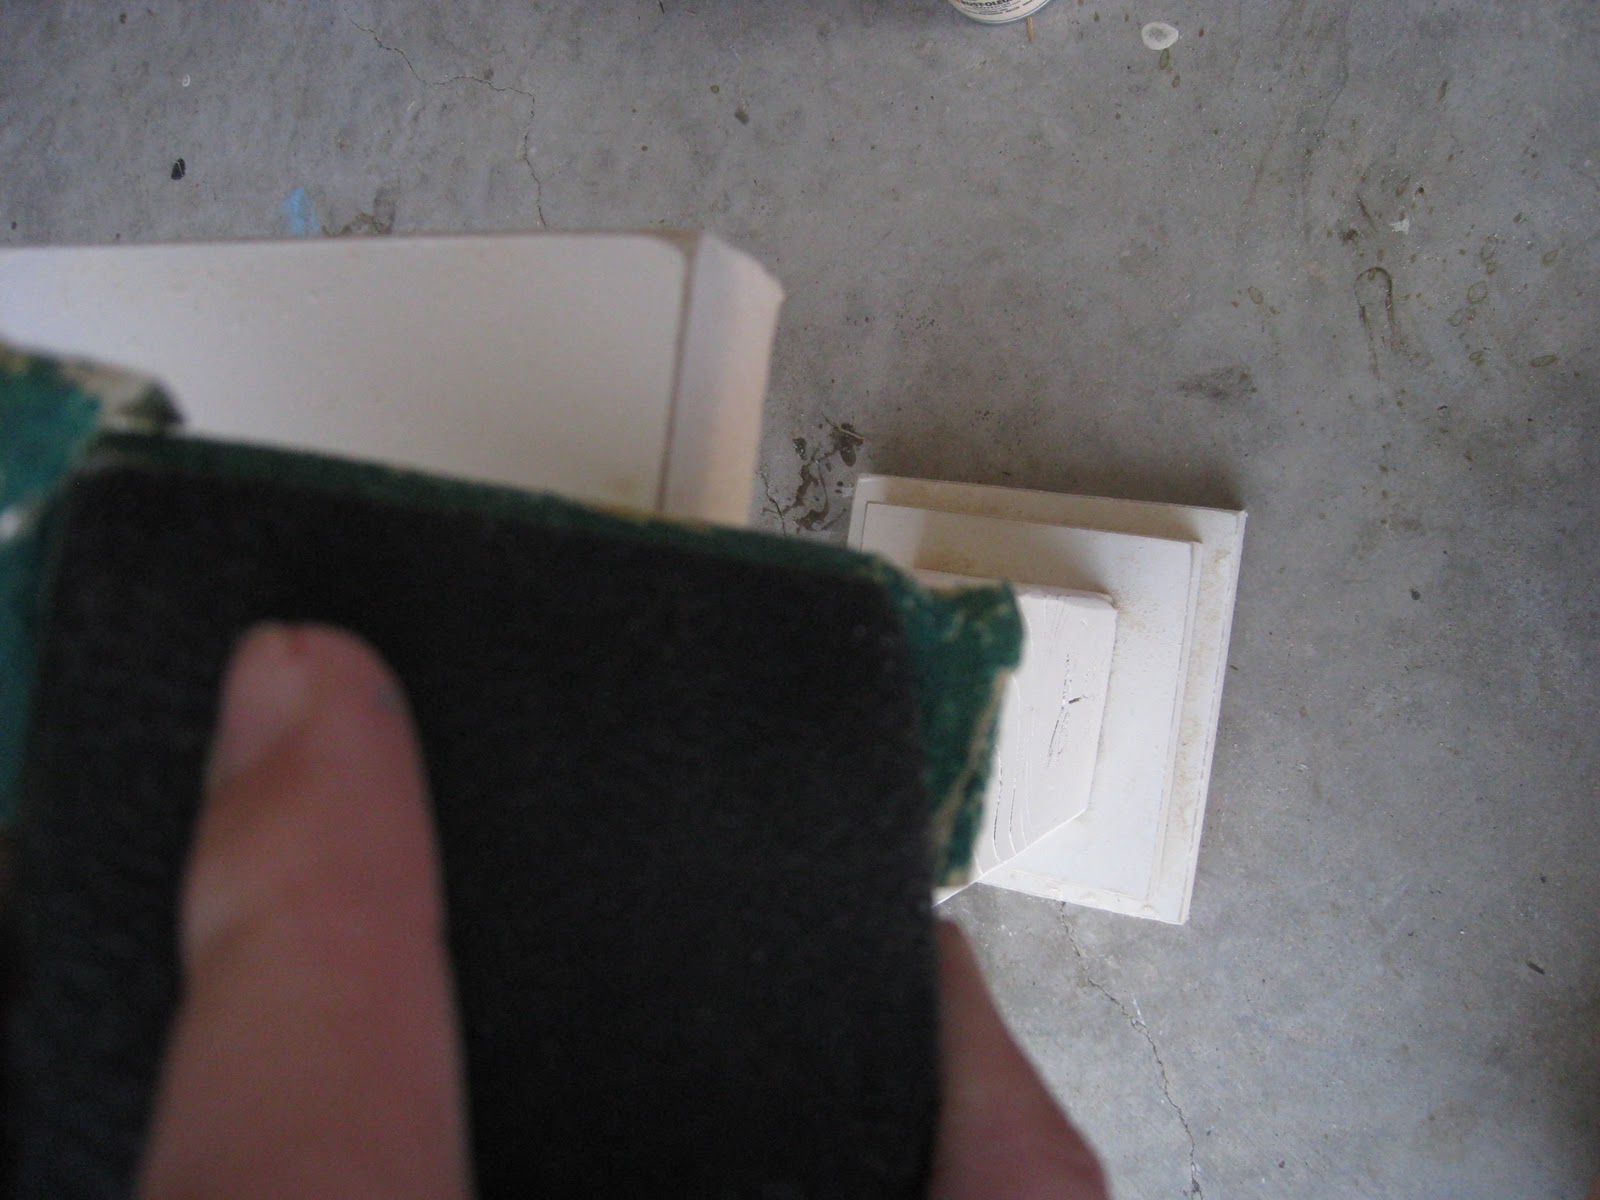
To finish them off I used my 3M sanding block to distress all of the edges, bases and 4×4 pieces.
I then followed up with Minwax Dark Walnut stain to accent the distressed edges.
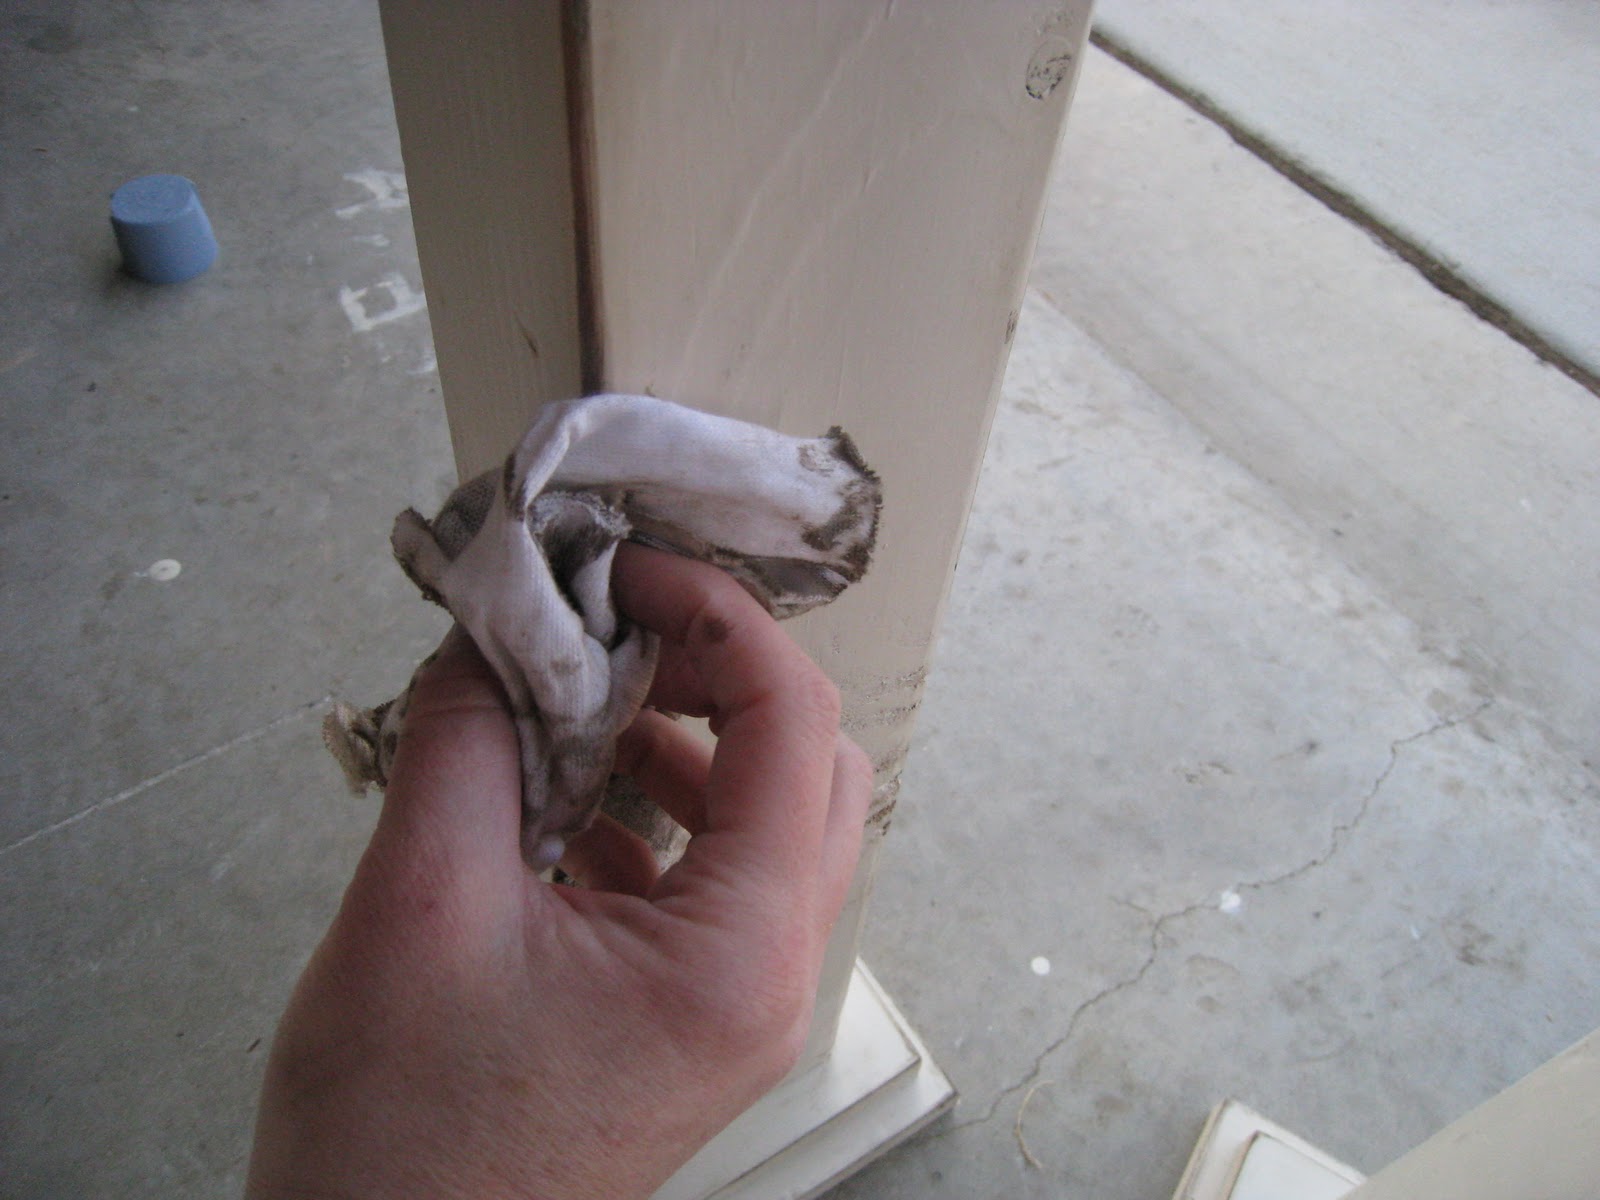
When I wiped away the stain I rubbed it into the rest of the pillar to give a glazed effect.


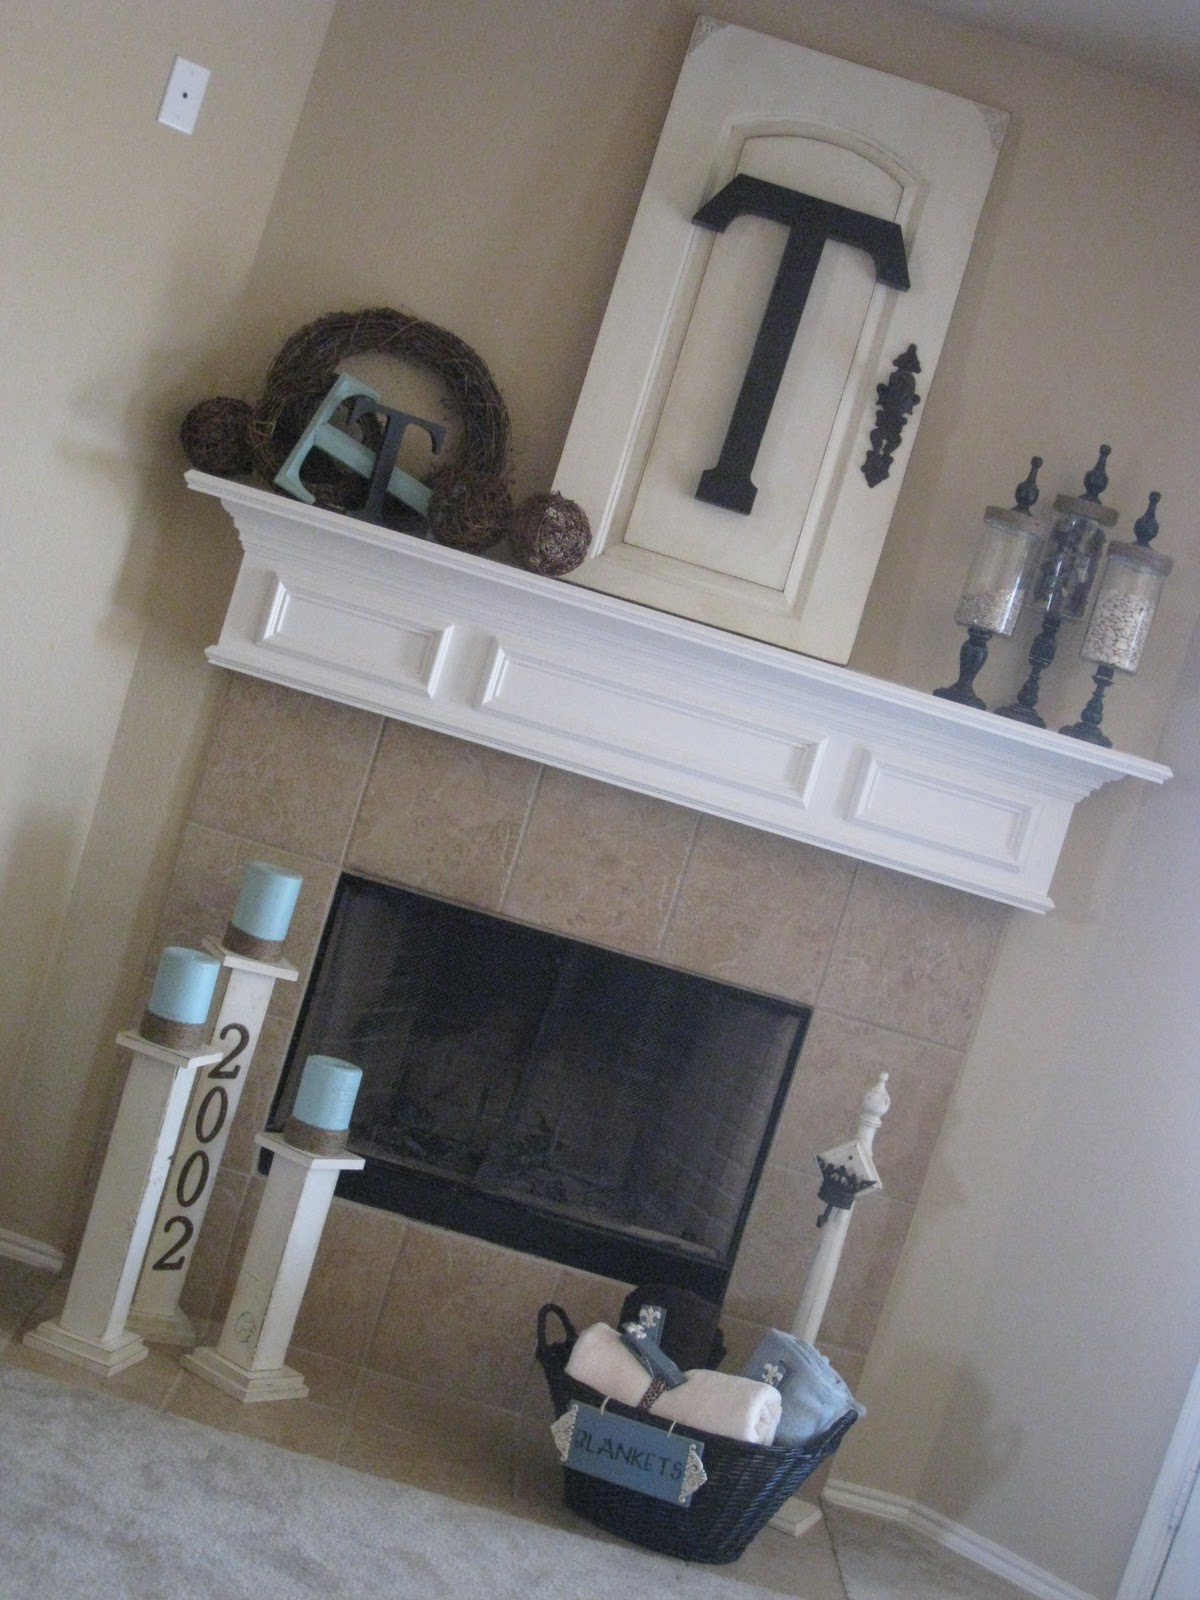
These were so cheap! I payed $10 for the 4×4 which made three pillars. That’s under $3.50 per pillar!!!
Stop by tomorrow! We have another fun giveaway!
~ Ashley


they have come up well. Has given me inspiration to make them, but also carve some celtic knotwork designs on the edges. Great idea to with the stain
If only this winter weather would cooperate and go away, I could get back in my garage and get to work!!! I’m so anxious to get going on so many of your projects, but the frigid temps and snow are keeping me inside . . . spring can’t come soon enough! Thanks for all the inspiration!
Hello! This is the second project of yours that I have come across tonight. I absolutely LOVE your ideas! Can’t wait to attempt to make them! I’m not a crafty person, so I hope I can do them justice.
I am in the process of making these. I am really loving how they are turning out and so easy to do. I am actually only making two because I didn’t have enough wood but oh well. I am really glad you have this blog. It has really inspired me to get back into my arts and crafts. I have also found more inspiring blogs from your blog site. Thank you so much!!!!!
Thought this was a great project!! Went to purchase the things to do it, but got stumped!! Do you know what size MDF board you used? Since it comes in various thickness’? 3/4″ etc.?
-Thanks,
Jill
Hi Jill! I used 3/4″ MDF. It was just scrap that I had left over in the garage so I failed to mention that! Sorry:)
Wow, I’m so glad I found you again. I saw these when you originally posted them and fell in love. So much that I made one with our street # on it. I was going to put it on the front porch but I’m so in love with it in the foyer that it never made it any to the porch. Stop by to see it. I’m going back on my blog now to give you the credit for the idea!!!
You did an awesome job Mary! Thanks so much for sharing;)
Those are really nice!
Thank you Jennifer:)
These pillars are Fabulous!!!! I think I need to copy them…(haha) I love the idea of the number on them. Thanks for sharing..
Mariaelena
www.cottagelivingfrombeachtoburbs.blogspot.com
Ok I'm in love with all your stuff. This is such a cute idea.
Jeanna @ dramaqueenseams.blogspot.com
very cute & GREAT tutorial! I've gotta get that metallic paint! By Rustoleum? Who knew?
Found you via StumbleUpon!
Very cute!!!
Those are so neat! And how fun to incorporate your wedding year! 🙂 Love the candles, by the way!