
As many of you know, I recently closed off a loft space to give my oldest daughter’s their own room. I have finished lots in Hayden’s room, and now have turned my attention to Avery’s room. She is my oldest… She’s 12 going on 18… Any of you feel me? 😉 She’s ready for an older girl room!
Several years ago I built them a desk from some old barstools I was planning to get rid of. They have used it ever since and it really fits the space so well, so I decided it was time for a little revamp! Here is how it turned out!
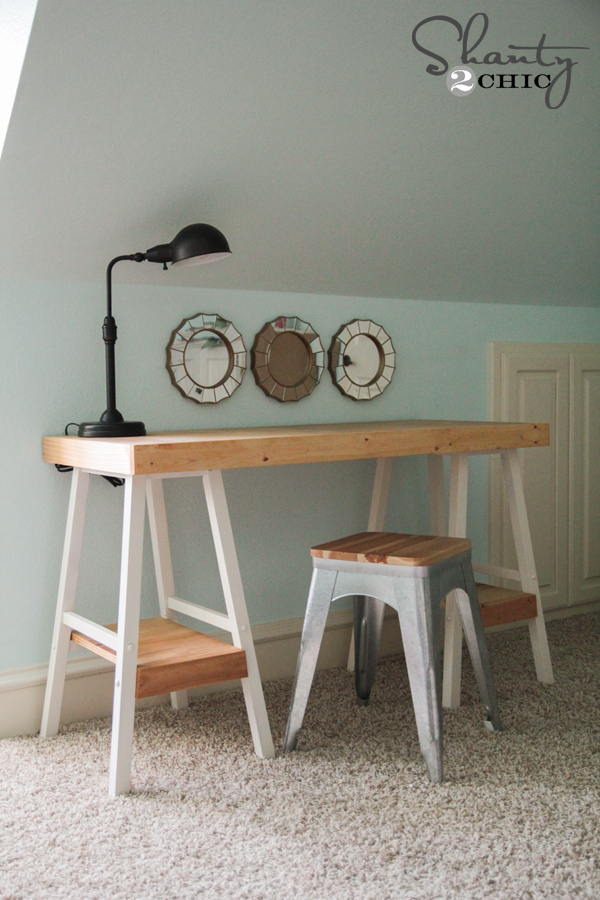
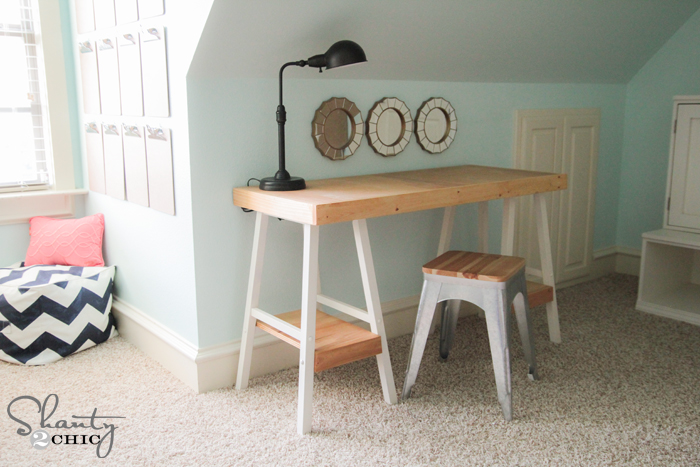
This is such a simple desk to build, and you can find the barstools super cheap HERE on Amazon!
Let me show you how easy this is!
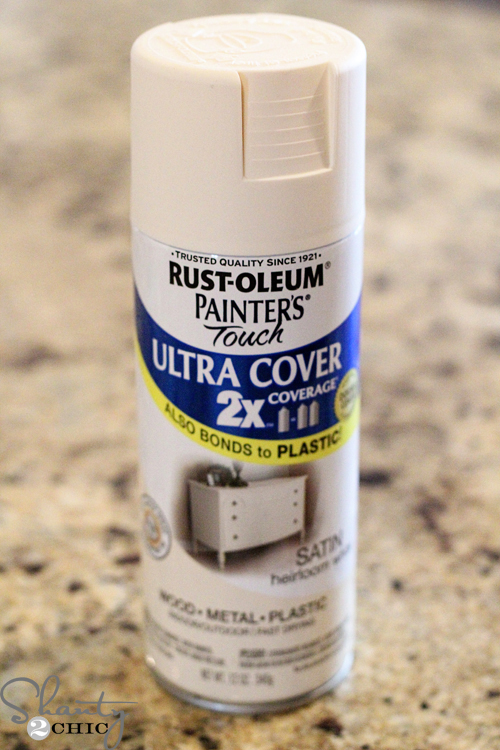
I started by spray painting both of my barstools using one of my favorite Rust-Oleum products… Painter’s Touch in Heirloom White! This can be found at the Home Depot.
While those were drying I stained trimmed the wood for the top of the desk. On my original desk, I used a 20″ x 48″ project panel for the top. This time I decided to use some Purebond Plywood I had left over from another project. I just love the look of it stained so much! I cut it the same dimensions and set it on top of the stools to trim it out.
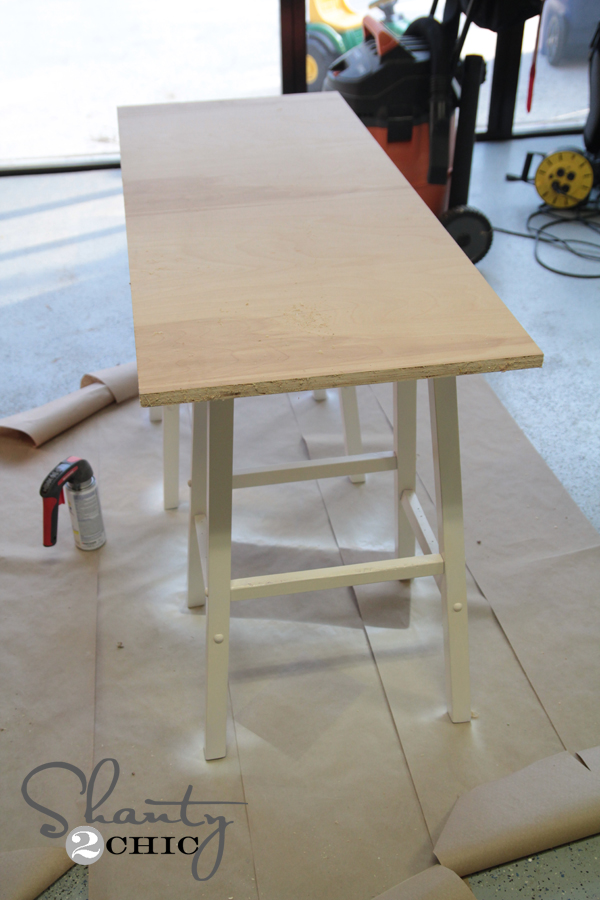
I used 1×3 pine to trim the desk top. I love how this beefs it up a bit! I did my sides first, so I had two 1 x 3 cut at 20″ long each. I attached them using Gorilla wood glue and 1.25″ brad nails using my Ryobi Airstrike brad nailer.
After attaching the side pieces I did the front and back pieces. I had two 1×3 cut at 49.5″ and I attached them the same way. This is what the finished corners looked like…

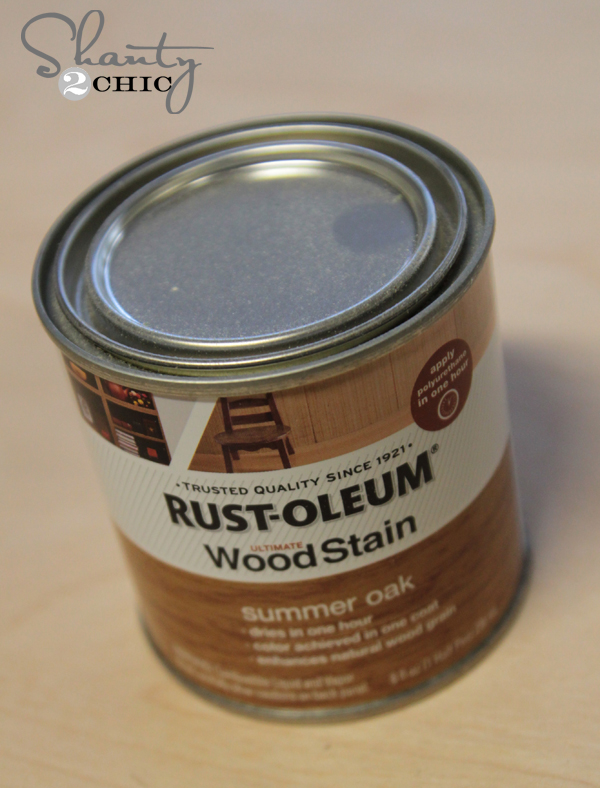
My next step was staining the desk top. I used a new color for this part. It’s a Rust-Oleum stain called Summer Oak.
I also added two other boards to the bottom bars. These serve as a shelf. I would suggest you guys measure this part yourself to get the best fit. I stained these boards before attaching them to the barstool with wood glue and brad nails.
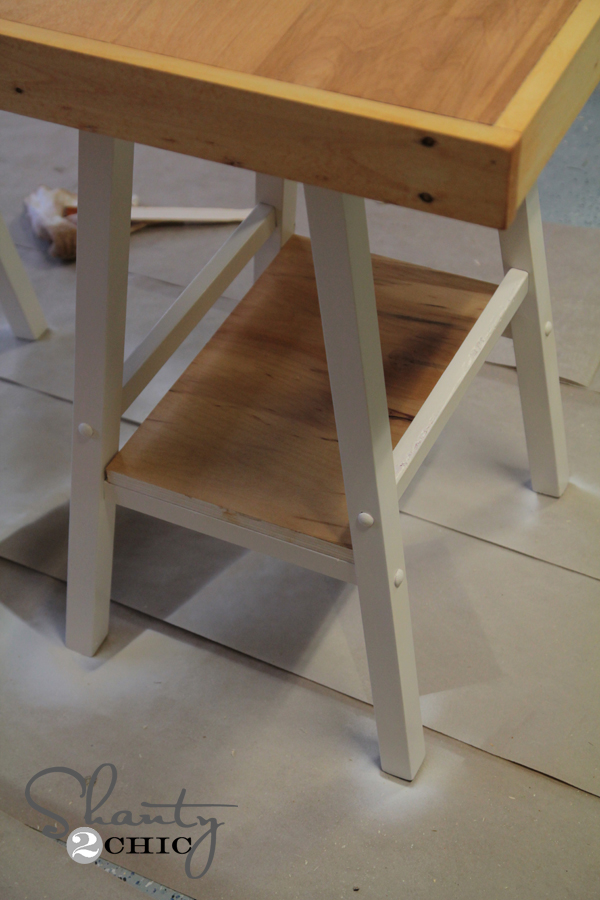
My final step was adding a small piece of 1×3 to the front of each of my shelves to cover the rough edge of the plywood. I also like that the thickness matched the thickness of my desk top. I carried each stool and the desk top upstairs and then attached the top. I decided to use wood screws through the bottom of the stool and into the desktop to attach mine. Look how pretty the top looks stained!

I still have a ton of work to do in her room, but I’m happy to have this little part updated! And for me, this was a free project! I will say that if you choose to purchase the stools and wood for the top and shelves, you can easily build this for under $100, maybe cheaper! That’s still a great price for a solid wood desk!
Here are a few more pics!
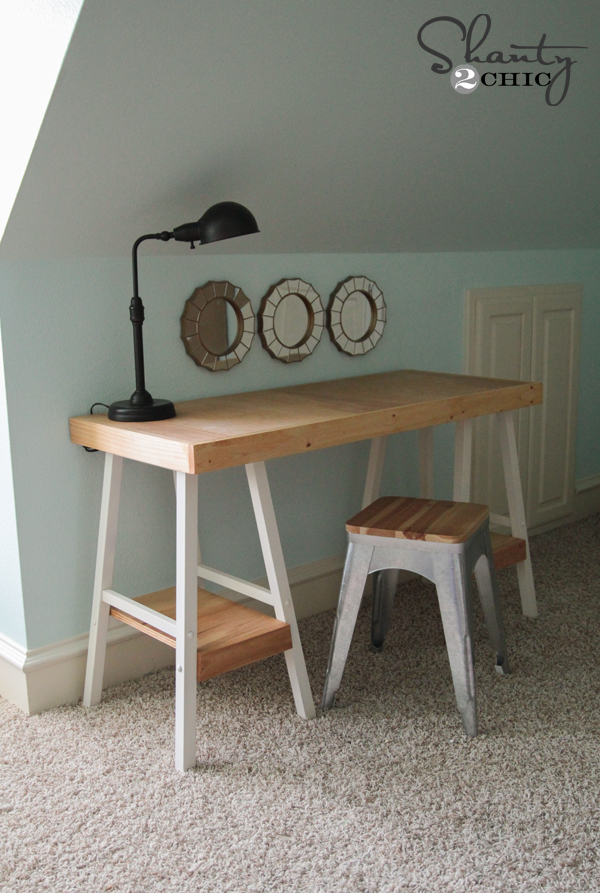
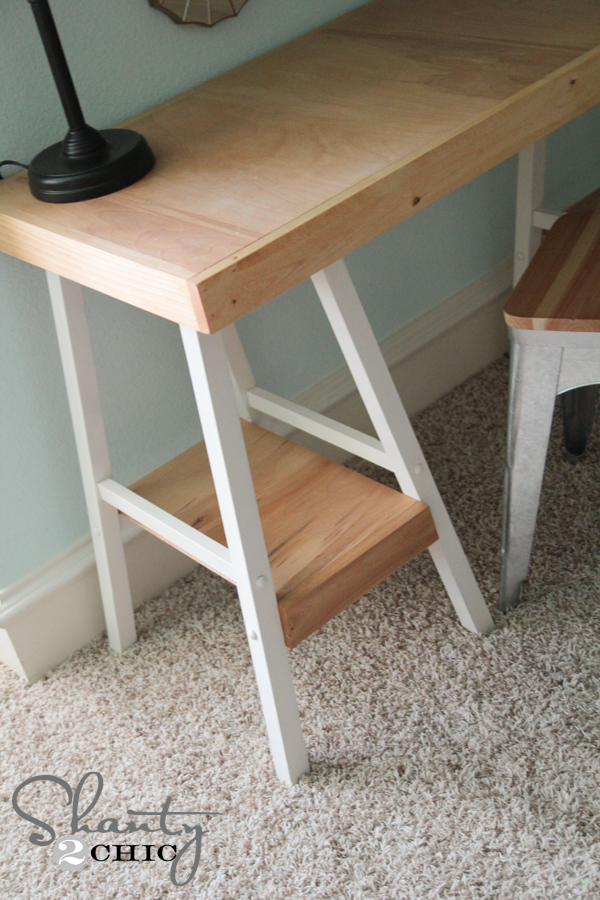
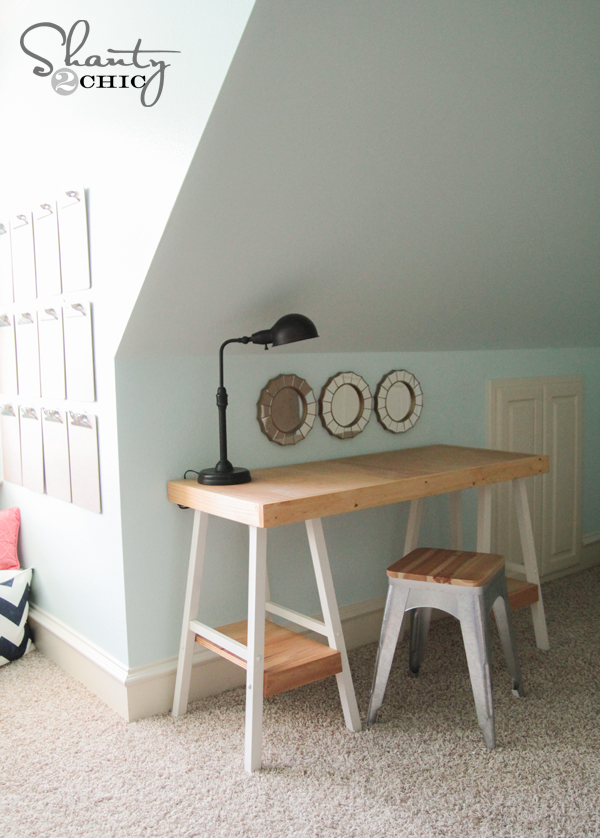
What do you think?? I have one happy girl! And I love that I didn’t spend a dime… Makes it so much cuter right?? 😉
Let me know if you have any questions at all!
Thanks so much for stopping by!
~Whitney

Hi. Love this. What height are your barstools? I’m thinking of making this for myself now that I telework often from home.
here is mine based on this idea 🙂
Love it, how fun and so perfect for this space.
Great idea for a space needing a desk that has a narrow depth. Making the rungs a shelf was a great idea. I just noticed that you have 77,000 Google followers. Maybe sometime you’ll write about how a feat like that is accomplished! That is incredible!
Love everything about it! Including those gorgeous mirrors. I “had” to be the one who asked Ü
Nice job. I love the two tone look and it’s even a bit industrial looking! I do love a good upcycle – more people should get creative and do the same. Besides, it gives you a one of a kind look, which just adds to it’s charm.
Looks awesome! Wonder if hubby would notice 2 missing bar stools? 3:-) heehee
Turned out amazing. Very creative 🙂
Oh wow! I love that desk! So fun.
Great idea! I would love to try this out. Repurposing always makes me feel good, too!