We are back to share the free plans for the DIY Sliding Barn Door Nightstand that we built with our $20 DIY Barn Door Hardware.
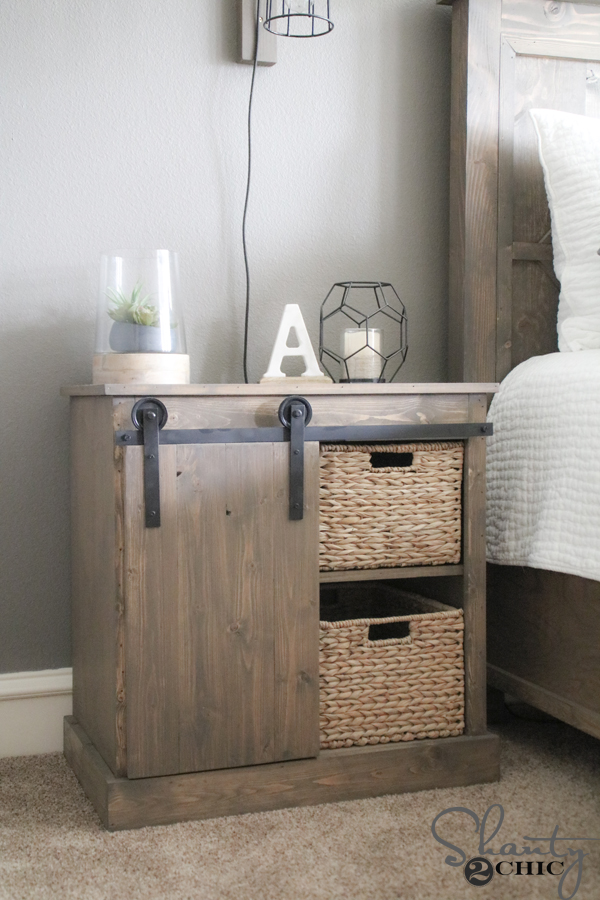
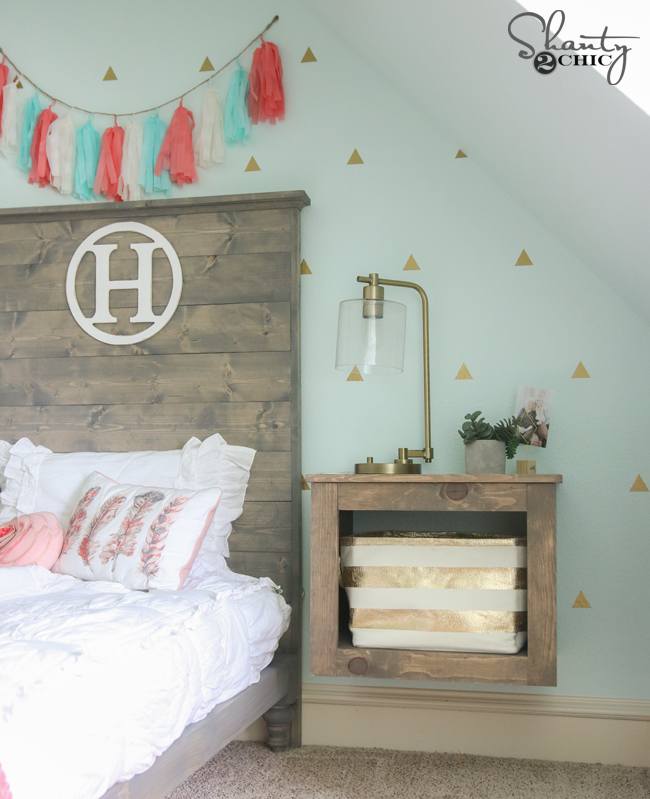
With the new Rustic Modern King Bed that I built, I wanted something fun for my nightstands. Of course, I have always thought that my DIY Barn Door Bathroom Cabinet would make a cool nightstand so, I gave it a shot and I am so happy with my new nightstands. After I gave a little sneak peek of them, we had tons of requests for a how-to video! So, we did just that! Come hang out with us in my shop and see how we built it! Click HERE or the image below to watch the video.
Easy, right? Make sure to check out the FREE PRINTABLE PLANS! Just click HERE to download them and you can follow along with us as we build in the pictures below!
You can find the free plans to make your own $20 Barn Door Hardware here!
Table of Contents
Building a Sliding Barn Door Nightstand
Assembling the Nightstand Frame
Step 1: Making the Cuts

To start, we had the hardware store rip our hardwood plywood to the correct widths. Next, we used our miter saw to make the cross cuts on each sheet. Make sure to check out our How to Rip Plywood and our How to Use a Miter saw videos. We show you out tips on cutting plywood 😉
Step 2: Drilling Pocket Holes

Next, we used our Kreg Jig to drill 3/4″ pocket hole screws. Refer to the plans for proper placement. You can find our favorite Kreg Jig model HERE on Amazon and check out our How to Use a Kreg Jig Video HERE.
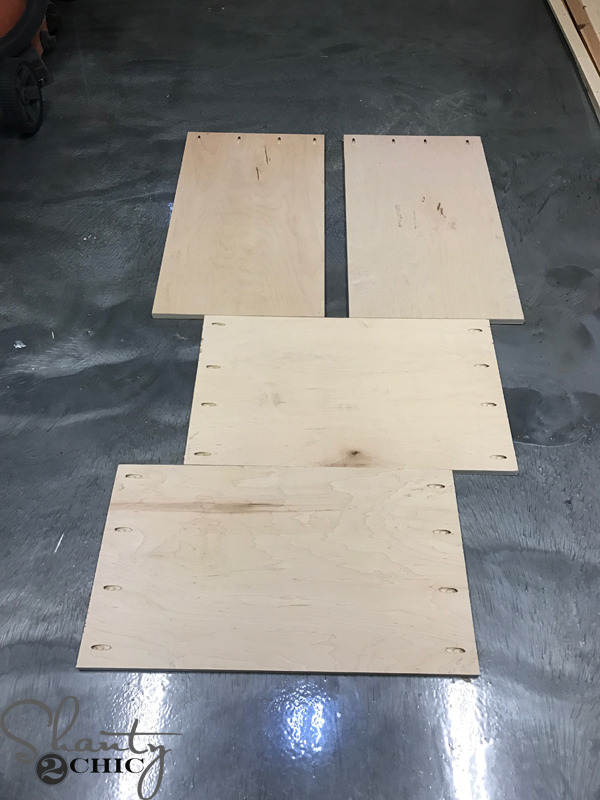
Here are the side, top, bottom and shelf of the nightstand.
Step 3: Attaching the Side and Bottom Pieces
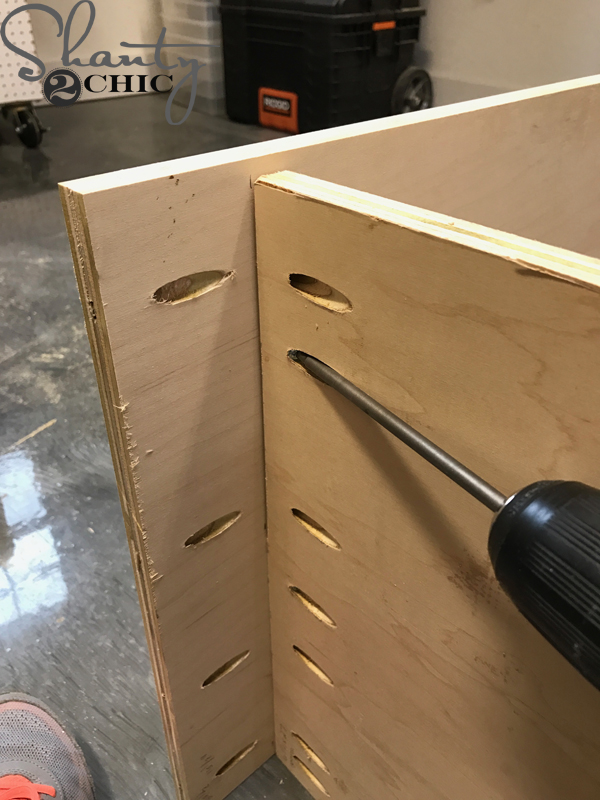
Time to build the frame. Attach the bottom piece to the side pieces with 1 1/4″ pocket hole screws and wood glue. Make sure the pocket holes are facing down, on the bottom piece and inside on the side pieces.
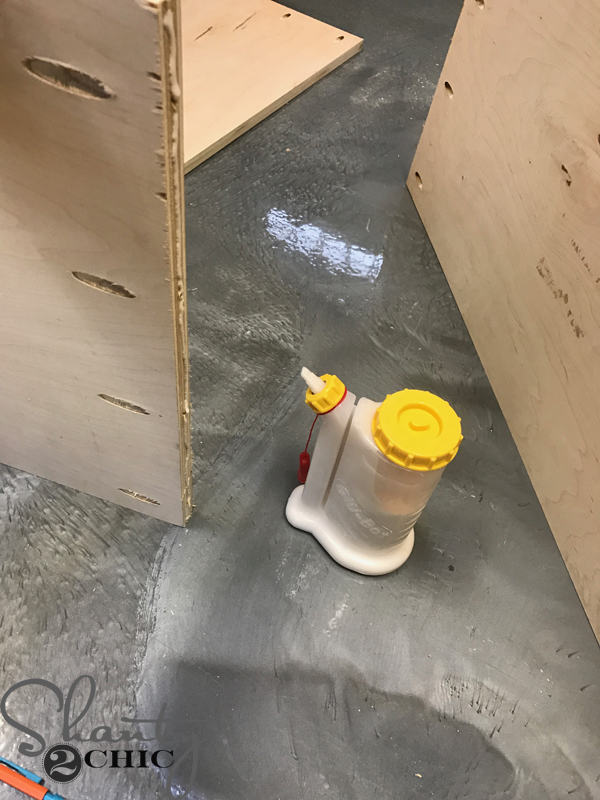
This here is one of our favorite discoveries! Whit found this Glue Bot on Amazon and it is the BOMB! You can apply glue with the bottle upright and it doesn’t clog!
- You can find the GlueBot HERE on Amazon.
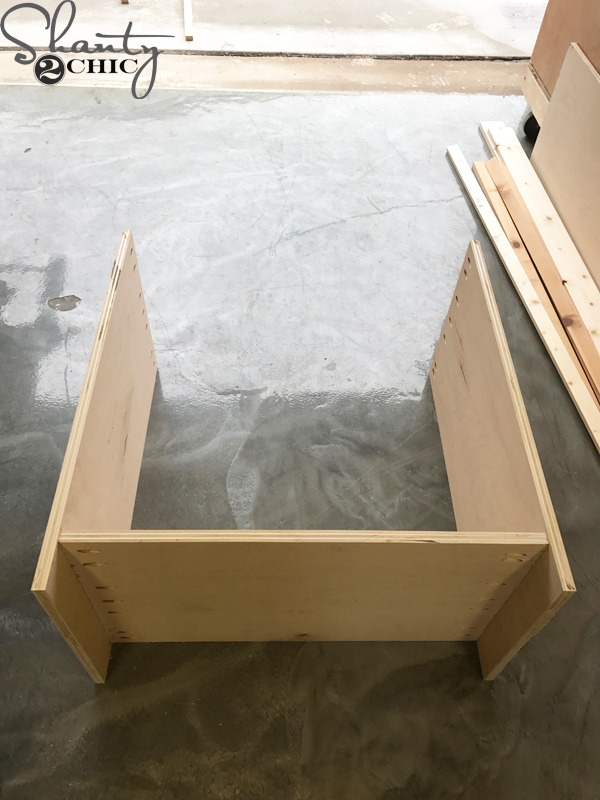
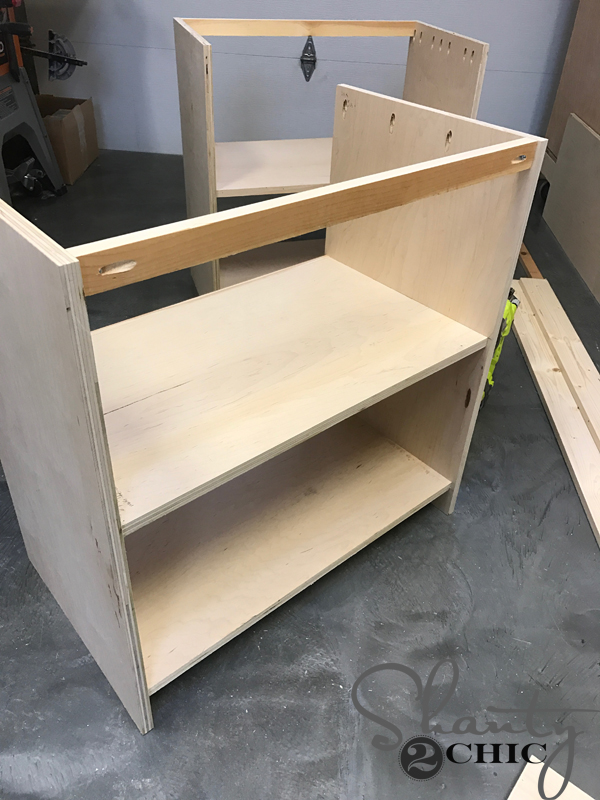
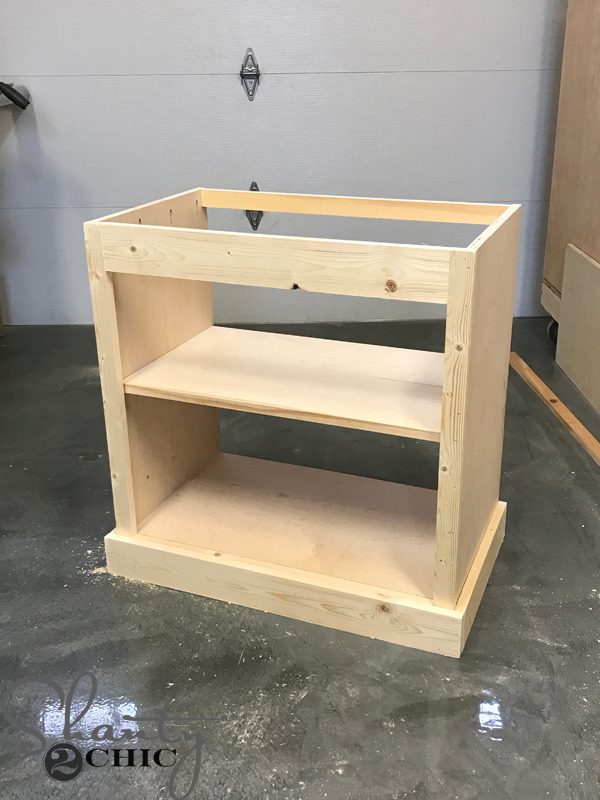
At this point, you cabinet will look like this.
Step 4: Adding the Shelf
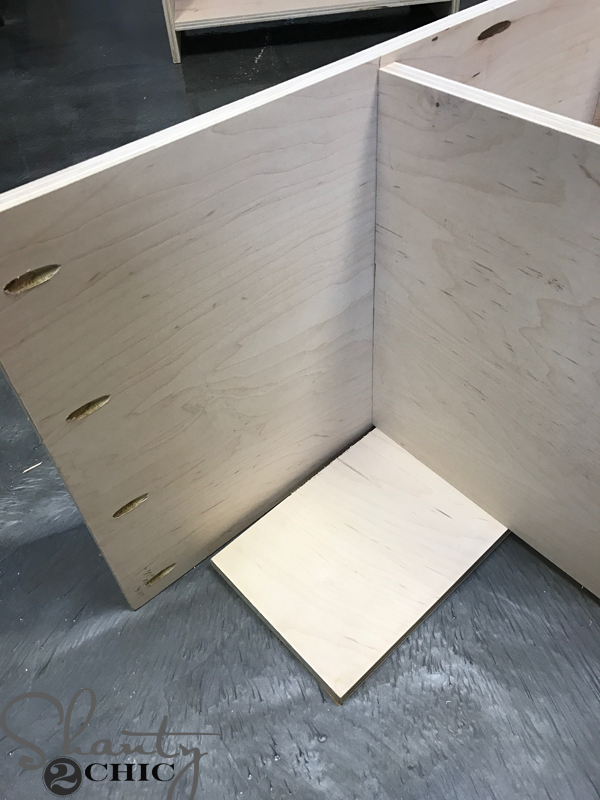
Now, it’s time to attach the shelf piece. Put a scrap piece of plywood under the front side of the shelf. This will give you the 3/4″ gap, that you need for the trim piece and the 1/4″ gap on the back, for the backing. With the pocket holes facing down, attach the shelf with 1 1/4″ pocket hole screws and wood glue. The placement of the shelf if up to you. Note, I centered mine, so that both of my baskets would fit.
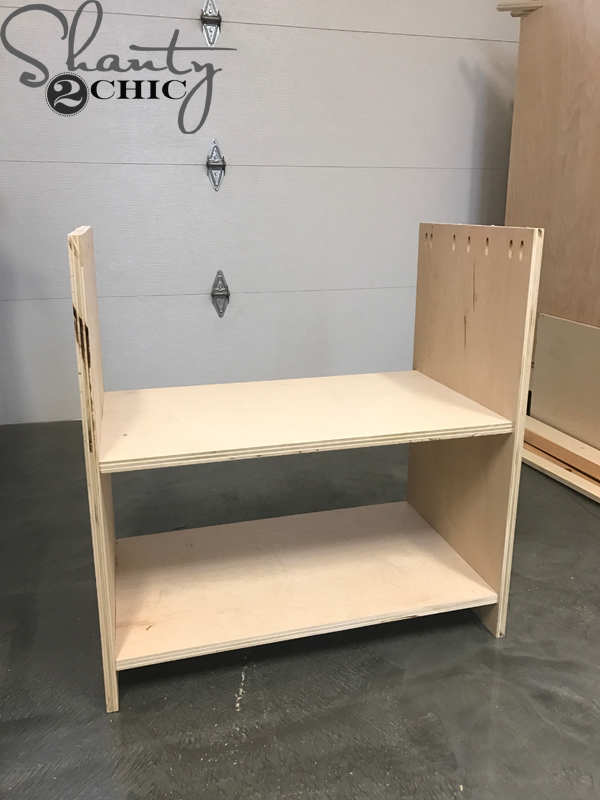
Here is the nightstand from the front, now.
Step 5: Front Trim Piece

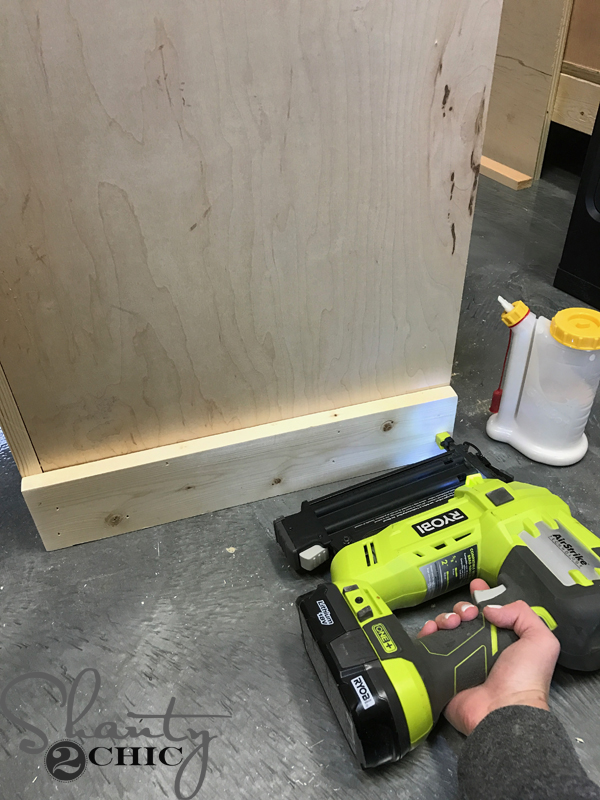
Now is a good time to attach the front trim piece, on the shelf. I used a 1/2″ x 3/4″ stick of trim (you can rip your own from a 1x board, as well). This will cover up the rough plywood edge. Apply a thin line of wood glue to the back of the trim.
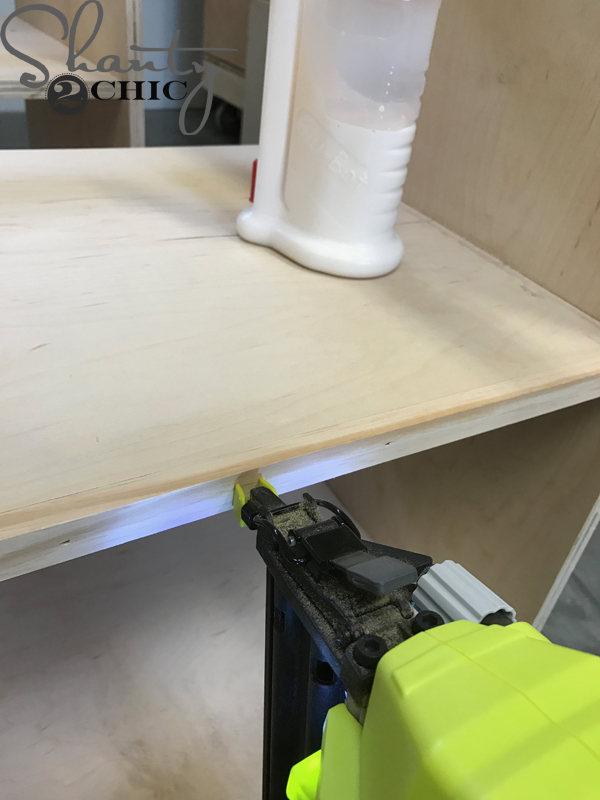
Attach it to the front of the shelf with 1 1/4″ brad nails. I used my Ryobi 18v Airstrike.
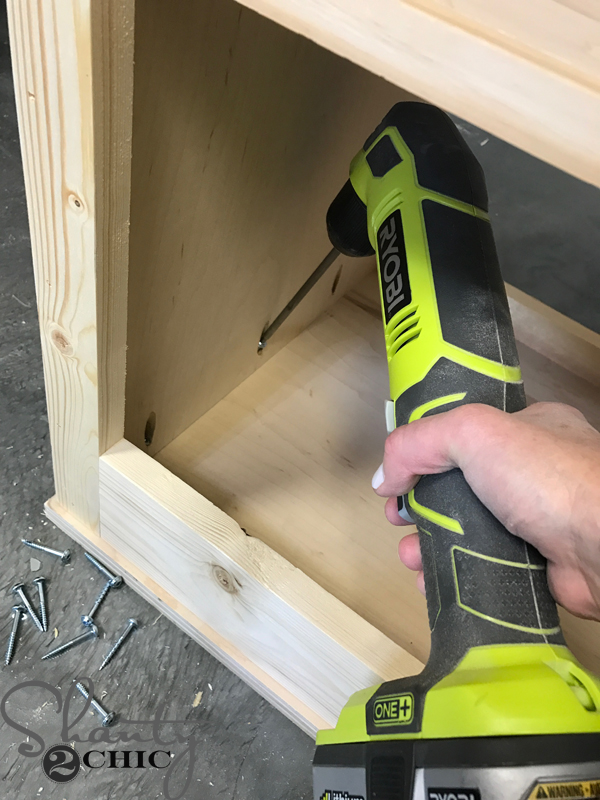
Step 6: Back Support Piece
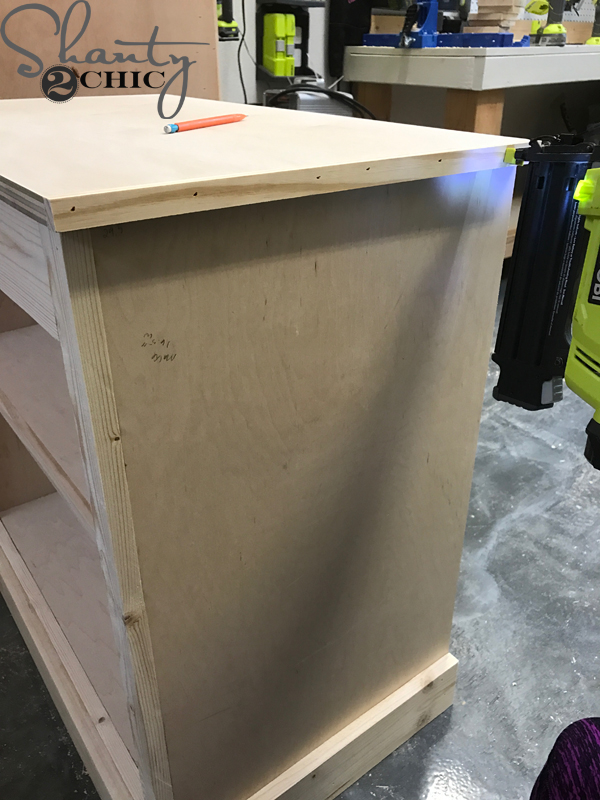
Turn the nightstand around and attach the top support to the back of the nightstand with 1 1/4″ brad nails and wood glue. Make sure to leave a 1/4″ gap on the back.
Face Frame
Step 7: Assembling the Face Frame
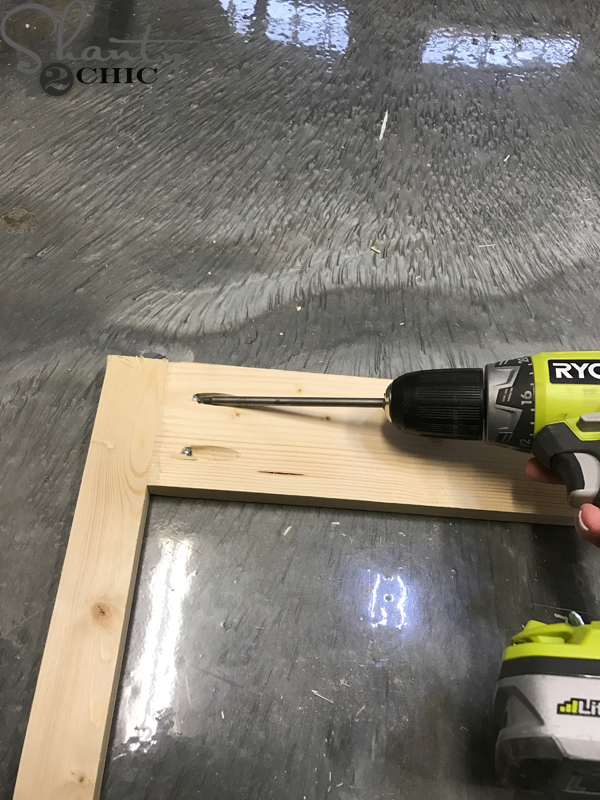
Next, measure and cut the face from pieces to size. Drill 3/4″ pocket holes in the ends and top of the top board and the ends of bottom board. Attach them to the side pieces with 1 1/4″ pocket hole screws. Refer to the plans for pocket hole placement.
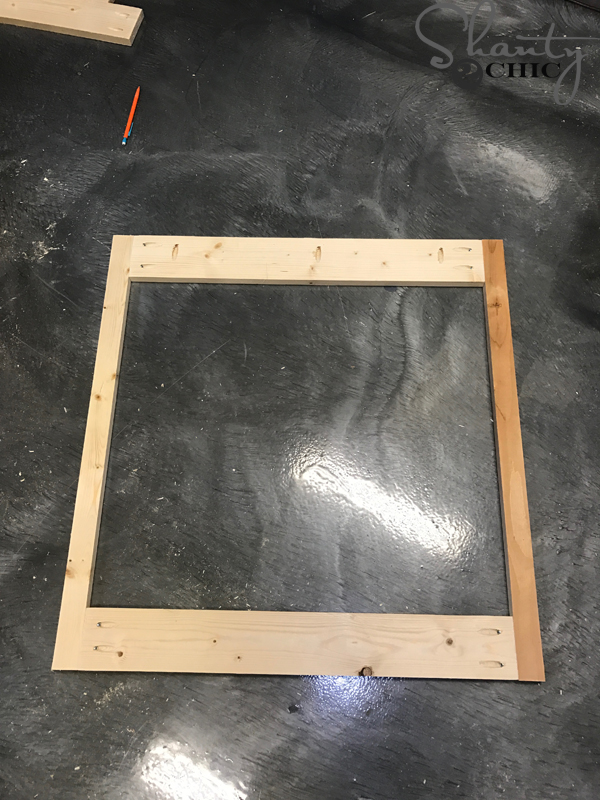
Here is the back of the face frame. Notice the pocket holes are facing UP on the top board.
Step 8: Attaching the Face Frame

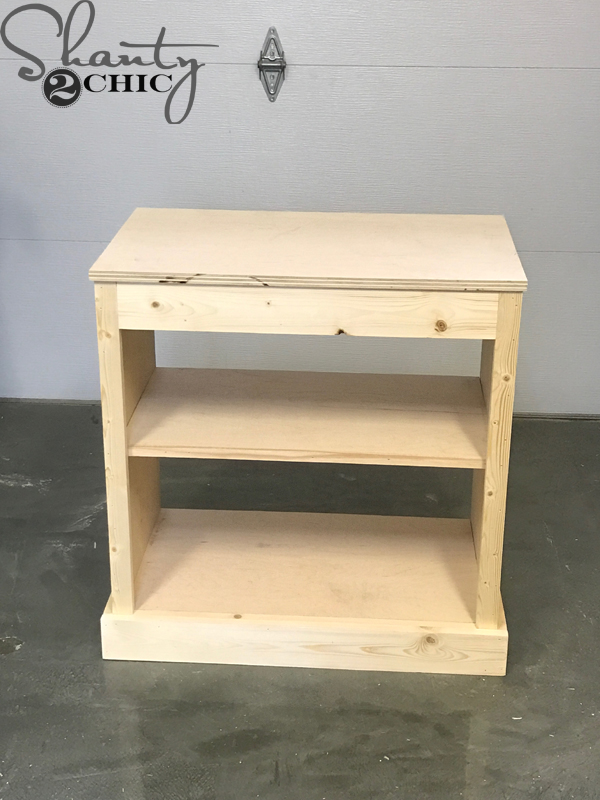
Attach the face frame to the nightstand with 1 1/4″ brad nails and wood glue.
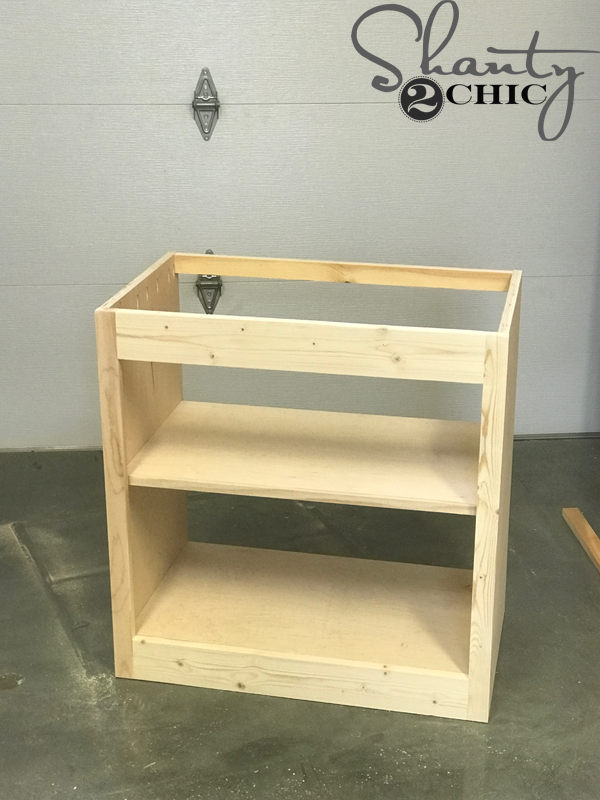
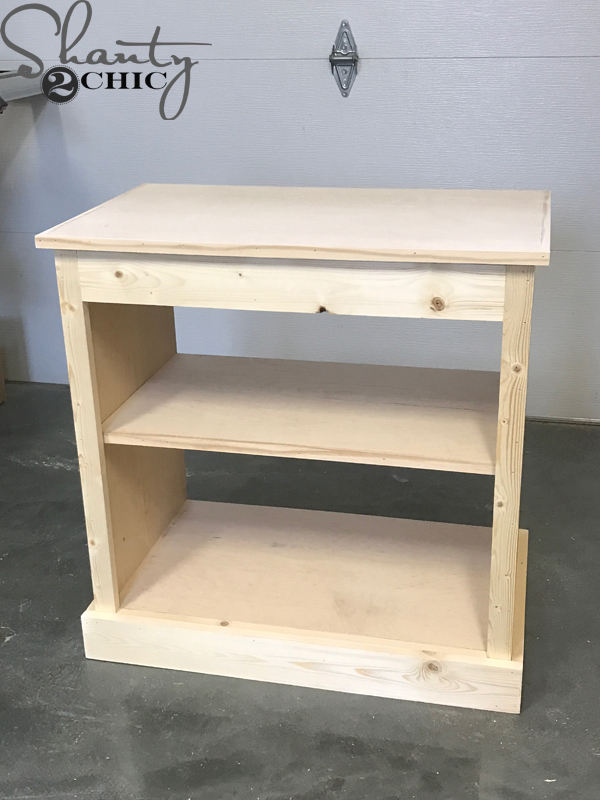
Now, the nightstand should look like this with the face frame attached.
Base Trim
Step 9: Side Base Trim
Now for the base trim. Measure and cut the side pieces to fit and attach them with 1 1/4″ brad nails and wood glue.
Step 10: Front Base Trim
Then, measure and cut the front piece to fit and attach it the same way.
Side Table Top
Step 11: Attaching the Top to the Cabinet Base
Flip the nightstand upside down and place in on top of the top piece. There should be a 1/4″ overhang on the front and sides and the top should be flush with the back of the nightstand. Attach the nightstand to the top piece with 1 1/4″ pocket hole screws through the pocket holes in the sides and front of the nightstand.
Flip the nightstand back over and it’s time to trim the top!
Top Trim
Step 12: Side Top Trim
Using the same trim that we used for the shelf, measure and cut the side pieces then, attach them with 1 1/4″ brad nails and wood glue.
Step 13: Front Top Trim
Follow up with the front piece. This covered up the rough edges of the plywood!
Back Piece
Step 14: Adding the Back Plywood to the Nightstand
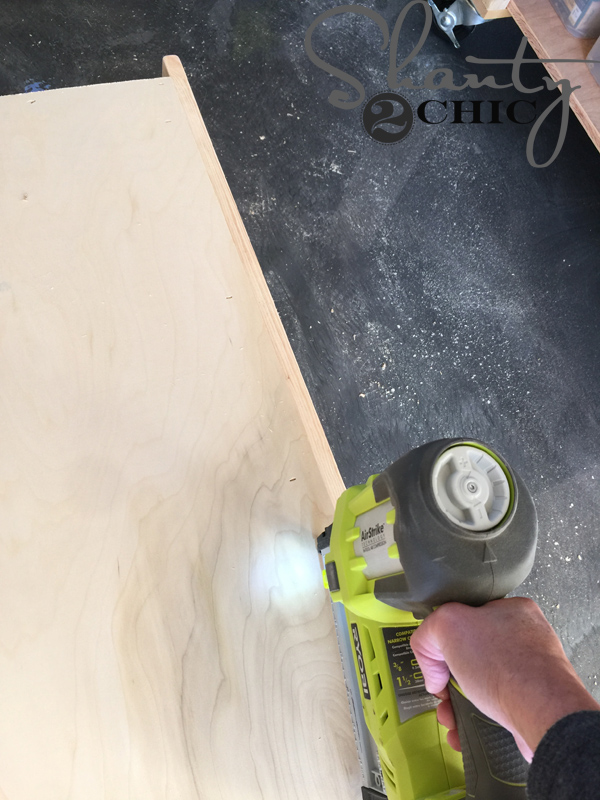
Now, attach the backing to the back of the nightstand with 5/8″ staples and wood glue. I used my Ryobi Airstrike Stapler but you can use your nailer here too. We like to use staples to attach 1/4″ backing because the staples grip the board and keep it from pulling off.
Building the Barn Door
Step 15: Assembling the Plank Door

Now for the door. I cut my planks and drilled 3/4″ pocket hole screws in three of the boards. Then I attached them together with 1 1/4″ pocket hole screws.
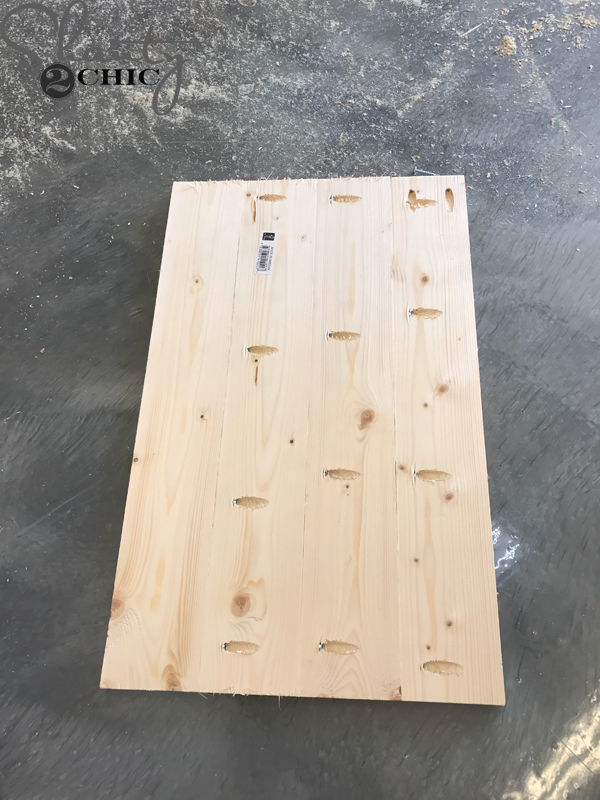
Here’s the door, all finished!
The Finish
Step 16: Staining the Nightstand
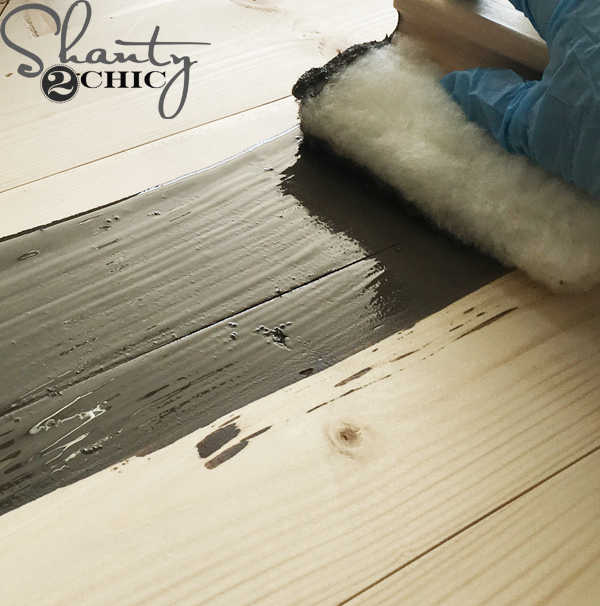
For the finish, I went with Briarsmoke stain by Varathane. Check out our How to Stain Wood video HERE!
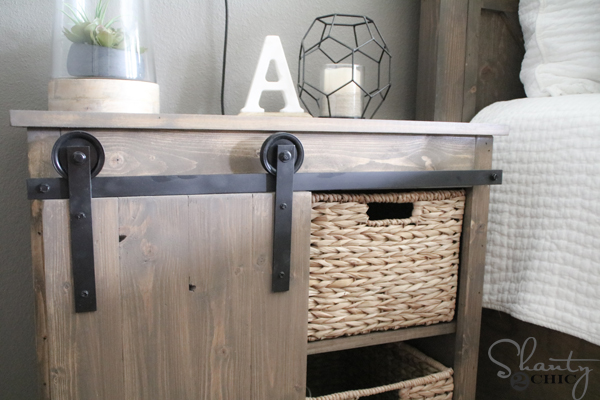
Once the stain dried, I attached our $20 DIY Barn Door Hardware and called it a day!
- Click HERE to learn how we built this hardware!
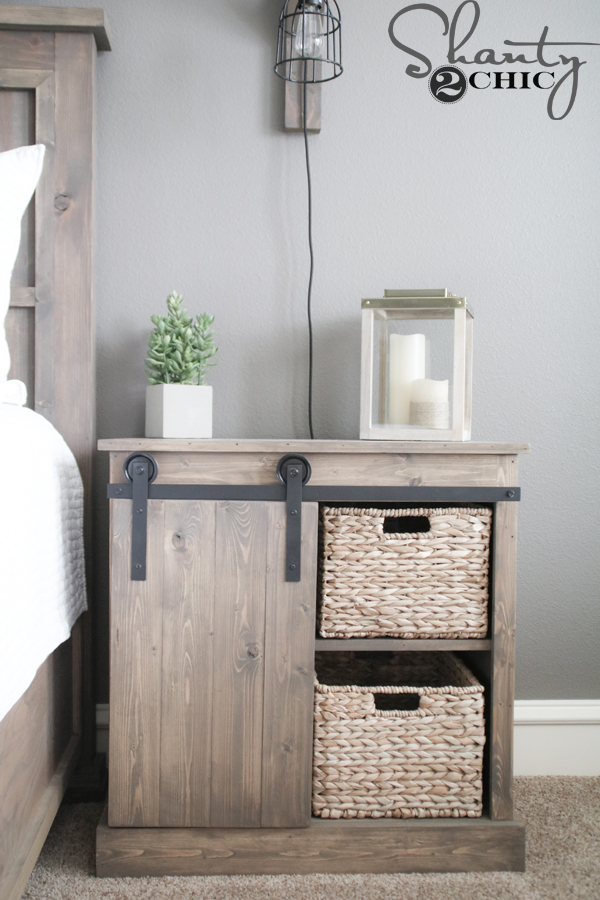
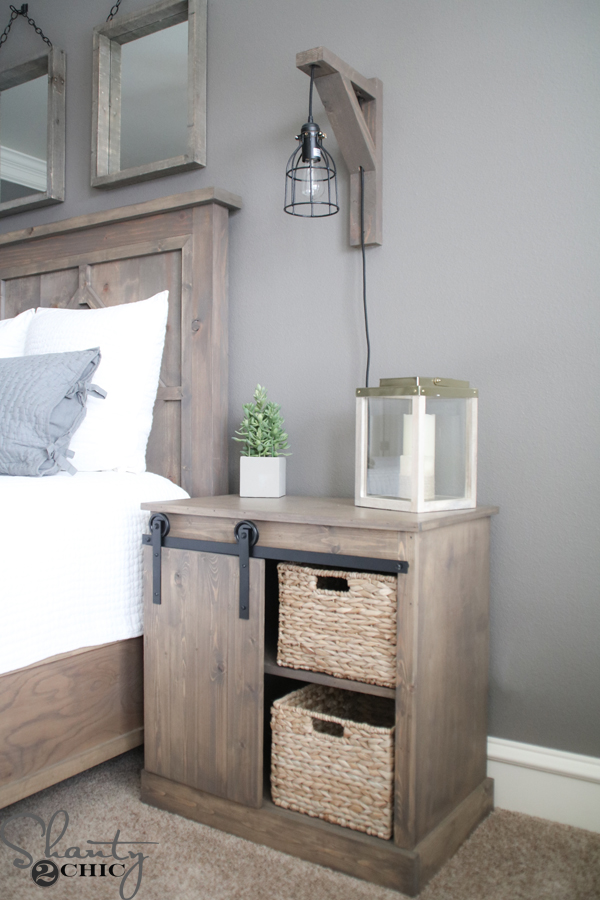
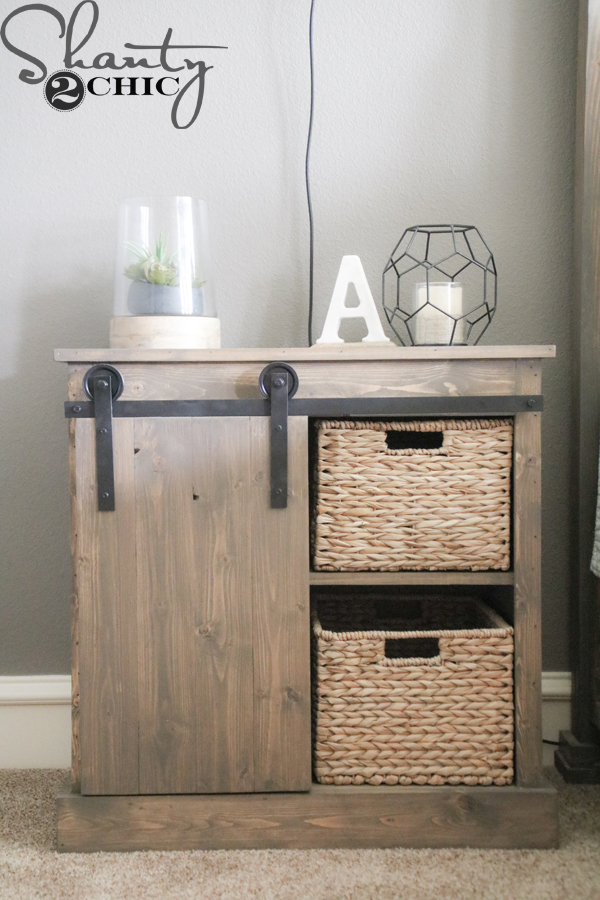

I couldn’t love my nightstand more! I keep all of my junk in the baskets and I keep magazines, my tablet, laptop and other stuff behind the door 🙂
Want to know more about everything in this space! Follow the links below!
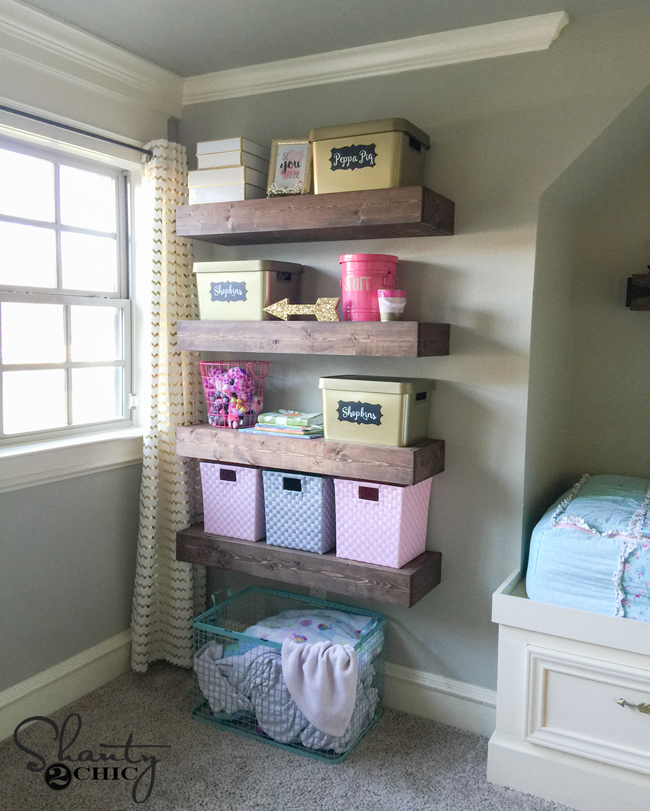
Baskets – AtHome
Light Sconce – Video and plans coming soon – click HERE to subscribe!
$20 DIY Barn Door Hardware – HERE
DIY King Bed – HERE
Bedding – HERE
“A” figurine – HomeGoods
Candle Holder – HERE
Thanks so much for stopping by!
Happy Building!
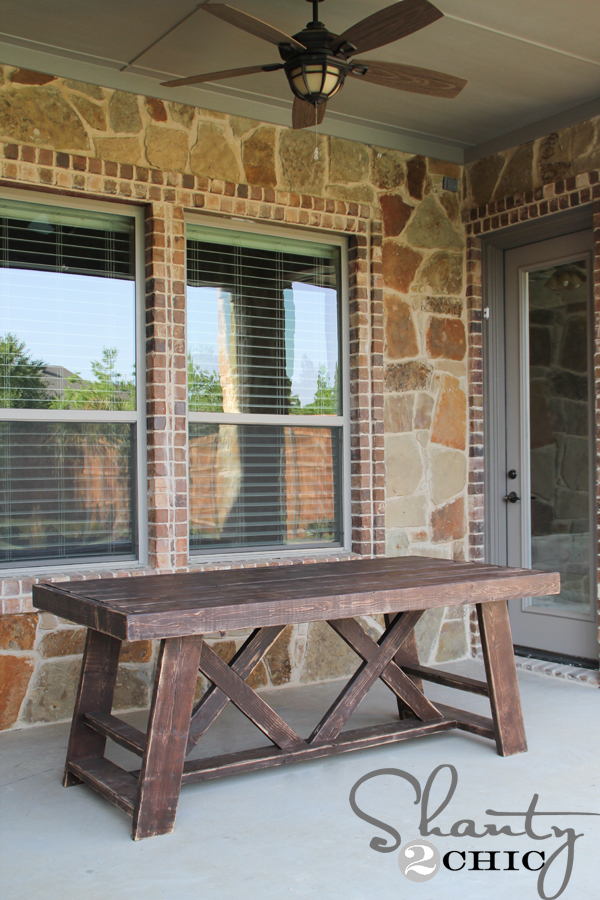
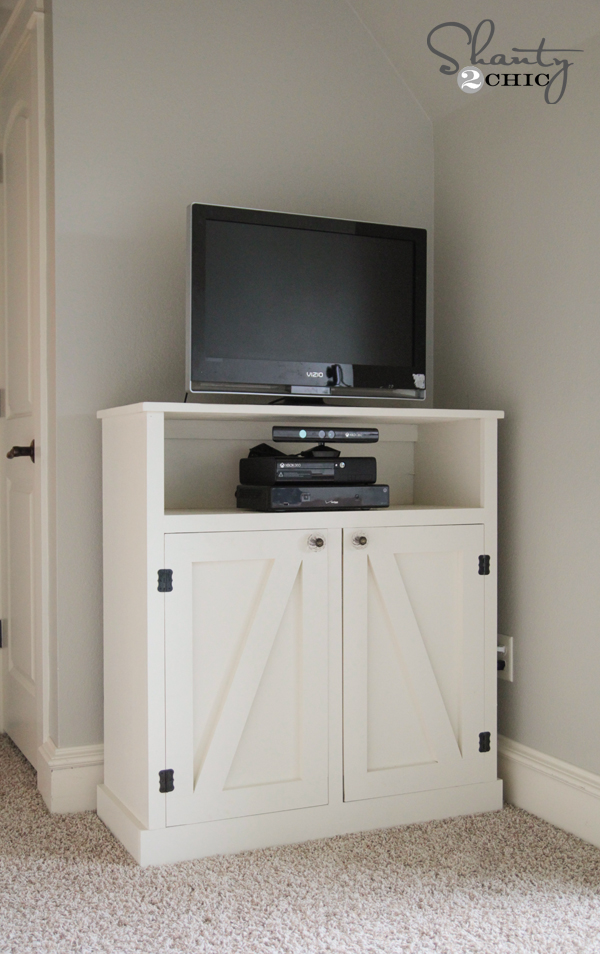
Other DIY Nightstand Builds!


This nightstand design is a great blend of compact storage and visual appeal—the sliding barn door detail works really well for smaller spaces. For furniture like this, precision in construction and the choice of core materials play a key role in long-term durability. Using well-engineered boards like quality plywood can help maintain structural stability while keeping the finish consistent. We’ve come across useful material insights on platforms like https://plywoodbazar.com/
for similar furniture and interior applications. Very smart and well-executed build!