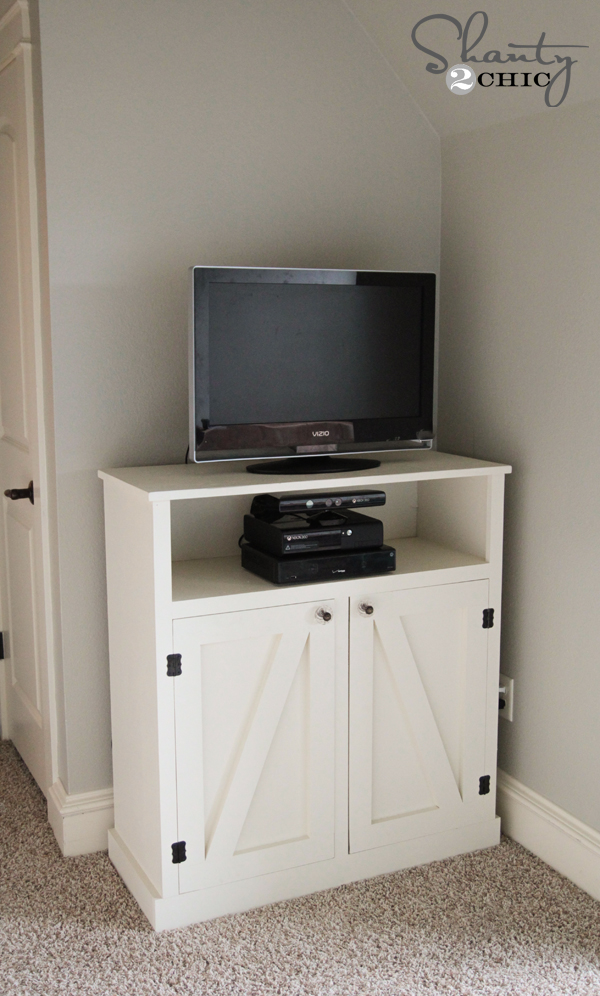
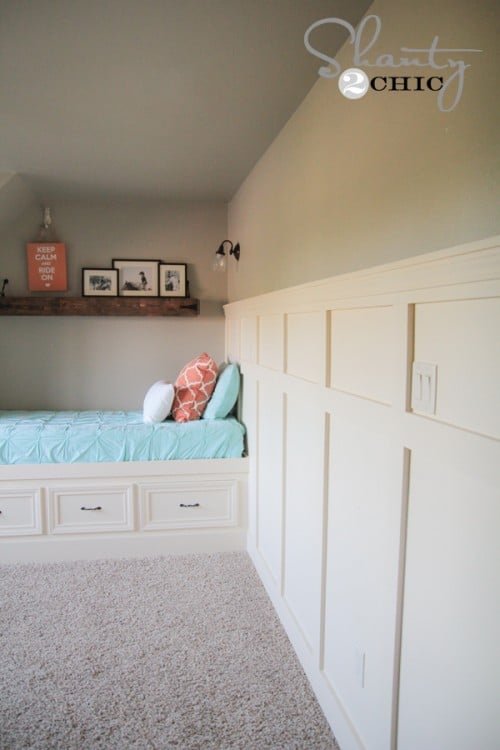
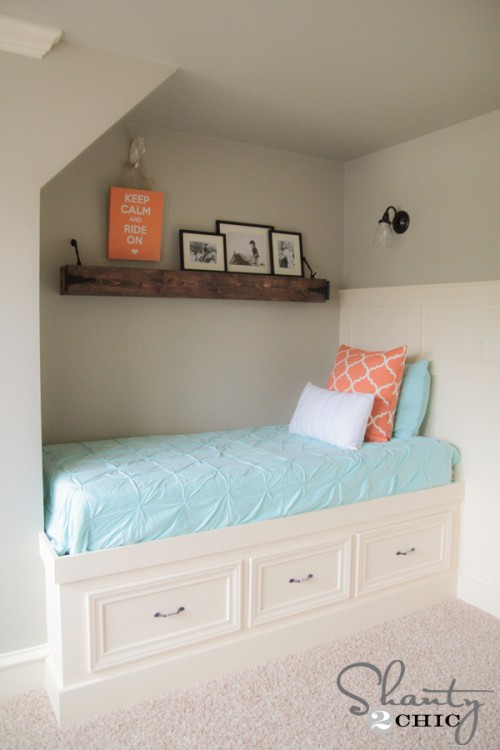
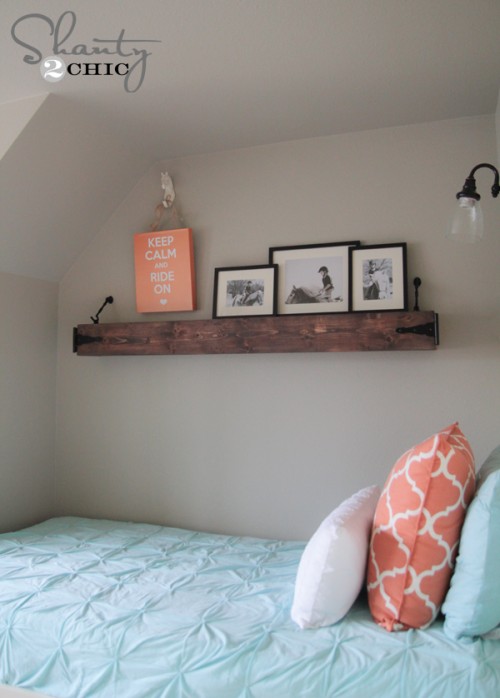
I am really excited about how my latest piece of furniture turned out! My very favorite part about it is that I made the entire thing from leftover pieces in my scrap pile! I recently closed off a loft space for my daughter’s room, as many of you may know. She has an odd shaped room now, and I was needing a tv console that would fit a corner space. I wanted it to fit with the current theme and design of her room, so I came up with this! Check out my DIY Barn Door Media Console!
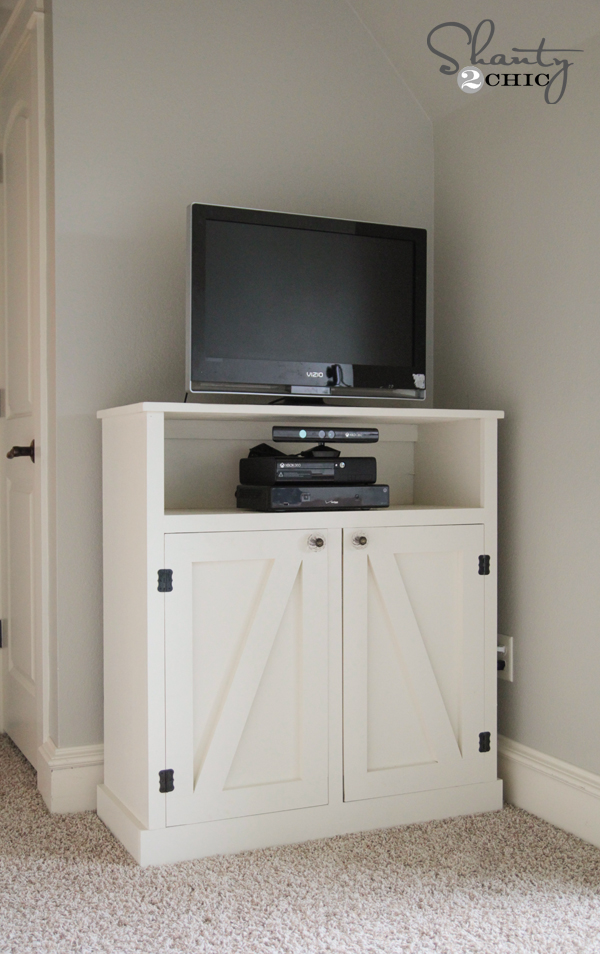
How fun is that? We finally have her TV off the ground which makes both of us quite happy!
I will walk you through the entire build below, and you can download the FREE plans by clicking HERE or the photo below! I had our good friend Jay of Jay’s Custom Creations create some free printable plans of my design for you guys! You guys should check his site out… He has some amazing plans over there as well!

The first step of this build is building the outside box of the console. I chose to use Purebond hardwood plywood for this part. You can buy this at Home Depot. I always have the guys at Home Depot cut mine down for me making it much easier to get in the car and home!
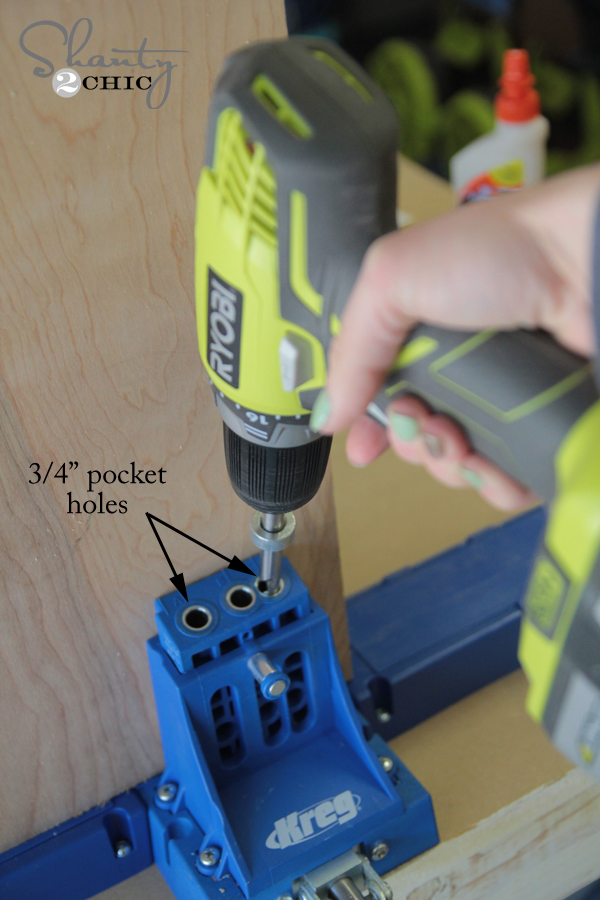
I used my Kreg Jig for the entire build. I love my Kreg Jig… Lots. You can see a video Ash and I created on what a Kreg Jig is and how it works HERE. I used 3/4″ pocket holes for this entire piece. You can see the model Ash and I use HERE![]() !
!
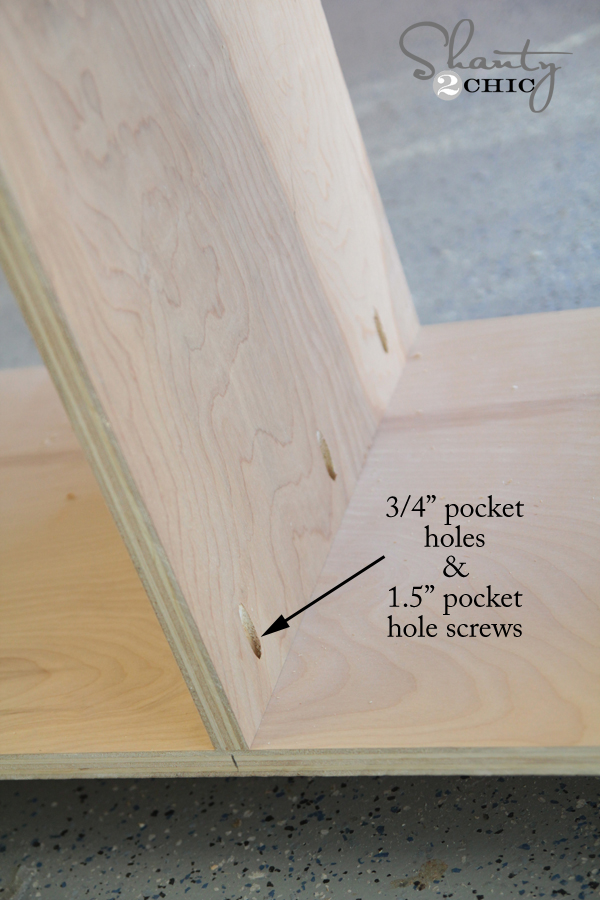
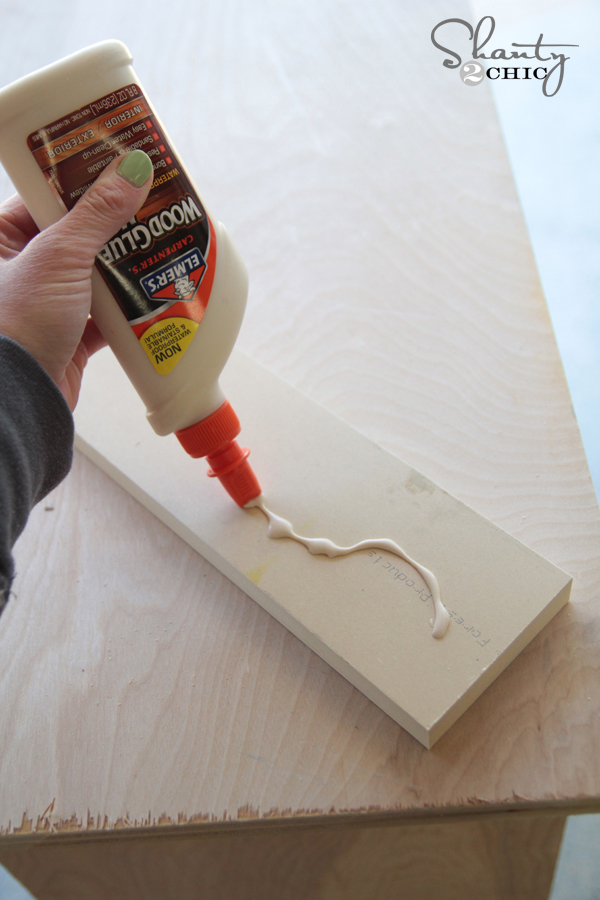
I joined the pieces using wood glue and 1.5″ pocket hole screws.
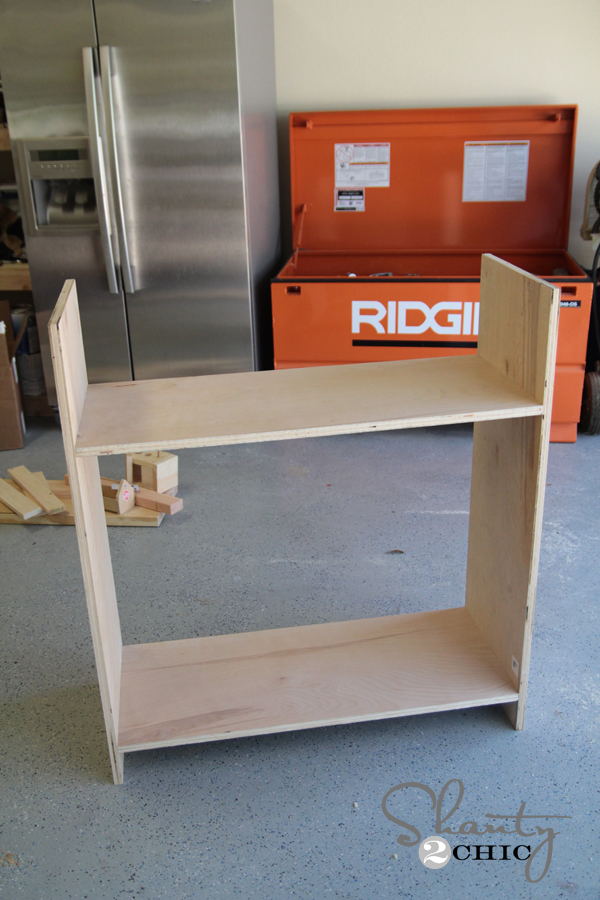
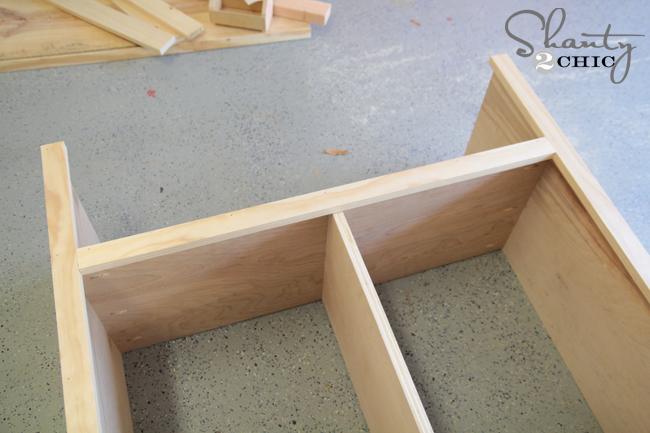
Next, I attached the middle piece the same way…
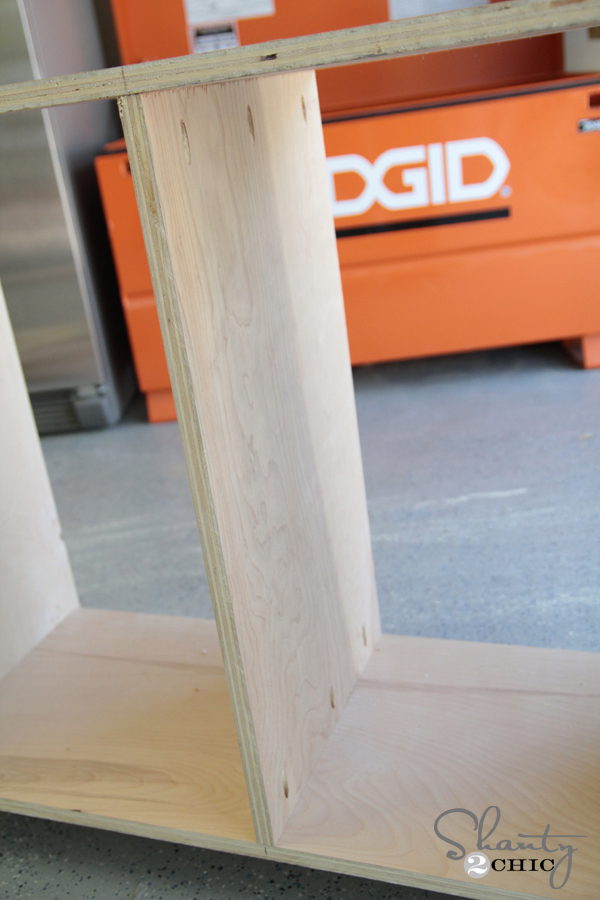
Should look a bit like this now…

Once you have the box built, it’s time for trim! Pretty darn easy!
I used my Ryobi cordless Airstrike Nail gun and wood glue to attach all my trim pieces. I started with the bottom. I used primed MDF on this part, because I had lots in my scrap pile! You can also use pine or any other 1 x 4 board.

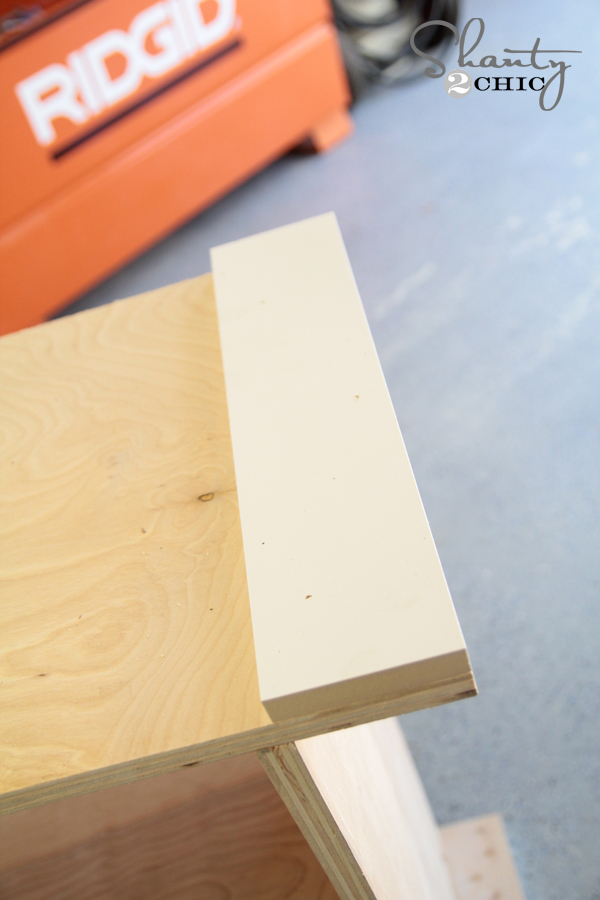
Next, I added my 1 x 2 trim starting with my outsides…
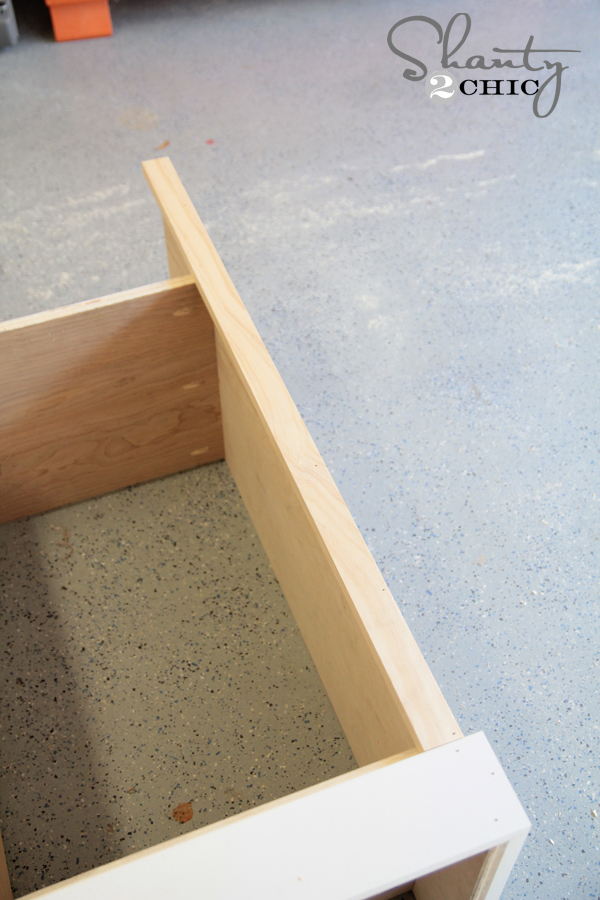
Top piece…
And middle piece!

Now we are ready for doors! I had a few “helpers” on this next part 😉 …

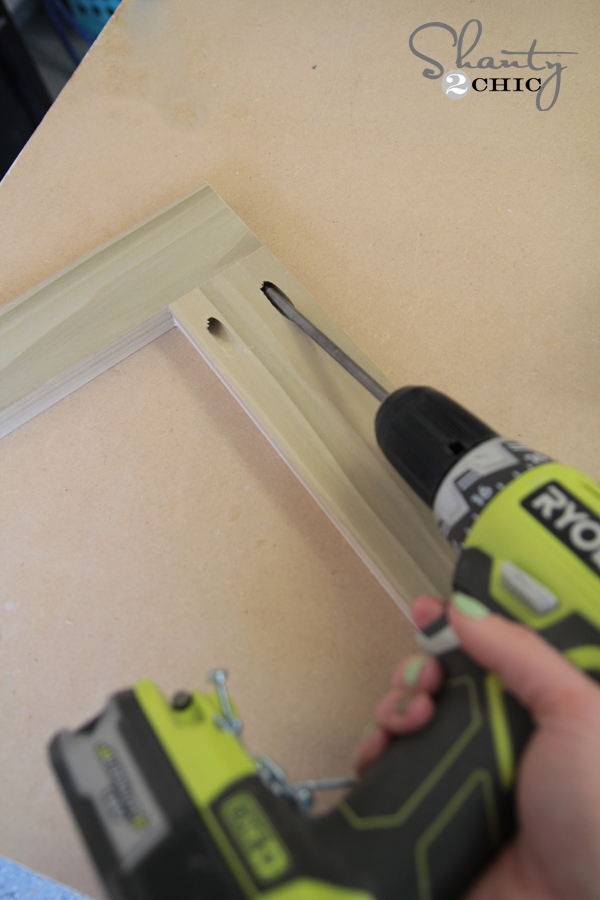
I used my Kreg Jig to build the door frames. These is 1 x 3 boards for this part…

I used 3/4″ pocket holes and 1.5″ pocket hole screws to build the door frames.

Next, I attached the back of the door using wood glue and my Ryobi Airstrike Stapler with 3/4″ staples from the back and into the back of the door frame.

The last step on the doors was adding the diagonal piece. I found the easiest way to do this was to mark the wood I was cutting by holding it up to the door. I then cut it at the angles I had drawn.
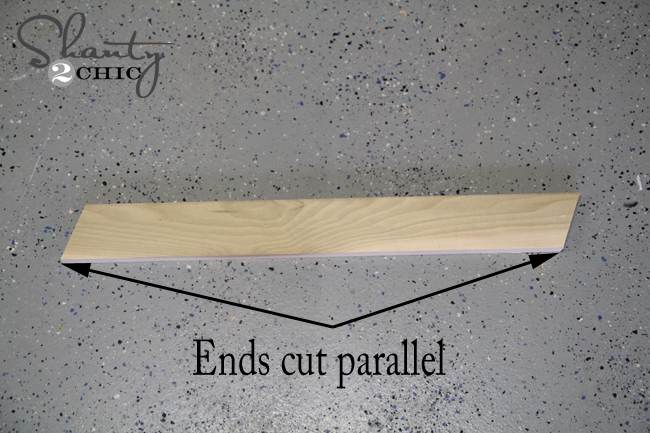
I used a line of wood glue and nailed it in place from the back of the door and into the back of this piece.
My final steps were adding the back and top pieces. I used 1/4″ hardwood plywood for the back. I used a few scraps pieced together to make mine so I wouldn’t have to buy a whole new piece… The perks to a large scrap pile 😉 The top is a project panel. You can also use hardwood plywood, but you will need to finish the edge with edge banding if you choose to use that material.
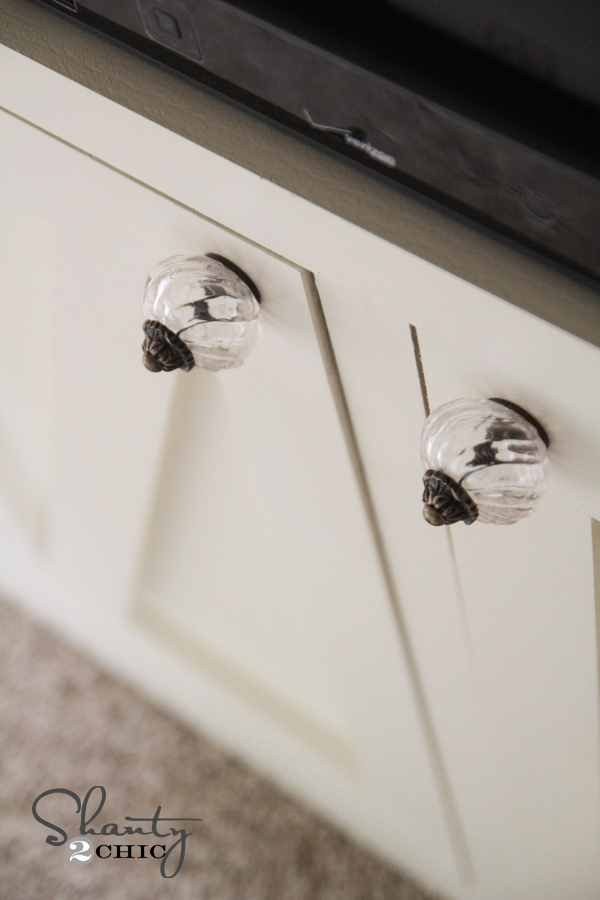
I filled all my nail holes and seams with putty and caulk and painted the whole thing the same color as her trim. This color is called Antique White by Sherwin Williams and the code is (SW 6119). I found my hinges at the Home Depot and those cute glass knobs at Hobby Lobby. I had my hubby help me lug it upstairs and I was done!
Here are few more shots…
Thanks so much for stopping by guys! Let me know if you have any questions at all! I would LOVE for you to share and PIN this plan with all your friends!
You can also check out some of the other projects I have been up to in her new room!


This media console turned out great—the sliding barn doors add both functionality and a strong design element. Projects like this really highlight how important precision in joinery and the choice of core materials are for long-term durability. Using quality plywood or well-engineered panels helps maintain structural strength while keeping the finish clean and consistent. We’ve seen useful material insights on platforms like https://plywoodbazar.com/
for furniture and cabinetry applications like this. Excellent build and very practical design!
Beautiful piece of furniture! Can you please post the measurements of the finished product?
I am in love with this piece! I want to modify it for my dining room. Could you tell me how large the opening at the top of this piece is? I think I want to make it without the opening, but keep the two cabinets.
Can you tell me how long that middle piece of wood is, the gray colored one in the the chart for the TV console?
Thanks
Did you ever find the answer to this? I’ve cut everything except this piece because there are no measurements.
Very nice!! Good work once again 🙂 I absolutely have to know, what paint color you used
Very nice!! Good work once again 🙂 I absolutely have to know, what paint color you used
The cabinet with the barn door turned out adorable. And I love the built in bed. Great job.