Hey guys!!! I took a break from house projects, last weekend and spent a little time getting my shop set up! It’s still a work in progress but I wanted to share these easy and inexpensive shelves that I installed. They are perfect for any garage, shop or closet and it’s that time of year – spring cleaning!
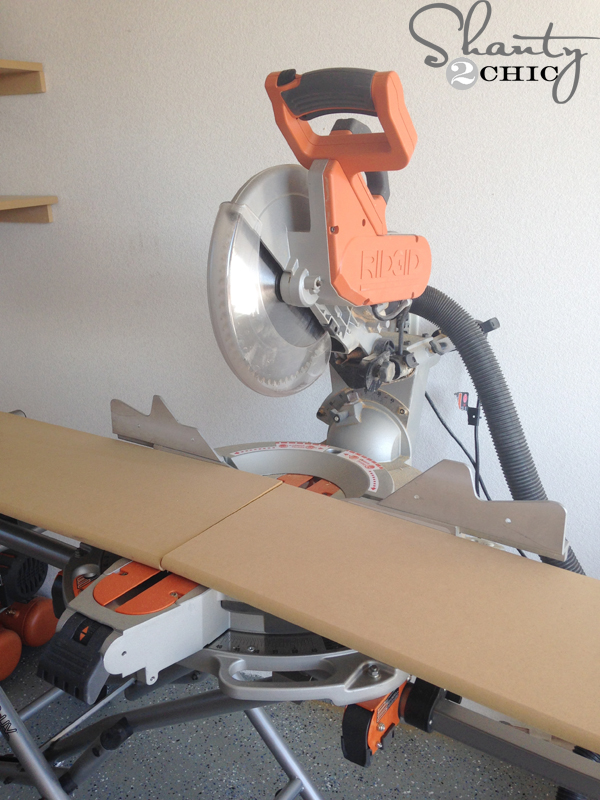
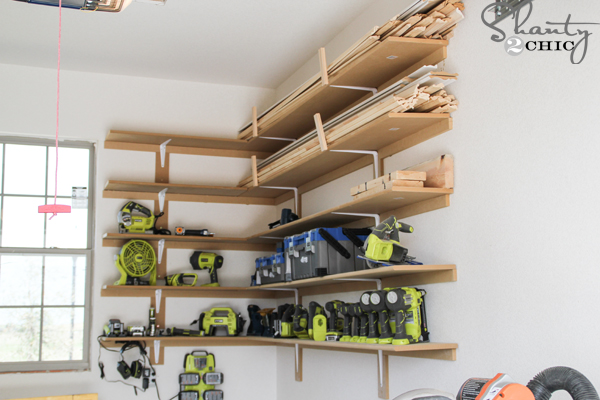 The lumber up top will be moved soon. It’s just a temporary spot until I can build something cool like Whit’s rolling lumber cart!
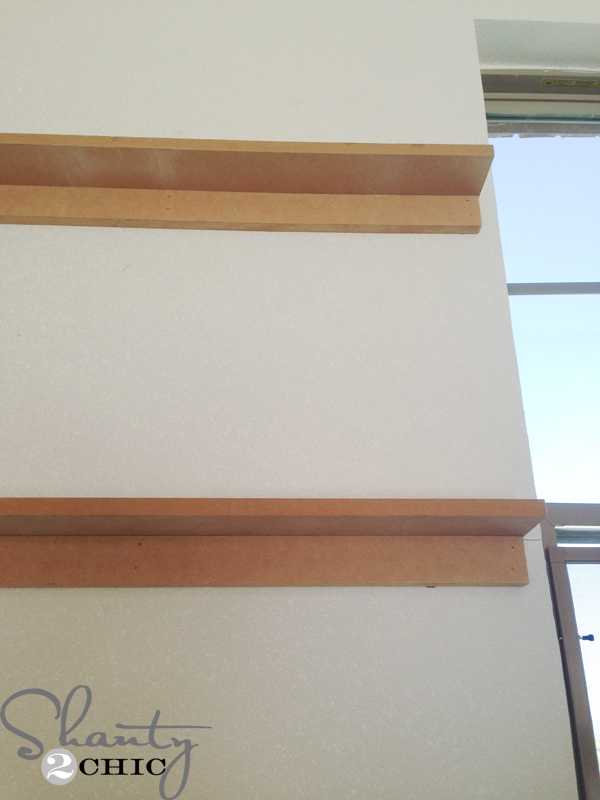
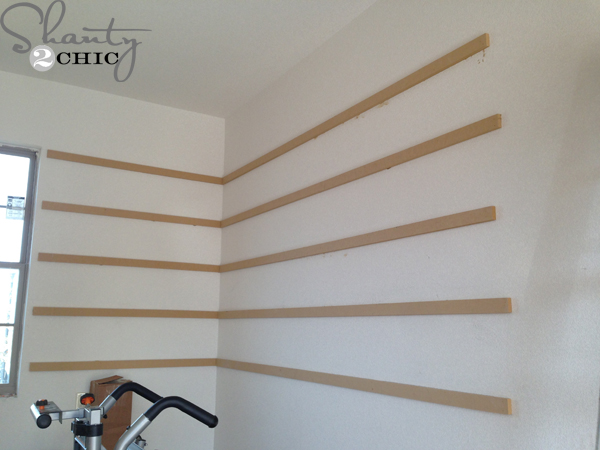 Getting started is super easy! I used 1×2 MDF to make cleats for the shelves. I attached them to the wall with liquid nails and sunk wood screws into the studs behind the wall. I put my shelves about 14″ apart.
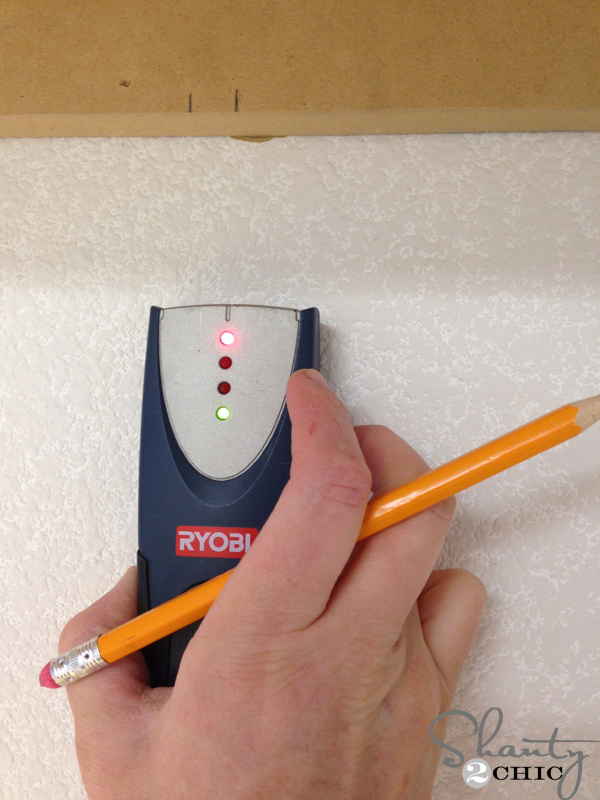 Next, I found at least 2 studs per shelf
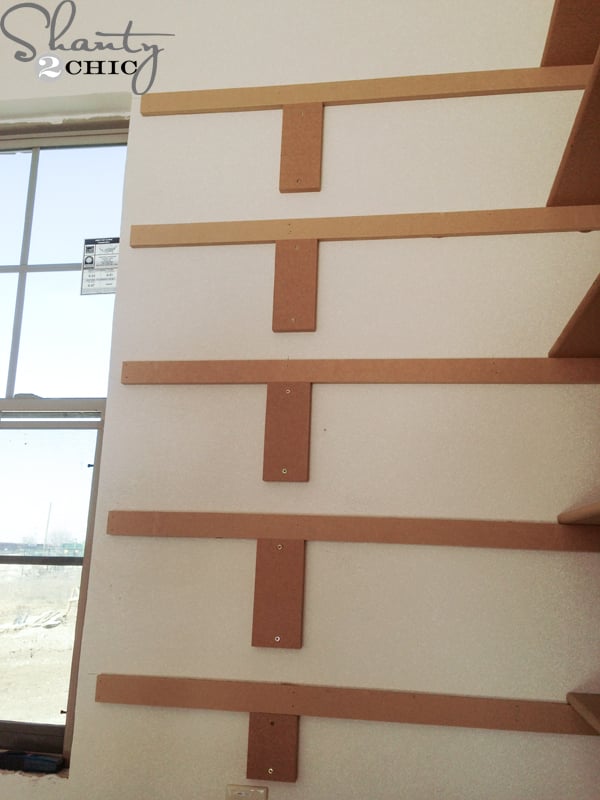 and used a piece of 1×4 MDF sunk into each stud. This will be the spot where we attach the brackets. I made my 1×4’s long enough for the brackets.
 For the shelves, I bought 1×12 MDF with a bullnose. Measure the length of the cleats and cut the 1×12 accordingly.
 To attach the shelf, I added a line of wood glue to the top of each cleat
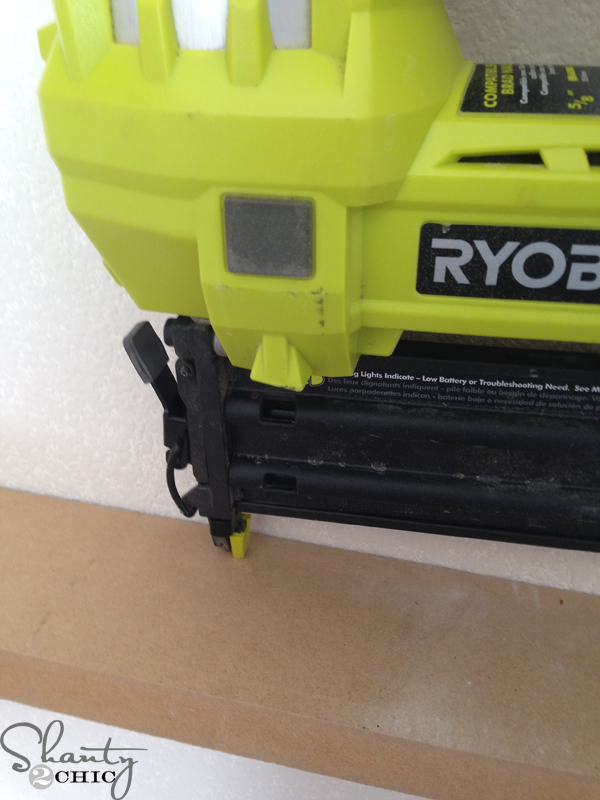 and attached a shelf with my Ryobi Airstrike Nailer. I used 1 1/4″ nails.
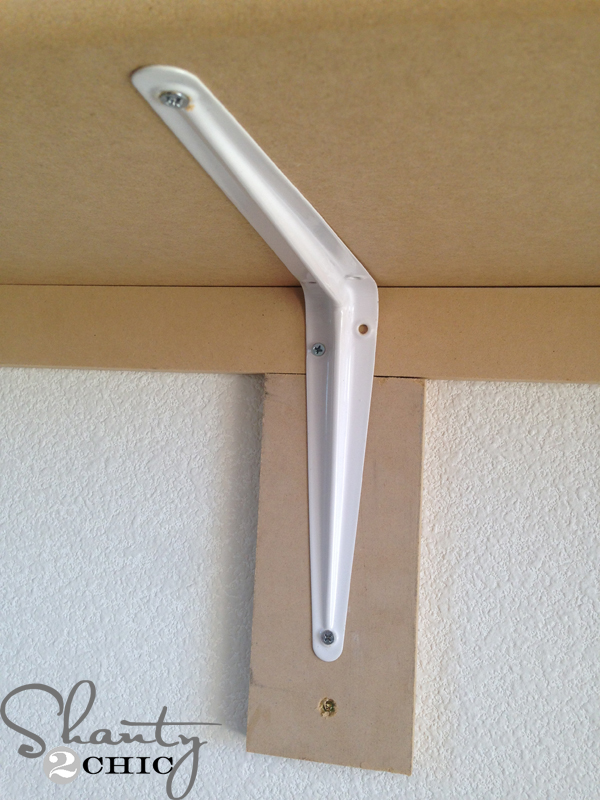 Finally, just add a shelf bracket!
 I used 1×12 shelves on the long sides
 and 1×4’s for the short shelves. (I made these just ledges for paint and stain).

That was it! Easy enough 🙂 I’ve got lots more to do in my shop but it feels so good to get everything organized! What do you need to organize this spring?
Thanks so much for stopping by!
~Ashley


Built these in my garage using your plan, they are great. I put the shelf standards every 16 inches for better weight capacity.
How long are your shelves?
8 ft 🙂
Cool! Thanks!
I am so jealous of your tool collection!
What are the brackets sticking up to hold the wood?
Hi Karen! They are just scrap 1×2 that I nailed and glued up there. Totally not permanent, I needed to get the scraps out of the way until I can build a permanent scrap storage!
Great shelves! Are those 3 air strike nailers sitting side by side ??? If so…very cool!!
Thank you Nicole! LOL! Just one Airstrike Stapler and 2 nailers. I had to buy a new nailer yesterday because my original one fell off the shelf and broke 🙁 next shop project – pegboard that will hold my tools better 🙂
Sorry to here about the nailer! Pegboard in my future….I’ve had too many close calls myself :):)
Yes!! I actually have dropped it several times and it’s always been fine but it fell about 5 ft. And landed right one the tip where the nails shoot:( lesson learned!
nice and easy. just the way I like it…thanks!
Thanks Sharon 🙂