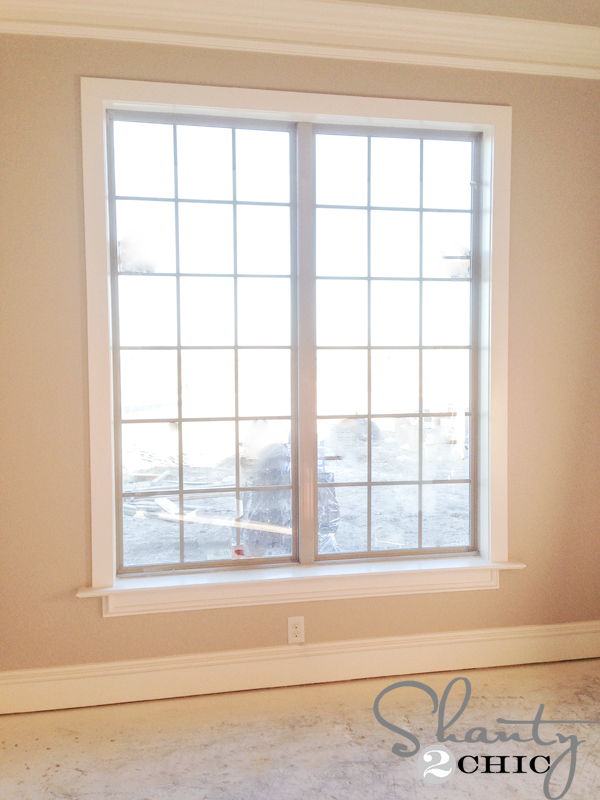
Yes – EASY! I promise! I love the look of wood cased windows and had I known how easy and inexpensive it was to faux my own, I would have done this to every window in my last house! This is a great tutorial for anyone wanting to fancy-up your existing windows and it doesn’t take long!
 The only lumber you need for this is a sheet of 1/2″ Purebond Plywood and 1×4 MDF boards. I was able to case every window in my house with a few sheets of plywood and under $300!
I was lucky to enough to have our step-dad (a.k.a. our builder) teach me how to do this and I did a lot of the windows myself once he showed me how, so – It really is easy!
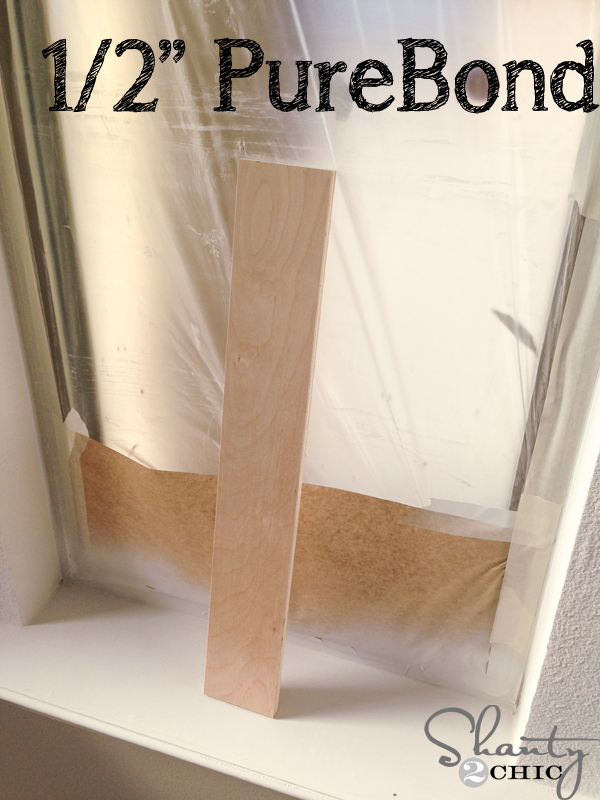 Start by ripping down 1/2′ Purebond to the width of the sides of your window openings. Don’t measure one window, measure them all because they are not all created equal. If they are, you are lucky 🙂 You can see this piece is the width of the drywall around the windows – this is the piece for the top of the window. Measure the length of the top of the window first and cut a piece of 1/2″ Purebond to fit. Using 2″ nails, nail it up so that the front edge of the plywood is flush with the edge of the window opening.
**If your boards are rough on both edges, just sand them down – if one side is smooth, use that side to face forward.***
Now measure the length of each window side and cut them down as well.
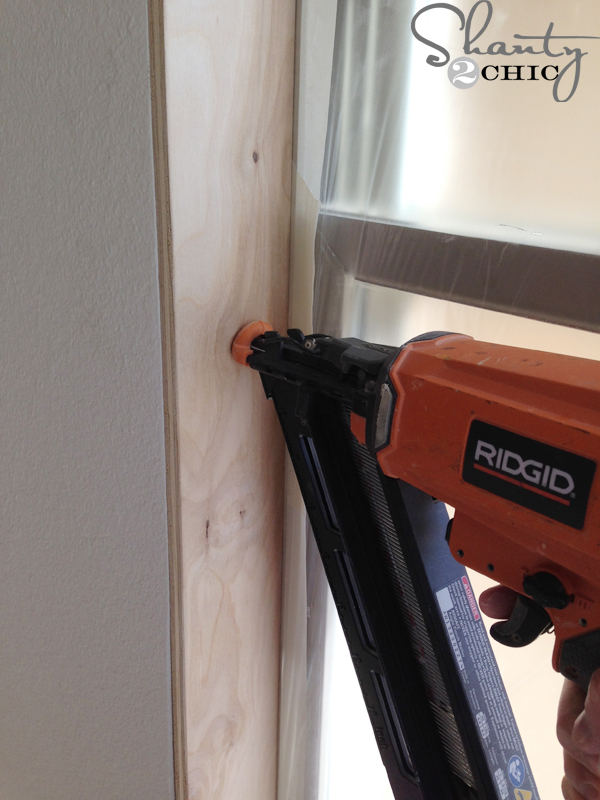 I used my Rigid nailer to nail them up (aim right for the middle and nail about 5 nails along the length of the board.
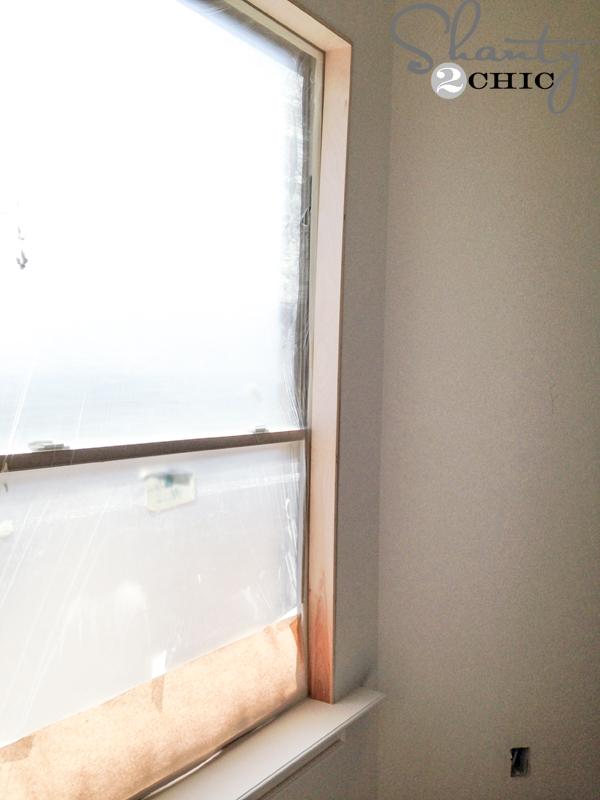 Once all three boards are nailed up it’s time for the MDF!
Start by measuring each side of the window from the top of the window opening to the window sill. Cut the 1×4 MDF to size.
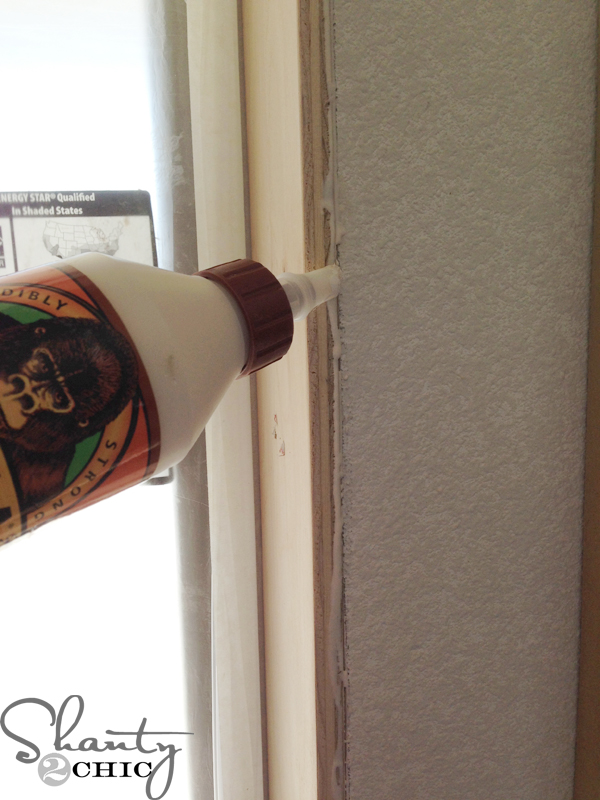 Next, add a thin line of wood glue to the edge of the 1/2″ plywood. You will notice the layers on the edge – do not cover the inside layer because this layer will be exposed once the window is complete.
 Nail the side pieces on first. Make sure to expose that first layer of plywood (you can see a small edge of the plywood exposed under the MDF board. I nailed mine up with my Ryobi Airstrike Nailer.
 Now measure the top piece from the outside edge of one side of the MDF board to the end of the other so that your top piece will be flush with both ends of the side pieces. Add the wood glue and nail with 1 1/4″ brad nails.
 Another picture of the exposed edge of the plywood.
Before you paint, fill all of your nail holes with wood filler!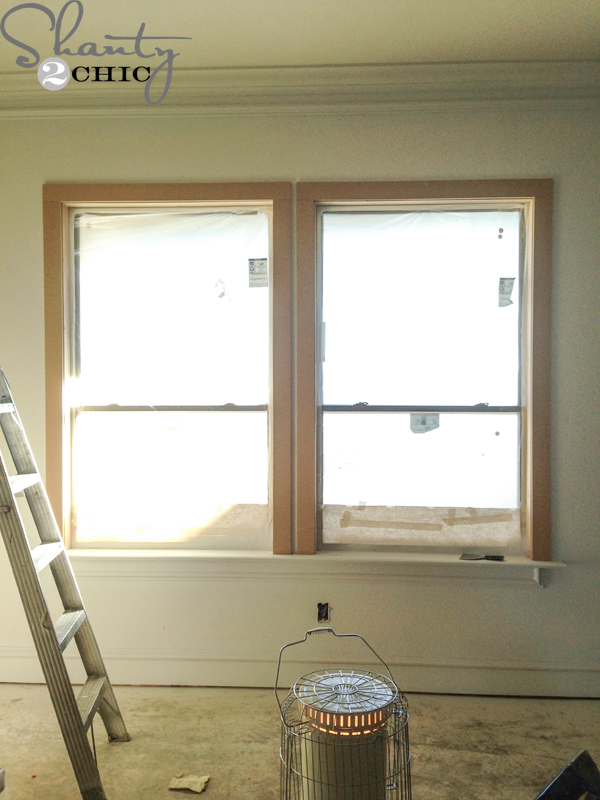 Easy enough!! Now time for paint 🙂
Whoop!
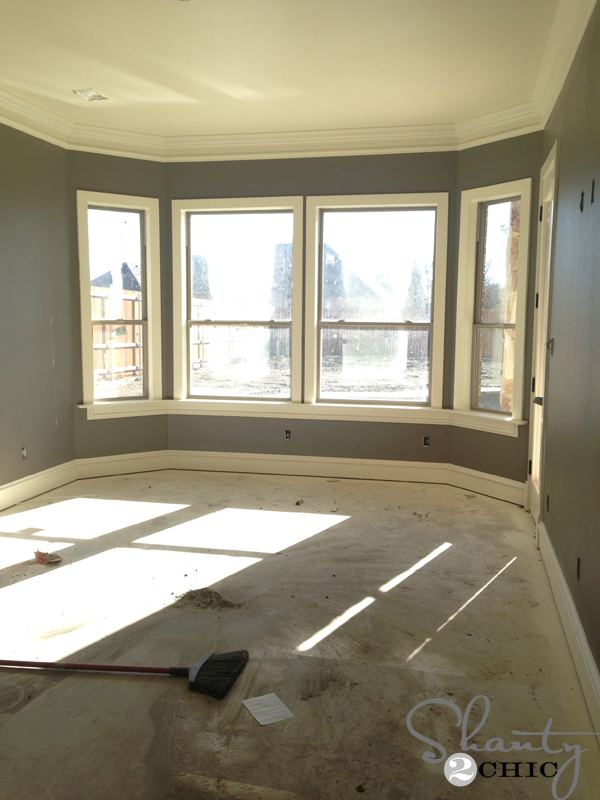 More windows cased!
If you missed my paint color choices you can find them HERE and for all of my house build updates you can click HERE!
Thanks so much for stopping by!!!


Why did you use plywood? Isn’t pine a better option? Can you please clarify as I’m in the process of doing mine too.
This way to case an existing window is super easy, and I am thankful to the poster for sharing this. I will use the information transmitted in this article to complete one of my new projects.