This is my most FAVORITE build to date! I say that a lot but I mean it every time!
It all started when I fell madly in LOVE with an adorable coffee table that I found while scouring through a furniture catalog.
Love at first sight It came with an $899 price tag! Ouch! So, you know the story….I asked our sweet friend Ana to design something similar!
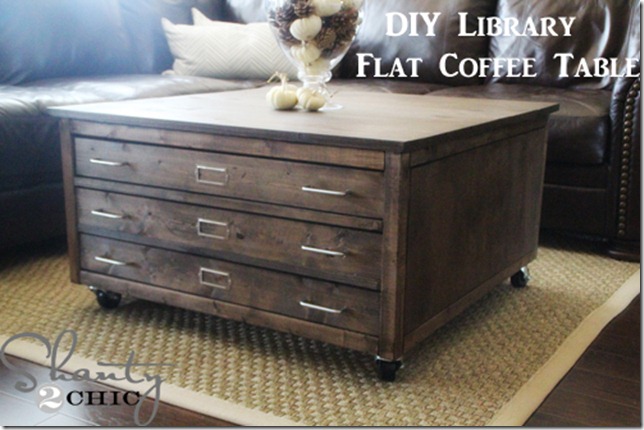
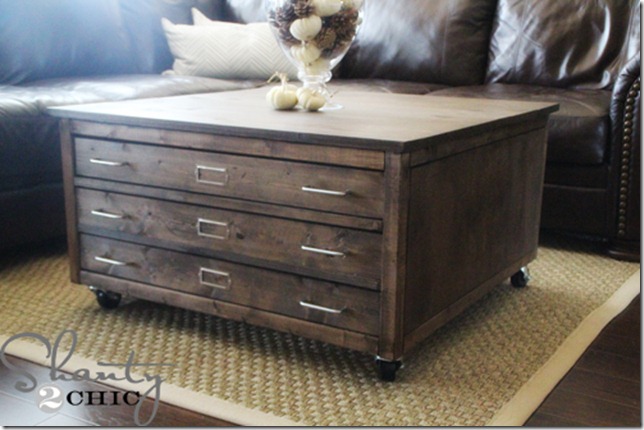
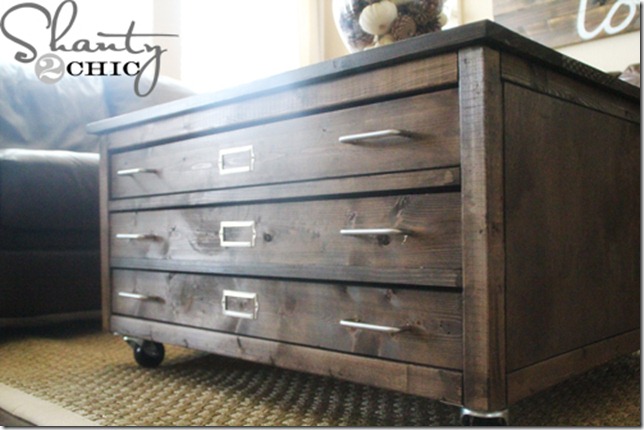
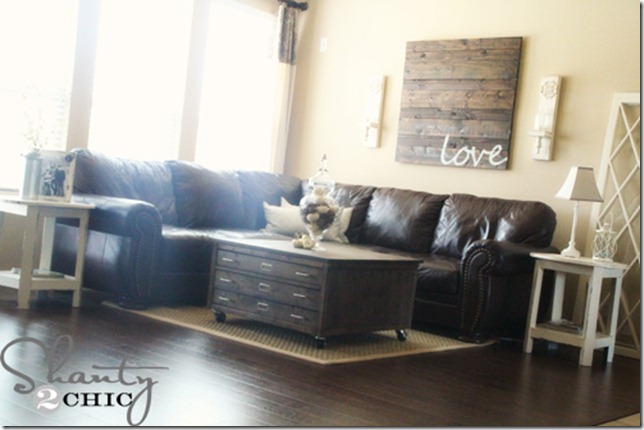
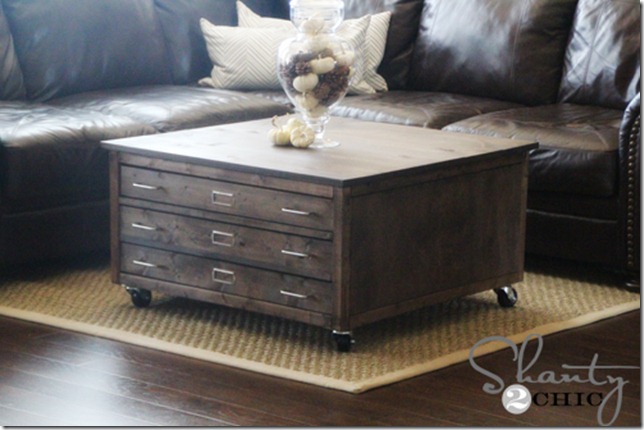
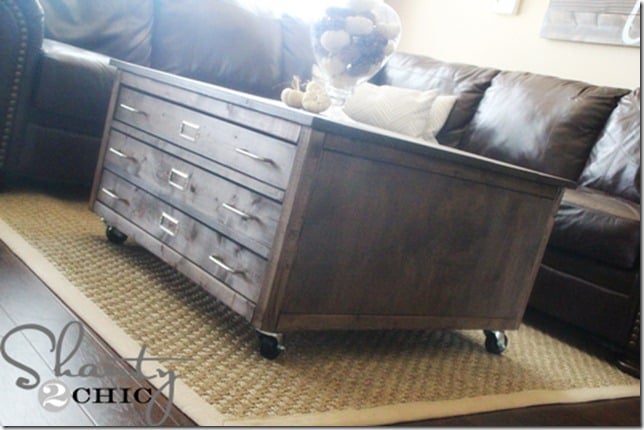
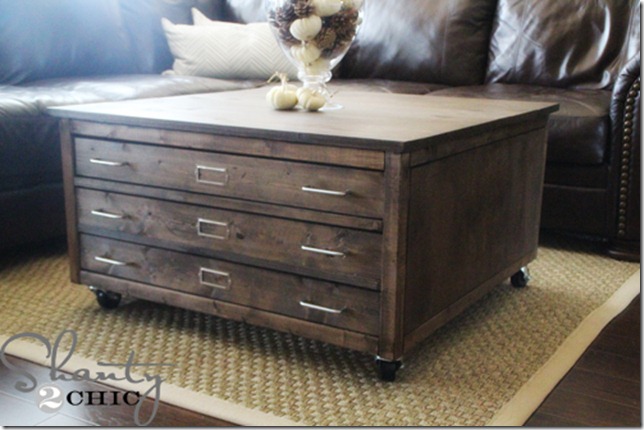
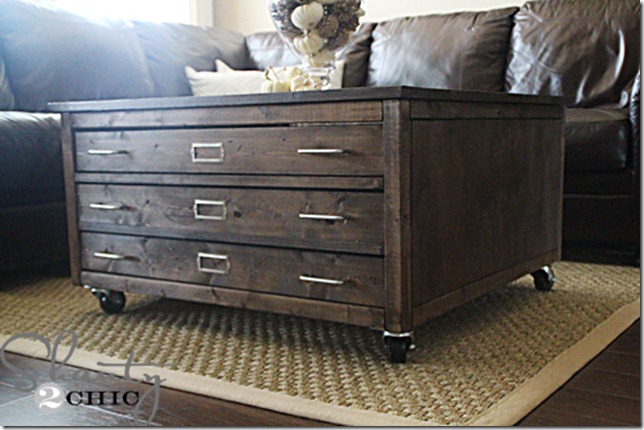
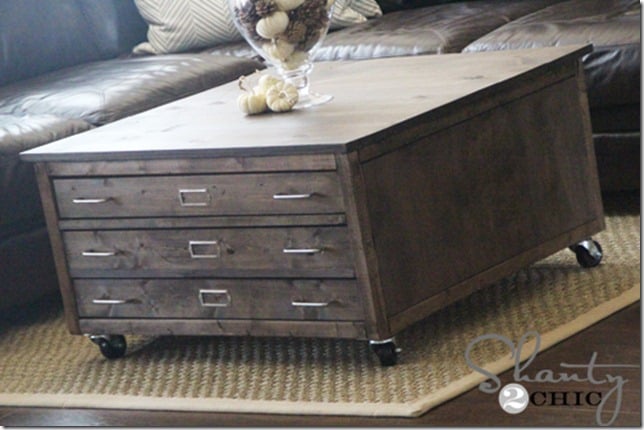
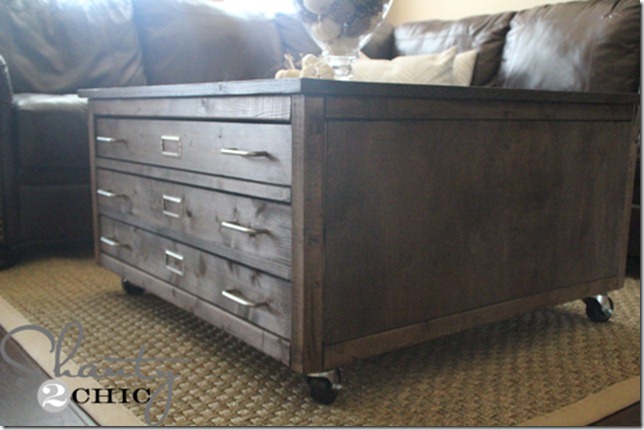
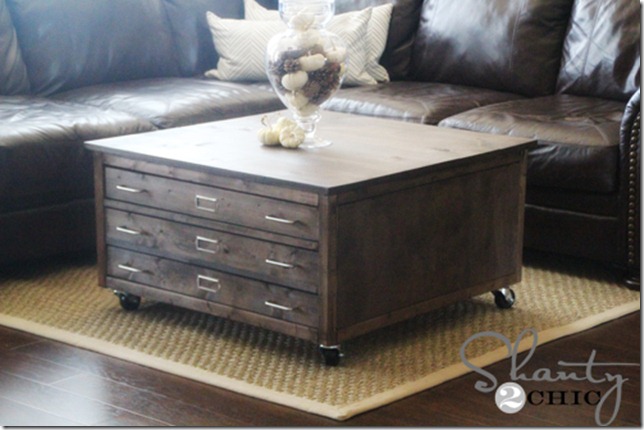
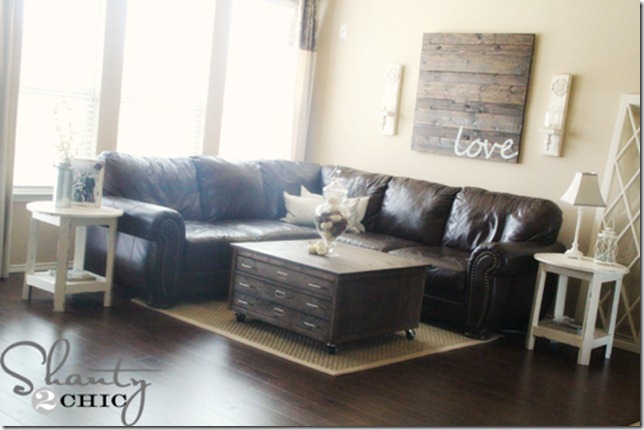
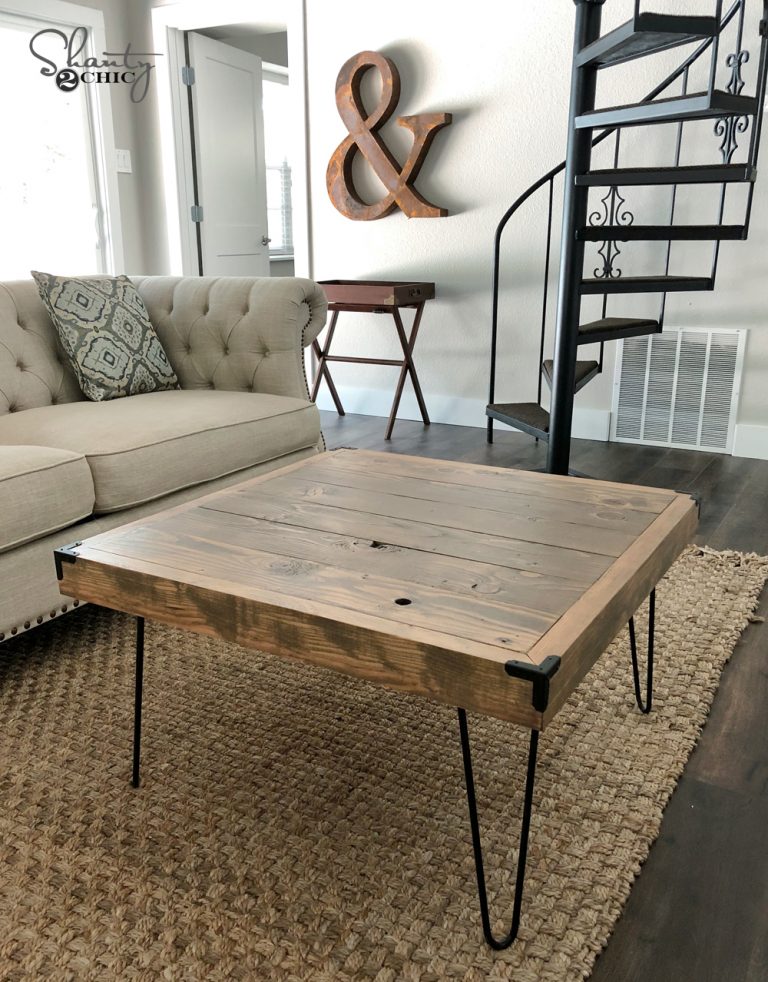
This is our version with a price tag of $200 including the hardware! It still makes me giddy
You can check out Ana’s plans HERE! I have also shared my step-by-step pictures to help you as you build your own!
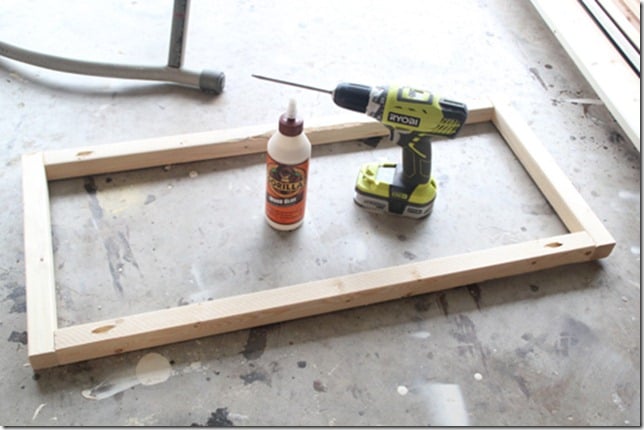
First step is to build the frame. I used Gorilla Glue wood glue to join every board and my FAVORITE cordless drill!
For the plywood I chose PureBond Hardwood Plywood in birch! It is always our go-to choice for Plywood because it is formaldehyde-free, it is made with wood from sustainable forests, it gives the look of solid hard wood and it is BEAUTIFUL! Not only does my table look better because of the PureBond, it is not harmful to the air my family and I breath! You can find out more about PureBond and learn why Whitney and I took the PureBond Pledge in this short video!
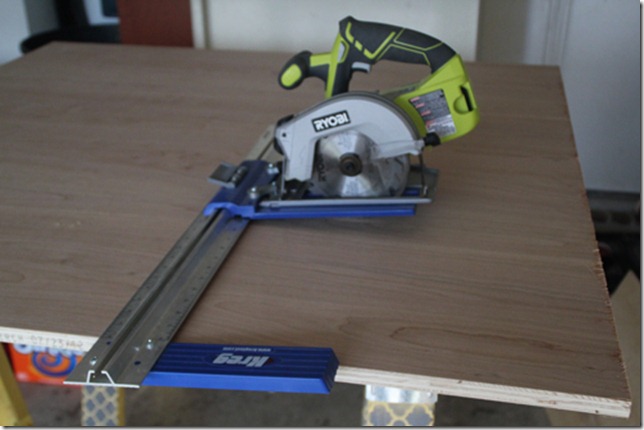
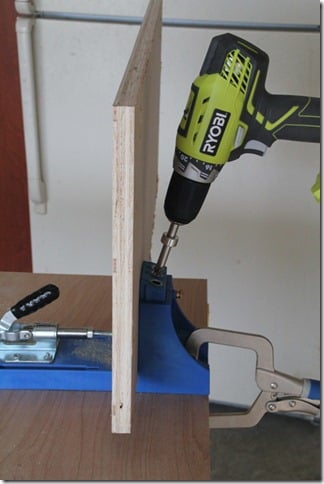
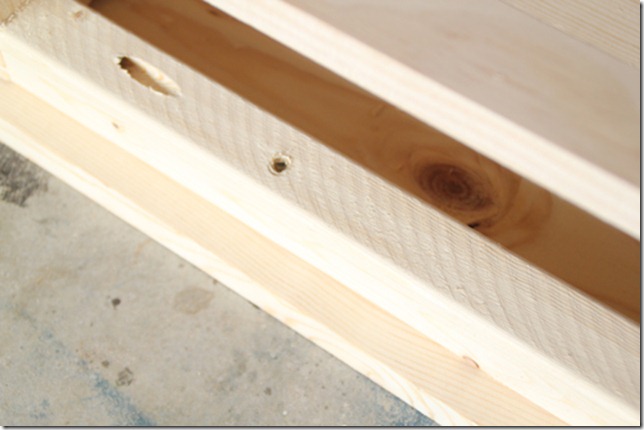
I could not have built this beauty so well without my Kreg Jig pocket hole system or my Kreg Jig Rip Cut!
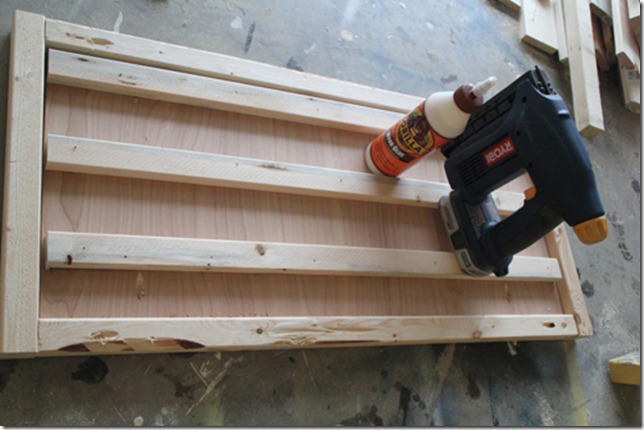
I used my brad nailer and Gorilla Glue wood glue to attach the runners for the drawer slides.
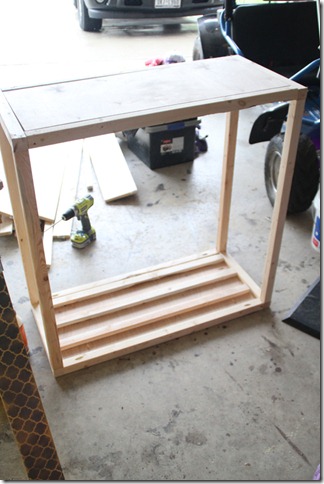
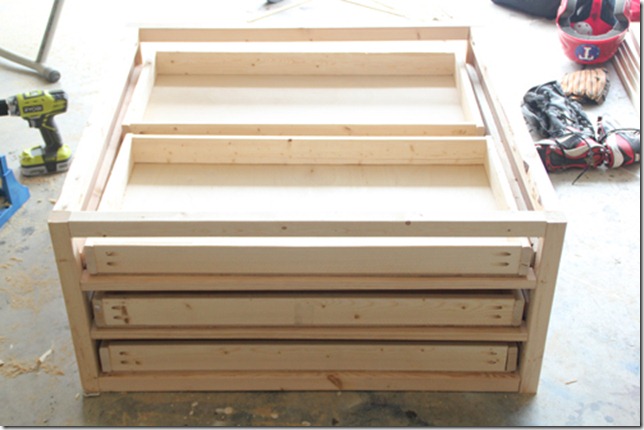
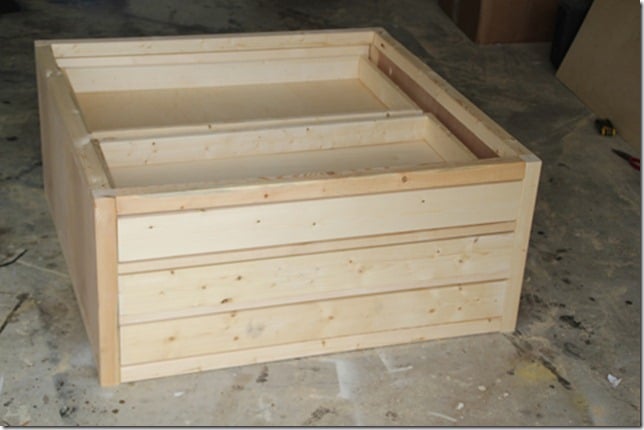
As you can see, the frame is assembled now and there are runners for the drawers slides on the inside panels. The finished product may look intimidating but if you take it one step at a time and have the right tools it is a piece of cake!
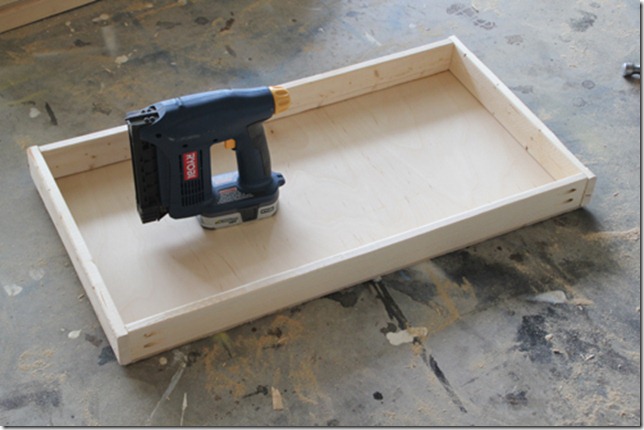
The drawer assembly was just as easy. I used my Kreg Jig for the frame and my brad nailer to attach the bottom.
Rough fit of the drawers
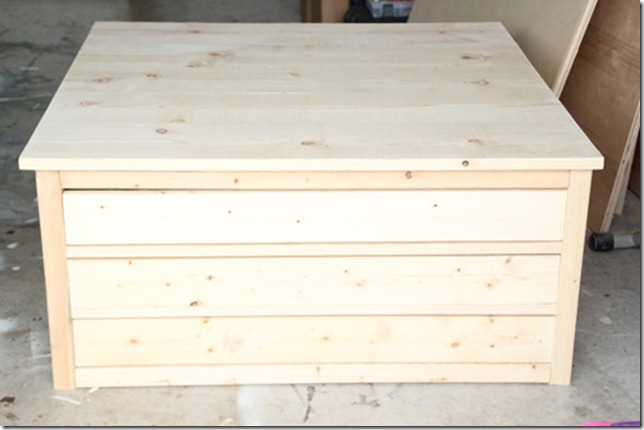
I attached the drawer faces with my Ryobi brad nailer and Gorilla Glue wood glue.
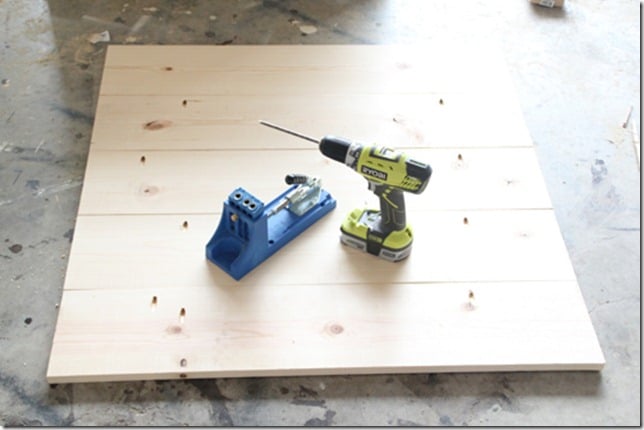
I used my Kreg Jig and my cordless drill to construct the planked top.
To attach the top to the base, I pre-drilled from the under-side into the planked top using 2 1/2” wood screws. I also secured with Gorilla Glue wood glue. This baby isn’t going anywhere
Now for the stain!
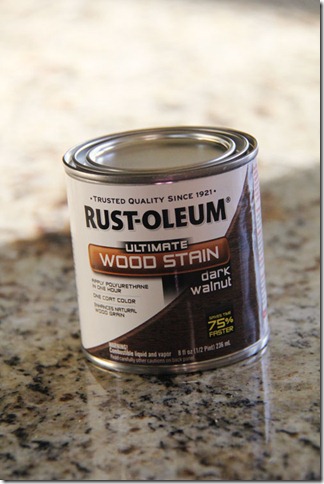
I went with a favorite, Dark Walnut stain. Apply with a foam brush and wipe with a cloth after 5 minutes.
I followed up with Polyurethane in satin to protect the finish! Brush on with a bristle brush one time.
I bought the pulls and 2 1/2” casters at Home Depot and the awesome card holders on Amazon. HERE
is the link to the exact card holders I purchased. They are the PERFECT size and took about a week to come in.
I could not be any happier with it It is the perfect addition to our living room. ***I did not purchase locking casters because it does not roll freely on my rug however, you can purchase them if you are concerned about it rolling***
Speaking of rug….I got a great deal on this sea grass rug over at Overstock.com.
Thanks so much for stopping by!
~Ashley




Would you mind if I post this diy project and obviously give you credit in the post? Thank you
Which casters did you purchase? What was the load rating on them? Thanks!
Beautiful table 🙂
I like your table way better than the one at Pottery Barn. 🙂
⭐⭐⭐I built one that is better looking than this one. I LOVE MINE!!! I built my own using the plans at www. WoodworkPlans.info – highly recommended you check those out too. They are detailed and super easy to read and understand unlike several others I found online. The amount of plans there is mind-boggling… there’s like 16,000 plans or something like that for tons of different projects. Definitely enough to keep me busy with projects for many more years to come haha
Head on over to www. WoodworkPlans.info if you want to learn more – click the pink link above for some more plans! Best of luck on your building adventures!?❤? ??
I think your table is much cooler than the one from Pottery Barn 😉
Awesome!!! It’s neat to see drawers on both sides of the table – Great Job!
Awesome piece – thanks so much for sharing. But looking at Ana’s plans, it seems like the supplies list and cut list are both off. For example, the plans call for 12 3/4″ 2X2 pieces, though the diagram asks for 15 3/4″ pieces – not mentioned anywhere in the supplies or cut list. Then it asks for 3 2X2 8 ft pieces. But the diagrams require 8 32″ 2X2 pieces and 4 more of the 12 3/4″ (or 15 3/4″) 2x2s… and if you add up that length, it’s longer than 3 8ft 2x2s would give you. Just wondered if you ran into any discrepancies like these before I head to the hardware store… or if I’m just crazy?
Thanks!
So awesome as usual. After having spent way too much money on mediocre furniture as young mom, just to watch my boys make the the furniture look “vintage,” I now make all my furniture thanks to great sites like yours. Over the last year, I have begun to put a lot of my furniture on wheels because…guess what?…real wood is heavy!! The wheels make moving so much easier for furniture that have to move a lot. I use wheels that lock so that my kids do not use the wheeled furniture for entertainment