Hey guys! Hope everyone had a great weekend… I spent mine cleaning house and getting my magnets done…woohoo!! I’m really happy with how they turned out and wanted to share… If you want to see my magnet board tutorial just look here!!
I found this great chipboard pack at Joann’s for $9.99 and used a 40% off coupon to make it closer to $6! Each 12×12 sheet has at least 10 of each letter on it.
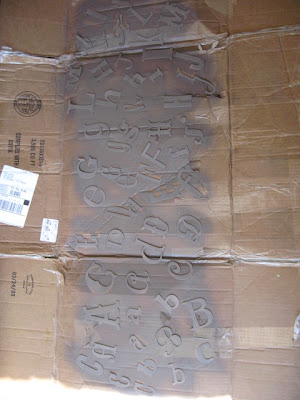
I punched out 3 to 4 of each letter and layed them out to be painted…
I then used Rustoleum American Accents spray paint in London Gray to paint all the letters. This is a new color for me and I LOVED it… it is gray with just a touch of brown… too cute!
After letting that dry I wanted to distress them a bit so I used my Tim Holtz Walnut distressing ink on the edges of each letter.
You just rub the edge of each letter against the ink pad…
Just adds a bit of something to them… don’t you think??
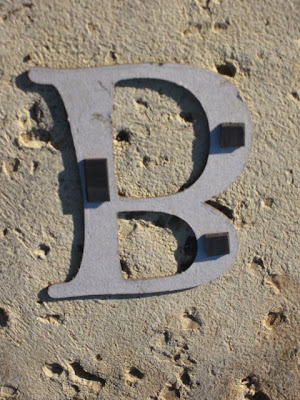
Now to add my magnets! I found this great adhesive magnet roll at Hobby Lobby for $2.99.
I just cut small pieces of it, removed the backing and attached it to the chipboard… that easy!
My final step… Getting my girls to stick them to the magnet board! Of course I couldn’t resist the urge to add my own little subliminal advertising!! What do you think???
I also wanted to give another shout out to Kim from Twice Remembered for inspiring me on this project!!


I love it! Very creative!That's actually really cool.
謝謝你的文章分享,請你有空到我
馬城界隨意部落格
參觀,Thanks