Hey guys!
Well I mentioned a few days ago that this last weekend was “project organization” at my house. This next project was one that I should have done a LONG time ago!
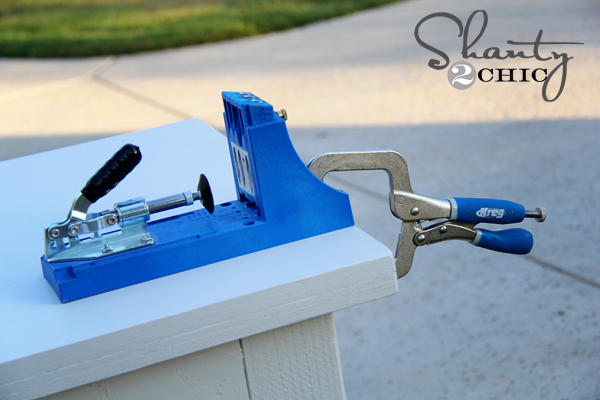
For those of you that haven’t pulled your Kreg Jig® out of the box, or are considering finally buying one, this is a GREAT first project! It’s very simple, and you will have a place to work with your Kreg Jig® rather than the garage floor… Not that I have ever done that 😉
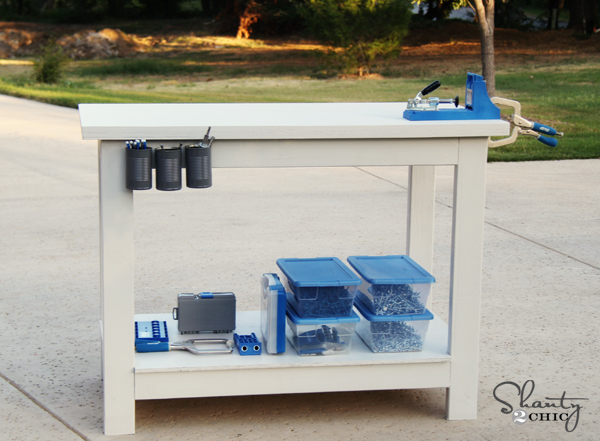
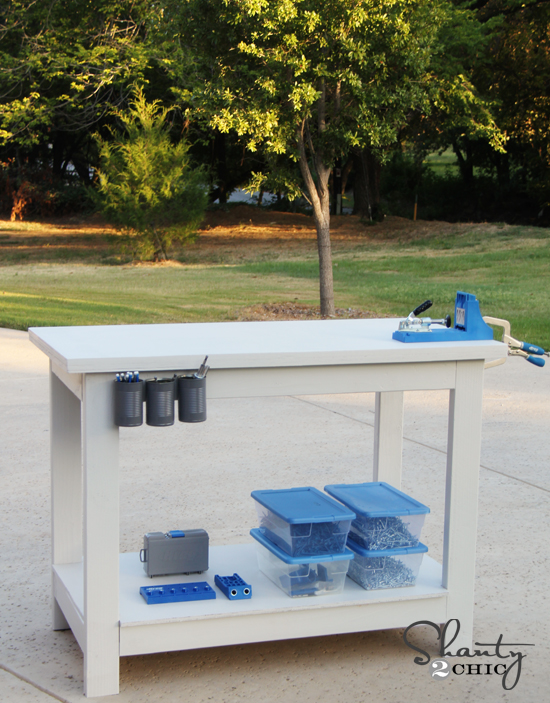
I’m happy to say that my Kreg Jig finally has a new home, and I have a great new work space! Check out my new workbench!
Yep I love it!
This is a very easy, basic build! You can get the free plans for this workbench from Kreg Jig’s site!
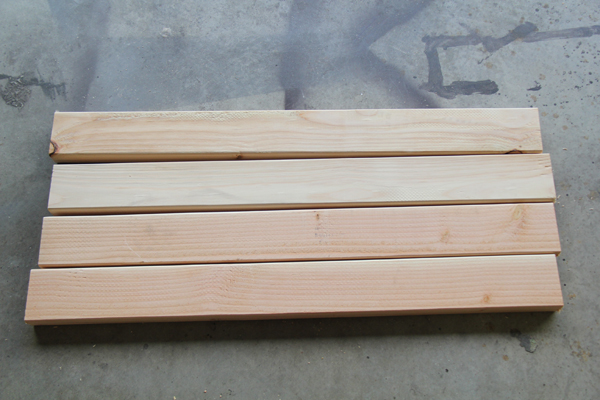
It took me just about 2 hours or so to get it all cut and put together. I started by making all my cuts. The plan printout is super easy to follow and tells you exactly where you need to make your pocket holes and what size. I went ahead and made all my pocket holes after cutting all my boards.
I used our very favorite glue for all of my joints!
Gorilla Wood Glue
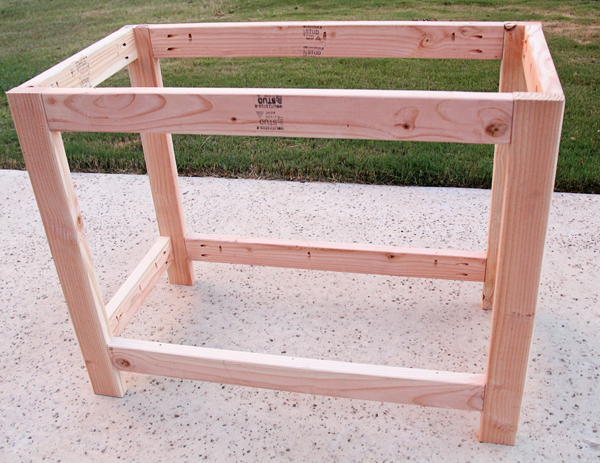
Here are a few process pics for you…
For my top I chose to use hardwood plywood panels rather than MDF. I think MDF tends to ding up quite a bit, and the hardwood plywood is easier to paint as well. Win win.
Here is the underside of my base as I attached it to the top.
That’s it for the build! So simple! The instructions are so great for a beginner and I can’t stress enough how perfect this would be for your very first Kreg Jig® project. You will thank me… I promise. 😉
I painted mine a light gray because I wanted to and because I thought it looked good with the blue!
I am always fumbling for the drill bit and the driver bit. I also like to have a ton of pencils ready to go. I decided to spray paint some cans and attach them to the front. Shanty but oh so chic, right?
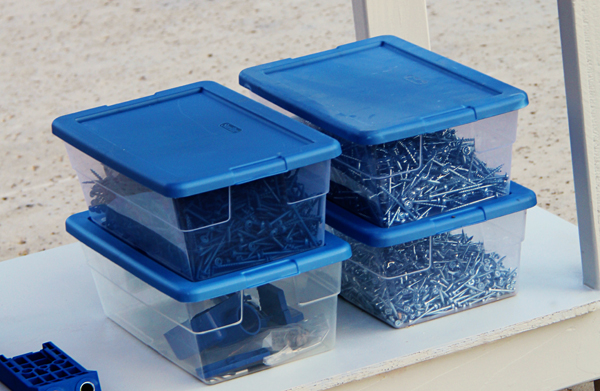
I now have a great place for my screws too!
And let’s not forget to mention the most important part…
Awww so much better than the floor!
I finished up my project by asking myself why I didn’t tackle this project a year ago!
You can also check out a complete video walkthrough of this project by going to the links below!!
http://www.youtube.com/watch?
http://www.youtube.com/watch?
http://www.youtube.com/watch?
Thanks so much for stopping by guys! Don’t forget to download the free plans for the workbench HERE!
~Whitney










Kreg link for the plans is not working. Can i download them from somewhere else?
Yes, I’d like to know as well.