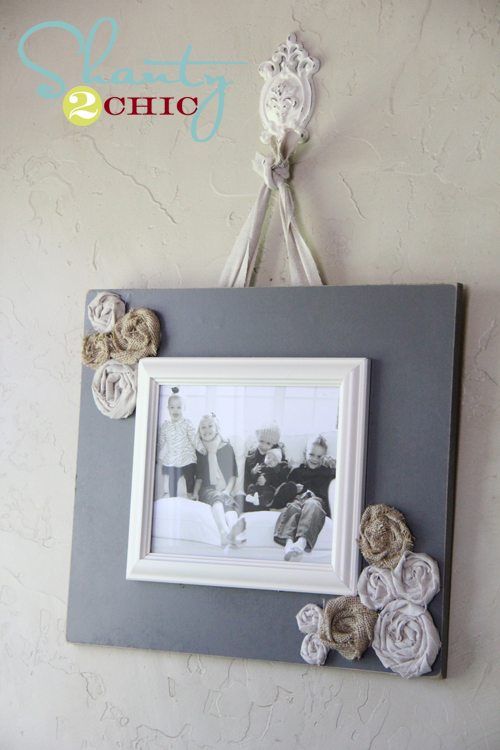
Hey guys! I wanted to show you gals how I made my lace flowers that I used here…
And here…
It all started when I stumbled upon this great stuff at Joann’s.
It’s called Wright’s Flexi-Lace Hem Facing and it comes in LOTS of great colors. It also comes in two different sizes but I prefer the larger 1 3/4″ lace for my flowers. I originally purchased it to make flower headbands for the new baby but then found myself gluing them to things all around the house.
I did sew these but don’t click the red X just yet…. If you have a machine and you can do a straight stitch then these are a piece of cake! You only need a ruffler foot like mine below.
You can get them at your local sewing machine shop or online. Just make sure you get one that is compatible with your machine. It’s so super easy. Just click it on and sew a straight stitch. It does ALL of the work for you. You can adjust it to gather as much or as little as you like… Can’t beat that!
My first step was to open up my lace and cut it in half. This left me with 2 strips of lace. Then, I folded one piece in half like this.
I stuck the folded end into my ruffler and 30 seconds later I had this…
Next, I drew a circle on a piece of matching felt. This just keeps me from making my flower an odd shape. The rest is just hot glue! I made a circle on a piece of matching felt.
Starting with the outside of the circle I glued the folded edge down to the felt following the circle.
Once I reached my starting point I just moved to the inside of the first circle and continued gluing.
Once it was all finished it looked like this.
You can stop there or add a super cute button like I did.
I cut the shank off the back of the button using pliers.
Then I hot glued it down to the center of the flower.
Here it is all finished up…
My last step was to cut the felt from under the flower which leaves the back looking like this.
Now all you need is a cute place to attach it. I added mine to my lamps and wreath but I will also be back to show you how to make SUPER cute headbands for yourself or your little princess. It’s becoming a bit of an obsession I’m affraid 🙂 ! Hope you girls liked it! Let me know if you have any questions and go get yourself a ruffler foot… TODAY! Happy Wednesday!
~Whitney


Your flowers look wonderful so cute! Know I'm thinking what can I do with my own and I must make them!
Hi Whitney,
Your flowers look great! I need to buy myself a ruffle foot, I love to ruffles, but don't like making them. Thanks for showing us how to make the flowers. I love them!
Hugs, Cindy S
Sooo cute!! I love it!! I will definitely try this out for my grandbaby :))
Thank you so much for sharing!!'
~ Michella ~
~ ~ xoxo ~ ~
Love your sweet fabric flowers…thanks for sharing the instructions!!
happy day!
xojanis
I've been looking for an easier instruction for flower making and this is it! I love it.
You do make it look easy.
Those are Awesome!! And they dress up that lamp so easily! Thanks for the Tutorial, it's like now I know a Cool Secret!!
These are so cute- I am going to bookmark this page!I need to make a few for one of my daughter's pillows in her room.
Ruffle foot…must purchase
Um I love this! I didn't even know there was such a thing as a ruffler foot for my machine! (I'm a very newbie sewer!) I will definitely have to try this out! Thanks for the tutorial!
Very cute and a great tutorial. Thank you so much for sharing another fun fabric flower with us!
super cute!
Oh my gosh !! How cute and simple !!
Thank you for the easy lesson ~
xoxo
Lori
Cute! My biggest question is HOW do you attach the ruffler foot to your machine?? I have the same foot and its supposed to be compatible with my machine (Janome Sewist), but despite all of the tutorials I've looked at, I can't attach it. What is your trick? This is on my to-do list for the summer – figure out how to attach the ruffler foot! Its the little things…
Oh my goodness, I've been wanting to know this trick for SO long – thank you so much for sharing!! ~Sam