I should say easy and CHEAP! I got to start on the nursery this week….which used to be my hubby’s office. I love the look of the paneling in this room over at Serena and Lily so I drew up my plans and went to Home Depot!

Whitney, being the wonderful sister she is, volunteered to come help me in this project! I chose to do one accent wall, after much convincing from Whitney, and I’m so glad I did! This wall measures 175.5″. Here is my purchase list:
6 Whitewood 1×4’s @ 8ft.
2 Whitewood 1×6’s @ 8ft.
1 box 1 1/4 finishing nails
1 Nail Finishing Kit
Blue Tape
1 tube of Liquid Nails for Paneling
1 tube of white all-purpose caulk
1 gallon of paint – I had Home Depot match to a sample of my trim color
I chose to use Whitewood boards because they are smooth and do not have imperfections. They are more expensive but much easier to work with!


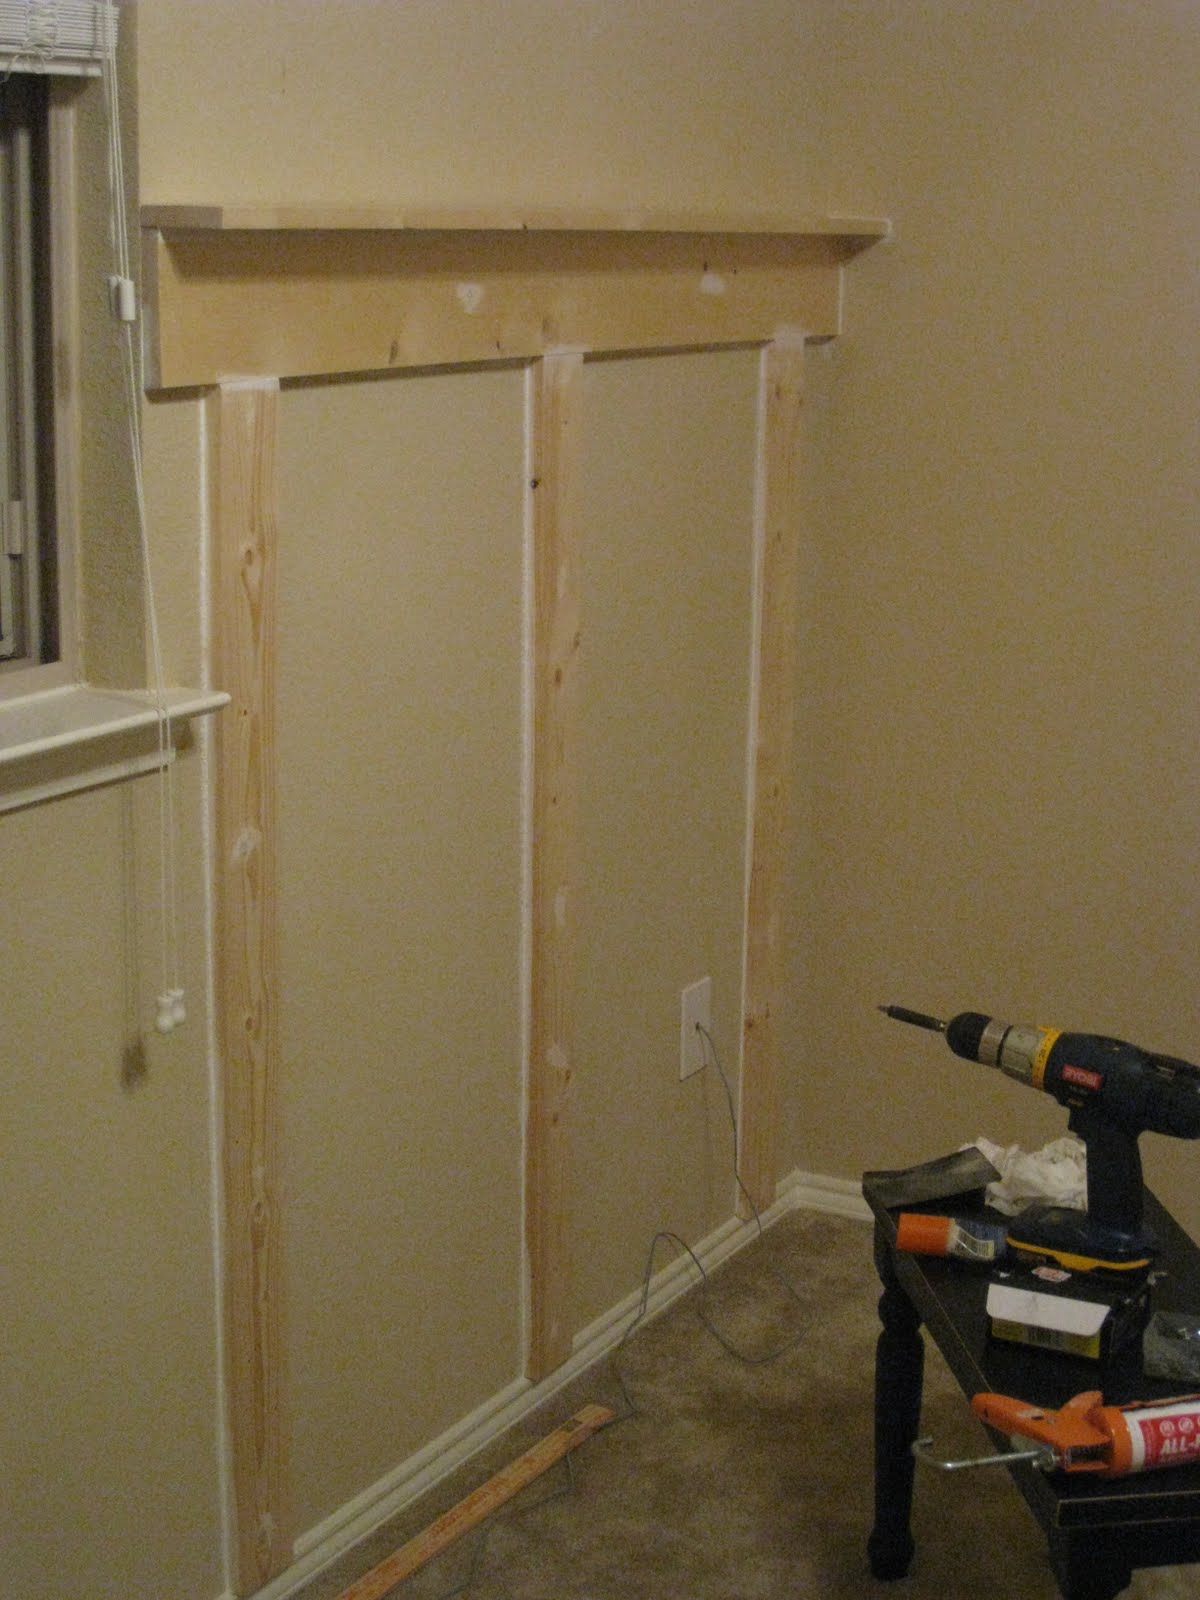
I started by marking off where I wanted the 1×4’s. I chose 20″ apart because I like the look of having them spaced out and it worked well with the window and sockets.
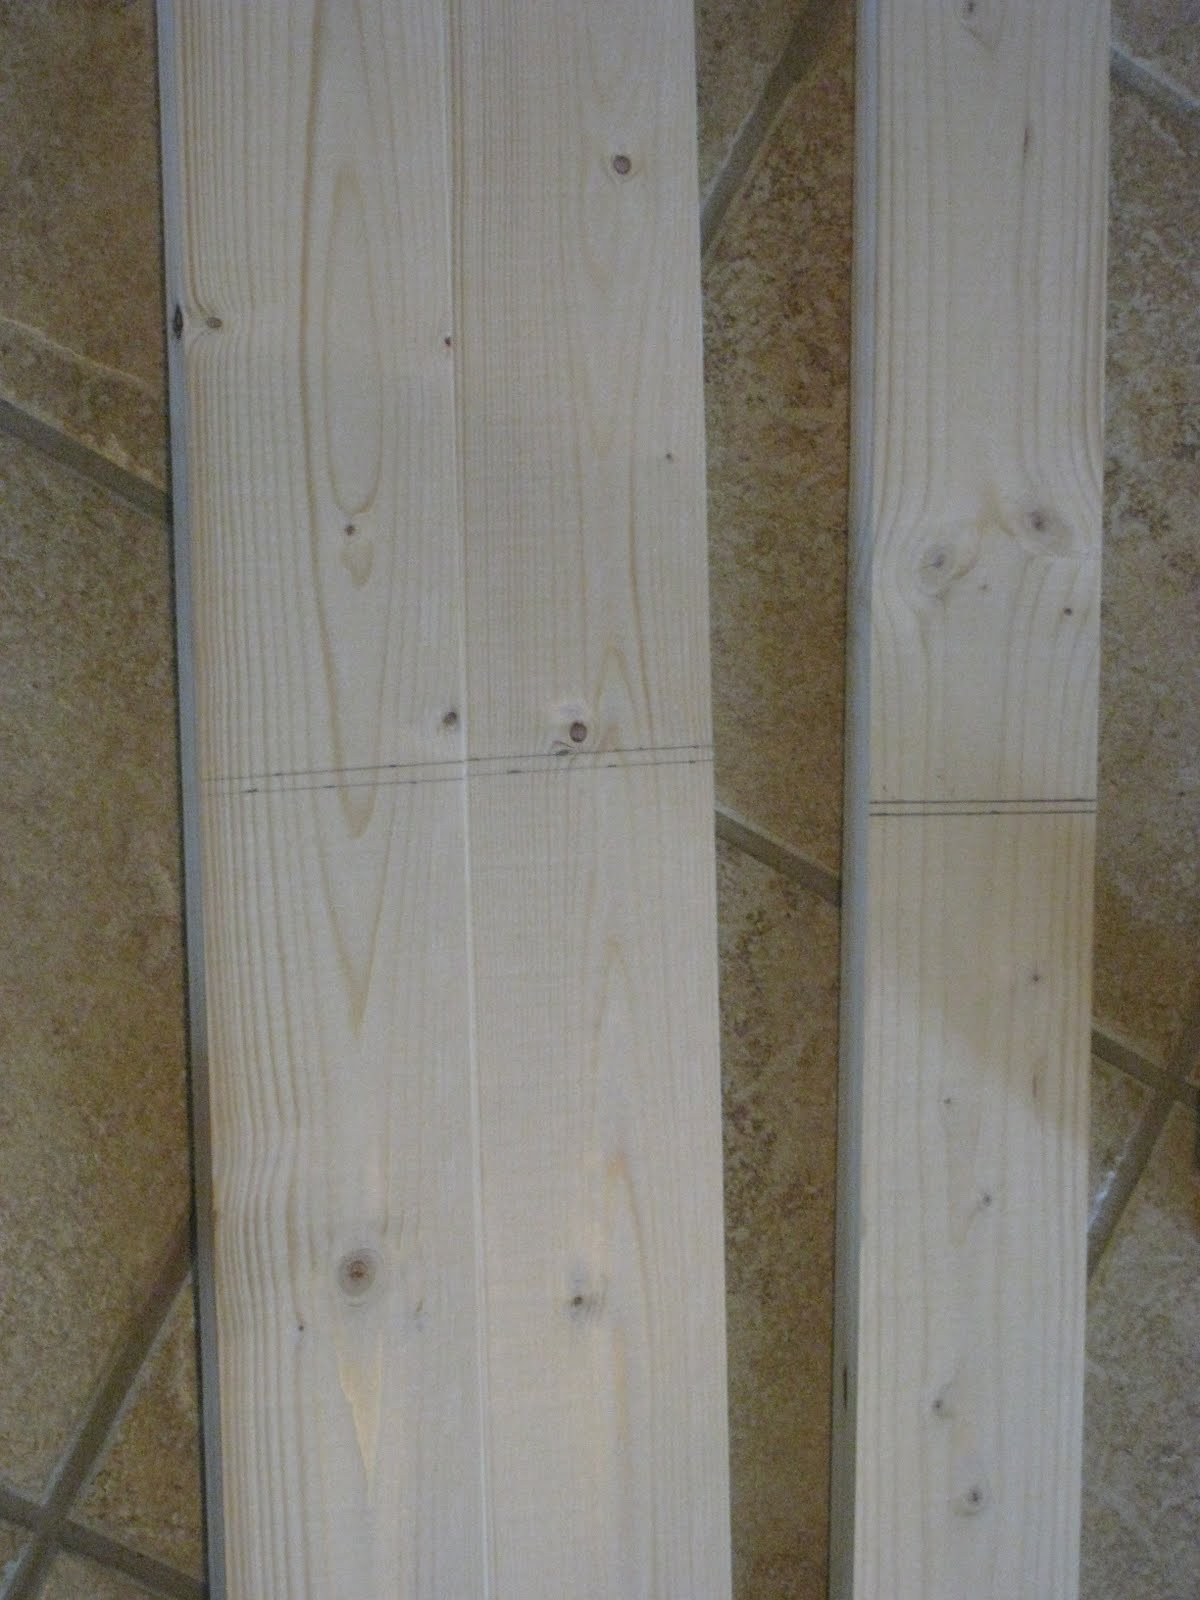
We used a Ryobi Miter to cut the 1×4’s to 4ft. (making the boards under the window shorter). You can use any saw for this because they are straight cuts.
We put a generous line of Liquid Nails on each board and placed them on the wall. Our step dad, Tim a.k.a. Bapa, is a builder and he suggests pulling the board away from the wall and back on for a good set with the Liquid Nails. So, we did:) We followed up with 3 to 4 finishing nails in each board. Looking good!
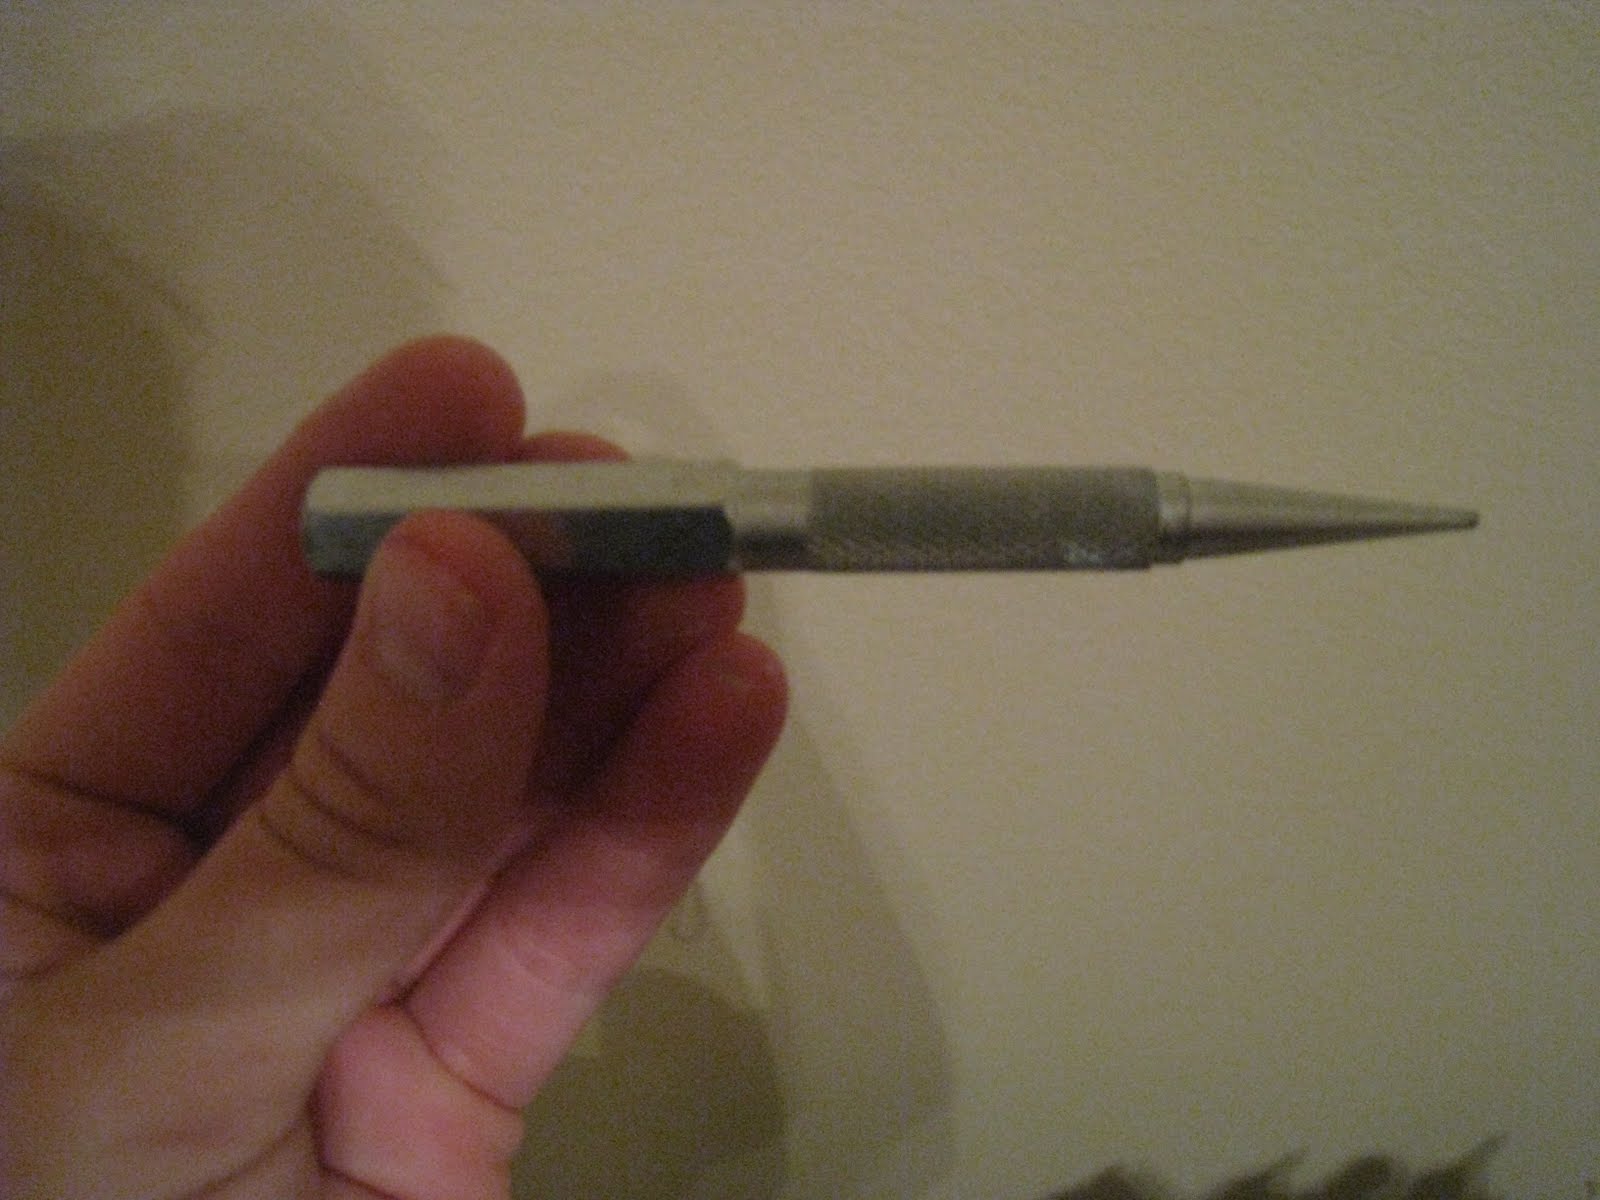
I used this nifty tool to hammer the nails all the way into the wood so you won’t see them. Very easy and you can get 3 for $1.99.
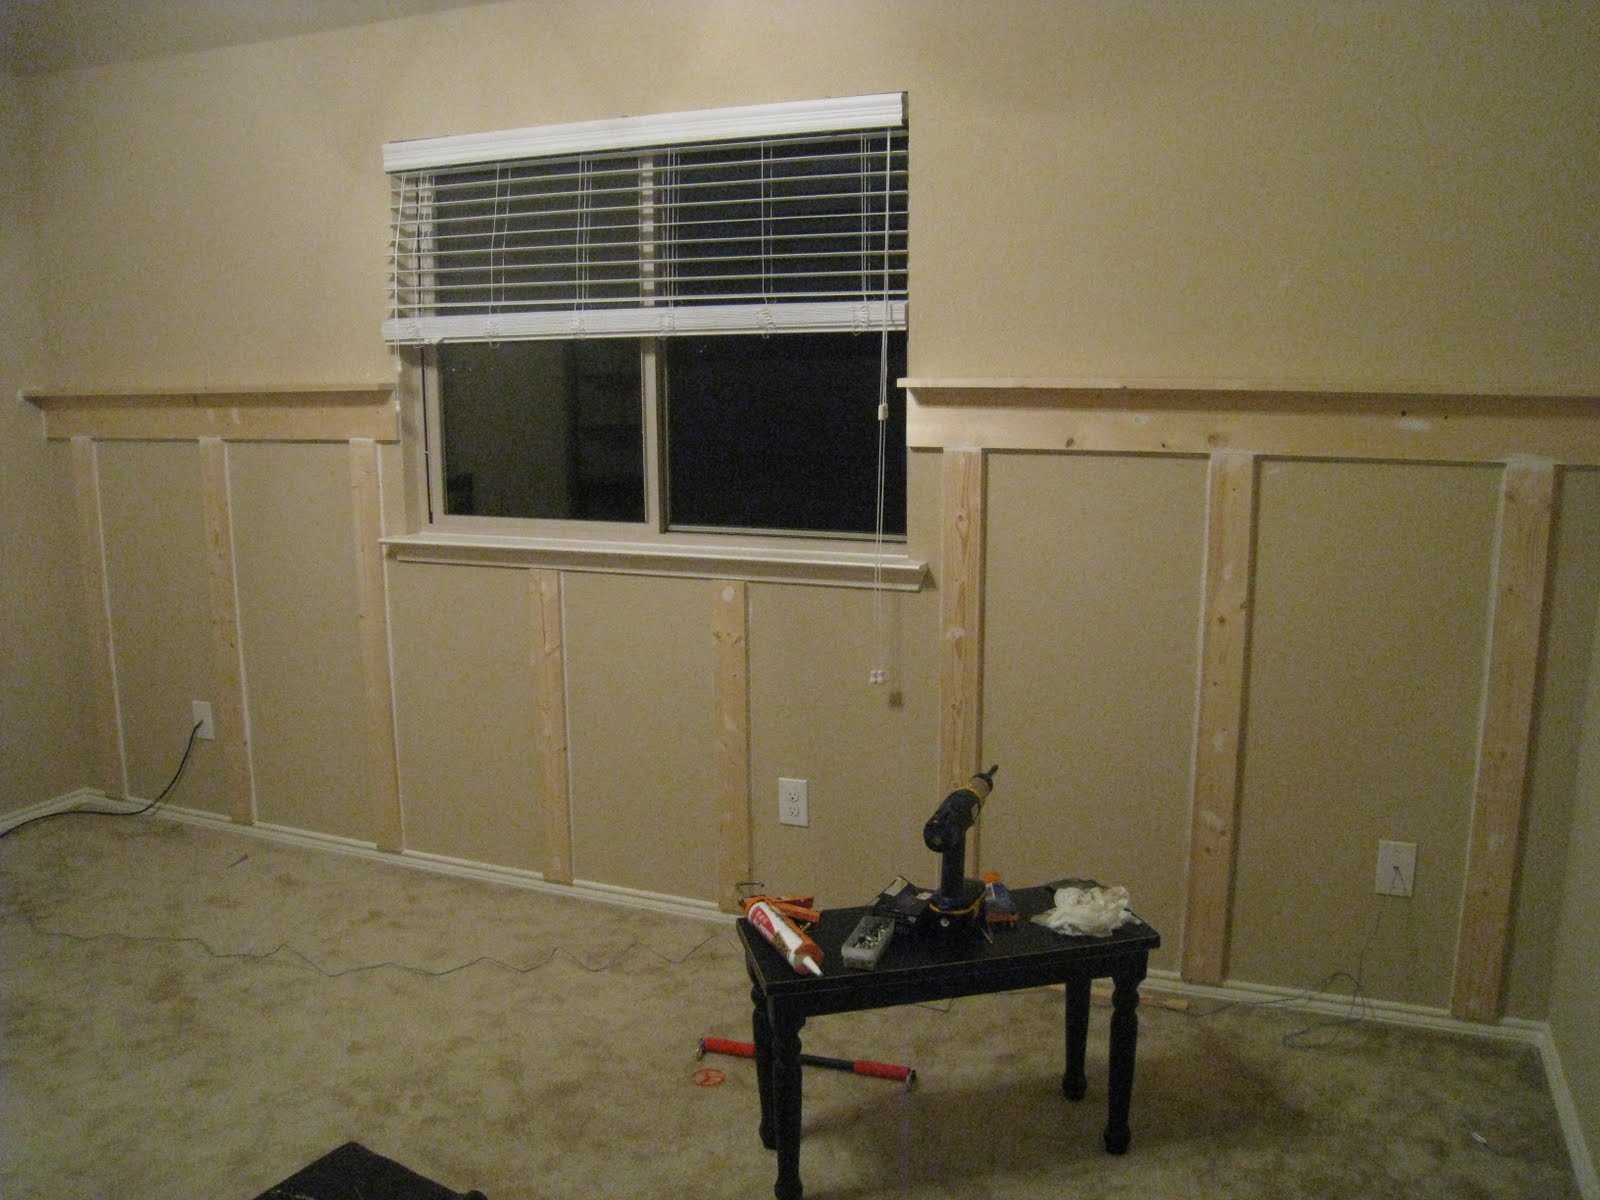
We attached the 1×6’s to the top using the same technique and then turned a 1×4 flat on the top to form a shelf. We made sure to sink wood screws down it through the 1×6 for good support.
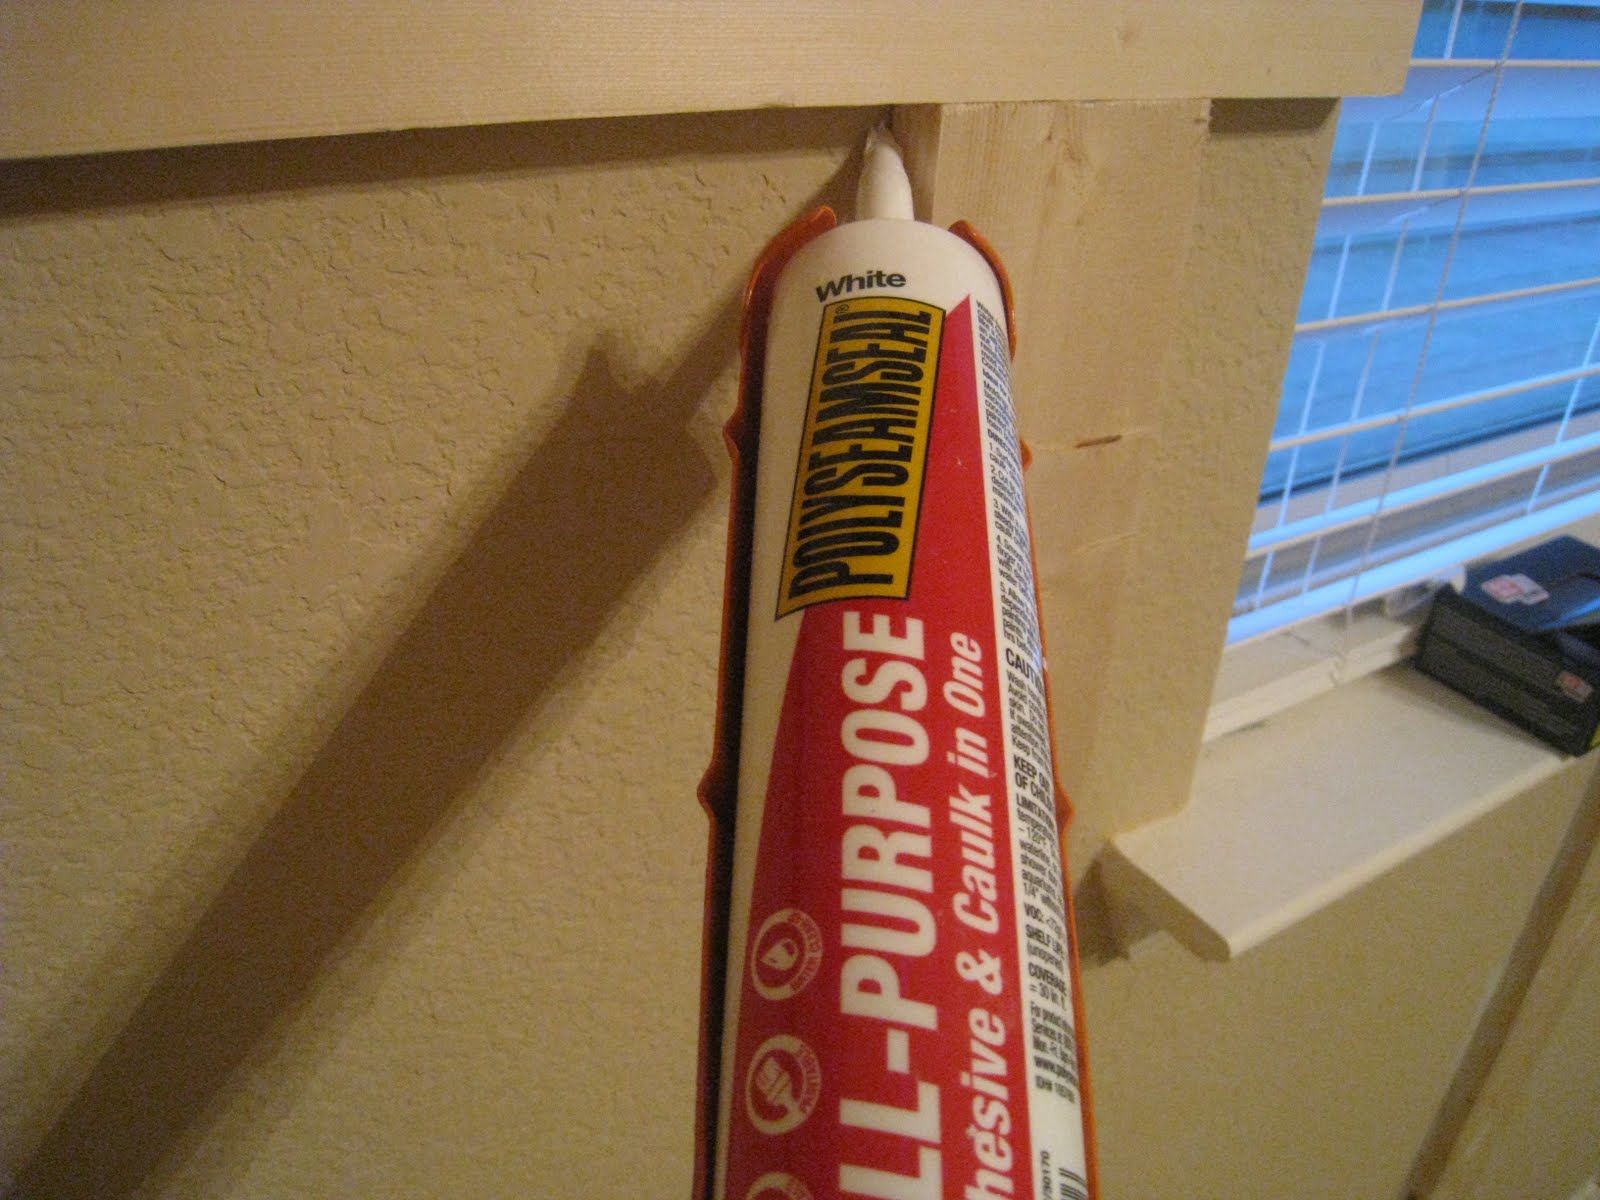
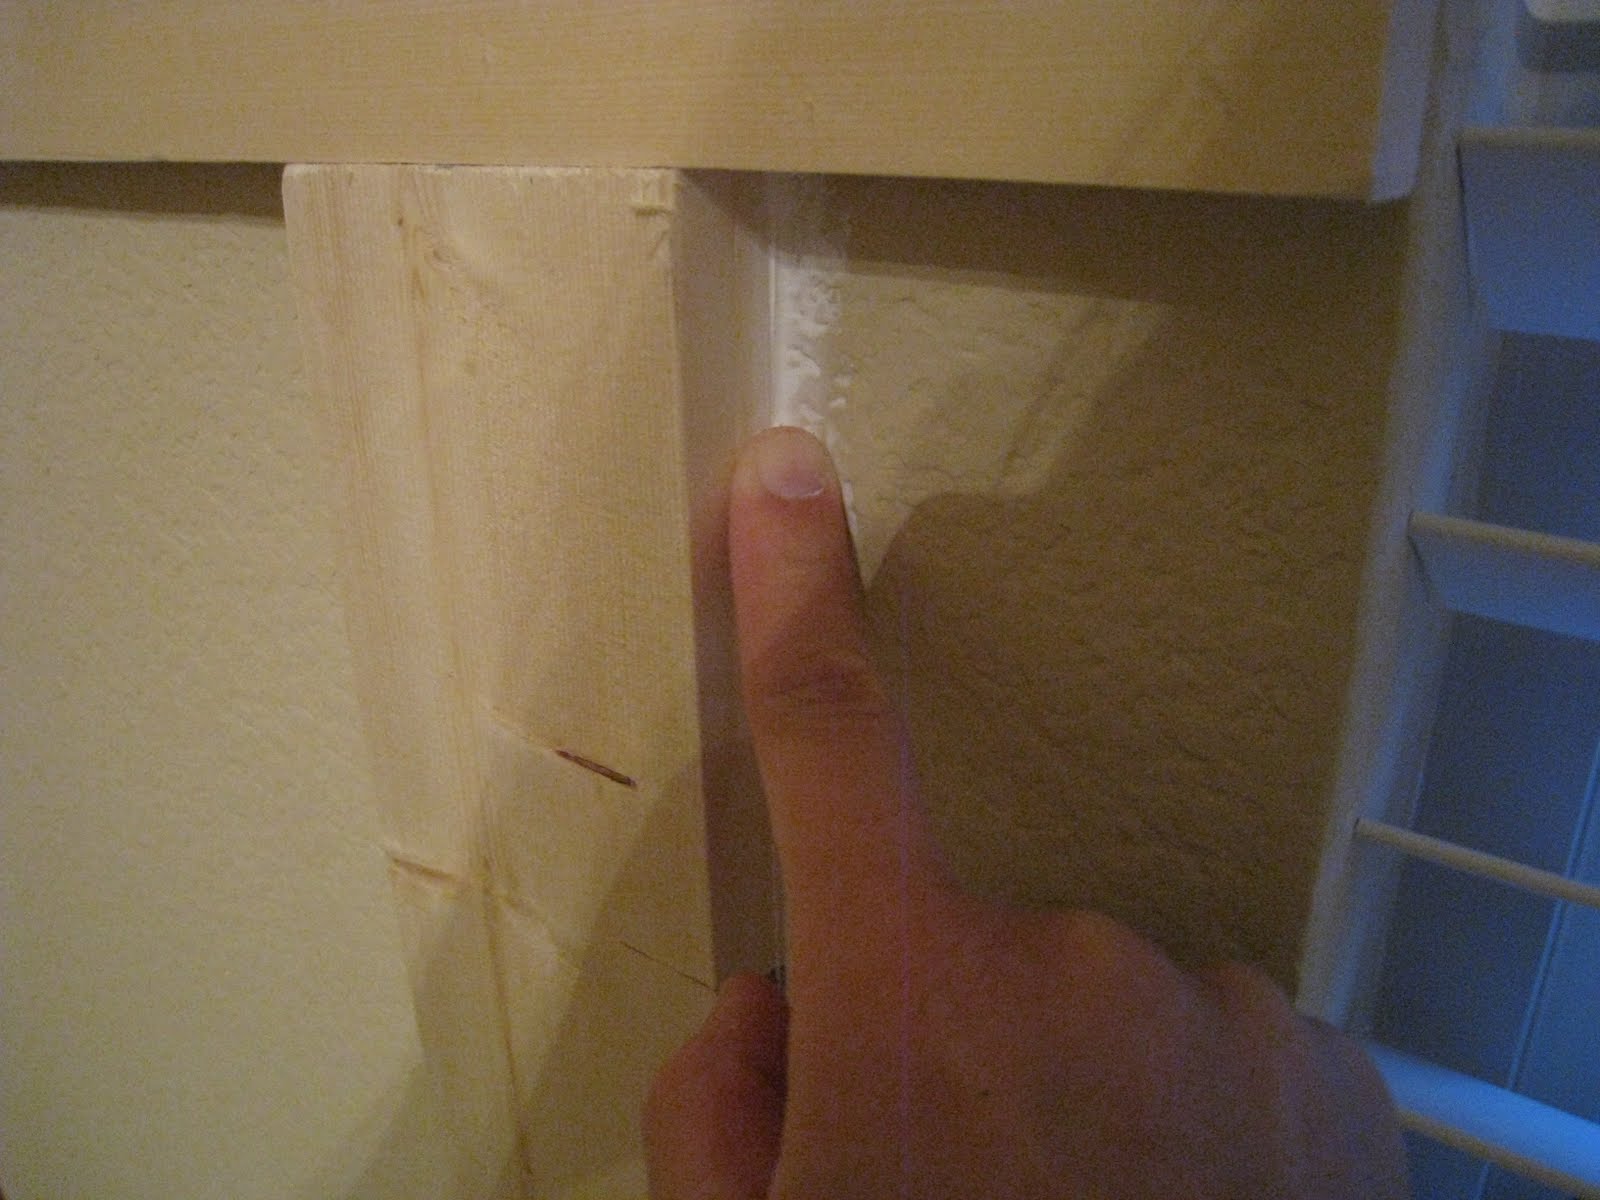
I followed up by caulking EVERY corner, edge and hole left from the finishing nails.

Finally I taped off the walls to prep for the painting! We used a paint roller for the walls and a paint brush for the wood, edges and corners.
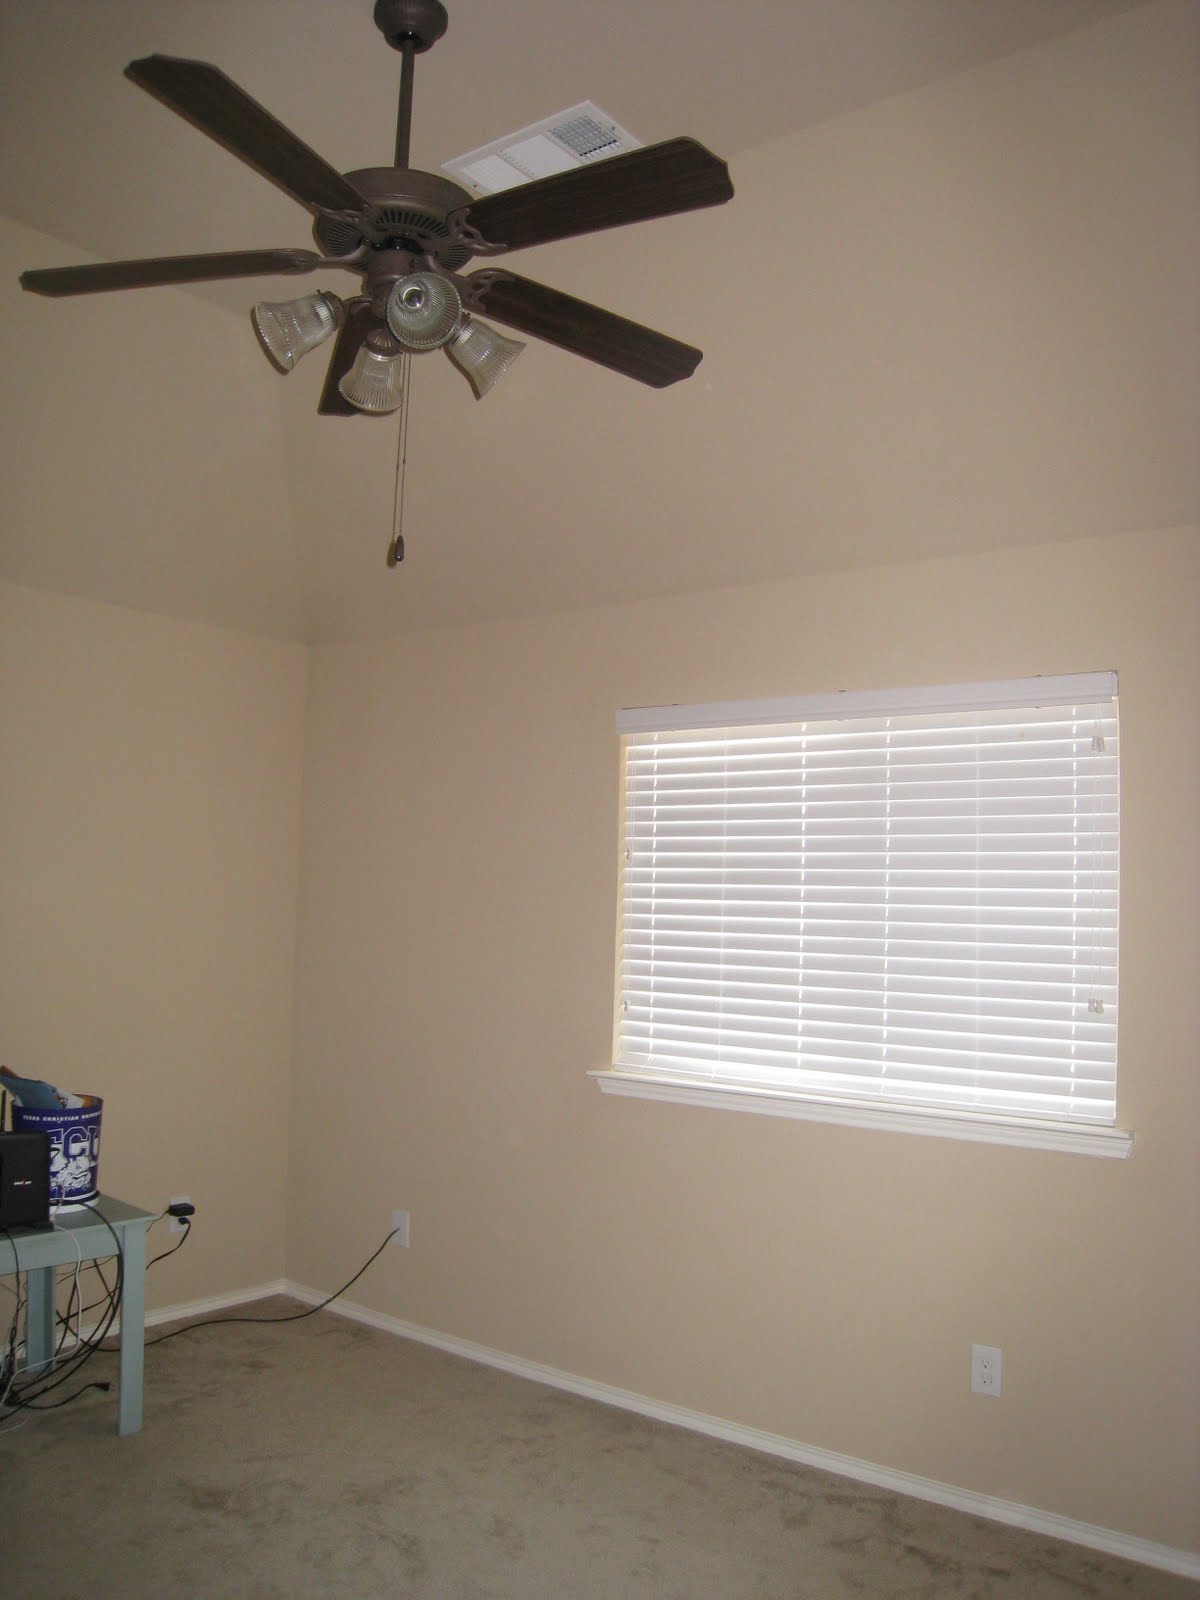
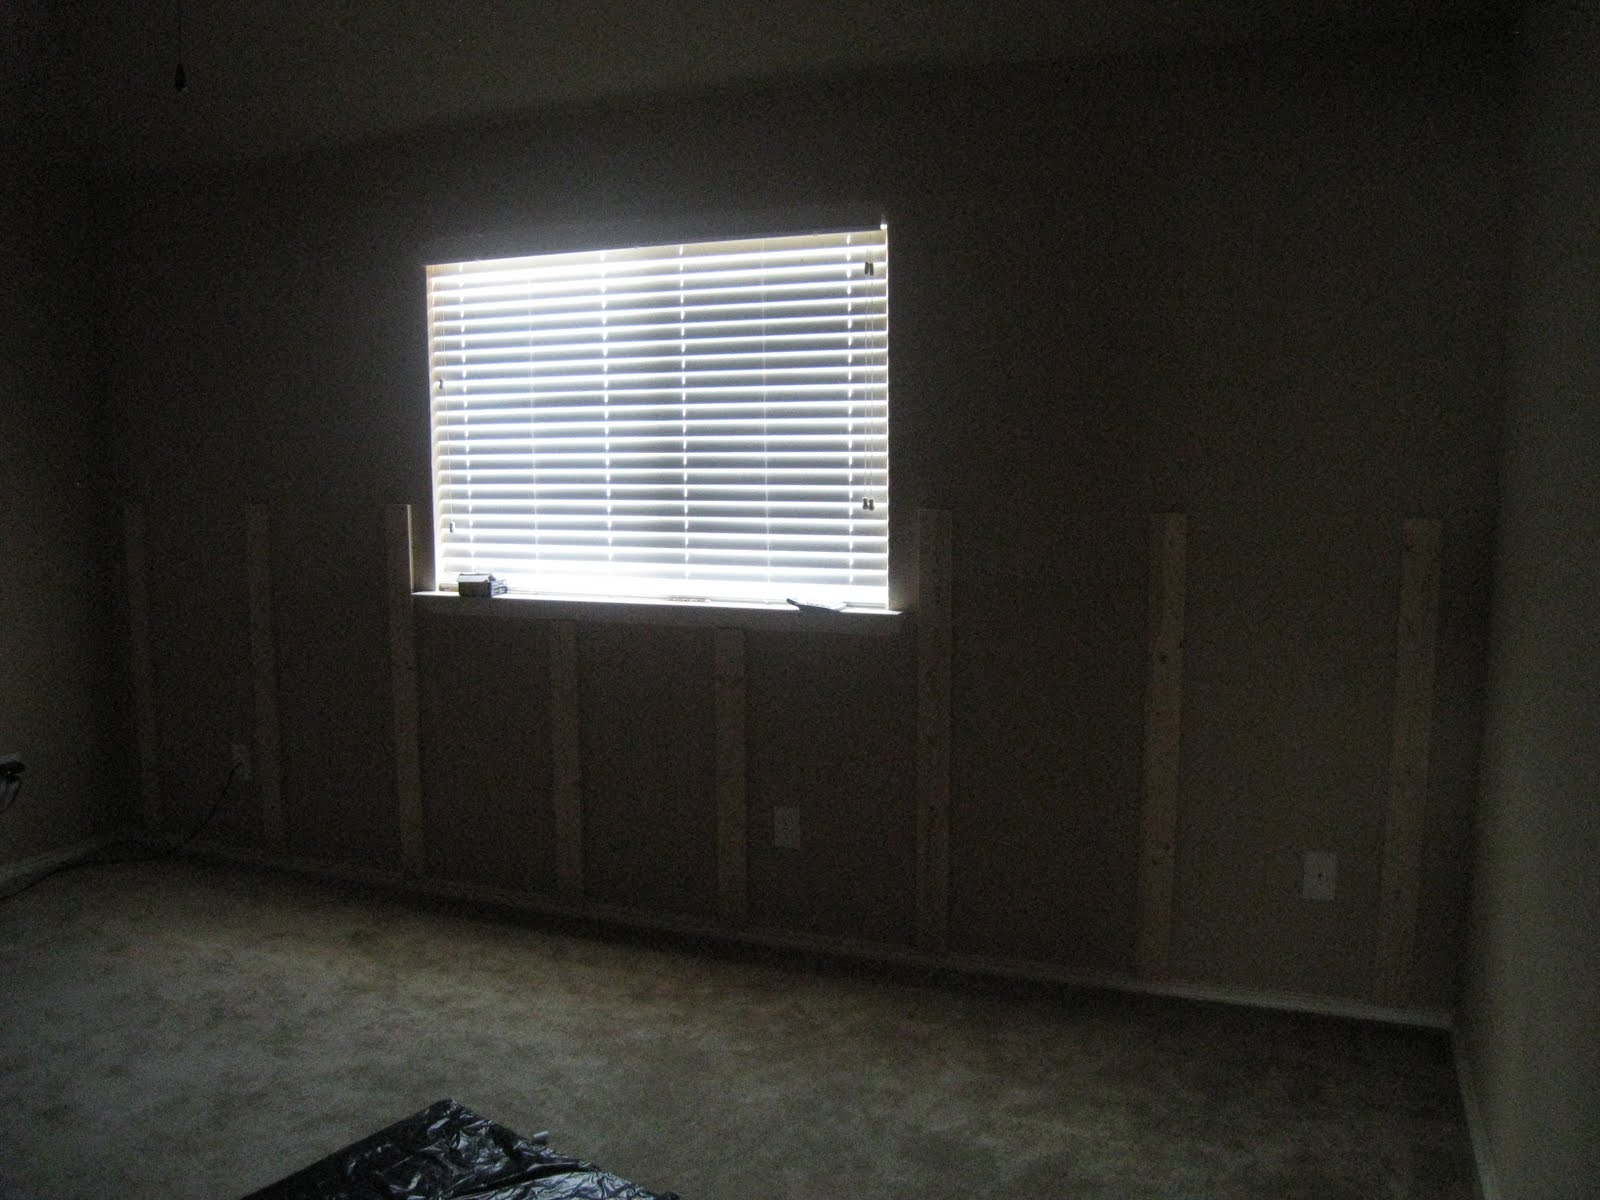
Here’s the before…
and the after!

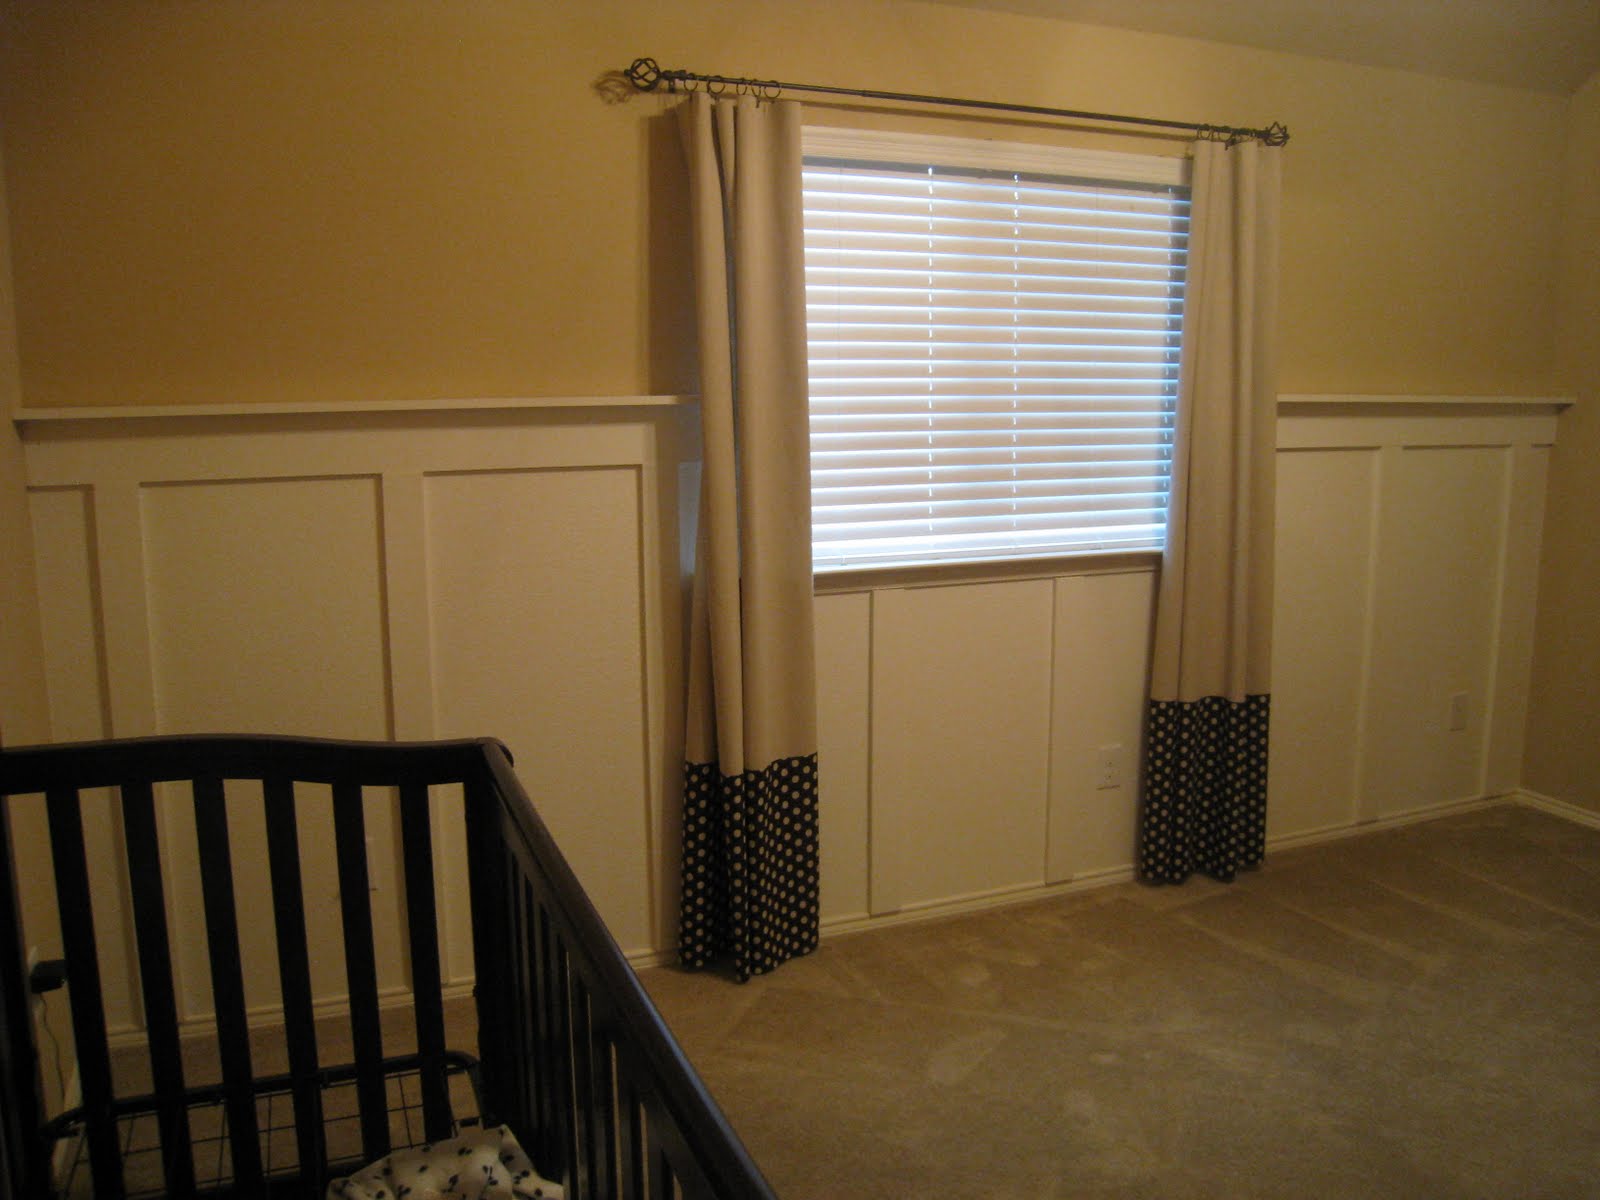
After:)
I am so happy with the way this turned out and with Whitney’s help it only took about 3 -4 hours! I spent about $30 on the wood and about $30 on the paint! Small price for the custom look it gives the room! I still have a ton left to do in the room but this is a huge start!!!
This post brought to you by Garage Sales Tracker!
Stop by to find lists of all the garage sales and consignment stores in your area! Check out their new App for your Iphone too:)
Also: It’s not to late to enter the “I Made it Without my Hubby” party! Scroll down to enter!


Turned out great!
~Makalani
Makaz Home
Wow! It looks great!! I'm wanting to do this in our basement…should be un, fun (it's a big basement!)
Great job!
It looks amazing. Great job! Lisa~
My heart always pitter-patters for board & board. I did our downstairs bath and this week I convinced myself that I want to do our family room too. Great job ladies!
Good pictures, step by step, showing how it is done. Looks so nice.
I love it! I've been looking for something to do in my sons room where he can display his sports trophies. I'm thinking I can make the top piece a little wider and it will work perfectly! Thanks for all your tips. Love your blog!!
Looks great!!! Thanks for the tutorial…it looks pretty easy 🙂
Awesome as always! The two of you always inspire me!
I love the board and batten look. It's beautiful, and I love that you did choose the window wall for an accent wall. It looks wonderful!
🙂 Laura
As always, I am amazed by what you two can do with some wood and a few hours! Loving it!
Oh, my goodness, that's beautiful! Thank you for the inspiration. I can't wait to get into a home of our own… and I'm filing this away for then. 🙂
Oh I love the wall. It looks absolutely fabulous. You did a great job. Hugs, Marty
What a great accent wall!! It seems overwhelming to think about, but the way you described each step makes me think I could try it…maybe someday…thanks for sharing!
perfect!! thanks so much, i am planning this for our dining room and didn't even think of liquid nails! great job! -denise
I love it and have been wanting to do it myself. Great start a lot of bang for your buck.