Hey friends!!
I used yesterday’s disgusting temperatures as an excuse to stay inside and get an indoor project done. I recently made the cubby systems for the baby’s room and for the playroom. I bookmarked a fab idea I saw on another blog a while back and have been waiting to copy since. I got the playroom finished and here is how they turned out…
I’ve got to give a BIG shout out to Amy from Positively Splendid for this very splendid idea!
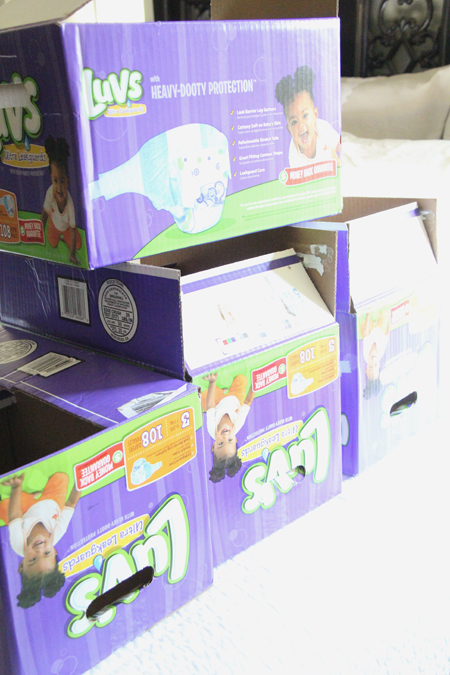
She posted hers a while back and I have been stashing diaper boxes since! Yep… Diaper boxes!
I used Amy’s directions almost to a T. I only changed a few things so I wouldn’t have to sew.
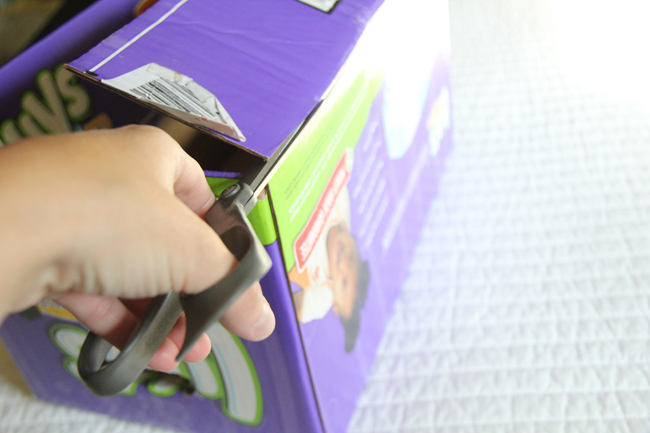
I cut my box flaps off.
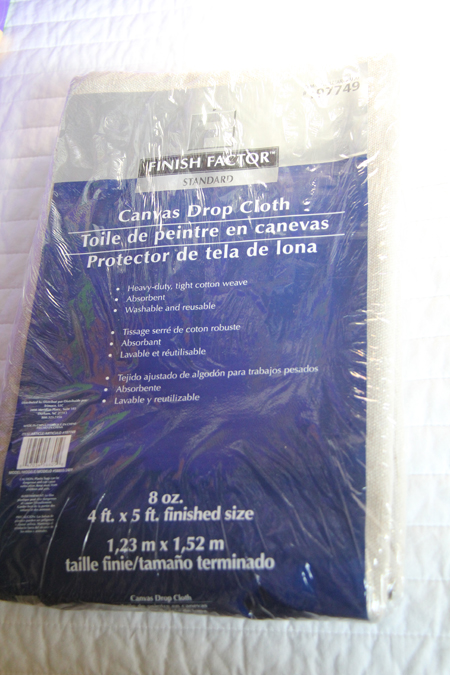
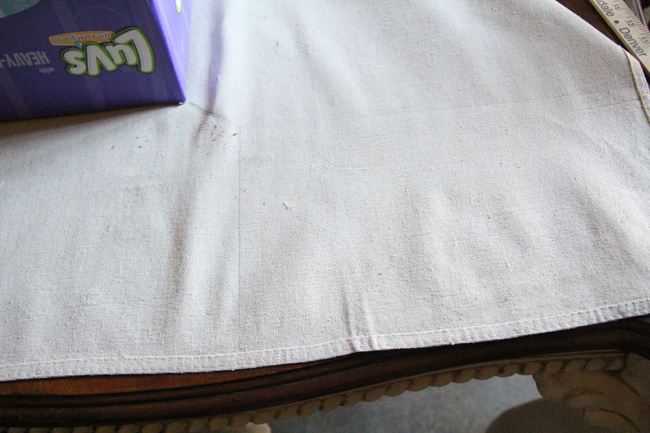
I decided I would cover my boxes with drop cloth because I happened to have one handy. Mine was the smallest one that Lowe’s sells. It is 4×5 and it is $5. I cut the 5′ side in half and each piece covered one box. I used 2 drop cloths for the 4 boxes.
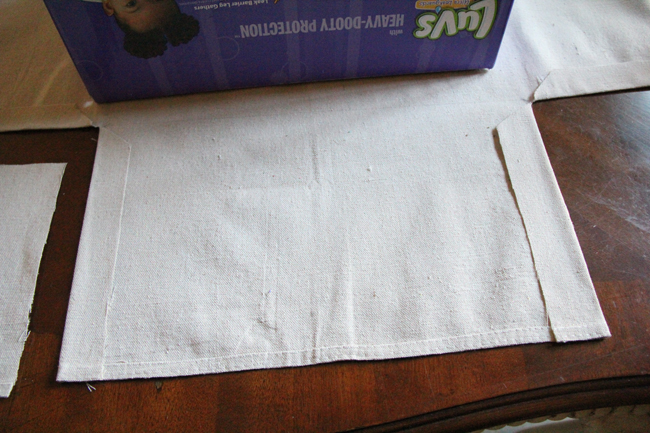
I put my box on the canvas and copied Amy’s directions. I used “old trusty” (my hot glue gun) to do all the work. Just pencil a line at about 45 degrees and make 2 straight lines from there. I eyeballed the whole thing.
Once you cut both long sides, just fold over and use hot glue to hold the fold.
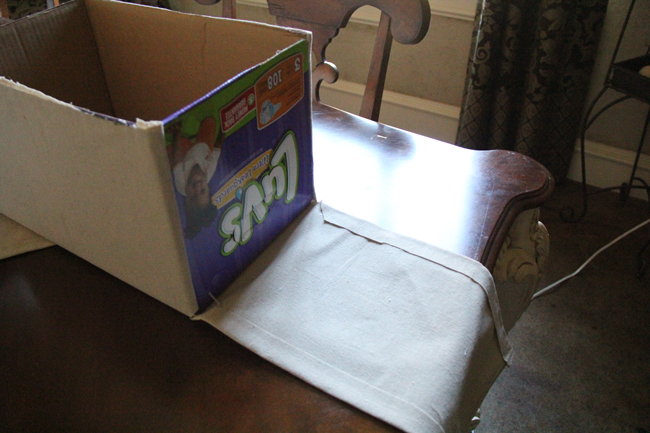
Then hot glue it to the side of the box…
Once I did both long sidesI attached the smaller sides the same way.
Here is the top edge… Shanty I know but it will be covered and nobody has to know 😉
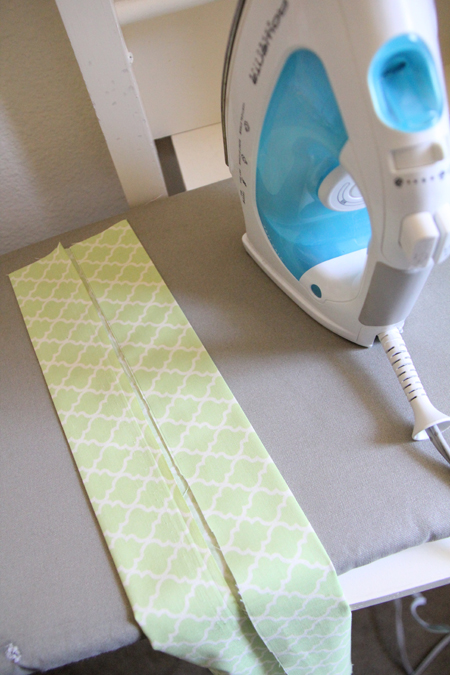
Next, I worked on my top band of fabric. Amy made super cute liners but I had no desire to whip out the sewing machine. I improvised and just did a fabric band at the top. I cut my fabric in 8″ thick strips. I made sure they were long enough to fit around the whole box.
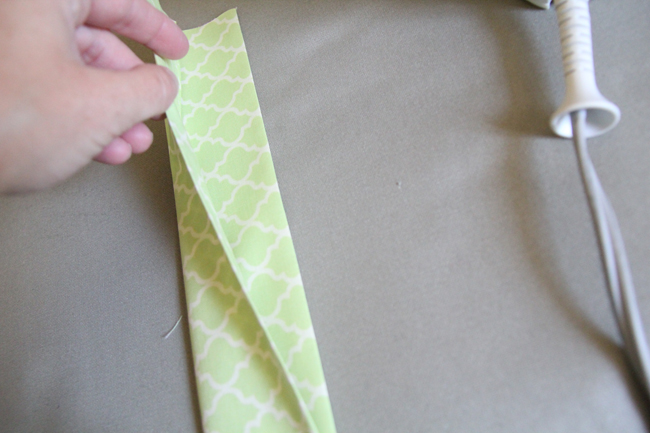
I folded both ends of my fabric to center. Then, I pressed it together to make a binding like this.
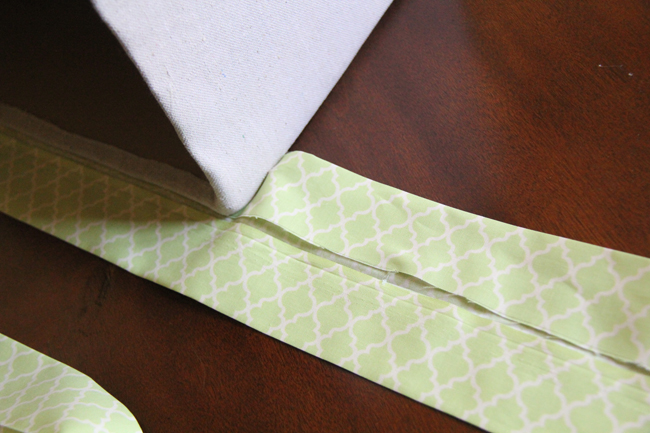
Now let your hot glue gun do the rest! I just used mind to attach it to my top. I glued the outside first.
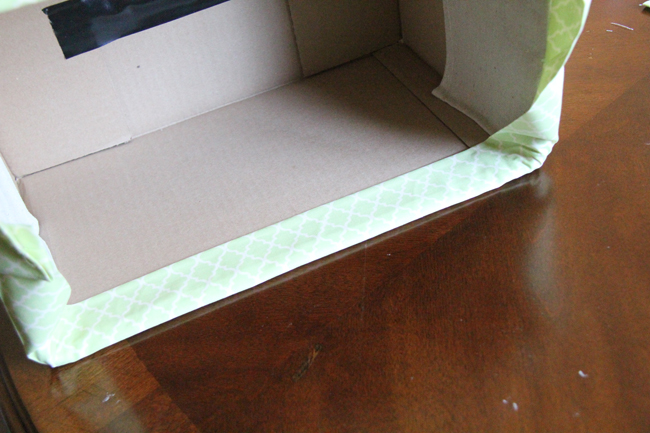
Once I had the outside attached, I glued the inside.
And that’s it… Almost.
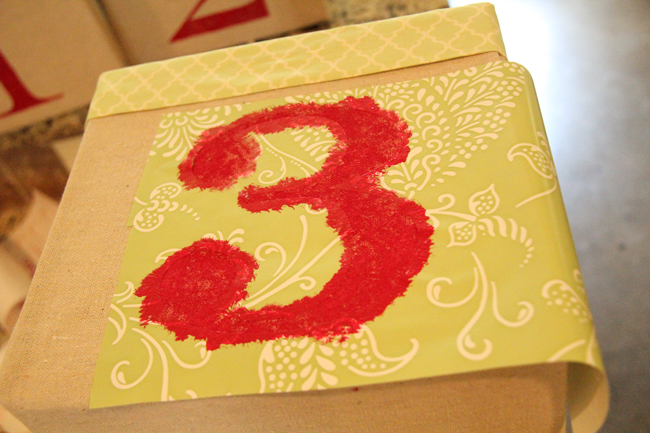
I wanted to number them, so I made #’s 1-4 with my Silhouette on contact paper. Then, I just attached the stencils to the box.
I used a little red acrylic paint on a stencil brush to fill it in.
And I was done! So easy. Now… I do realize that the inside looks a bit like a diaper box. For these boxes that will go in the playroom I am totally fine with that. The legos going inside of it don’t mind. For the baby’s room I will probably make some liners. Here they are in their new place.
What do you think?? Thanks again Miss Amy for the splendid idea! I was so glad to finally have enough boxes stashed up to finish this set. I am currently collecting for the baby’s room… Shouldn’t take long ;-)!
Hope you like them! My total investment….
Diaper boxes – Free
Drop Cloths – $10
Fabric – $4 at Hobby Lobby
Yep… That’s $14 for 4 boxes. Now that’s my kind of shanty! Thanks so much for stopping by! We are excited about a few things we have coming up this weekend and we will be back later this weekend to share! Take care and thanks again!
Don’t forget to get your own FREE sticker nail polish set!
~Whitney








Thanks so much for the idea and tutorial. Yours are so cute with the red in the room. I linked mine up to except I used wood for my boxes instead so it’s a little different. Just wanted to let you know how much I love you DIY projects!
Absolutely fantastic !! Just fell in love with these excellent and creative boxes. Your one veeeery creative gal !!
Love
Naush
Hi Whitney!
Great job and pics! Looks super–hard to believe the boxes you started with ..perfect for Met Monday!
Whitney, would you please consider being apart of Miracle Makeover Week for kids with cancer… Met Monday will feature next week… we so appreciate your creative efforts! For more on how to create a post for it go to:
www.designgivesback.com
love, kelee
My brother-in-law sent this link my way and I completed my own project just yesterday! Instead of cutting off the box sides, however, I folded them inside the box and taped them down. The double-layer of cardboard made them that much sturdier. I just finished two and I have another one in the works! Thanks SO much for sharing!
Such a great upcycle! I love the simplicity, the cheapness, and the amazing outcome!
Kristen
www.decoratingdiy.blogspot.com
these are great! awesome idea…
I made something similar awhile back too! Fun to see a new method! http://bellesbazaar-heather.blogspot.com/2011/01/diaper-boxes-turned-storage-boxes.html
so cute! I love that fabric you used, do you know the name of it?
So cute! I’d love to know about how you used the Silhouette to cut the contact paper. What carrier sheet and settings did you use? Everything I have found to do that says it rips…really, I’d LOVE the tutorial, or even an email with some of the details. THank you!
I love this idea, since I’m way too cheap to buy cute storage boxes. (unless I find them on clearance somewhere) But I wonder how they would hold up to my kids? They are brutal on everything! Yours turned out great! Nicole @ www.thebakingmom.blogspot.com
VERY nice … and to me it doesn’t matter about the insides. This is a fabulous idea – thanks for sharing. 🙂
I’m sitting here wondering why I haven’t been saving diaper boxes… Those look great! Way to organize on the cheap.
such a great idea! so happy I’ll have a reason to put the many diaper boxes we will have to use (baby #3 coming soon!) Thanks for sharing….and I adore you for the no-sew tutorial 🙂
Drop cloths are a GREAT idea!!! I have collected real coffee sacks from my locally-owned coffeeshop, which they give away free when you ask for them. I also have had Amy’s idea bookmarked (and now “pinned”) for awhile….going to cover mine with the coffee sacks! 🙂
I just got the Silhouette and am still trying to figure out how to use it, but this is a FAB idea! Love it!!