Hey guys!
I hope you all had a great weekend! I spent mine getting ready for the kids’ first day of school, and finishing up some things in my bedroom.
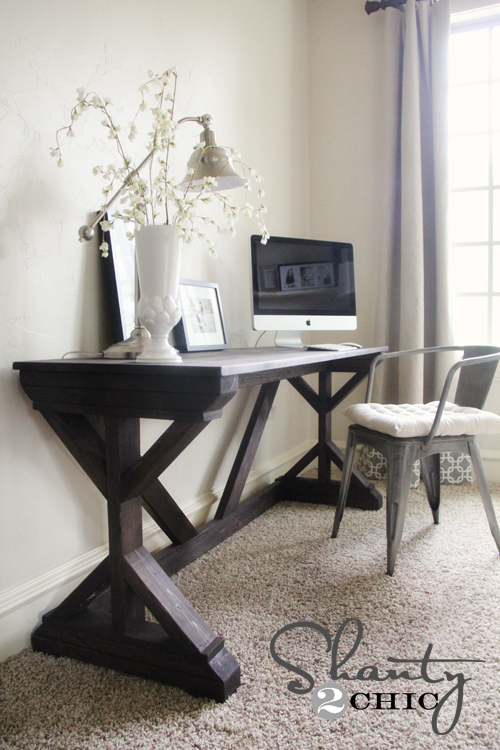
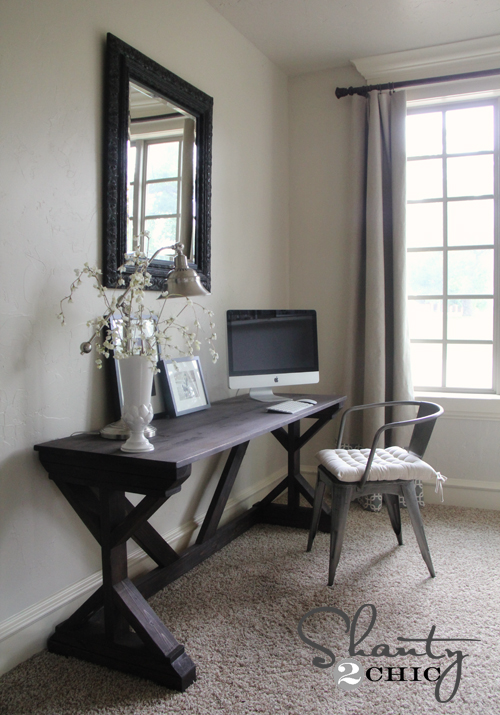
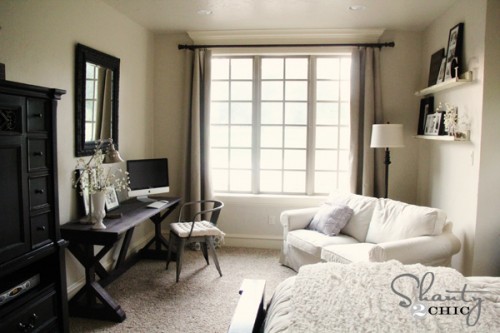
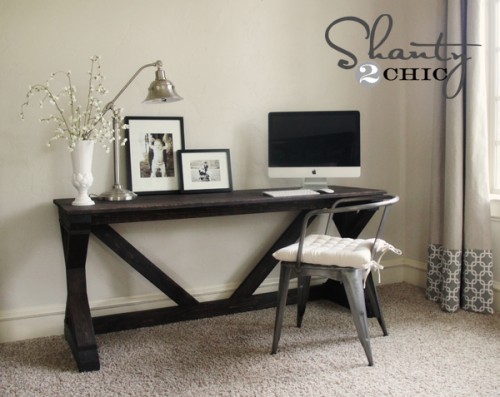
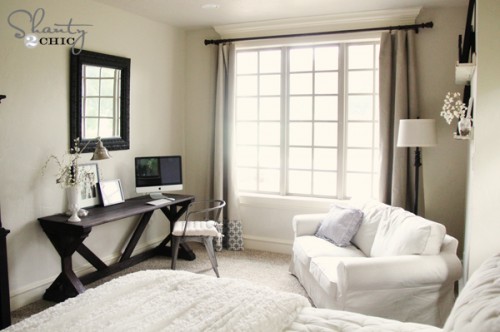
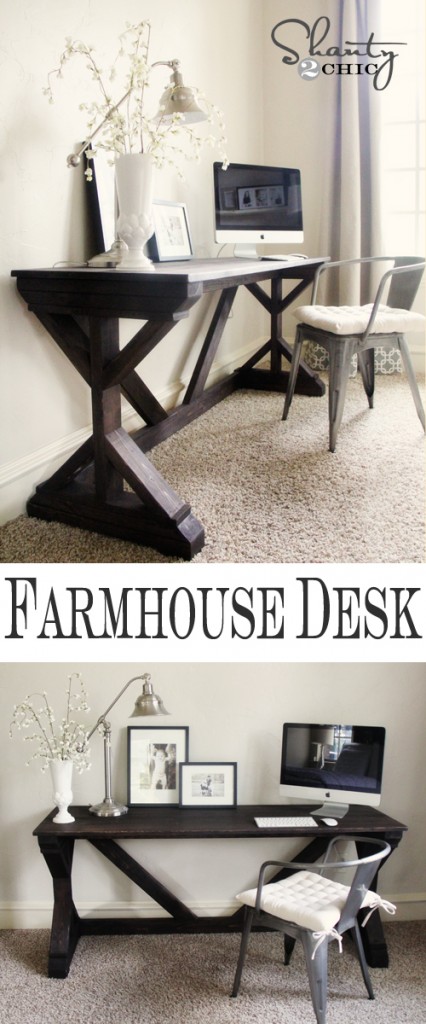
One thing I have been in need of is a new desk. I lost my old work space with the addition of a 5th baby last year, so I now use the sitting area in my bedroom as my office. I was wanting a desk that was functional, but also pretty. I love the look of my fancy farmhouse table I did with Ana White, so I asked her to help me draw up plans for a desk inspired by that style.
Want to see it? I am in LOVE.
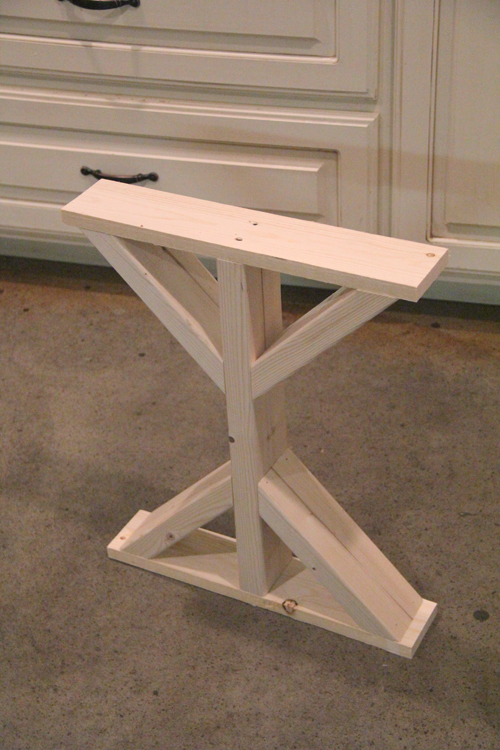
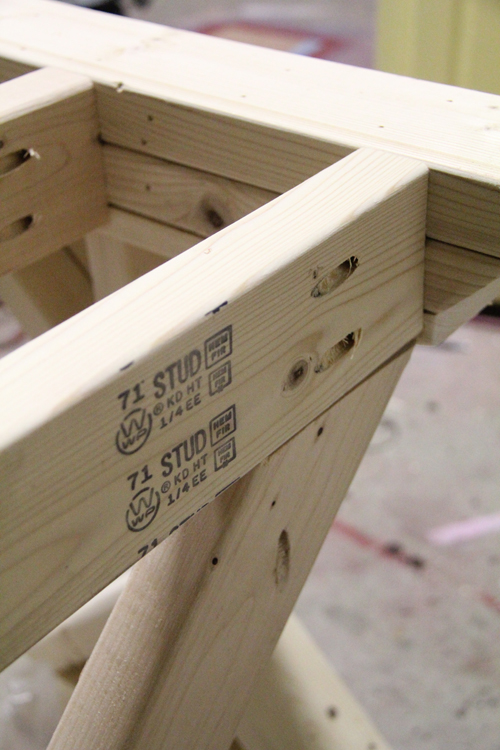
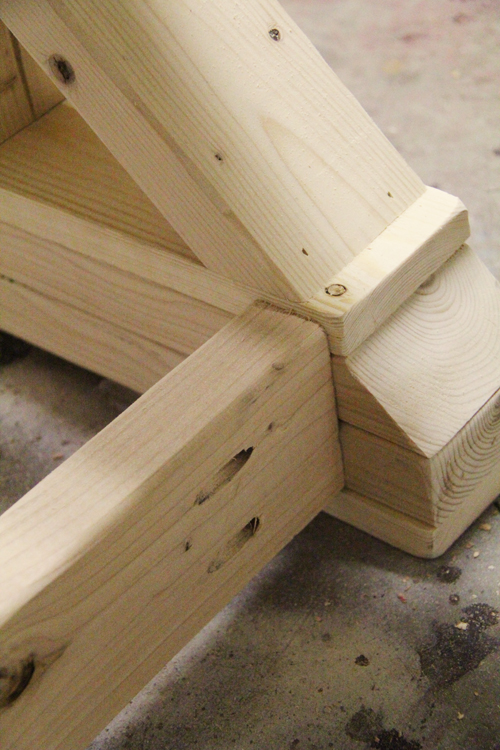
This was really so easy to build! The base is made up of a few 2×4’s and all the angles are 45 degrees which really made it fast.
I will share a few pics and tips, and you can find the full set of plans over on Ana White’s site.
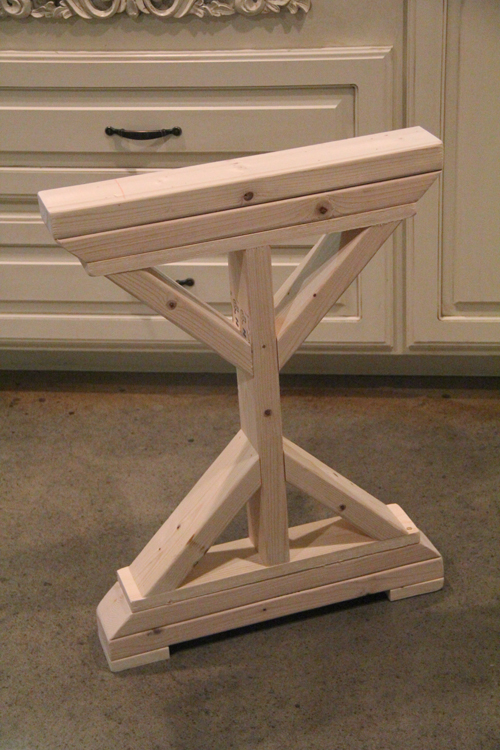
I started by making my bases…
For all of the steps above, I used finish nails and Gorilla Wood Glue. The legs were super sturdy.
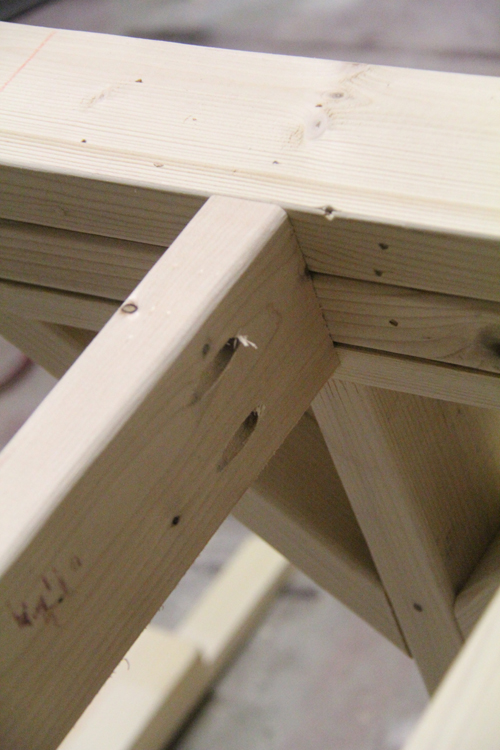
I did choose to use my Kreg Jig to make the runners for under the table top. I knew I wanted that part extra strong, and the Kreg Jig also makes it so much easier. Plus, I was able to hide all of my pocket holes in the back.
Here is where I put my pocket holes on mine…
This is my board in the middle at the top of the desk.
And here is the back board on the top of the desk…
My bottom piece of wood…
For the table top I chose to use a 24×72″ pine project panel rather than planking with 2x’s. I wanted a flat writing surface, and knew this would work great. I just used finish nails from the top, and filled them with stainable wood putty before I stained it.
I used Rust-Oleum Ultimate Wood Stain in Kona. The finish matches perfect with the other pieces in my bedroom.
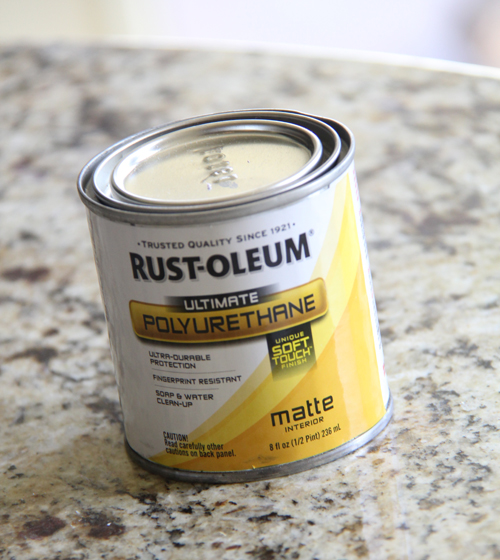
I also finished the table top with Rust-Oleum Polyurethane. This stuff is great! You can’t even see where you have applied it, and it protects the wood from water and kids 😉 !
I added a few accessories and I was done! What do you think??
I have done LOTS of new projects in my bedroom! I will be sharing more of them over the next couple of weeks! Thank you so much for stopping by!
Make sure to check out the full plans for this amazing desk over at Ana-White.com. Thanks so much for working with me on this one Ana! I love it!!
~Whitney





Truly amazing! Where did you find that chair?
Actually I did have one question, what would be the best way to attach the top? I have a pocket hole kit – I would obviously use that to attach the table top pieces together, so would I add pocket holes to the inside of the top piece attached in step 4?
You can! I knew I would be fine just doing finish nails and glue. It saves time and worked just as good. If you don’t want to cover nail holes I would do pocket holes from the bottom support boards. Hope this helps!
Did you take wood-working in school or learn from your Dad? You make things look so easy! How did you get started? Are there any websites you recommend that take you step by step because I’ve always assumed that only guys know how to use tools and build stuff but you really inspire me and I want to start learning but I’m sure there’s a lot I need to know before I can just go out and build something.
Hi Hope! No lessons here… Just trial and error after learning very basic steps. We have been taping a series of videos with tips on getting started. They should be on our site soon!
It’s gorgeous! Approximately, how much did the entire project cost?
$55 or the wood 🙂
Sent from my iPad
Thank you! 🙂
Oh my God, you never cease to amaze me! I hope to be able to do 1/10 of what you do one day. 😛
Hahaha! You are sweet! Thank you! 😉
Yet another lovely piece to be pinned!!! Ok, how about those curtains…. Are they coming in a post or did I miss them? I remember the yellow painted ones on the bottom, not those hot ones!
You must have missed them, but here they are! Thanks for your sweet comment! https://www.shanty-2-chic.com/2011/09/how-to-make-window-panel.html
This is exactly what I’ve been trying to come up with for our office/music room. I just need to modify it somehow to support a sliding keyboard underneath…like the musical kind! Thank you ~ it’s beautiful!
That’s great Anneke! Good luck with yours!! 😉
Sent from my iPad
That’s amazing!
Thank you Jody!!
Sent from my iPad
Gorgeous!!
Thank you so much Korrie!
Sent from my iPad
It’s beautiful!! I was just thinking to myself… Hmm, wonder what color of stain she used, because it’s exactly what I’m looking for… I was so relieve to read it was Kona, because I just bought that one! lol… Great job, gf!!
Thanks so much! I love this color… It’s rich and doesn’t look purple or black at all! 🙂
Gah… Whitney!!! Another gorgeous piece! Amazing job!
Thank you Jen!! 😉
I can imagine that you are absolutely thrilled to death with that desk. It is really beautiful, goes *perfectly* with your room and looks totally designer chic. Fabulous!!! Makes me want one too… and a Kreg Jig too, gosh those things are handy!!!
Thank you so much Jeanne! You totally should… Best investment ever! I am thrilled with it and I appreciate your sweet comment!
I LOVE it! Perfect for my homeschool 🙂
Good thinking Courtney!! Thank you!
Your farmhouse style desk looks great!
A big hug from Germany,
Sonja
Thank you Sonja! Great to have you here!
Okay, I love all these building projects! I do have a question though, do I have to use a Kreg Jig to build this desk? I don’t have one or anything like it and I don’t have the money to buy one right now. I do have money to spring on a few more pieces of wood to build this desk however. Is the Kreg mainly for asthetics or for a sound structure? Is there a way around it?
Rochelle, I’m not Whitney, but I thought I’d respond…. Using the Kreg Jig creates a pocket hole type of joint to attach two pieces of wood. It’s definitely not mandatory when building, but does, like you said, create a stronger joint to make the piece sturdier. You could always use a nail gun or screws in place of pocket holes. HTH! =)
Thanks!
She answered it perfectly! 😉
Thank you Bridgette! You said it perfectly 😉