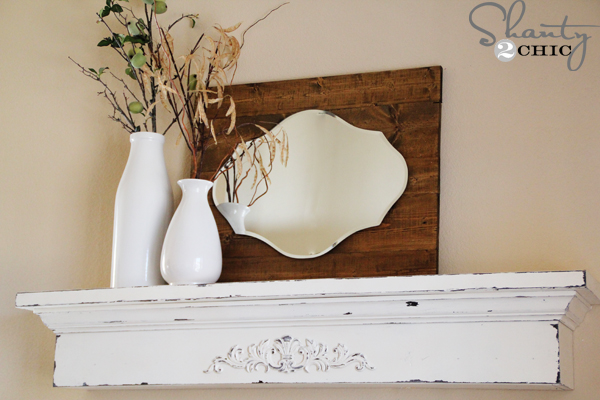
Happy Monday! I’m so excited to share my new Floating Ledge today! It is a project that I have been wanting to tackle for some time but I wasn’t exactly sure how I would go about it! I’m happy to say that it was SOOOO easy, and it only cost me $40!!!
I built mine for my dining/entry and 53.5″ was the perfect length for my space. It would also be perfect for someone wanting to revamp an existing mantel! Anyone can build this baby! It really is so easy and it is a perfect project for beginners!
Supply List:
1-2×10@8ft.
1-1×8@6ft.
1-1×6@6ft.
1-2×4@8ft.
1- Wooden Scroll from Lowe’s
1- 8ft. 2.5″ Crown Molding
Gorilla Glue Wood Glue
Rust-Oleum Spray Paint in Espresso
Rust-Oleum Spray Paint in Heirloom White
Vaseline
120-grit sand paper
wood filler
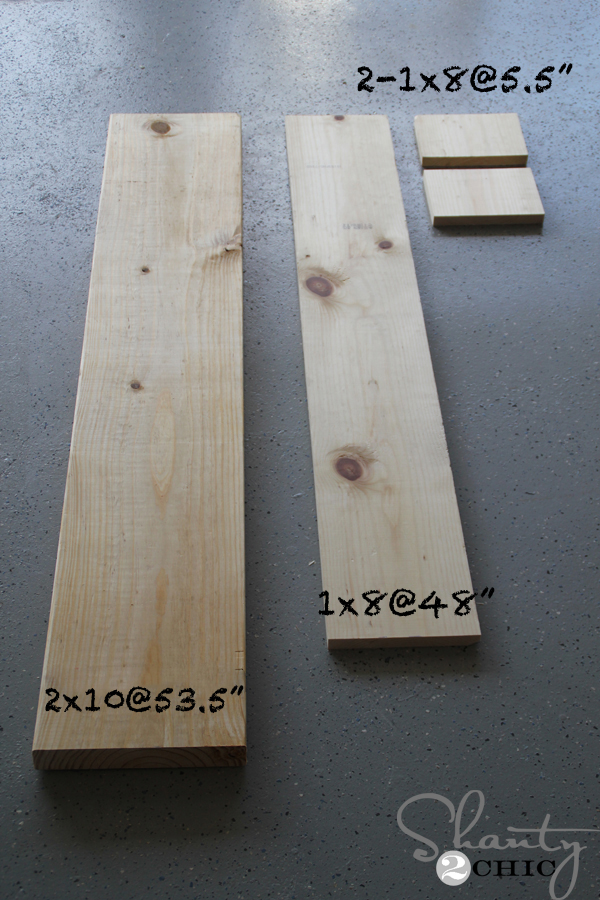 Cuts for step 1:
1-2×10@ 53.5″
1-1×8@48″
2-1×[email protected]″
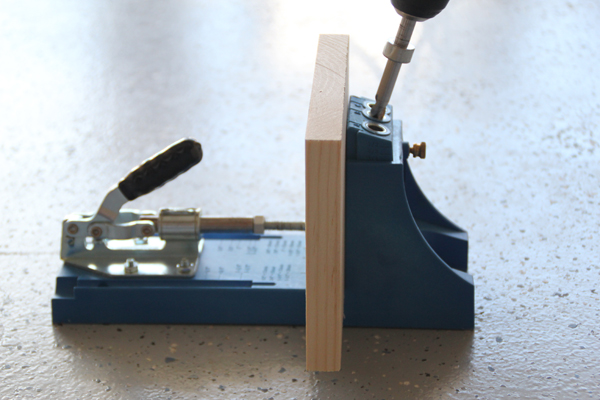
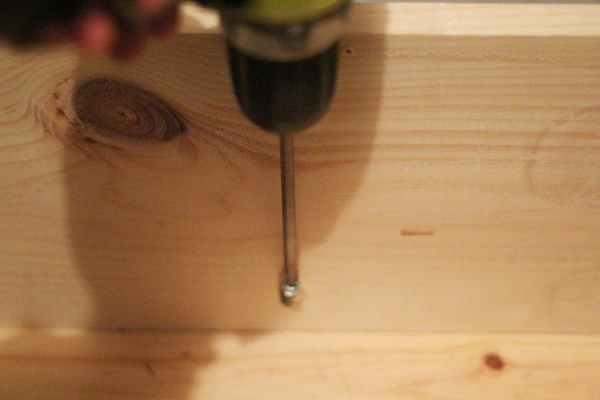
After making all of my cuts, I drilled all of my pocket holes with my Kreg Jig!
// ]]>
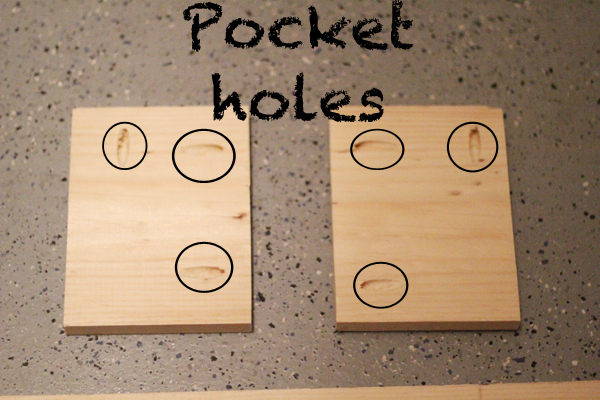
Pocket holes drilled in the 5.5″ boards.
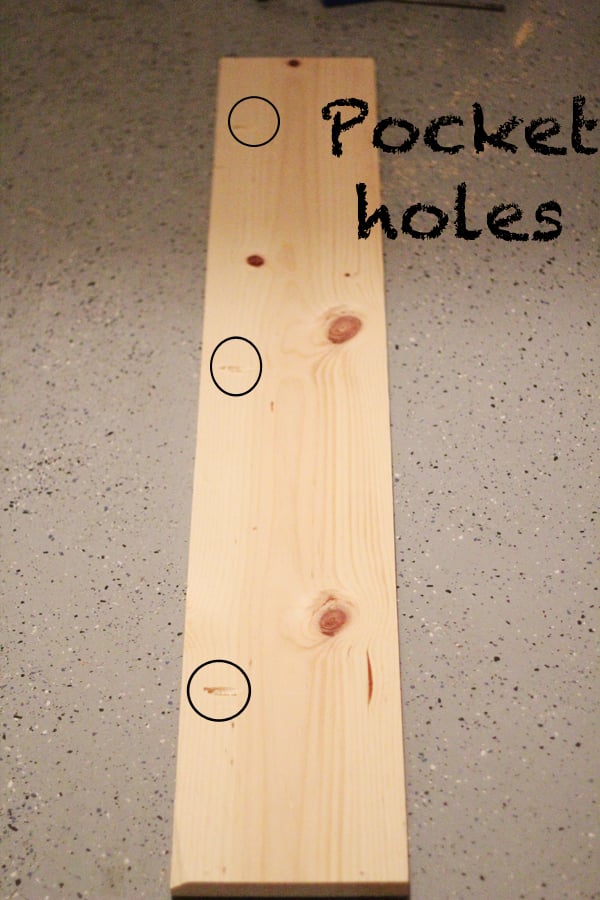
Pocket holes drilled in the 48″ board.

Before inserting the pocket hole screws, I added Gorilla Glue Wood Glue at every joint for added support!
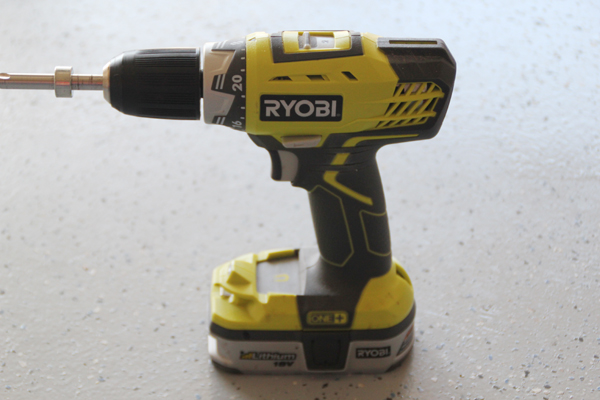
We LOVE our cordless drill! If you are in the market for a new one, we HIGHLY recommend it!
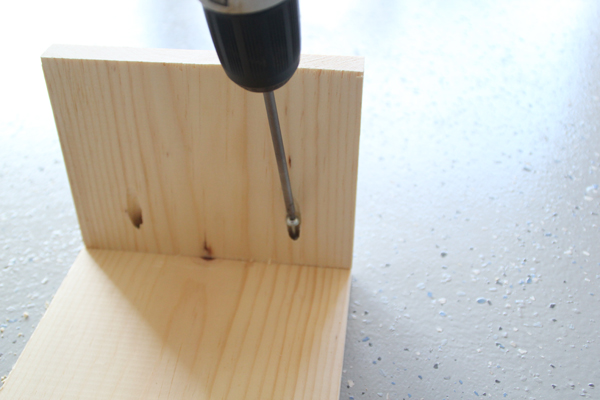
I attached the 5.5″ boards to the 48″ board, with 1 1/4″ pocket hole screws, first.

With the first boards attached, it’s now time to measure for the bottom shelf. You need a 1×6 board for the shelf and it will fit inside of the 5.5″ boards. It should measure 46.5″ but it is always best to measure, at this point, before cutting. Drill 2 pocket holes at both ends of the boards ***Set aside, DO NOT ATTACH THIS BOARD YET!
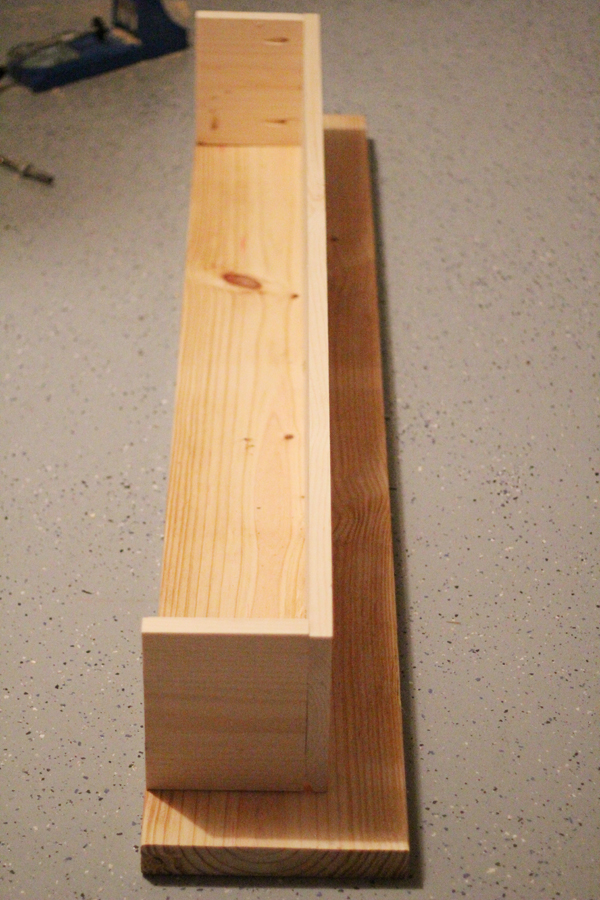 Now attach that to the 2×10 board (with 1 1/4″ pocket hole screws) making the open end flush with one side of the 2×10 board.
 Now, you can attache the bottom, 1×6 board 😉
It’s time for crown!
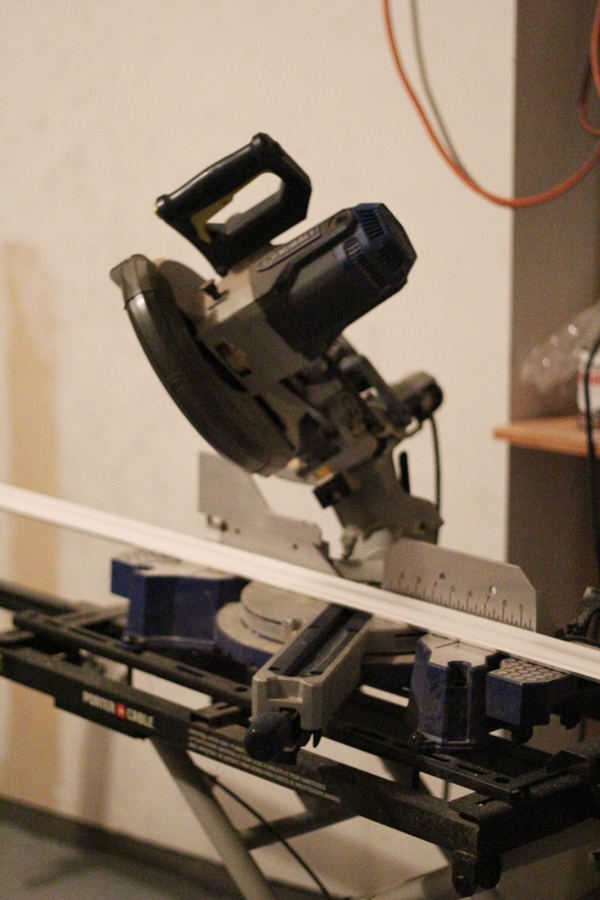
I used my Kobalt 12″ sliding compound-miter saw to cut this crown but if you don’t have one, you do NOT need one for this project!
You can purchase this Miter Box with hand saw and get the job done with no problem! This will also cut the straight cuts on the other boards as well!
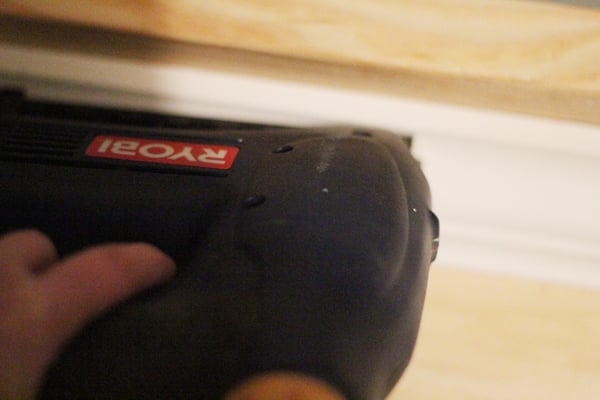 I attached the crown with my Ryobi, 18-Volt, Brad Nailer.

If you need to hammer any nails down, this nifty little tool and a hammer will do the job without dinging your crown up! Just hammer the nail in and cover the hole with wood filler! I purchased a 3-pack at Lowe’s.
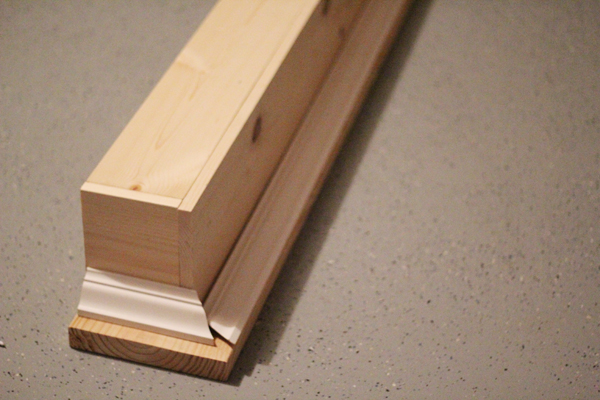 Once all of the crown pieces are attached, you can hide any ugly spots with wood filler!
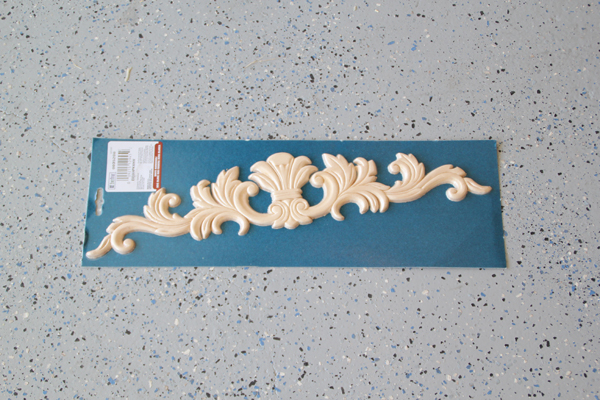
I purchased this wooden scroll at Lowe’s for about $6. There are many sizes to choose from but the $6 one fits perfect!
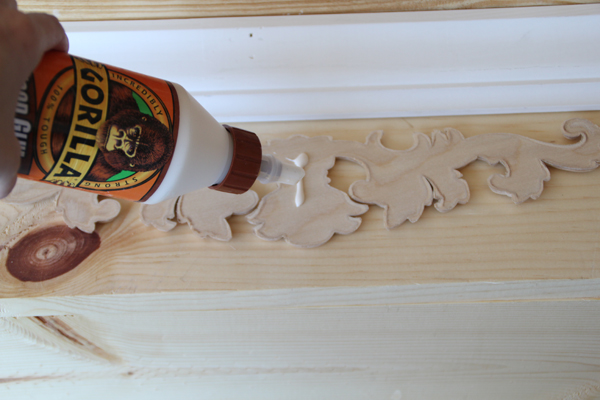
Just apply a little Gorilla Glue Wood Glue to the backside, flip it over and place it in the center of the front of the shelf and let it dry.
Once the glue is dry, it’s time to paint! I chose to finish this piece with a distressed look. Distress painting with Vaseline is a very easy way to get that “chippy, distressed-look, so I went with that! I also used this exact finish on my Vintage Bench and LOVE it!
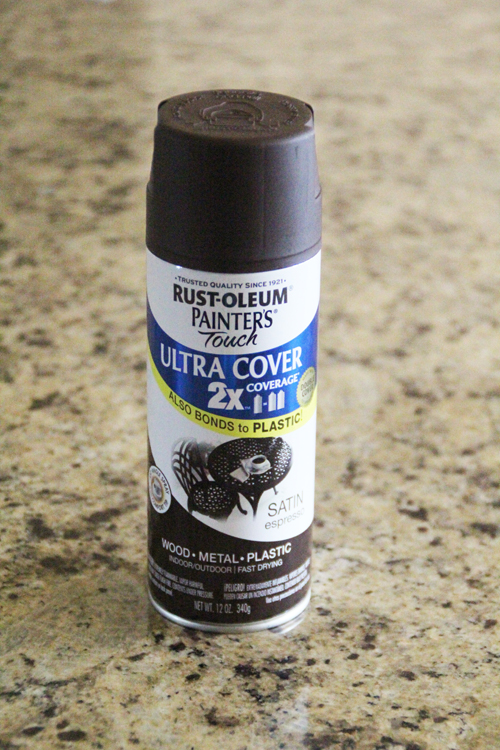
You need two different paint colors for this technique. I chose a favorite, Espresso spray paint for the first layer!

Just one coat for the first layer of paint!
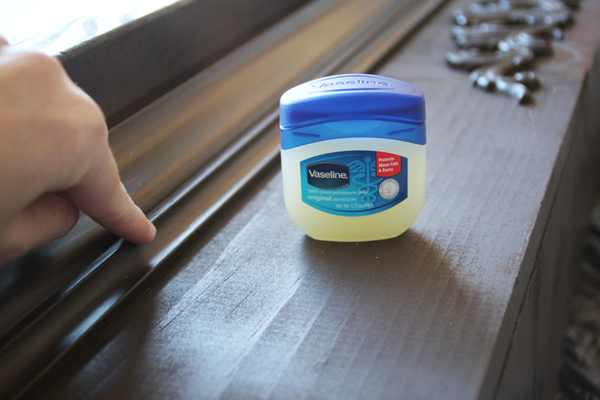 Once the first coat is dry, just rub a very thin layer of Vaseline over the areas that you want the brown to show through. I applied it to most of the edges, heavy on the corners and all over the wooden scroll. I also wiped it in random spots on the surface of the boards.

You don’t need to let the Vaseline dry before applying 2 coats of the final layer of paint. I chose another favorite, Heirloom White spray paint to finish it off!
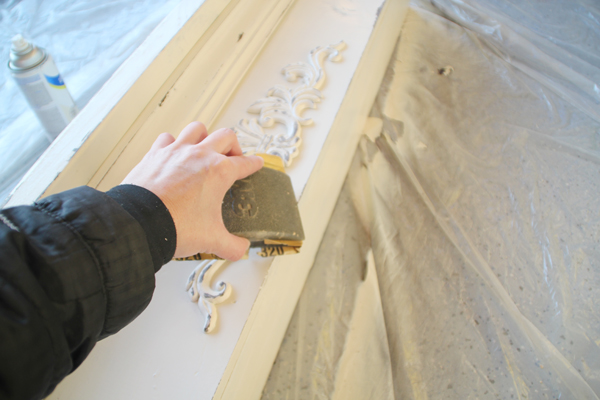
Let the final coats of paint dry well!!! Then it’s time to distress. I used a 120-grit sand paper to distress my ledge. You will notice that the top coat of paint rubs off very easily where there was Vaseline, exposing the bottom layer of paint. So fun!
Now it’s time to get this bad boy up on the wall!
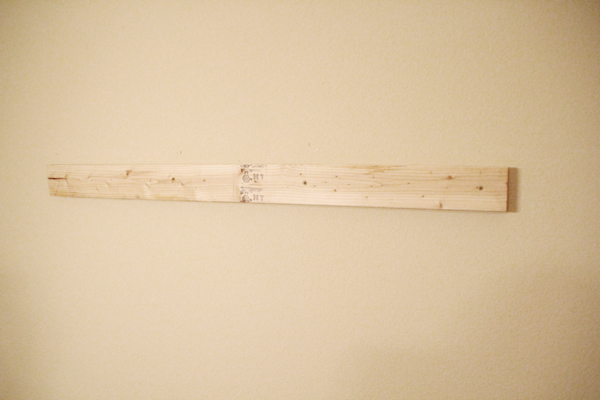
Remember that 2×4 you purchased? Cut it about an inch shorter than your 1×6 board. Mine was cut at 45.5″. Then, after determining exactly where you want your ledge to hang, mark where your studs are and sink 3″ screws through your 2×4 and into the studs! I was able to fit 4 screws on my 2×4.
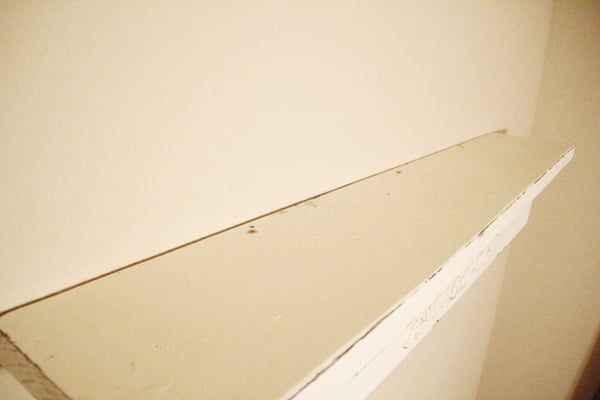
Now, slide the back of the shelf over your 2×4 and drill 3″ screws from the top of the shelf into the 2×4. I put my screws in about 3/4″ from the edge of the shelf and it worked perfect!
DONE! Now enjoy decorating your brand new floating ledge;)
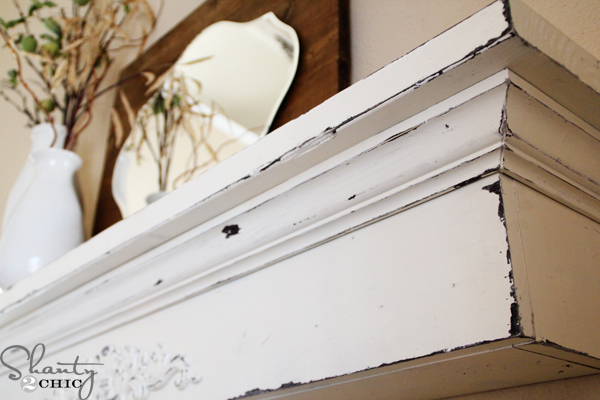
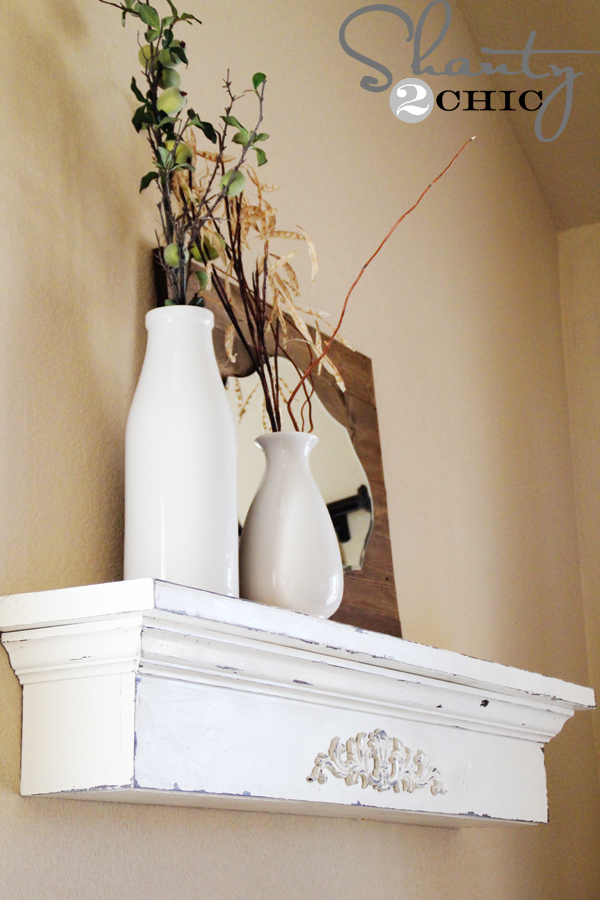

I am so pleased with the way my Floating Ledge turned out! Now I want one for every room in my house;) How about you? Where will you hang yours? What finish will you give it?
I purchased the tall, white vase at Target, the shorter one at HomeGoods and I DIY’d the mirror. I’ll be back to share that tutorial with you soon;)
If you love my Floating Ledge, I would LOVE your pins;)
Thanks for stopping by! ~Ashley 🙂

I love this shelf! And I also love the wall color? Would you be so kind as to share it? I really like the way the white shelf looks against it.
i did it! i actually did it and i LOOOVe IT! thank you so so much for posting this! You saved me a ton of money!
I did mine this weekend!! Improvised a bit when needed, but came out almost like this one! And it was so much fun!!!
do you sell these too? i’m not sure i could make it HA
what angles did you set the mitre saw to cut the crown???
I was wondering the same thing. What angles for the crown?
I just made this this past weekend. I LOVE it! thanks for sharing!
I have a skinny mantle that I just hate. It is just an inch thick, with a wavy edge, on top of a not-too-bad looking front piece with scrollwork. Can I make just a wider top to add thickness? It sticks out only 4″ from the wall, with fake columns that are hollowed out. Will there be enough for the top be supported if I screw that piece to the wall? How can I attach it to the top of the old columns? Love your site! Thanks if you can offer tips.
Wow – I love it. I have been thinking of making one of these but didnt know how. Thanx for sharing!
More details about Plano! I’m over here in Rockwall.
i thank you soooo much!! i love your Blog and great explains-and admire your work!!! God bless you and your hands!! Hadas-Israel
Oh boy, I purchased a Kreg Jig for my hubbies Birthday, back in December. Now we can put it to the test! I wish I lived closer to Plano. I would love to meet you. Thank you, Ashley! Beautiful shelf!!
Great ledge shelf! I think I need to get a Kreg Jig 🙂
Beautiful Ashley! Thanks for the plan!
Love it !!
Very pretty! I’d love to make one for my kitchen once I finish less fun projects that I HAVE to do LOL