Hey guys! You may have seen my little sneak peak of this project on Instagram a few days ago! I made three of these super, chippy wooden picture frames for about $7 each and they are SOOOOO easy 🙂
Here’s how!
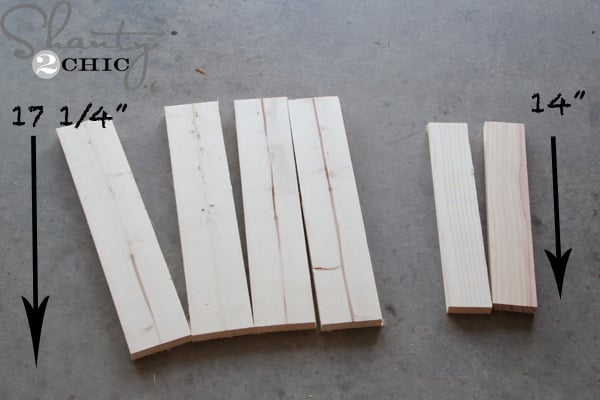
I purchased 3 – 1×4’s @8ft and 1 – 1×3 @8ft. For each frame, I cut 4 – 1×4’s @17 1/4″ and 2 – 1×3’s @ 14″ (to make certain your 1×3’s fit your frame right, measure the width of all 4 1×4’s together and cut the 1×3’s at that measurement. Wood width varies quite a bit).
If you don’t have a saw, this hand saw is a great starter for a project like this!
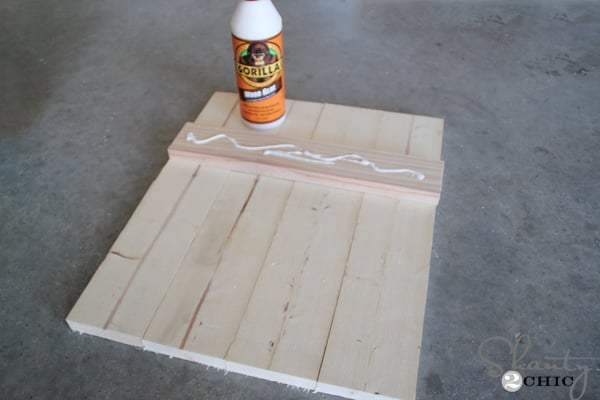
I laid the 1×4’s side-by-side and attached the 1×3’s on top. I placed mine 2″ from the top and 2″ from the bottom. To attach them, I just put a generous amount of wood glue on the 1×3
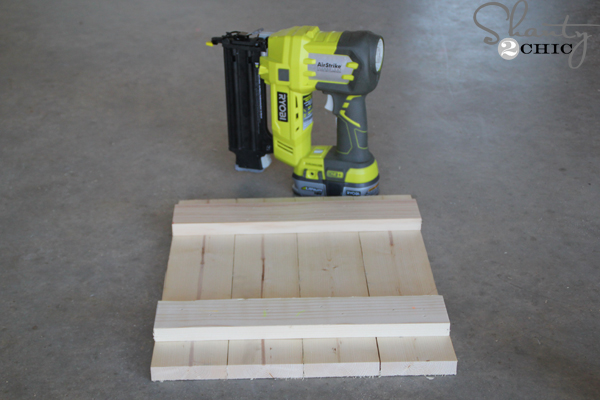
and followed up with 1 1/4″ brad nails. I used my brad nailer for this but you could also use finishing nails and a hammer. I shot my nails through the front of the frame because we are going for an old, worn look.
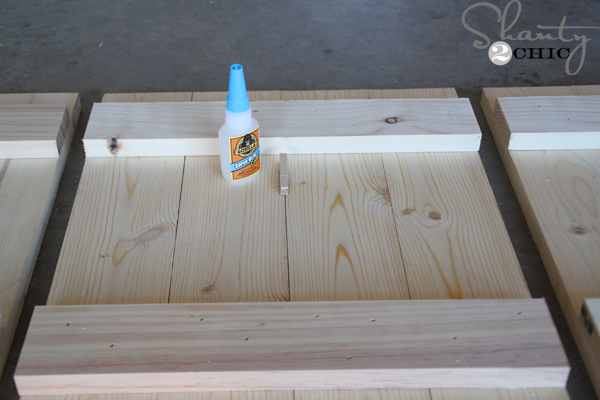
I then used Gorilla Glue Super Glue Gel to attach a small wooden clothespin in the center of each frame. I found my clothespins at Hobby Lobby!
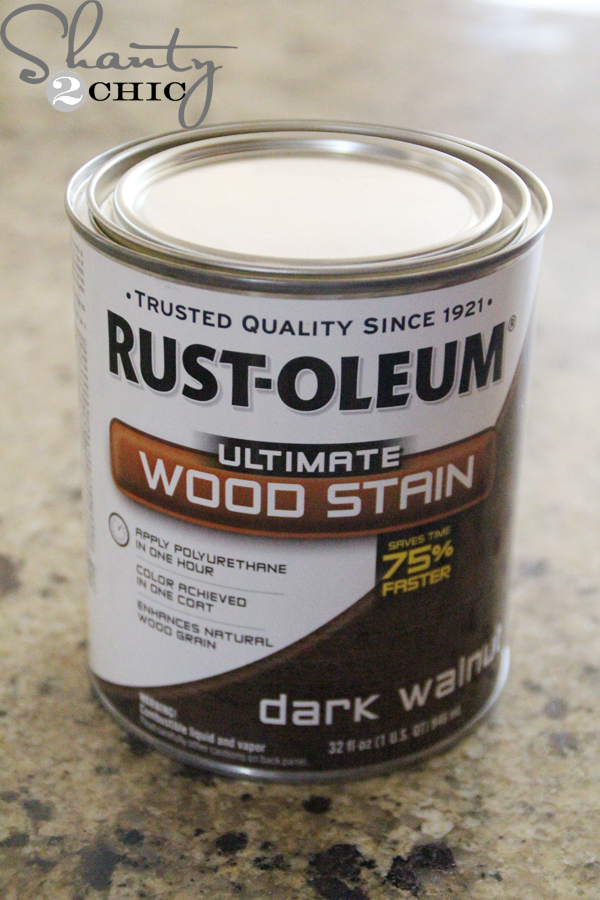
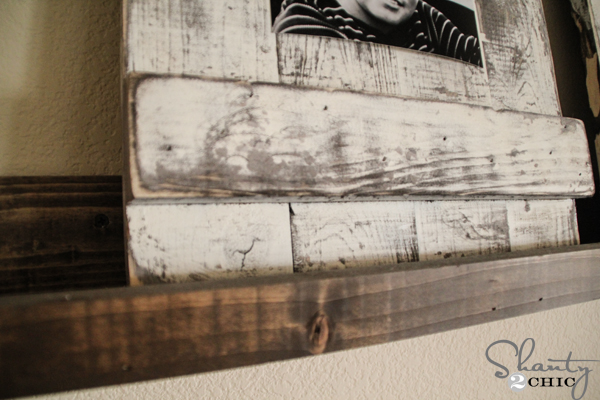
Now for the chippy finish! This is sooooo easy! I applied one coat of Rust-Oleum Dark Walnut to the frame.
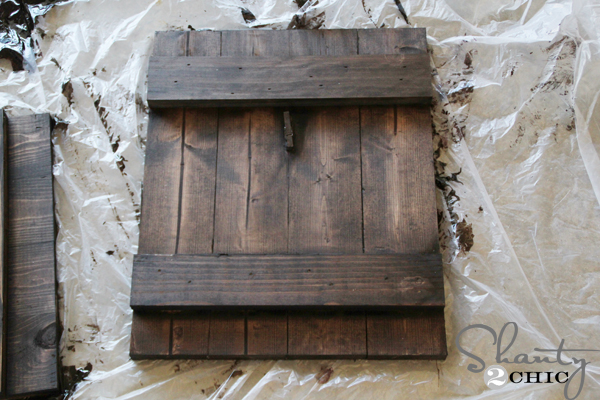
Just wipe it on with a foam brush, wait about 5 minutes and then wipe the stain with a clean cloth. Don’t wipe the stain off, just blend it.
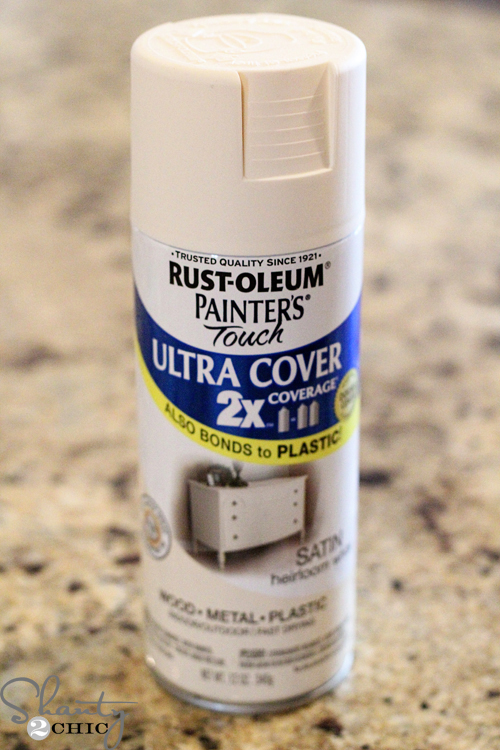
Once the stain dried, I sprayed one coat of Heirloom White spray paint over the stain.
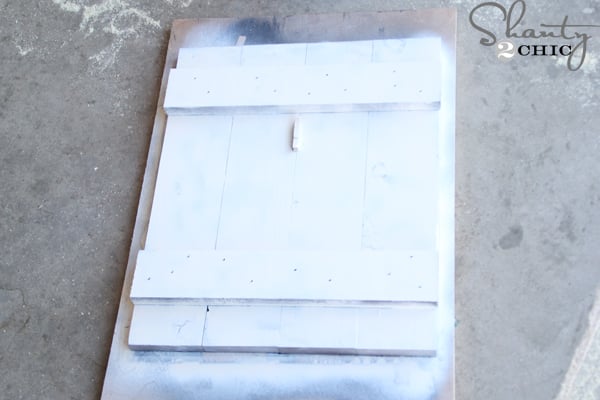
It doesn’t have to be perfect because we are basically going to sand it off 😉
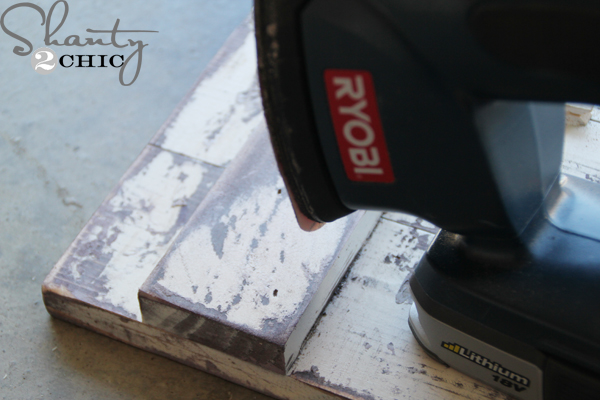
See! I used my Ryobi Corner Cat sander with an 80-grit sanding pad to sand the white spray paint off. You can go heavy on this or light. I sanded them down pretty good and paid special attention to all of the corners.
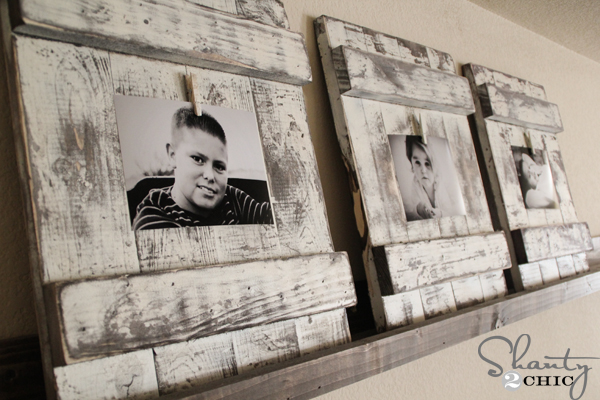
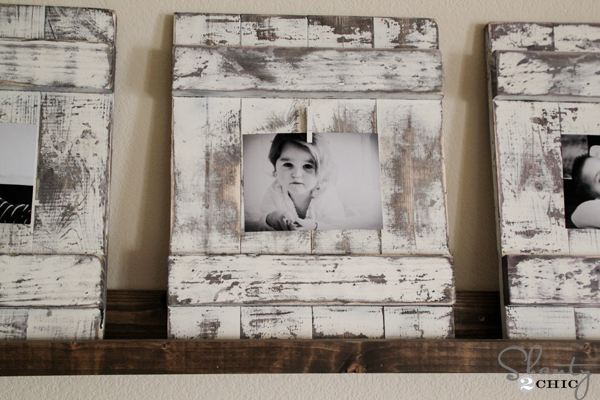
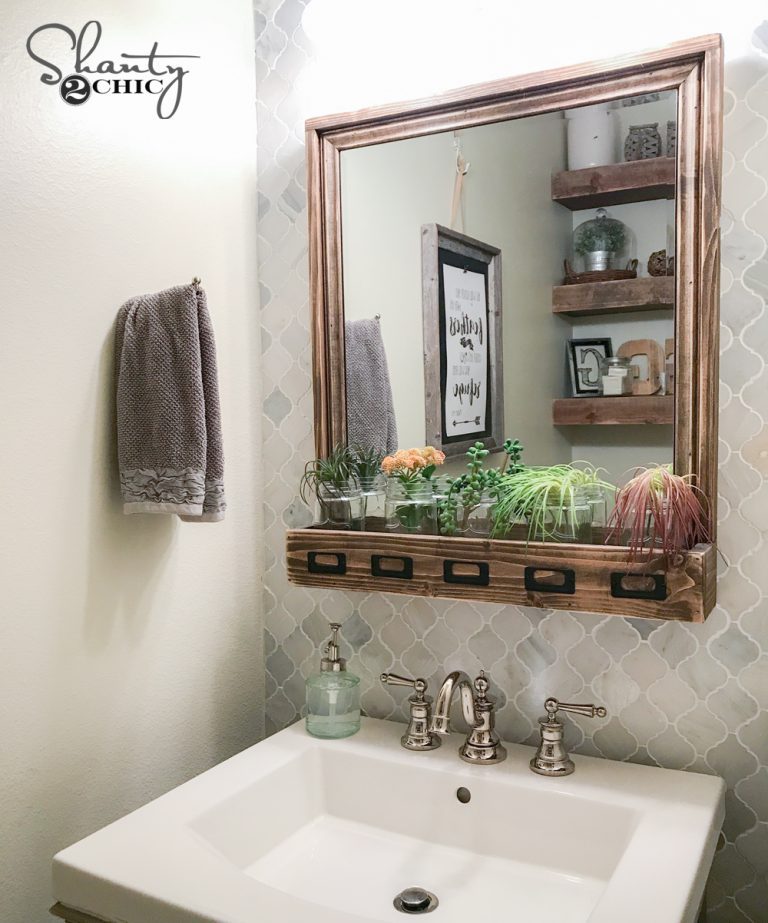
That was IT! If you want to hang these on the wall, just use a sawtooth hanger on the back of each frame. I chose to prop mine on my DIY shelves!
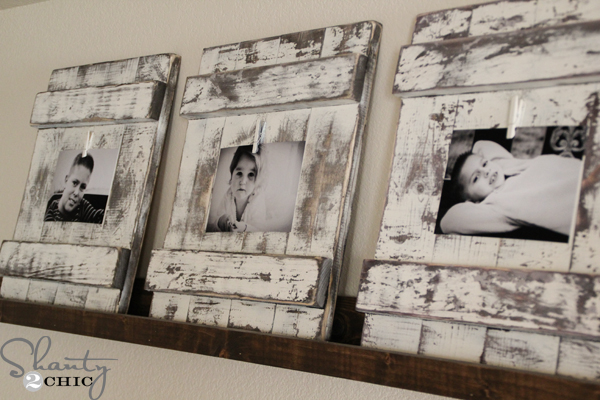
I’m totally in love with the finish on these and I have another DIY Christmas gift to add to the list!
If you love these Chippy Wooden Frames, we would love your pins and shares!
Thanks so much for stopping by!
Ashley 🙂

I would like to make these as Christmas gifts but I feel they may be too big. Do you have the dimensions to make these for a small photo?
how many will these make?
i already have a dark stained frame. Can i just spray paint it and then use sandpaper? or should i lightly sand the frame first then paint it? thank you
Do you happen to have the measurements for a 8×10 picture?
mathematically speaking, you just need to add 3in to length and width. So if the boards are one by 4 they are actually three and a half inches wide. So if you had one more wit you’ll have three and a half and just take the link and add 3 in. So you would cut your one by fours instead of 4:00 at 17 and 1/4 you would cut 520 in a quarter that V board ads your three and a half to the wit. Then on the two that they were cutting at 14 inch cut those two at 17 and 1/2 in and put it together the same way they did here. If it doesn’t look just right, just adjust your numbers and make your cuts a little different
So sorry, I was using talk-to-text and didn’t proofread it before I hit submit.
I love these! I am just wondering if you stained the back too or just left the wood plain.
hi there – I love these frames, this tutorial was so inspiring. I bought the raw material today and wanted to make these frames, but bought oil based stain by mistake instead of a water based stain. How long should i wait for the stain to dry before spraying it with the white spray paint?
if there are four 171/4″ 1 by 4’s across wouldn’t the cross brace 1×3 pieces need to be 16″ to make it all the way across all four of them like they do in the pics?? maybe I am missing something
oh I see tht you suggested to measure the width of them all together
All milled lumber is dimensional to the same proportions…keeping this in mind for future projects will save you headaches and maintain your sanity (not to mention limited waste). As an example:
1×3 – actual 3/4″x2.5″
1×4 – actual 3/4″x3.5″
2×4 – actual 1.5″x3.5″
4×4 – actual 3.5″x3.5″
And so on…
Also I just found out that a 1X3 is actually only 2 1/2″ wide so the 1×4 are probably like 3″. That is why the measurements are different because I was thinking the same thing 🙂
I love these so much! I don’t have a sander like that – do you think it would work just by using sand paper?
Yes but it will be a lot of work you can get one for about &25-$30 at Wally-World
I would use 40- or 60- grit with a sanding block. DeWalt makes a suburb palm sander that can be had for $40…probably $10 on Craigslist. The work is worth the reward on a project like this as far as I’m concerned. Plus; you don’t have to support the most evil corporation on earth by buying it at Wal-Mart.
You are right about Wal-Mart. Hobby Lobby is also mentioned; I won’t shop there either.
I feel like I would have to make every single one of you DIY projects. You are my all time absolute favorite. I have a small wall where I want to put a hook for bags, keys and that kind of stuff and these frames gave the inspiration I needed. Thanks for sharing !!!
How long do you usually wait for your stain to dry?
Love this! Am going to try it this weekend…what size picture fits in this?
Thank you Shari! I have 5×7’s shown!
These frames are so cute! Thanks for the tutorial. I think I’d like to try these.
Leslie
House on the Way
Love the frames! Love the color and they are on my to-do list! 🙂