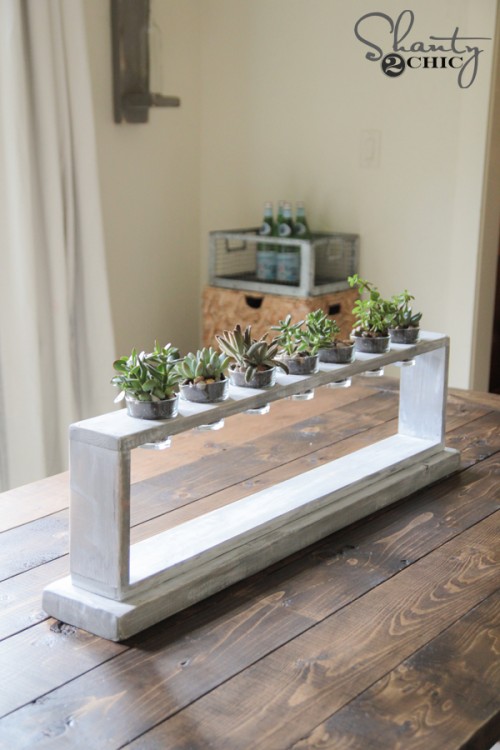
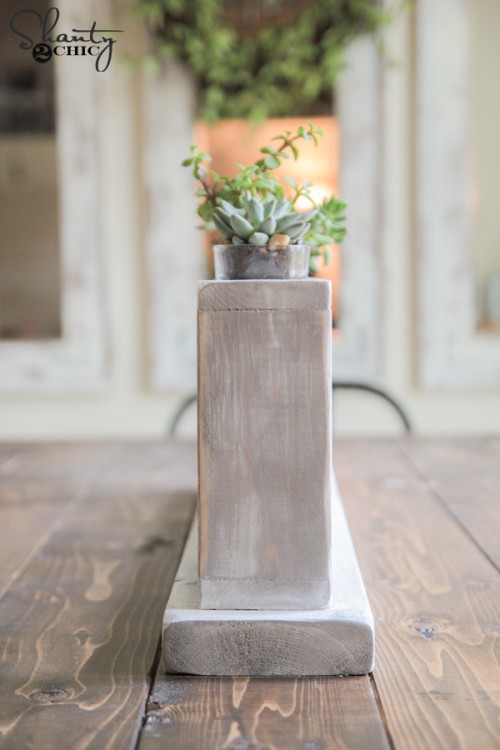
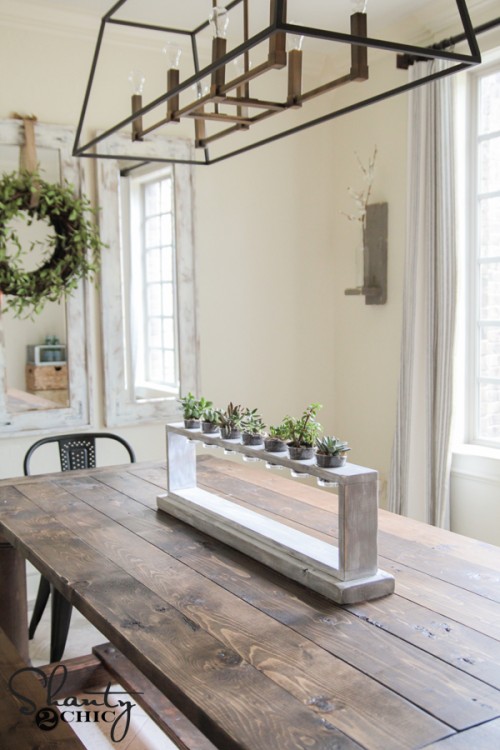
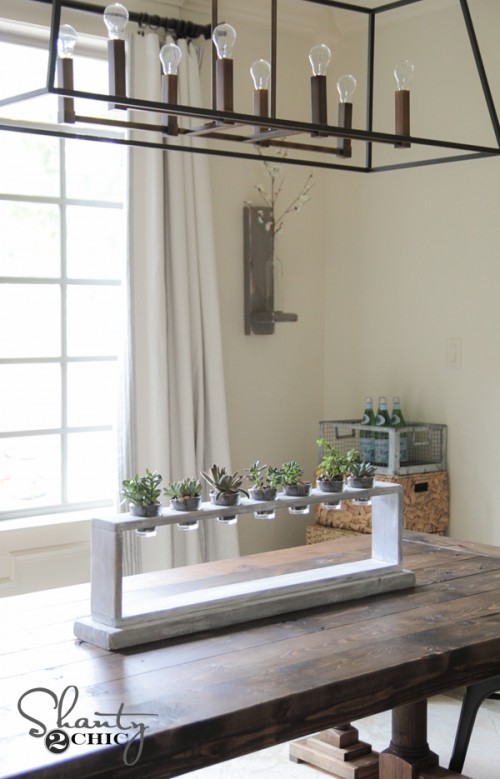
Good morning guys! I have a really fun, simple and cheap project to share with y’all today. I have been wanting to do a fun centerpiece for my dining room. I paired my love of succulents and my love of wood and this is what I came up with! Check out my DIY Succulent Centerpiece…
How cute, huh? I love it. And really it works anywhere… Not just as a centerpiece. This is super simple to make. You might have the scraps lying around (if your scrap pile is a monstrosity like mine 😉 )
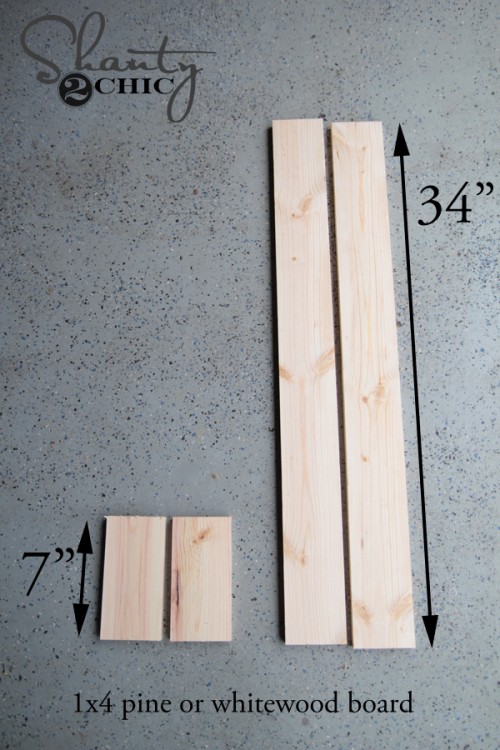
You will need a 1x4x8 pine or white wood board first. I used white wood which makes this board about $5. Here are the cuts I made…
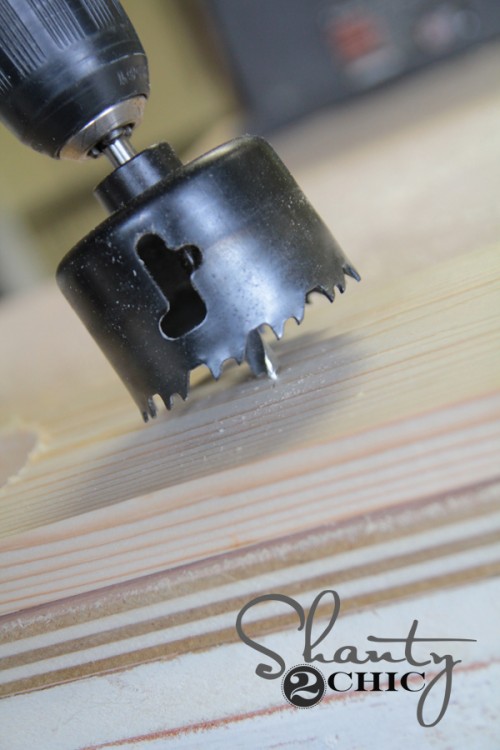
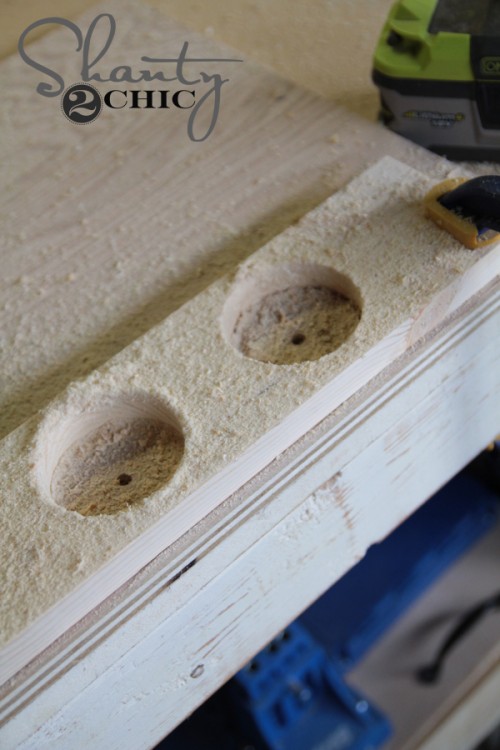
Next step is adding your holes. I used this hole saw bit by Ryobi that you can find at Home Depot.
The bit has a small point on the end of it making it really easy to find where you want to drill the hole accurately.
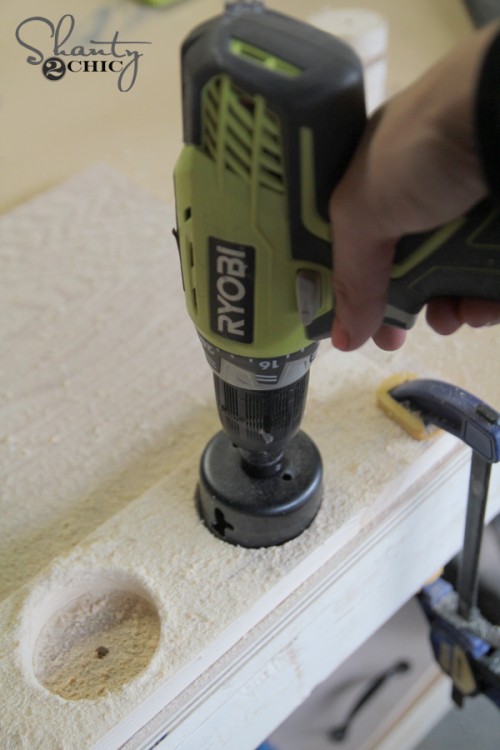
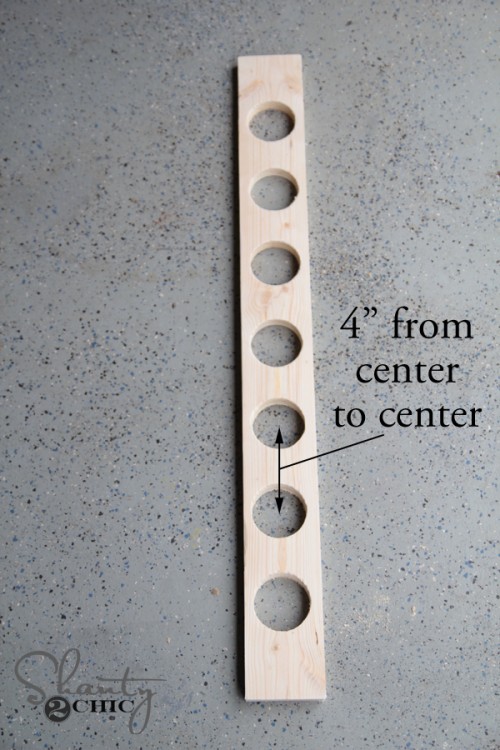
I put a scrap board under one of my 34″ pieces and started drilling my holes. I made mine 4″ apart center to center.
After drilling 7, it looked like this. I used my sander to soften the edges just a bit.
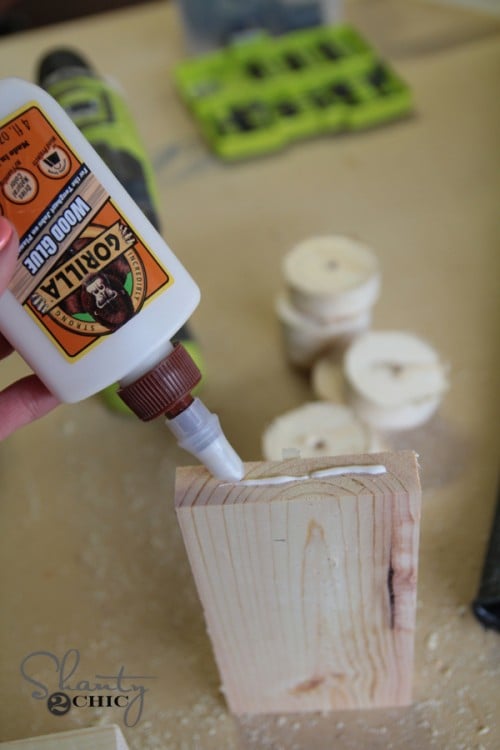
Next, I added my two 7″ pieces to each end. I did this by first adding a line of Gorilla Wood Glue.
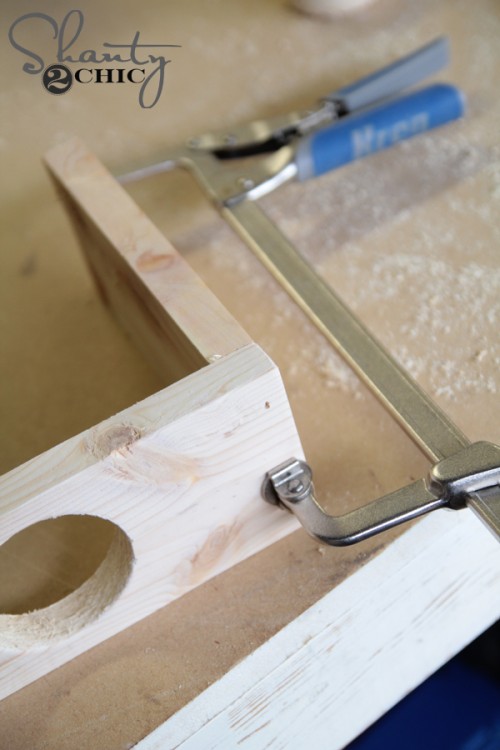
Then, I used a bar clamp to hold the sides in place.
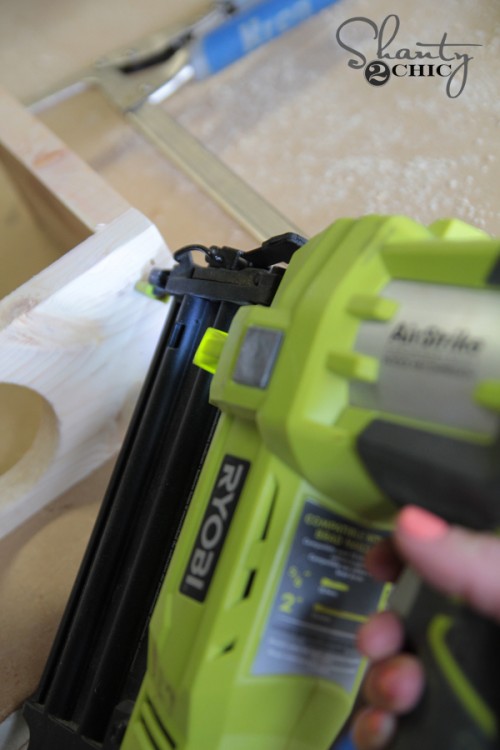
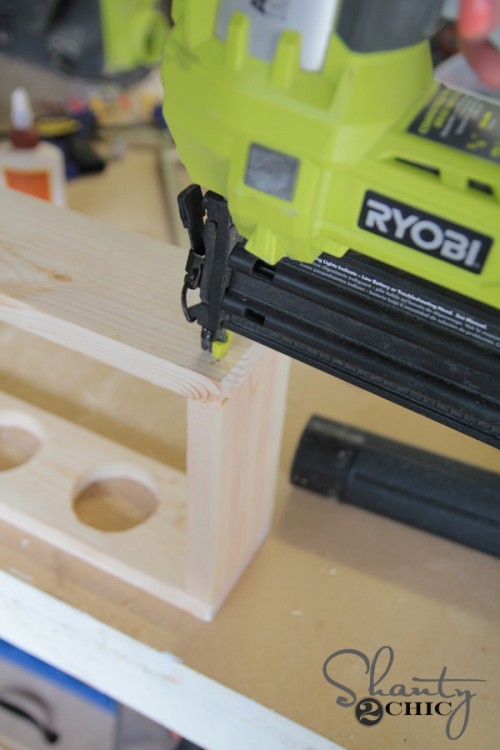
I used my Ryobi AirStrike brad nailer to attach these pieces using 1.25″ brad nails.
After attaching both of those I flipped the piece over and attached the other 34″ piece using glue and my nail gun again.
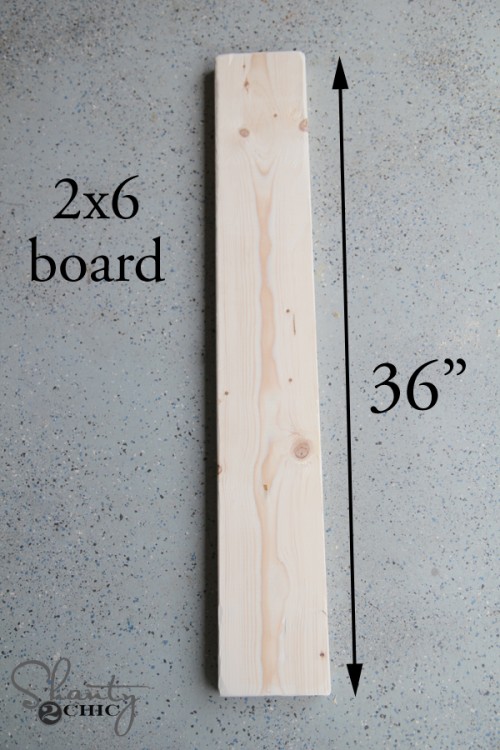
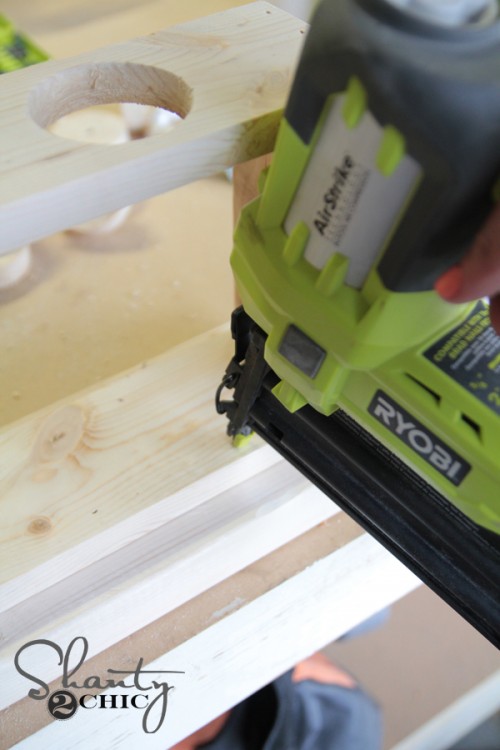
I wanted to give the centerpiece a more substantial look, so I cut a piece of 2×6 wood at 36″ and attached the box to it using wood glue and my nailer.
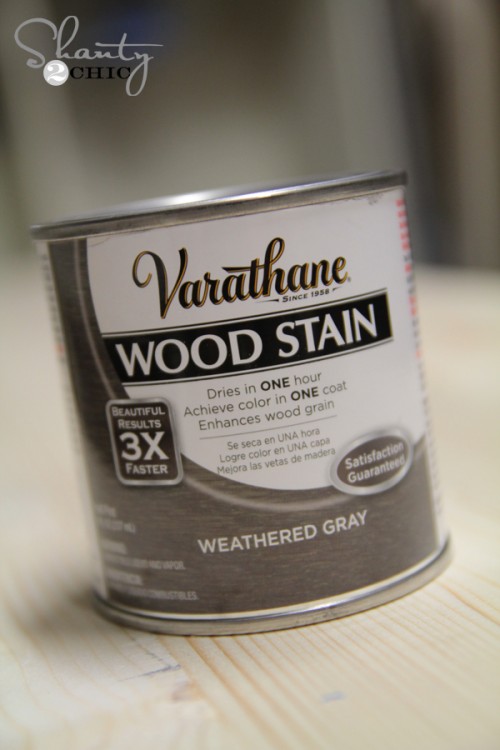
Now for the finish. First, I stained the whole thing with Varathane Weathered Gray stain.
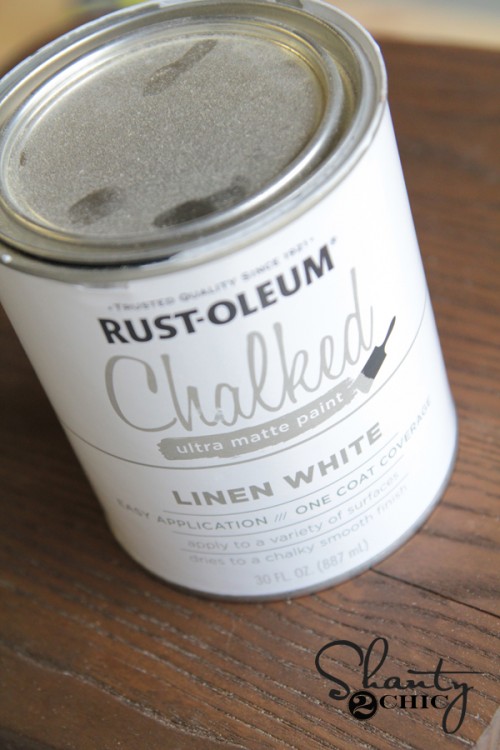
After that dried, I put a coat of Rust-Oleum Chalked paint in Linen White over the whole thing.
After that dried, I used my Corner Cat sander over the entire piece to give it a distressed weathered look. LOVE the results.
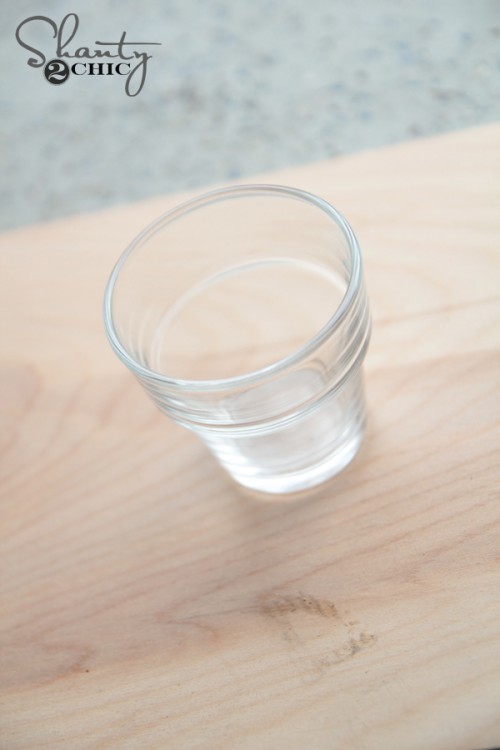
Now for the succulents! This planter holds mini clay pots perfectly as well. That was my original plan until I ran across these little votives at Hobby Lobby for $.77 a piece… Yes, please.
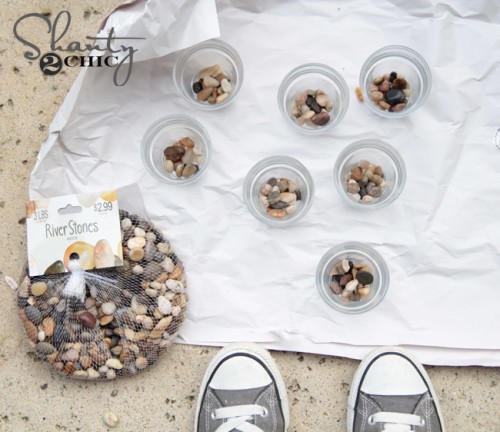
I filled each one with a few river rocks first…
Then I used a potting mix for succulents and added a plant to each cup. I LOVE how they look in the glass and how little I have to water them 😉
So… What do you think?
Hope you love it as much as I do!
Thanks so much for stopping by 🙂 I would LOVE for you to share this and Pin it with all your peeps.
We LOVE seeing your projects! There are lots of ways to share! If you follow us on Instagram, be sure to share your photos on your feed and use the hashtag #shanty2chic so we can find them and share them with our readers! We also have a great readers submission section here on our site where you can upload your projects! You can click HERE to submit yours!
Have a great day!
Whitney



How much space did you leave on the ends before the first and after the last hole?
?????Use the plans at www. WoodworkPlans.info for this project like I did – highly recommended you check those out too. They are detailed and super easy to read and understand unlike several others I found online. The amount of plans there is mind-boggling… there’s like 16,000 plans or something like that for tons of different projects. Definitely enough to keep me busy with projects for many more years to come haha
????????
☁☁☁☁☁
☁ ? ☁
☁ ☁
☁???????☁
☁ ? ? ☁
☁?????☁
☁☁☁☁☁
?
?
Thanks for sharing! love the dining table, did you build this?
What an amazing centerpiece! I especially love how open it is! It’s beautiful, yet allows for conversation across the table. Great tutorial!
Love this! And Rustoleum has a chalk paint SWEET!
I didn’t know Kreg had a bar clamp! I need one of those! Thanks for sharing! Stay awesome!
So cute, i can’t wait to get moved and everything in it’s place so i can build one for my long farm table. I also love the stain, exactly what I’m looking for. Thanks for sharing and the inspiration. ( =
Thank you so much Diena!!
Hi Whitney! I actually love your chandelier so much! Where did you buy it??
Thank you Rachel! Here is a link to it!
http://www.bellacor.com/productdetail/hinkley-3338bz-fulton-bronze-eight-light-foyer-pendant-1518362.htm
It must be so rewarding to walk around your pretty home and see all the things you’ve created yourself. Love the great idea of using votives!
So sweet Kristie! Thank you for your sweet comment 🙂
awesome ceiling light. where is that from? great centerpiece as well.
Haha! I had the same question!
Thank you! It’s the Fulton chandelier by Hinkley Lighting and I found it at Bellacor lighting! Here is a link… http://www.bellacor.com/productdetail/hinkley-3338bz-fulton-bronze-eight-light-foyer-pendant-1518362.htm