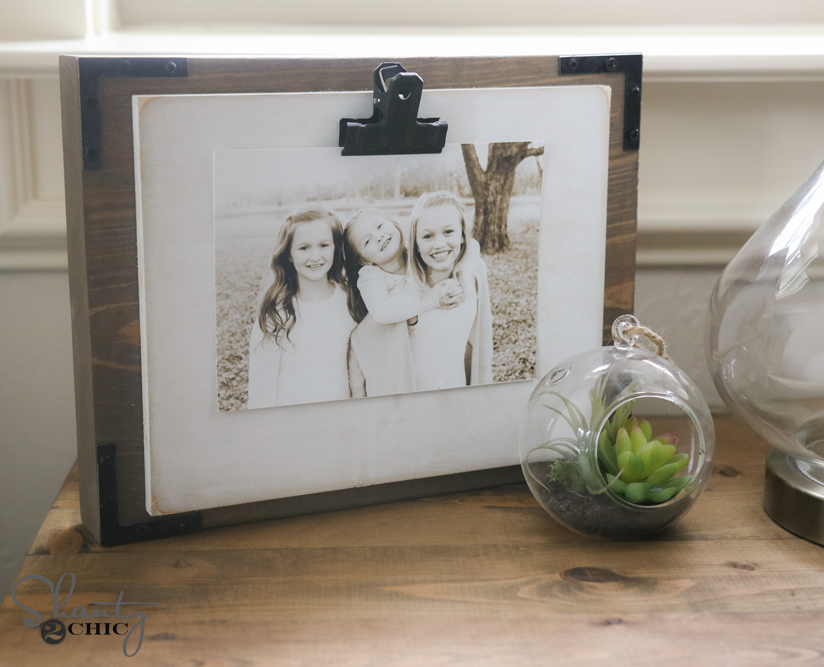
Hey guys! Happy Wednesday! Today we are sharing a super easy $5 project – the DIY $5 Clip Frame.
This can be modified so many ways. We can’t wait to see your takes on them. Before we get started, be sure to check out the video tutorial HERE on our YouTube channel!
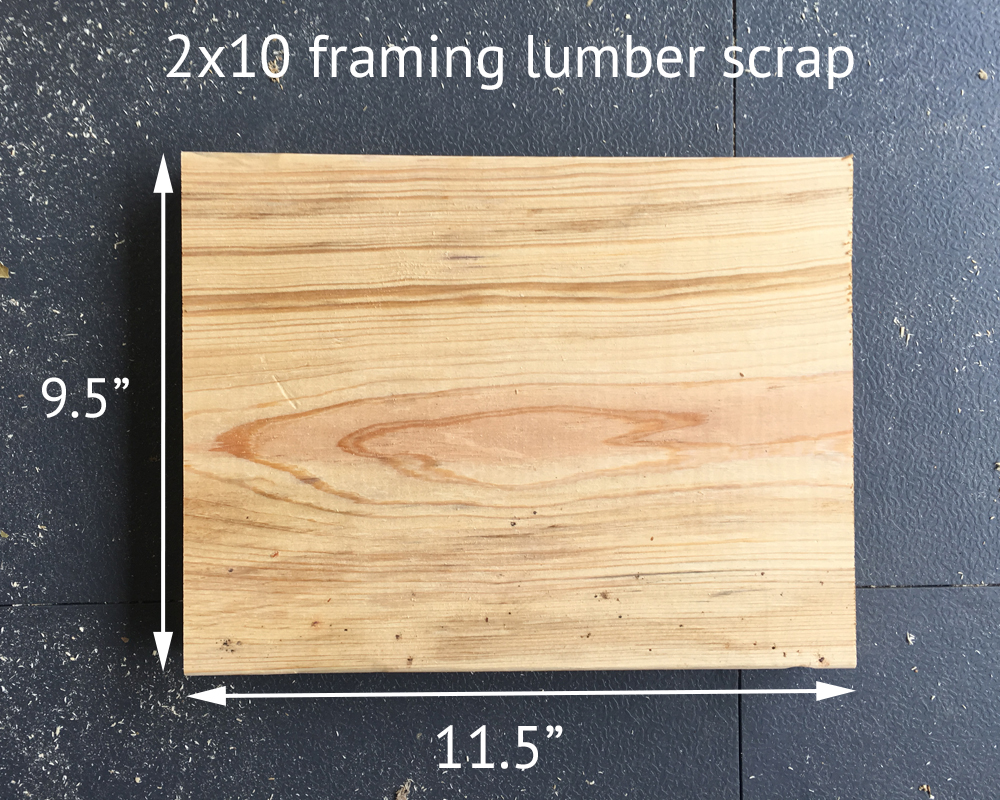
First step is cutting down the 2×10 scrap board. You can buy an 8′ board really cheap at the hardware store if you don’t have a scrap. We made the cuts using our miter saw, but you can also have the hardware store cut it down for you to save a step at home.
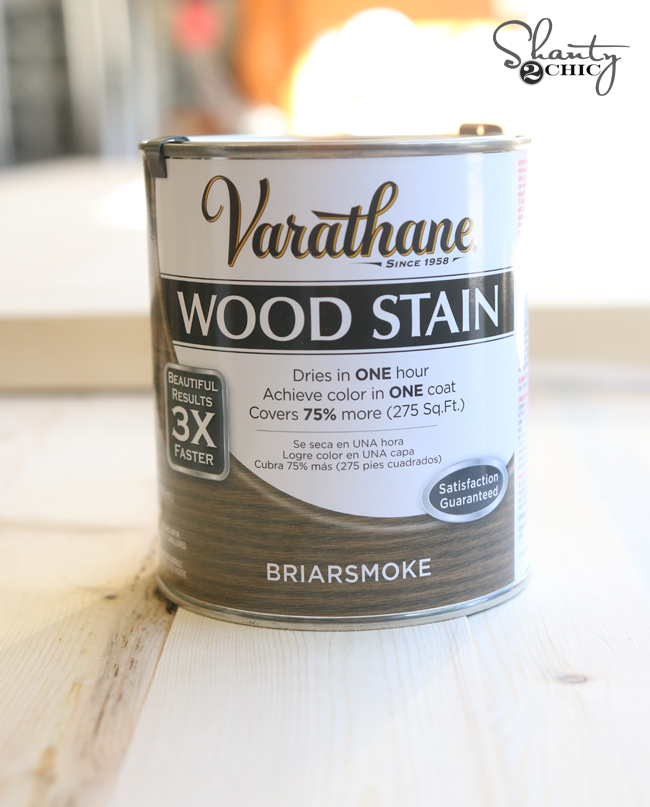
We stained this board using one of our VERY favs! It is called Briarsmoke by Varathane. You can find it at Home Depot.
Your other board is a craft board. We found ours at Hobby Lobby.

We used creamy white craft paint to cover this one. This is Martha Stewart brand in a color called Wedding Cake.
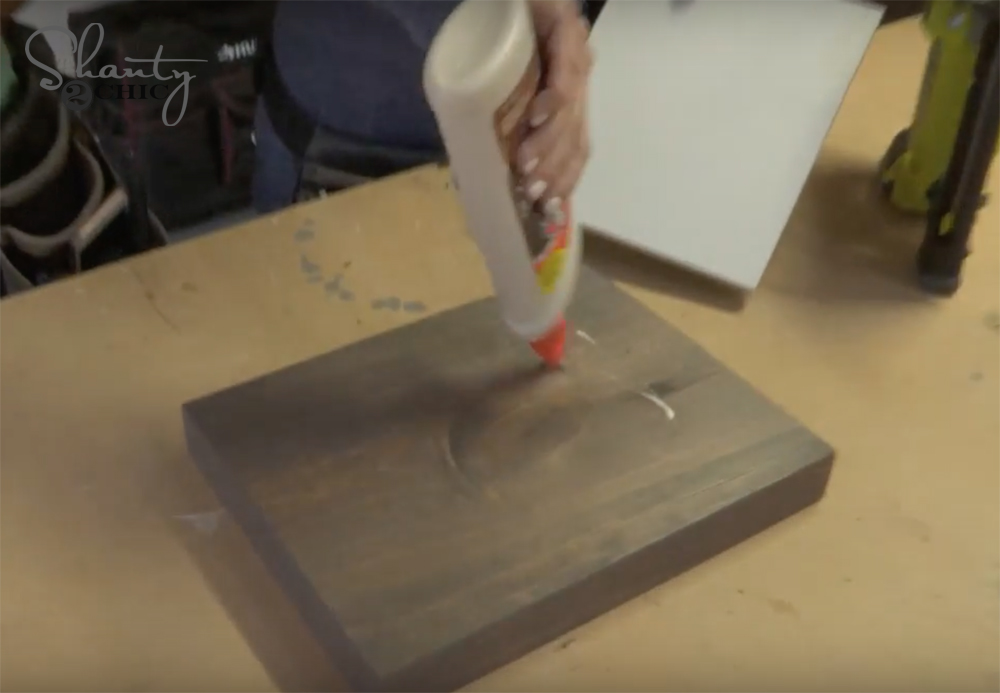
After everything dried, we attached the two pieces together. We added a line of wood glue on the top of our 2×10 board first.
Then, we attached the craft board using 1.25″ nails in our brad nailer.

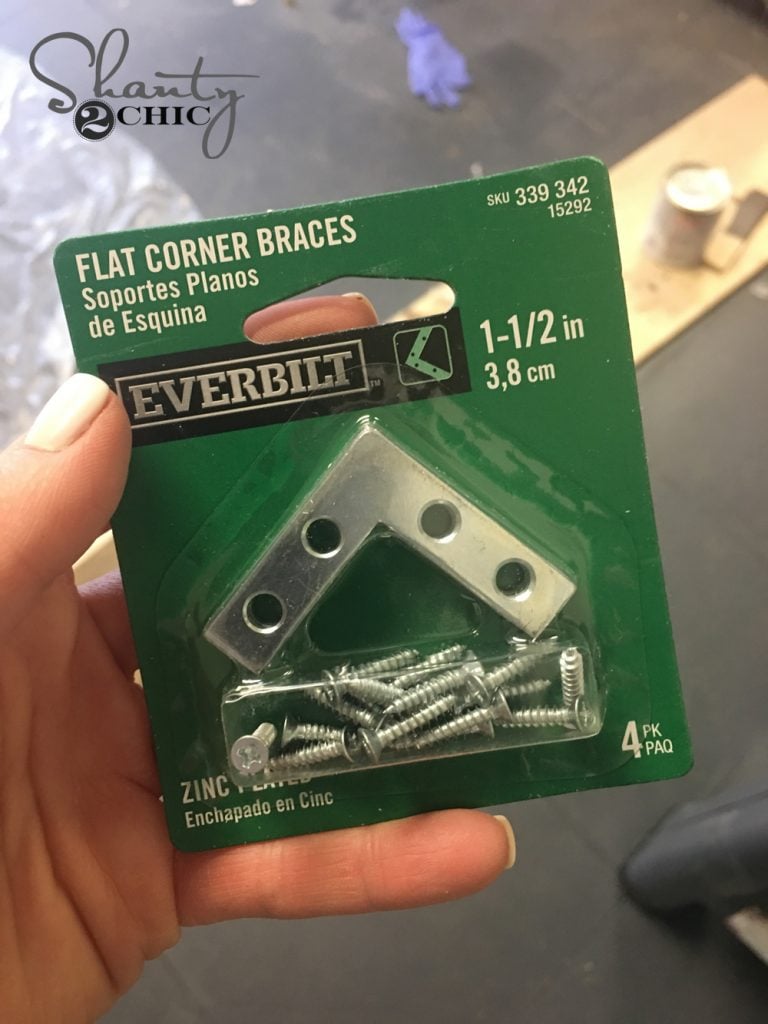
Time for hardware! W love these corner pieces, and wanted them to match our clips, so we went with a black spray paint on this part.
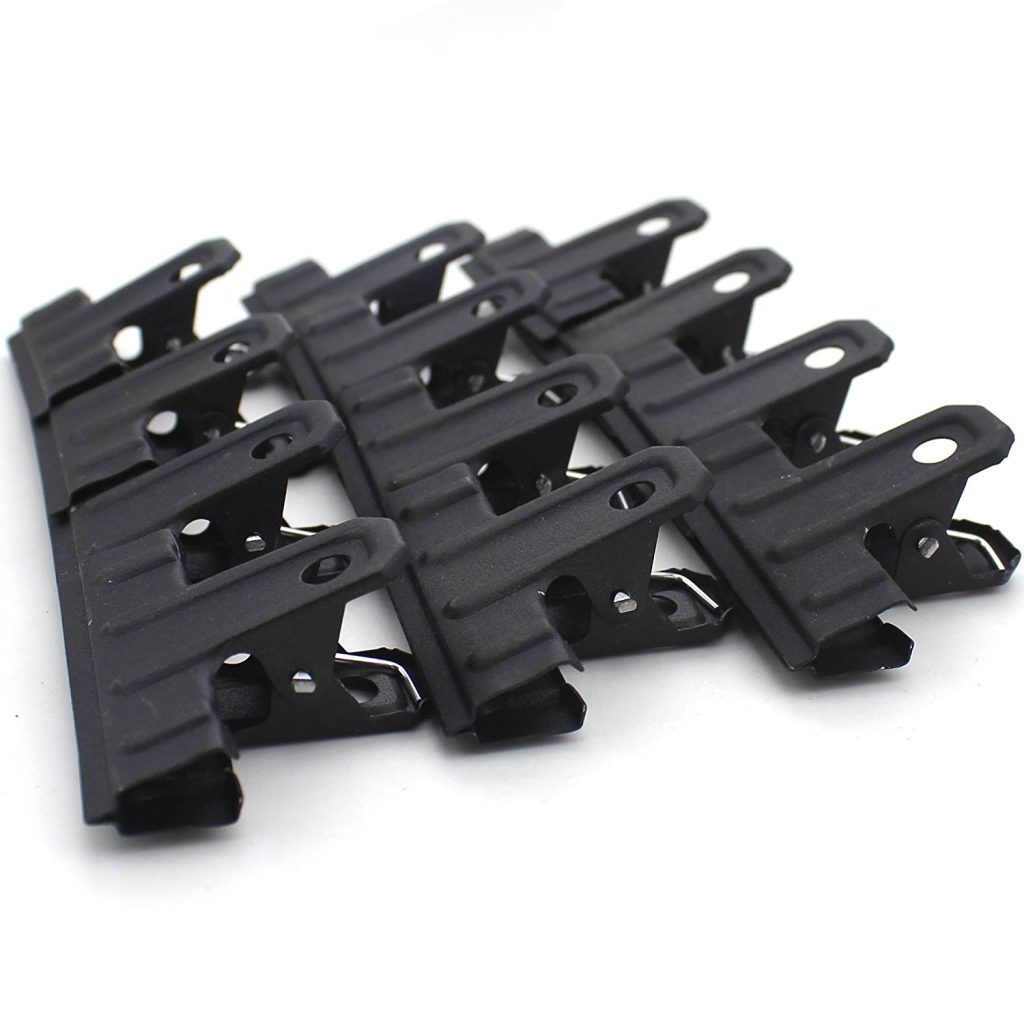
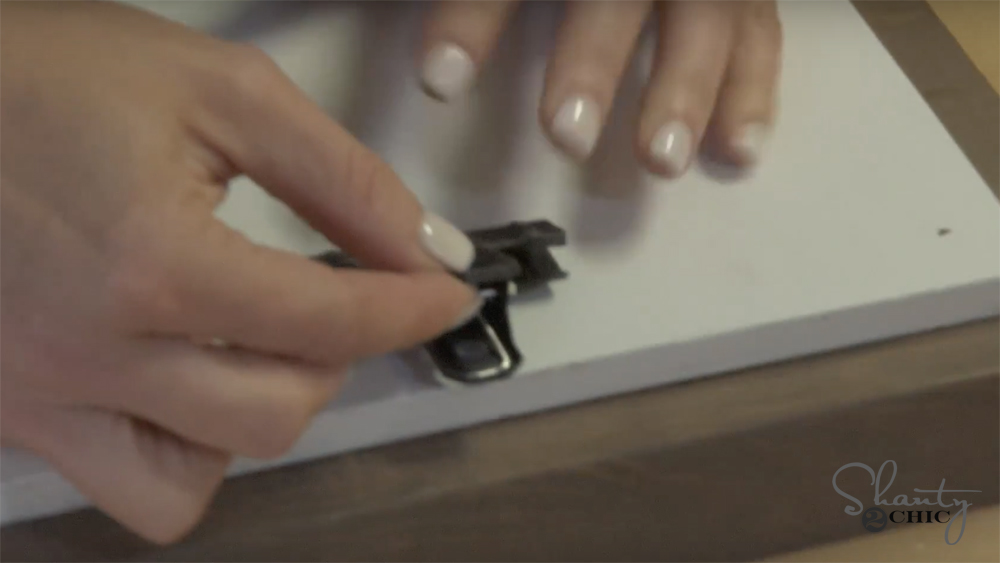
Next, you are ready to apply the clips. We found ours HERE on Amazon.
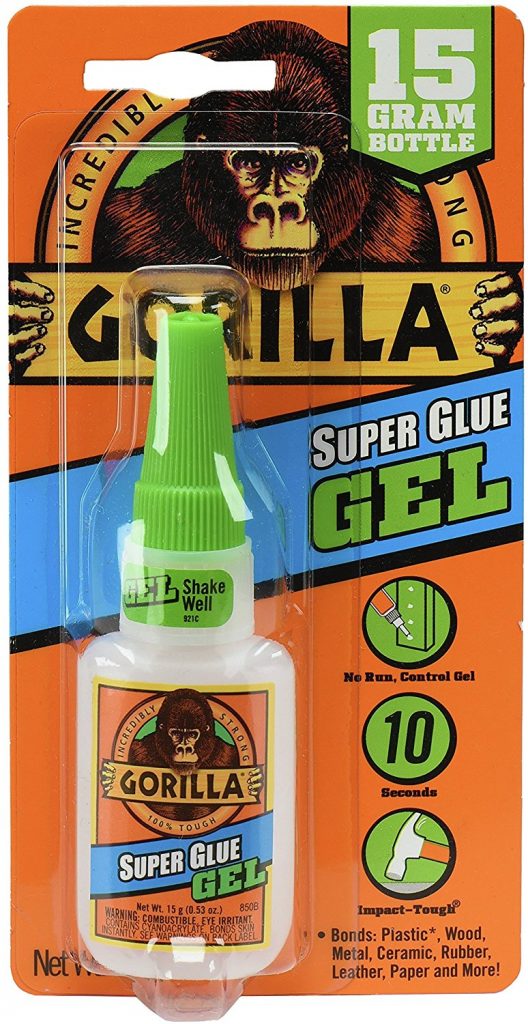
We get asked the best kind of glue for this type of application all the time. We always seem to have great results using this Super Glue Gel.
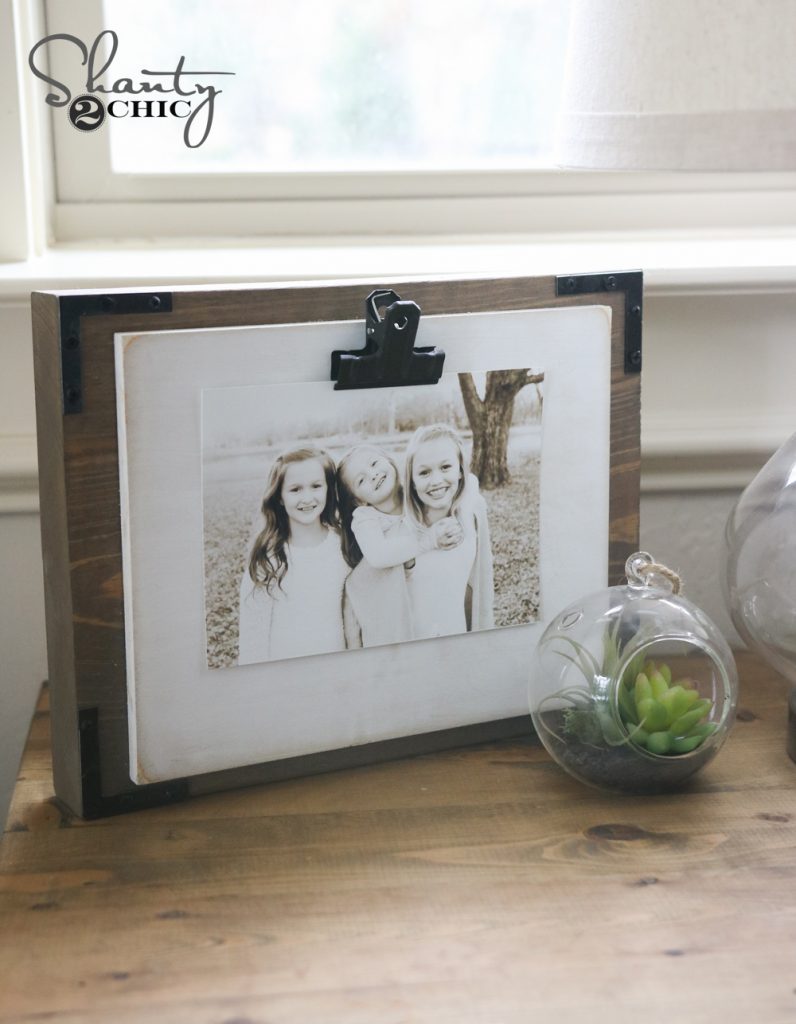
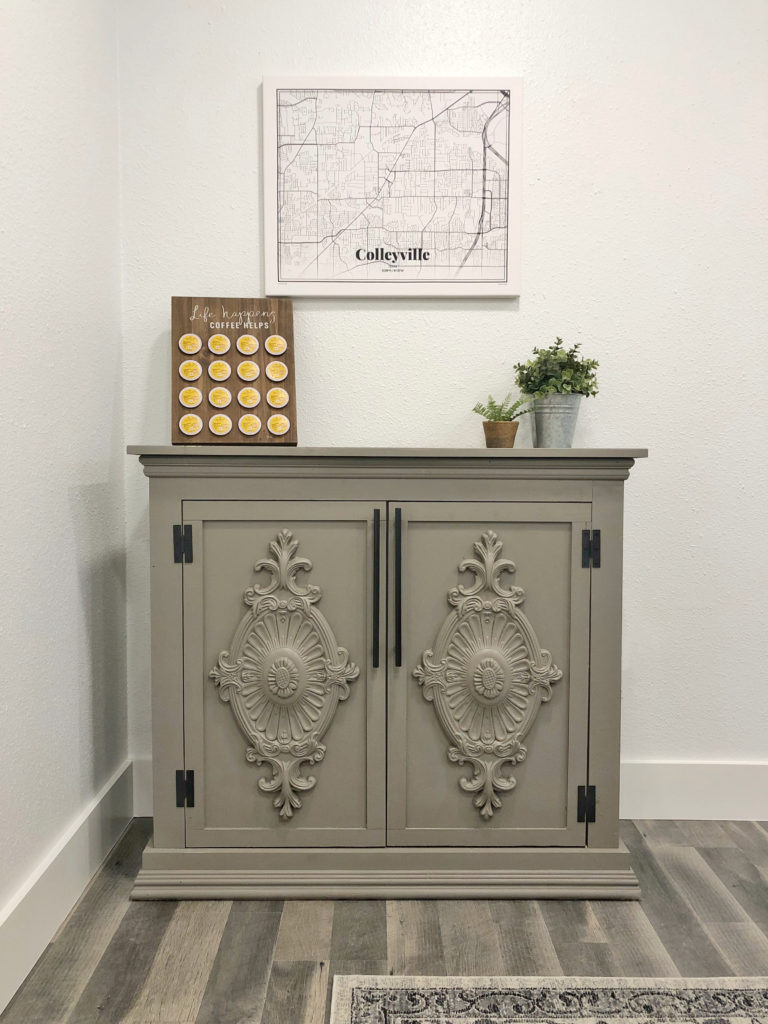
Here it is all finished up! Super easy and inexpensive!


Do you not have to sand the board before staining?
What is the type of filter on the picture that y’all used?!?!
So cute , perfect grand parent gift. Thank you.
Love this and super cute! Would make such great gifts! thank you!!