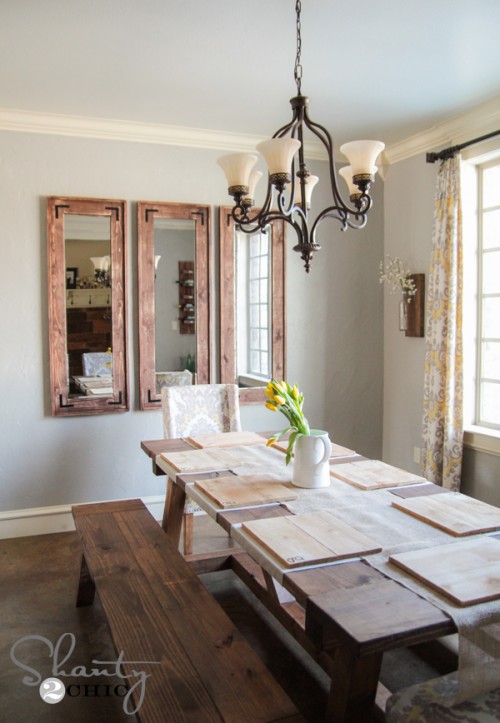
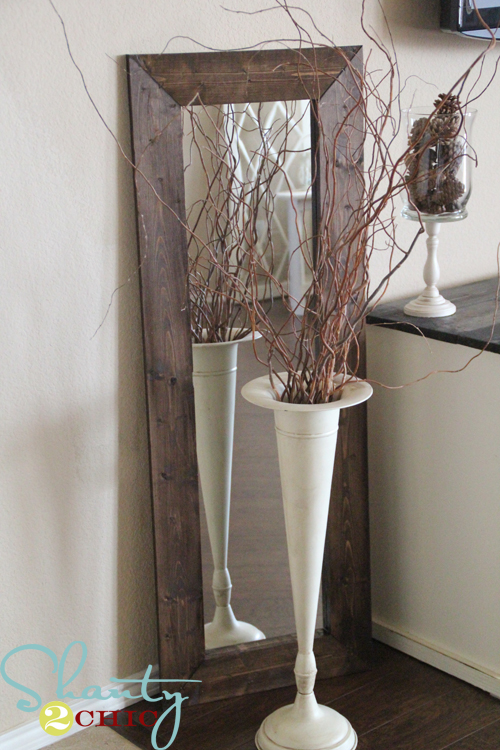
Hey guys! I’m back to share the super cute Mirror that you may have seen hanging out on top of my DIY Console Table last week!
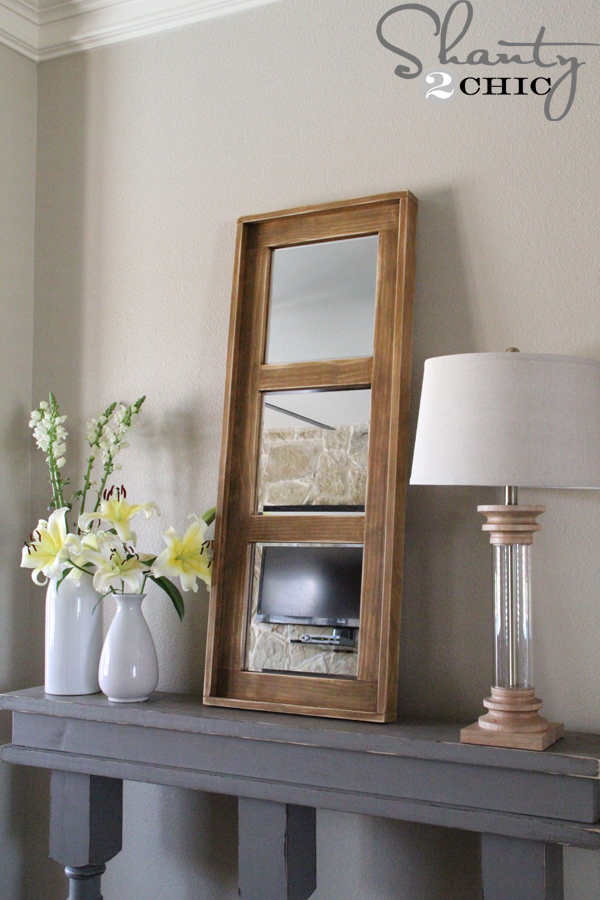 It stands just over 4 ft. tall making it great for so many spaces and guess what? It only cost me about $30 to make and it’s SUPER Easy – a total beginner project!
Here’s how!
 I started with a piece of scrap Purebond Plywood that I cut down to 46″x17″.
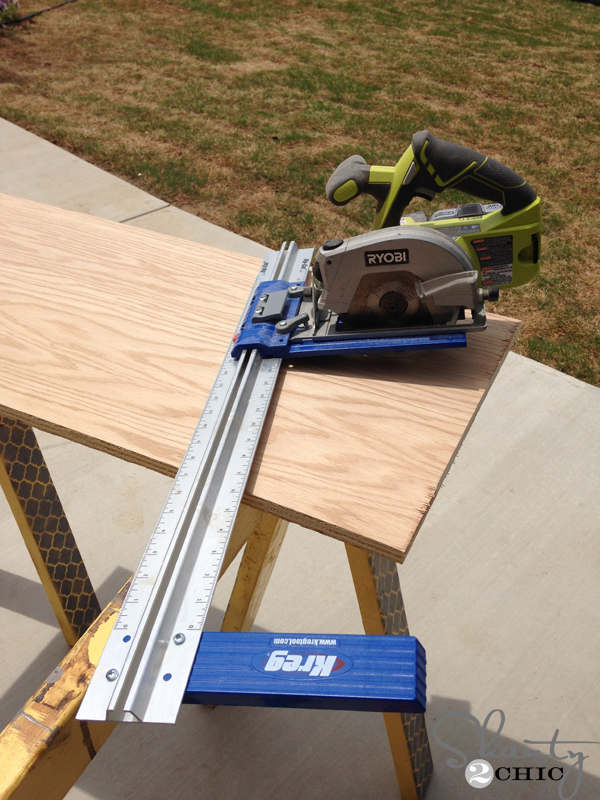 Because it was a scrap from another project, I used my Kreg Jig Rip Cut to cut the scrap down. This is the perfect tool if you don’t have room for a table saw or if you aren’t ready for the purchase. It just slides on to your circular saw and it’s only $31 on Amazon right now (prime) with free shipping. I’ve shared the link below! If you don’t have a circular saw or scrap plywood, no worries! Just purchase a 2’x4′ 3/4″ thick panel at your local hardware store. They can even cut it down for you there 🙂
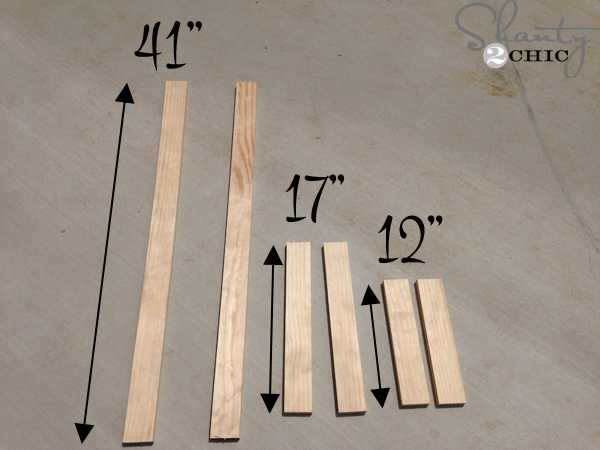 Next, I purchased 3 1x3x8 boards and cut 2 down to 41″, 2 at 17″ and 2 at 12″.
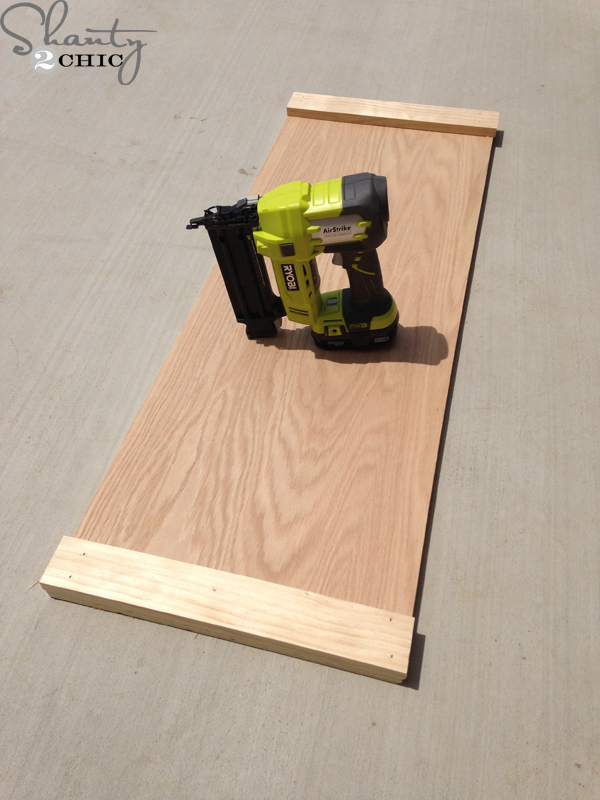 I used my brad nailer to attach the 2 17″ boards to the top and bottom of the plywood panel. These are flush with the ends of the plywood.
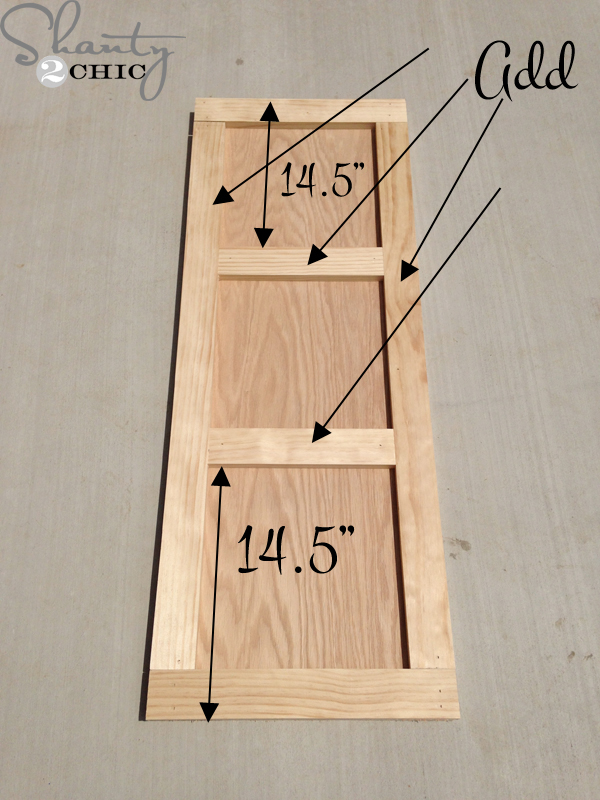 Then, I added the 2 41″ pieces to the sides of the plywood, also flush with the edges. Next, I nailed on the final 12″ pieces. I put the bottom one 14.5″ from the edge of the plywood and the top one, also 14.5″ from the edge.
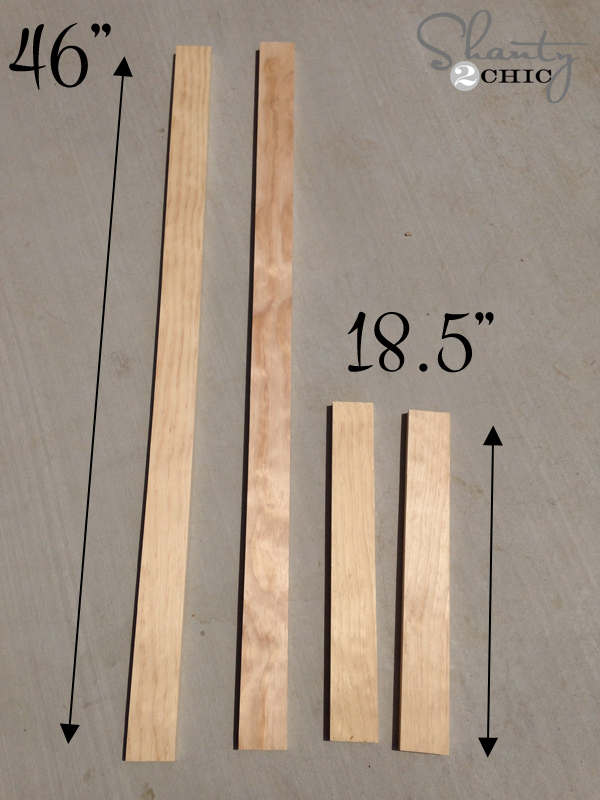 To finish it off, I cut the rest of the 1x3x8 boards to trim around the entire thing. I cut 2 pieces at 46″ and 2 at 18.5″.
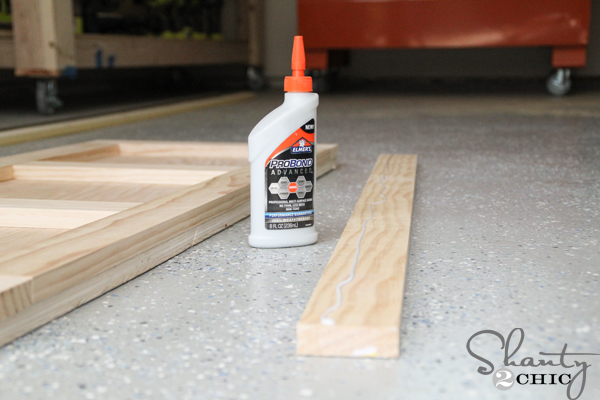 I used my nailer and Elmer’s ProBond glue to attach the trim pieces! This stuff is AMAZING! It has no smell and it will bond nearly anything… Metal, wood, glass…you name it!
 First I attached the 46″ pieces and then the 20″ pieces.
Time to add a finish!
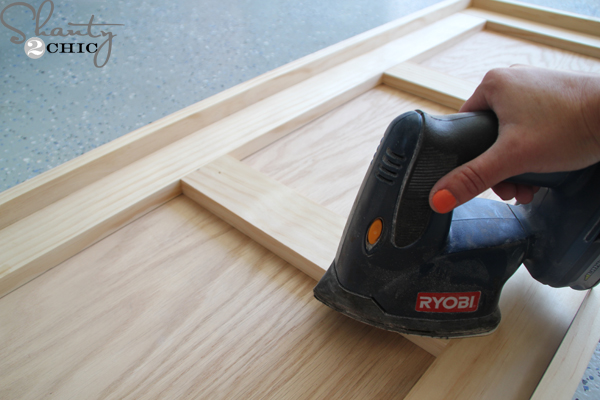 I used my Corner Cat Sander to prep the wood for stain. I just ran an 80-grit over the whole piece, really quick 🙂
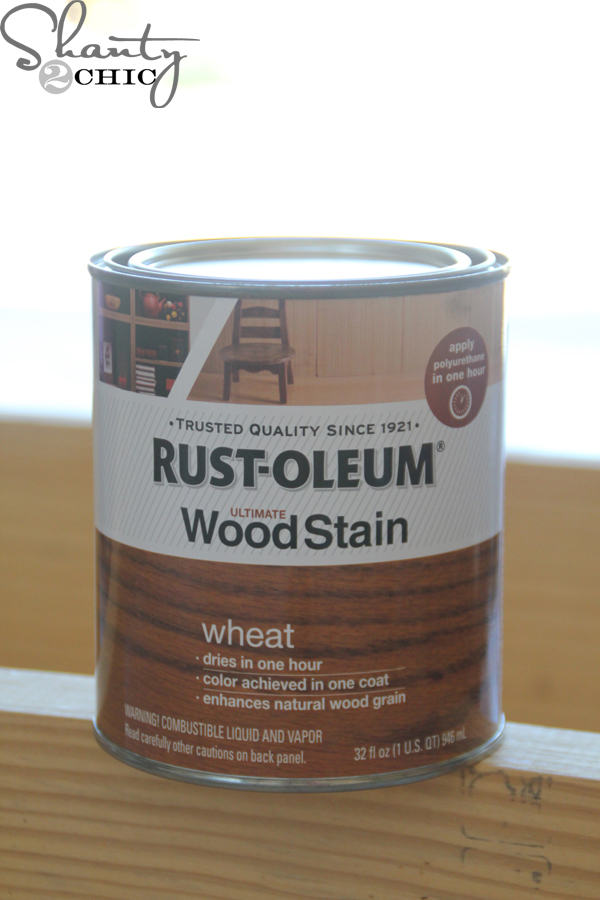 I chose Rust-Oleum Wheat stain for this piece!
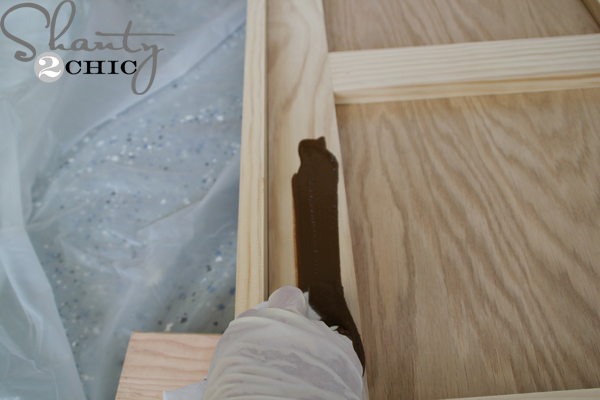 I applied one-coat with a clean rag, let it dry for about 5-minutes and then wiped it with a clean rag. Don’t wipe the stain off, just use the rag to blend it. You can see in the picture above, rich the stain looks when you apply it. It’s our fave stain because it does go on so rich in one-coat and it dries in an hour!
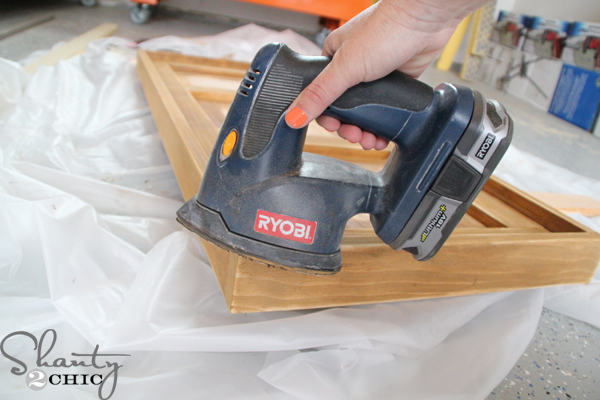 Once the stain dried, I used my sander to distress everywhere! I used an 80-grit here too!
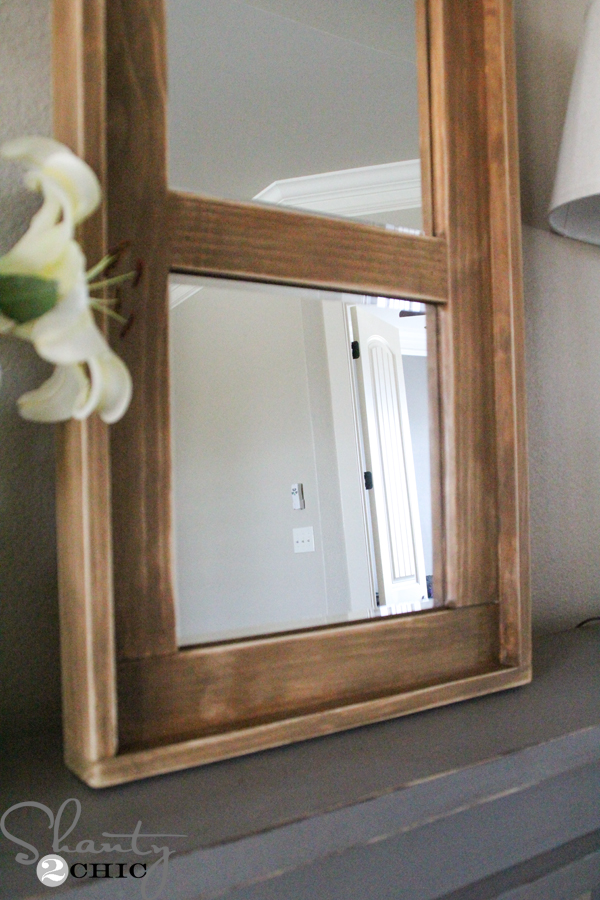
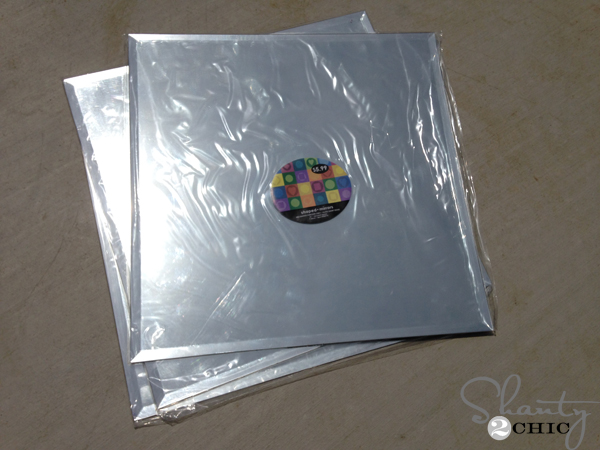 For the mirrors, I purchased these super cheap 12×12 beveled mirrors from Hobby Lobby when they were 40% off – making them about $2.50 each!!! WOW!
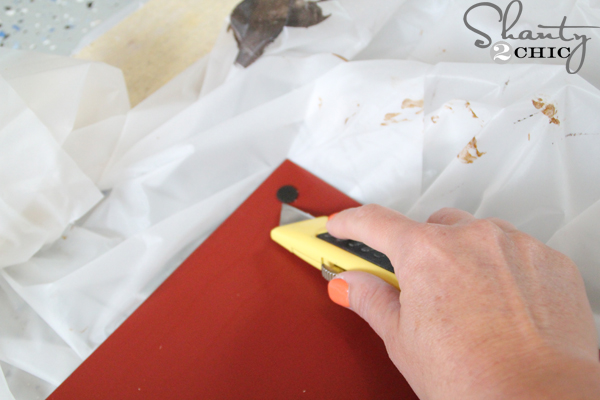 I just flipped the mirrors over and removed the foam pads with a box cutter.
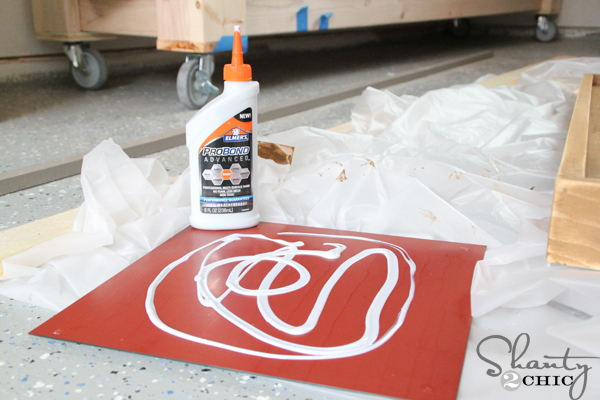 To attach them to the wood frame, I used a lot of ProBond
 and placed one mirror in each spot on the frame. I let it sit to dry for 24 hours and that was it 🙂
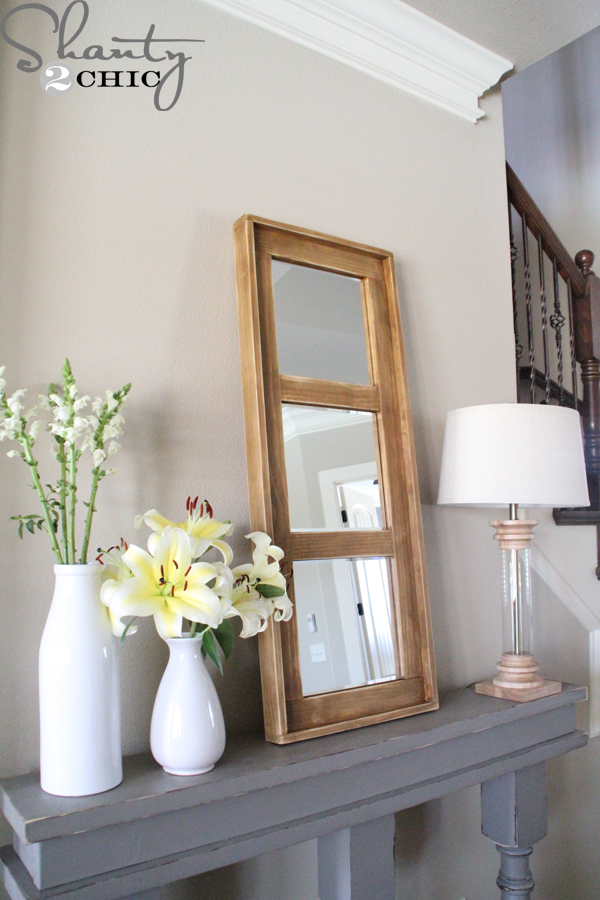 I just propped it on top of my console table but if you want to hang it you can use picture hanging wire on the back.

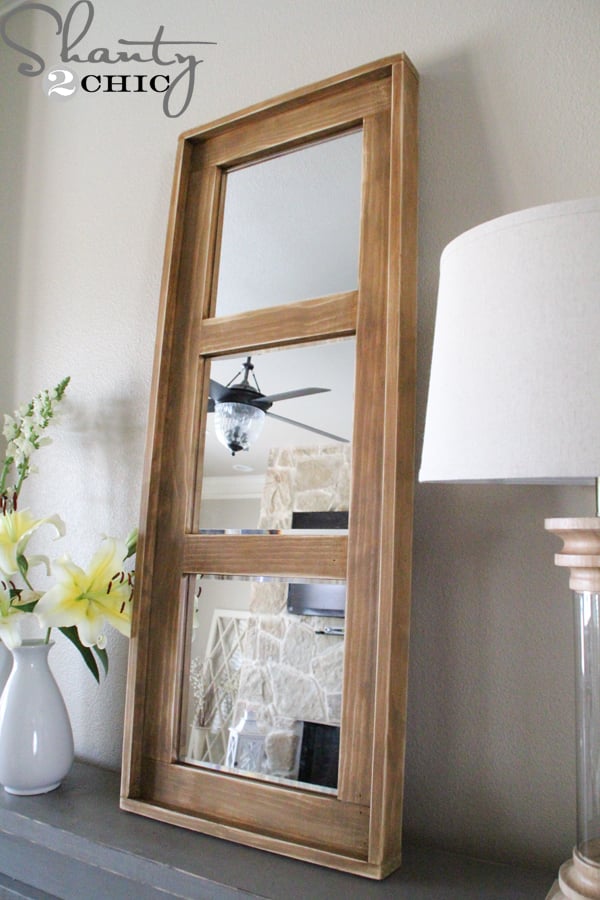
LOVE it!!! Super easy, inexpensive and big 🙂
We always appreciate your shares and pins!
Thanks so much for stopping by!
~Ashley
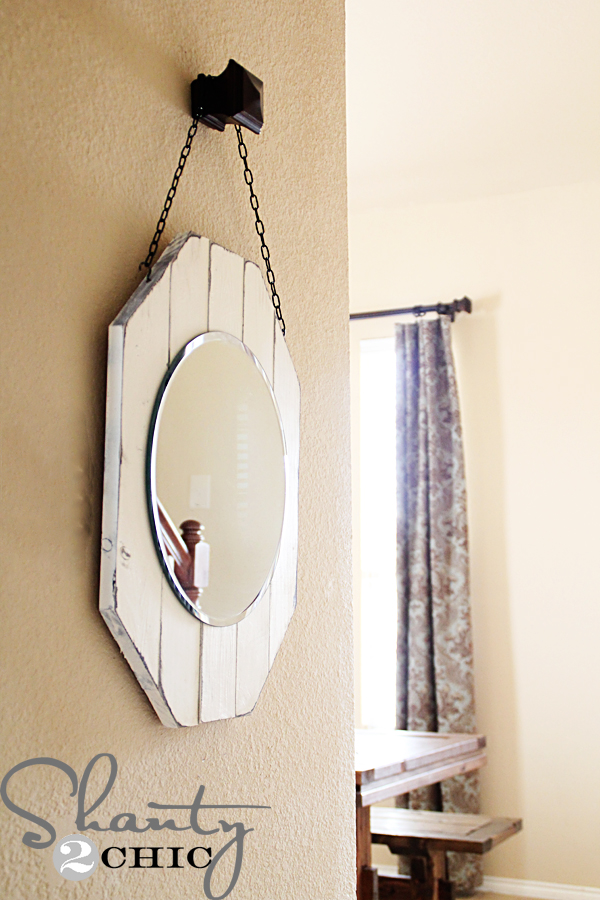
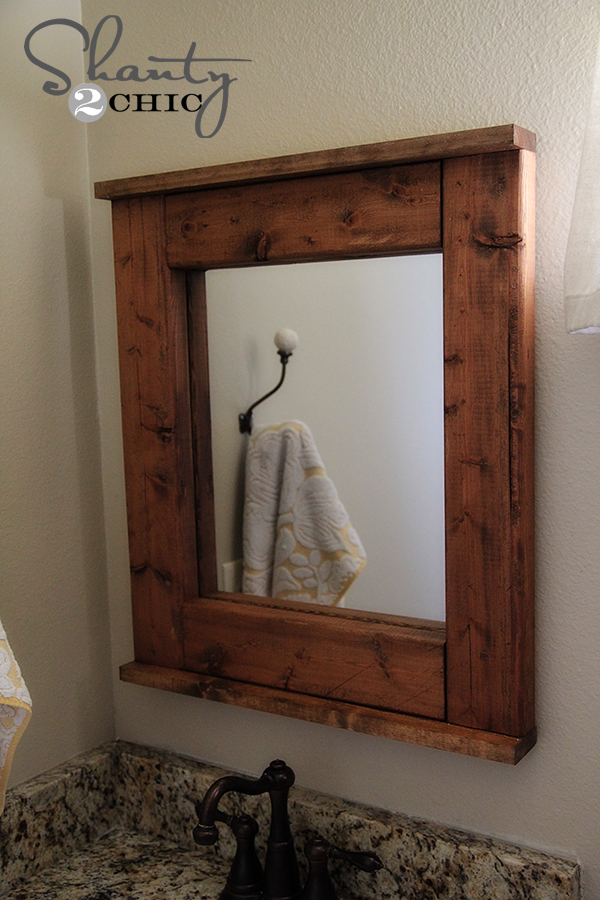
We’ve made lots of easy DIY Mirrors. Click the images below to check them out 🙂


This may sound totally ignorant and seem like I cannot follow instructions BUT!….I purchased the kreg rip cut and CANNOT get the gosh darn thing onto my saw. I have the Ryobi 6.5″ cordless circular saw and can’t figure out how to get it to fit on there! I’ve tried multiple different ways! Can you post a video of how to attach it to your saw as I see you have the same one (just maybe not the same size as mine?!?!?!) Seriously…….it doesn’t fit flush with the foot of my saw if I tighten the screws….maybe i’m overthinking this??….ARRRGHHH I so want to us this thing!!!
What size brad nails did you use? I’m so excited for this one!!!
Thank you for the tutorial (and all of your tutorials!). I did this mirror this week & I LOVE it!
How could I make this double for 2 across making it a 6 panel mirror that looks like a window pane?
You totally could!
I’m thinking about making this and just wondering why the top and bottom trim are 20″ to me it seems like the are the length of the 17″ plywood plus the two .75″ side trim peices making them 18.5″ long? Just want to make sure I’m not looking at it wrong and cut the pieces at the right length
Thanks!
Mallory thank you! This is a typo!!! I will correct it now. The measurement is 18.5″ 🙂
I love all your projects and also the colors of your walls! Would you mind sharing the paint colors? Thanks!
This is beautiful! I’m not a DIY’er but thankfully I have a husband who rocks at those kinds of things. Think I have another project for him! 😉
I bought a 6 pack of 12×12 mirrors at Lowe’s for $10. They are not beveled.
beveled 6 pack of mirrors are 20.00 at lowes, I just got them on sale for 15.00. Going to make a few of these!
I just made the $15 DIY mirror, and the glass bottle & wood vase!! I love them, and am planning to make the Pottery barn inspired media center! I am wondering where you got that beautiful white vase with the tree branches in it that is pictured in front of the standup mirror?!
Thanks 🙂