Hey there! We are so excited to be back for Day 5 of the 12 Days of Christmas!
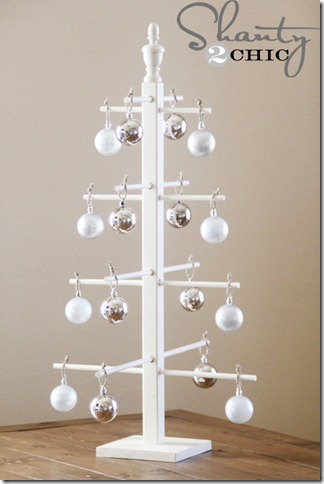
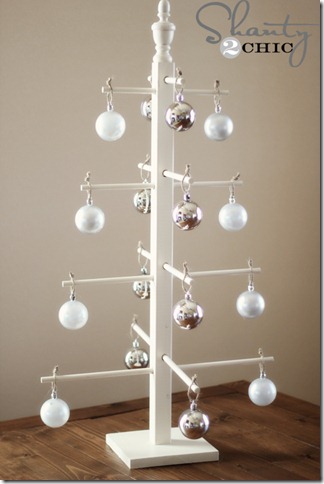
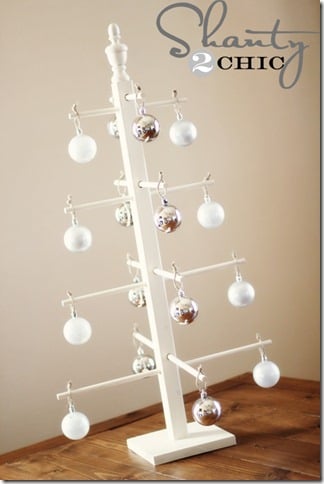
For Day 5, I chose to make a Wooden Ornament Tree and it is completely COLLAPSIBLE! It’s always hard to pack decorations away after Christmas and I thought that making this collapsible would be so helpful come January!
Did I mention it only cost me $10 to build? Here’s how:
This hand saw is the perfect tool for this project! If you don’t have a saw, this is the right place to start and will only cost you $10!
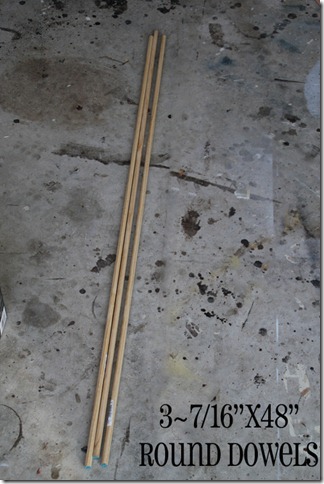
Purchase 3 round dowels at Home Depot.
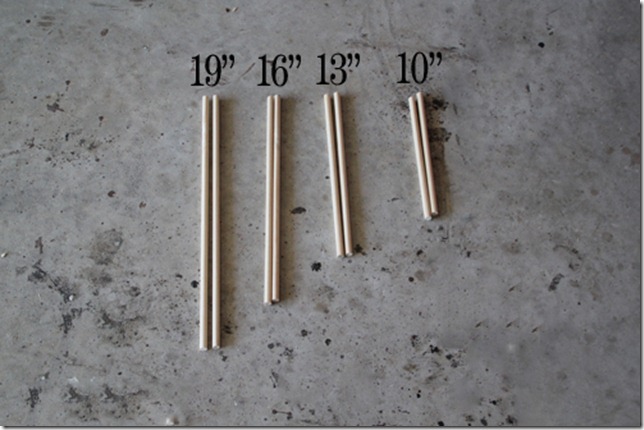
Cut them down to the measurements above.
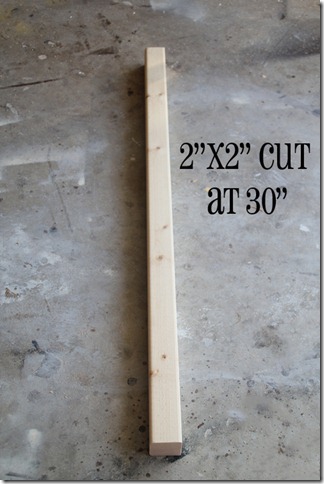
Purchase a 2×2 at Home Depot and cut down to measurements above.
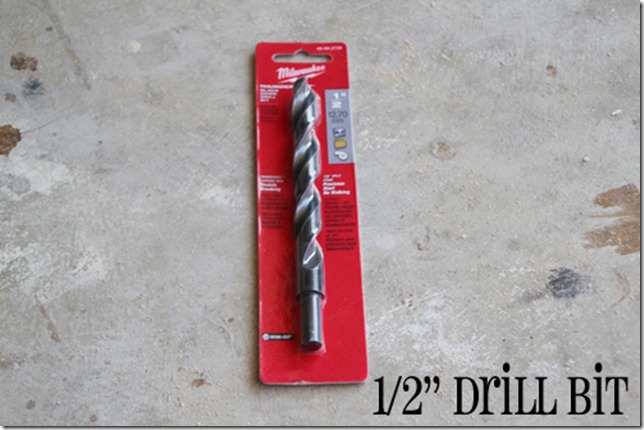
You will need a 1/2 drill bit for the next step.
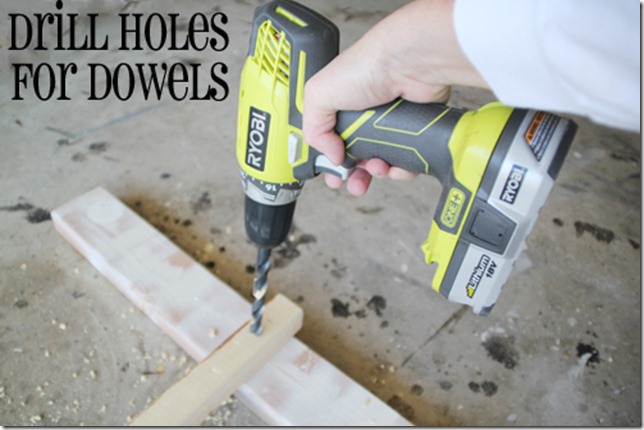
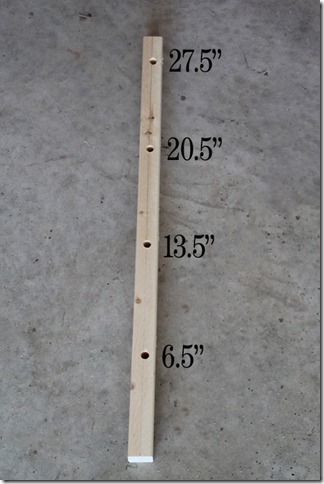
Drill holes at the marked measurements on one side of the 2×2. Tip: I drew a line down the middle of the board to keep holes in the center.
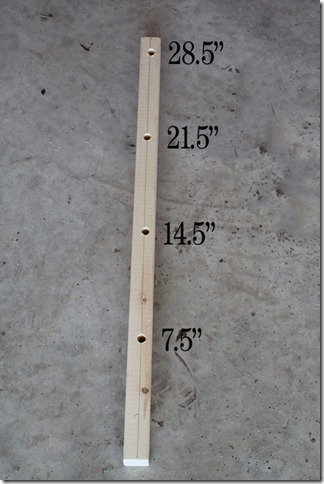
Flip board to the right once and drill holes at the measurements above.
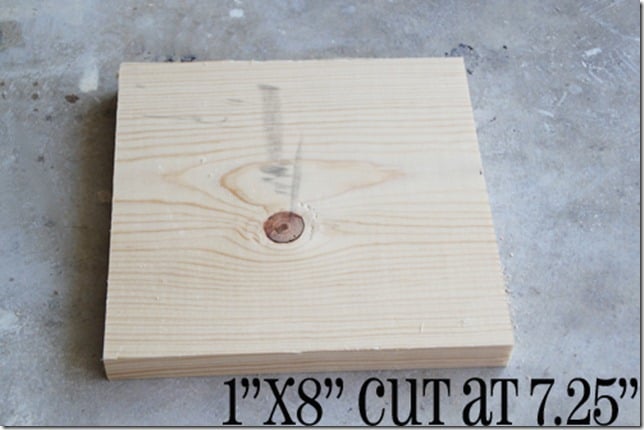
Cut a scrap 1×8 at 7.25”. If you don’t have a scrap, you can purchase a 1×8 at your local hardware store.
Drill a hole into the center of the 1×8.
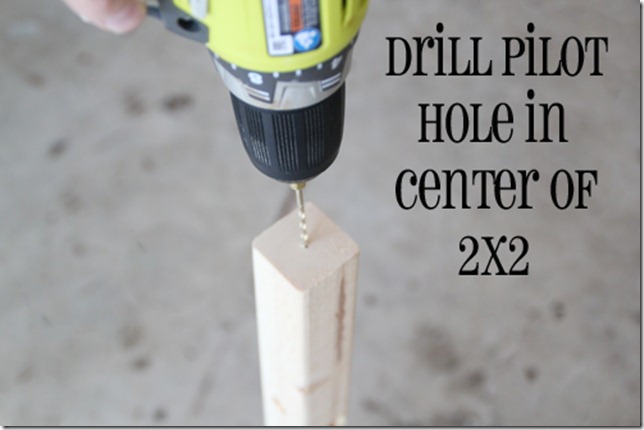
Drill a hole in the center of the 2×2.
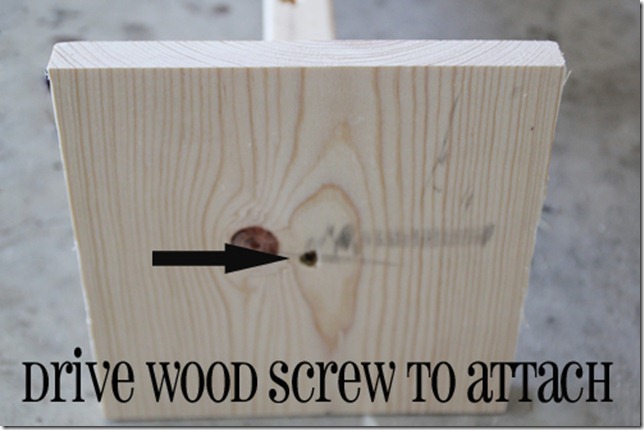
Attach 1×8 and 2×2 with a wood screw through the bottom of the 1×8.
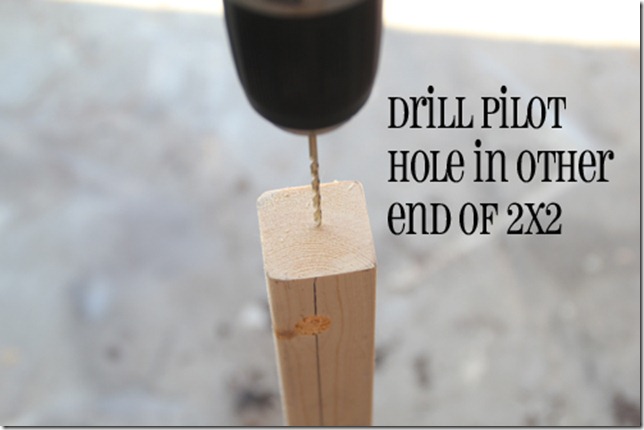
Drill another hole at the top of the 2×2.
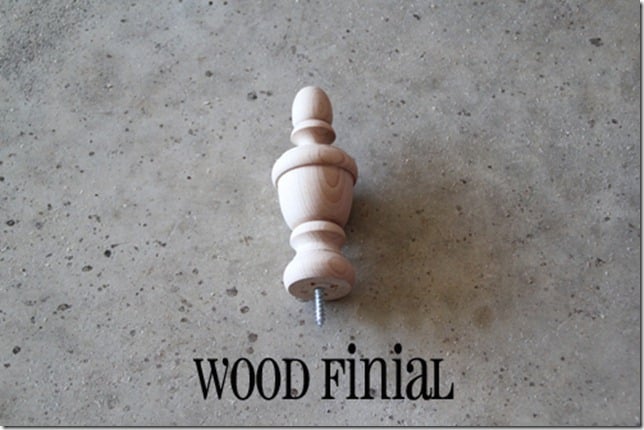
Purchase a wood finial at Lowe’s.
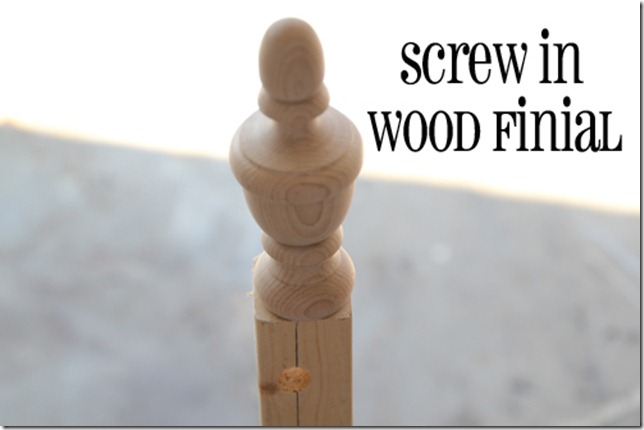
Screw finial into 2×2.
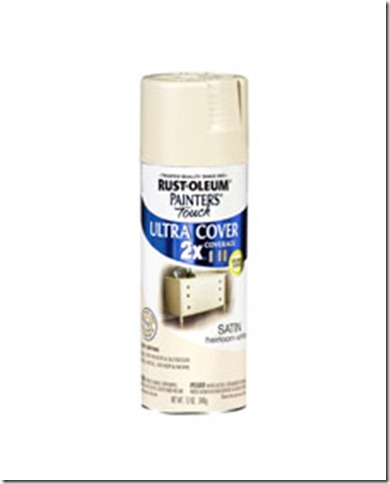
I chose to paint my tree in a favorite, Rust-oleum Heirloom White spray paint.
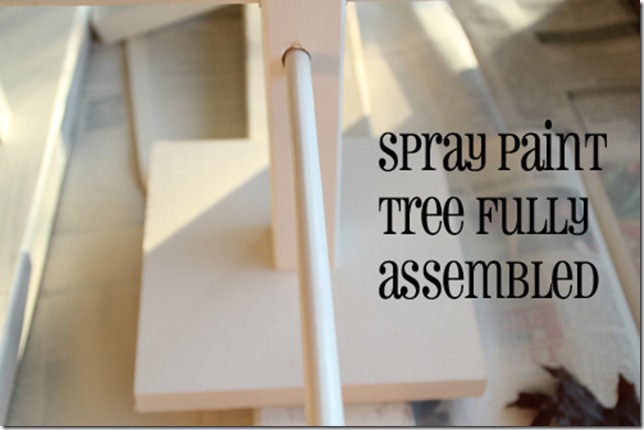
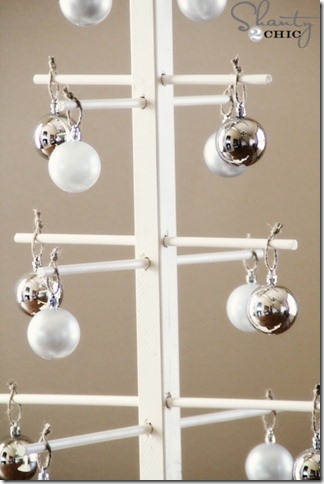
I found it easiest to spray paint the dowels while they were in the tree. Tip: place dowels from longest to smallest from bottom to top to form the shape of a Christmas Tree.
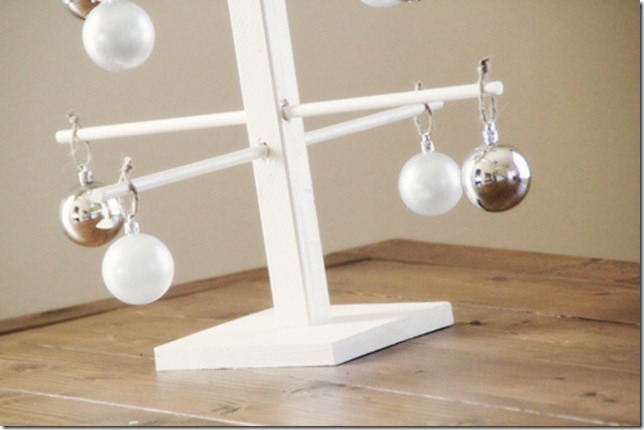
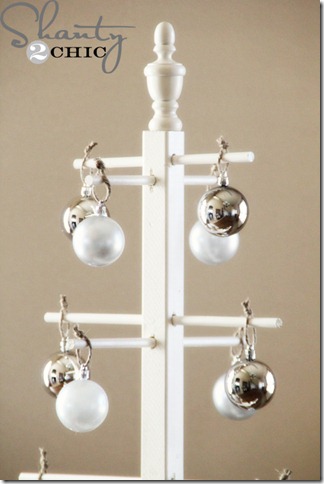
That’s it! I didn’t use any glue on the dowels and the base and final will unscrew for easy storage! I finished it off with some simple (medium sized) silver ornaments and have it displayed on my dining table. The great thing about this piece is that it is so versatile and would look great in any room of your house
I love simple and cheap projects. If you have 2 hours, $10 and a drill, you can make your own too! It is so easy
Thanks so much for stopping by!!
I would love for you to share this with your friends and PIN it of course!!
We have teamed up with some fabulous bloggers to bring you this 12 Days Of Christmas! Make sure to check them all out, and be looking for today’s great giveaway!
A little bit more about the Shanty Sisters…
We are 2 sisters sharing how we transform our homes on a budget! With 8 kiddos between the two of us, we put every naptime to good use ;-)!
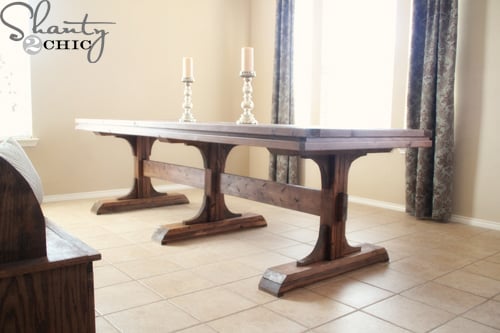
From building projects like this Pedestal Dining Table for $125
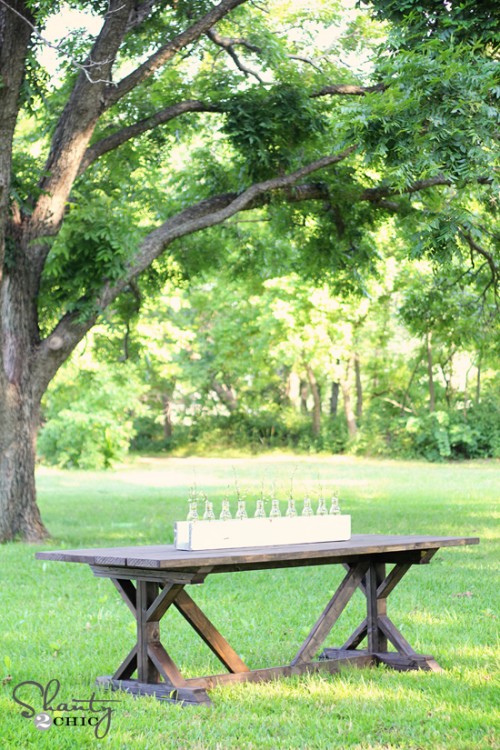
and this $65 farmhouse table…
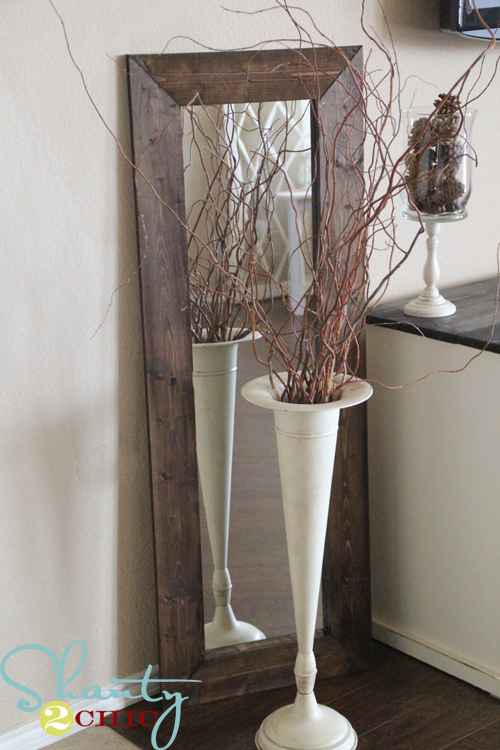
To transforming things like this $15 mirror made from a Walmart mirror…
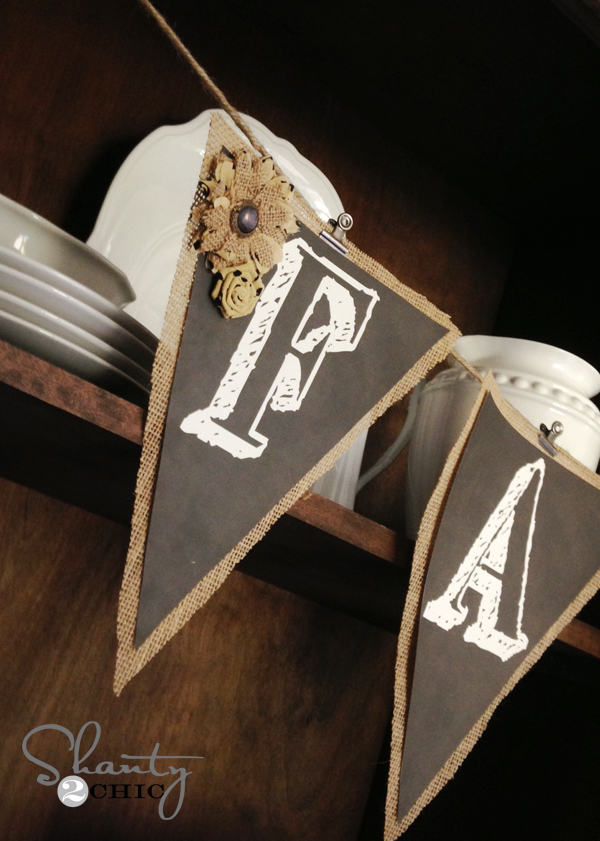
And even offering free printables like our latest free alphabet banner!
You can also follow us on Facebook!
And keep up with all of our posts by following us on Pinterest!








You have such a warm smile that I think you’ll be a wonderful nurse. Good luck for the rest of the semester. And keep it updated.
It’s really beautiful! Your motivation and dedication will only help your children grow up further. They are very well adapted to these things. Keep up the good work… May will be here before you know it!
Thanks For Sharing Information, I really Like Your Blog. Its Really Helpful For me And Please Keep Posting..
Hello, thank you for the good information.
I have good information. I want to take a look.
I appreciate your skills and style in elaborating on the topic.
Thanks for sharing with us this important Content.
This is very nice article. Everyone should read.
Nice information, you write very nice articles, I visit your website for regular updates.
Thanks for the update and quick reply. I’ll be sure to keep an eye on this thread.
appreciate it for your hard work. You should keep it up forever! Best of luck.
pleasant piece of writing and fastidious urging commented at this place, I am genuinely enjoying by these.
Thank you – I appreciated this as the trees online are expensive! I’m hoping I might find a round piece of wood for the base. I would also recommend. that a shallow slash be put on the top surface near the end of the dowels before painting or staining so ornament hooks, strings or ribbons will not slide off.
This is a wonderful work we wish you success and excellence and thank you
Hey do you sell your FYI ornaments display already made? If so price
Hello!
You guys have a great knack for making everything look easy. This looks great too. Sweet project!