Hey guys! I’m back to share a tutorial for the super cute Pegboard that I made for my friends nursery!
 If you missed the West Elm Inspired Dresser that I made with it, you can click HERE for the tutorial! This pegboard was sooooo easy, under $20 and it only took an afternoon to build! I love it for the nursery but it would be cute in an office or a kids room too!
Here’s how I made it!
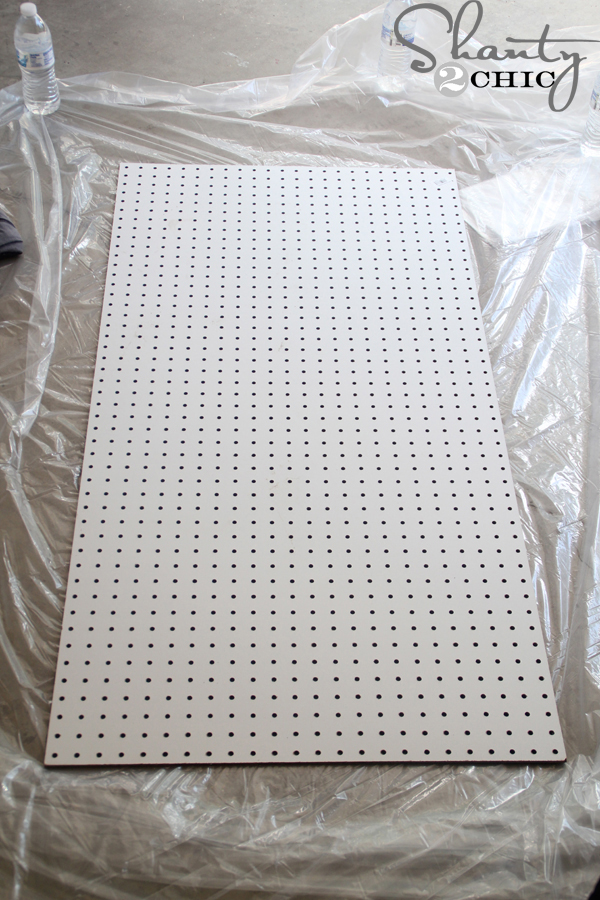 I purchased a 2×4 pegboard from Lowe’s
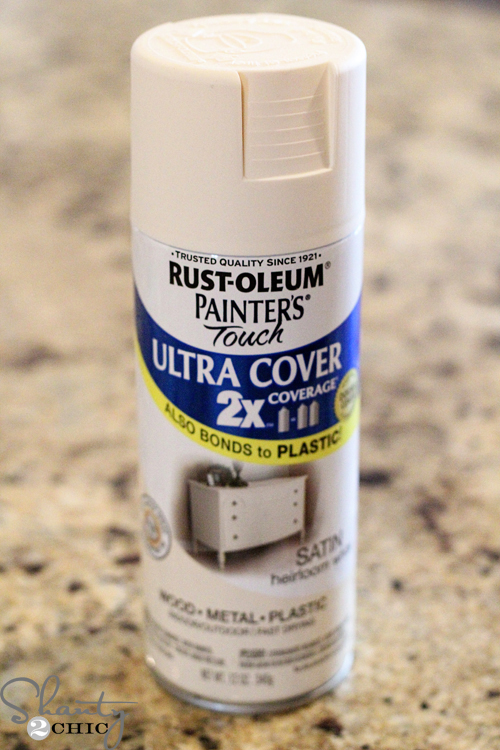 and spray painted 2-coats of our favorite, Heriloom White in satin. Yes, the board is already plain white but I wanted it to be a cream color to match the dresser 🙂
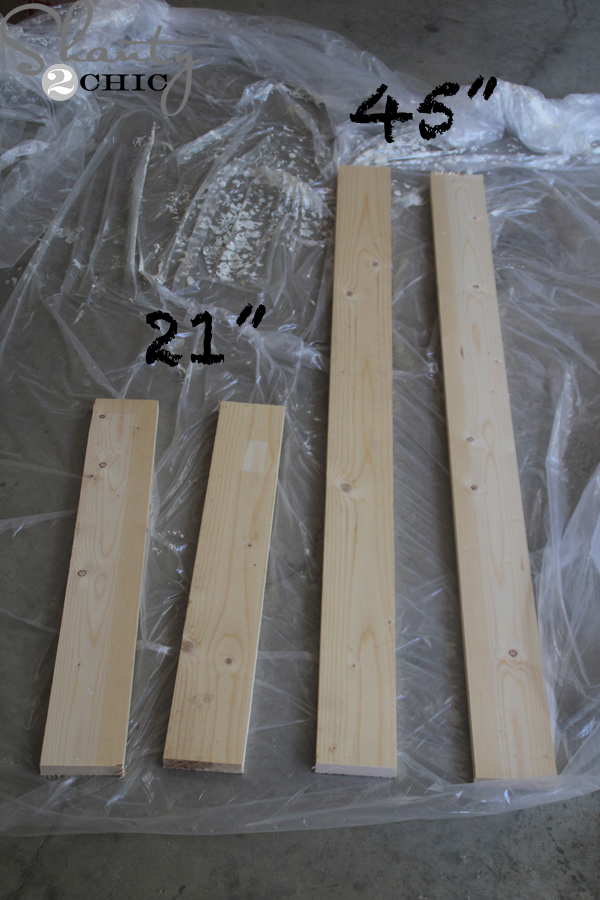 I purchased 2 – 1×4 @ 8ft. pine boards at Lowe’s and cut two boards at 21″ and 2 boards at 45″.
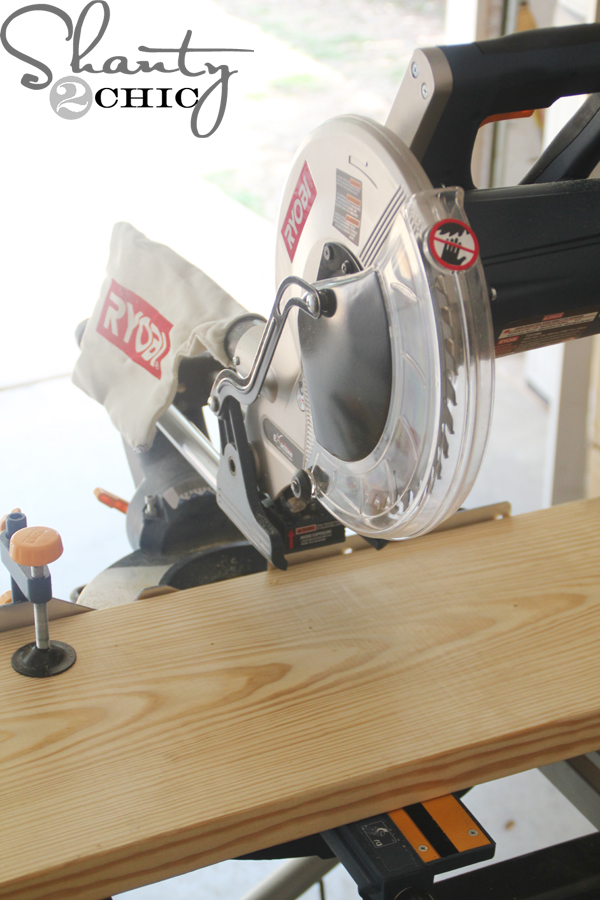 To cut our boards, we use our Miter Saws! You can check out our detailed video tutorial on how to use this saw HERE!
If you aren’t ready to make a purchase like this, you can buy this hand saw and miter box below. This is the perfect project for a saw like this:
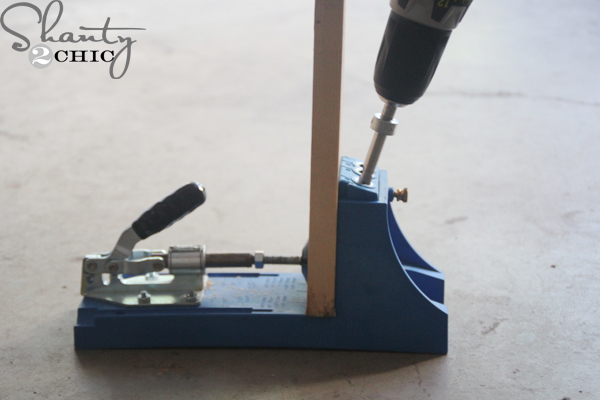 After the boards were cut, I just drilled pocket holes with my Kreg Jig into one end of each board. We also have a video tutorial on how to use a Kreg Jig that you can check out HERE! It does not matter which end, just 2 holes at the end of each board and you can piece them together after!
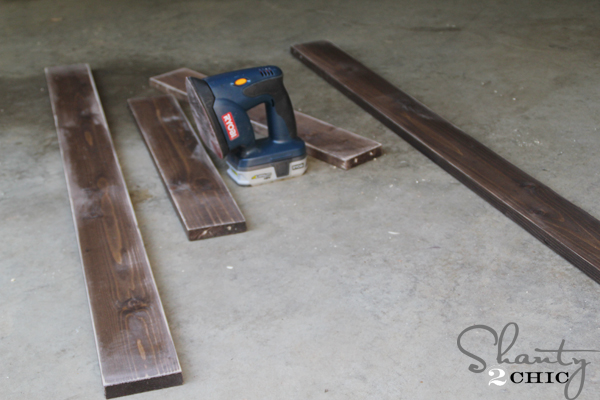 I stained them with another favorite, Dark Walnut and I used my Corner Cat to distress all of the edges!
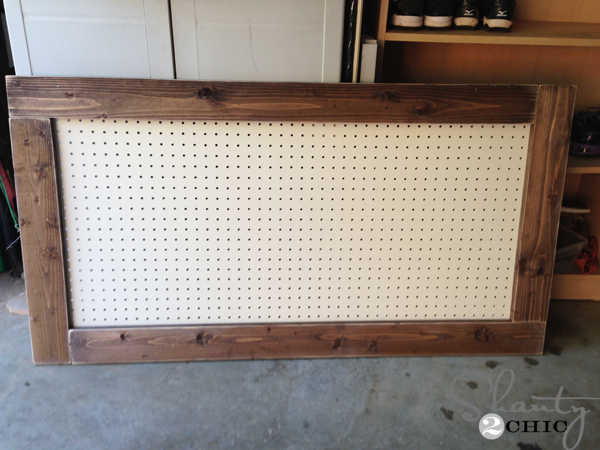
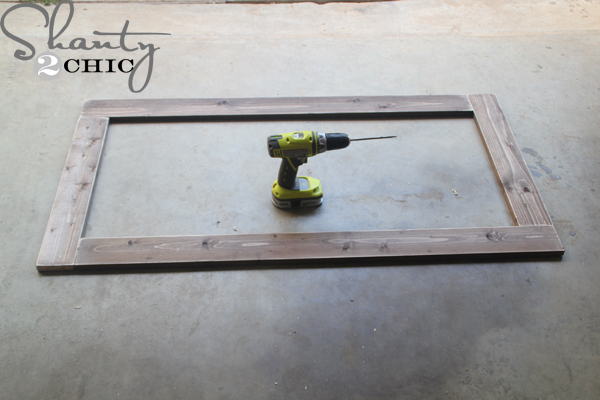 Now, just piece them together with Kreg Jig pocket hole screws. I like the pattern that I used. It gives it a more industrial/rustic feel. Notice, each board overlaps the other. It is not the typical pattern that you would use to frame something out.
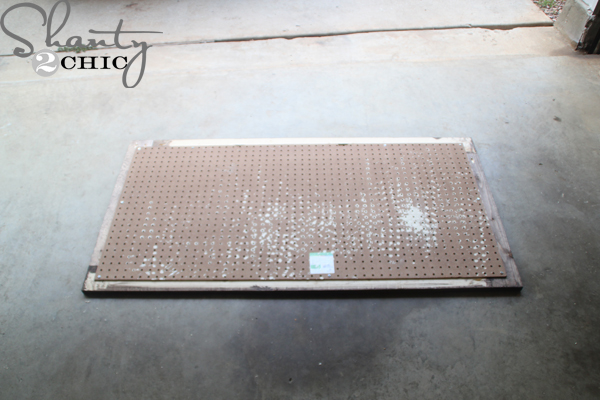 Now, just flip the frame over and use 1-inch wood screws to drill the pegboard onto the back of the frame!
 Loving it! Here, you can see the pattern of the frame that I mentioned above!
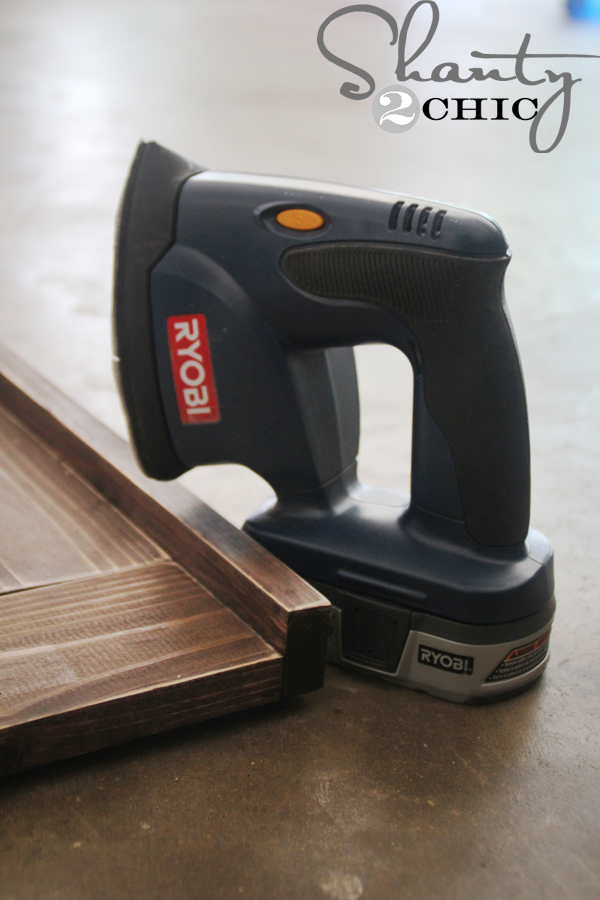
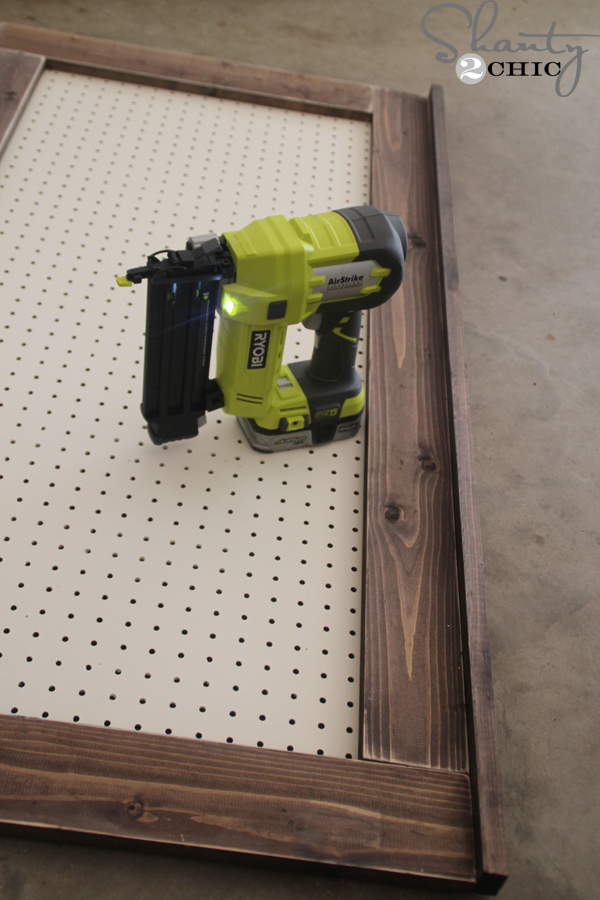 To finish this off, I purchased a 1×2 @ 6ft. to trim the top with. Just cut it to the exact length of the frame and nail it to the top (keeping the back of the board flush with the back of the frame. It will overhang on the front. I used my brad nailer to add the trim 🙂
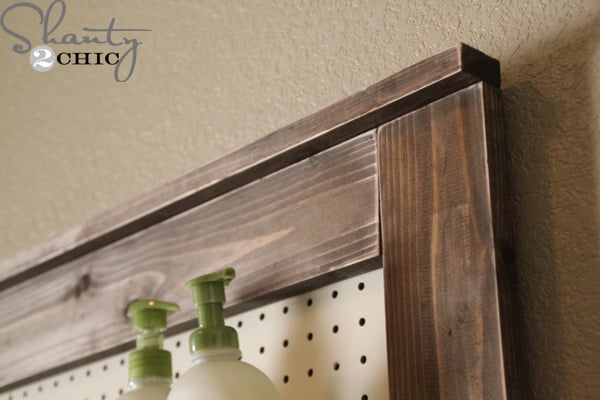
 Finish it off by distressing the trim and that’s it!
 I dressed it up with pegboard baskets and peg hooks that I found at Lowe’s (on the garage storage isle). I’m loving it!!! It makes the perfect changing station for my friends new baby, adds a unique look to the room and it’s so versatile so it can grow with him!
I’m getting ideas for all kinds of places that I could use these in my home 🙂 If you love this pegboard, I would LOVE your pins!
Thanks so much for stopping by!
~Ashley

How did you go about hanging this on the wall?
How do you hang the peg board up??
can you post a picture on how the wall looks so i can understand how you hung this up?
How do you go about mounting this once completed?
Where did you get your wire baskets?
I got mine at HomeDepot but I’ve seen them online at Amazon too.
would this work with wood glue and clamping also instead of having to have the jig?
Yes 🙂
great thanks.. i just bought that peg board so i’ll go get your measurements on the wood!!
I got my ‘Shanty’ wishlist for Christmas! (Miter saw + stand, kreg jig, drill, sander) and completed this my first project last night – very simple – I loved it! I’ll be using it in my garage…
Hi there! Where did you get the wire baskets? 🙂
I love this idea! I have a tiny kitchen with hardly any storage space and this has me thinking about all the different ways I could use this!
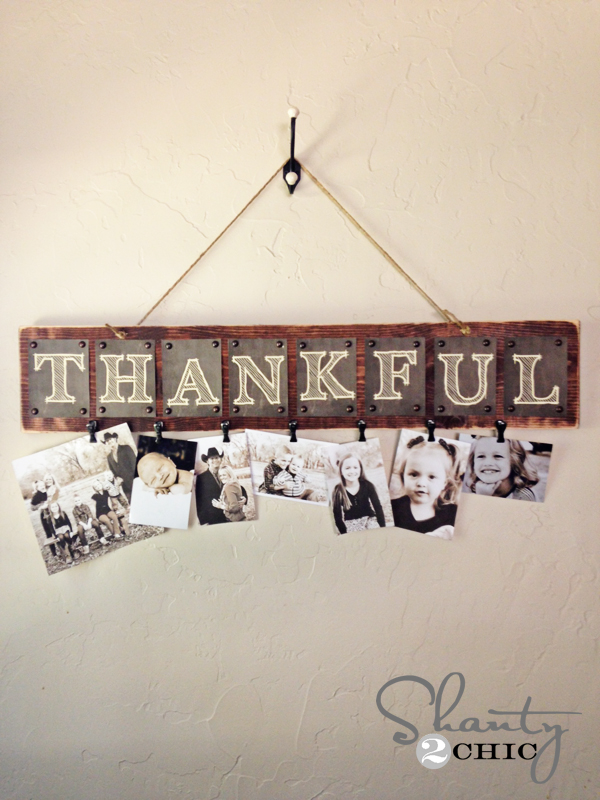
love it! I really love the chevron board with the pic clips. Did you make that as well? Would love a tutorial on that!!!
Very nice! I wondered how you mounted this so that it left space enough to poke hooks through the holes. Please let me know, thanks!
Hi Deidre! I should have added that! I used saw tooth hangers and anchors. I just let my screws out from the wall more than I usually would and that left the perfect space for the pegs!
How about putting hooks on the bottom board. That works for me.
Beautiful! What size of the Ryobi miter saw did you get? I see they offer 7 1/2″ cordless miter saw with laser and also 10″ corded miter saw with laser?
Geneva
Hi Geneva!
We do not have the cordless, although it would be great for small projects! We have the 10″ and it is wonderful!!!
Ah, good to know. Your site is so helpful to me on tools. I really appreciate you sharing what you use and video tutorials. Incredibly helpful for me just starting out, and I know nothing. Your site helps me do my research a bit. One other question – on your Airstrike nailer -has it always been able to do the projects you’ve made? and the strength of the battery when it shoots the brad nailer is sufficient? I want to get one, but it looks really heavy, and wonder if it has the ooomph to really nail in the brads?
I just bought one and it’s fantastic! Not too heavy and no loud compressor to drag around. Definitely recommend!