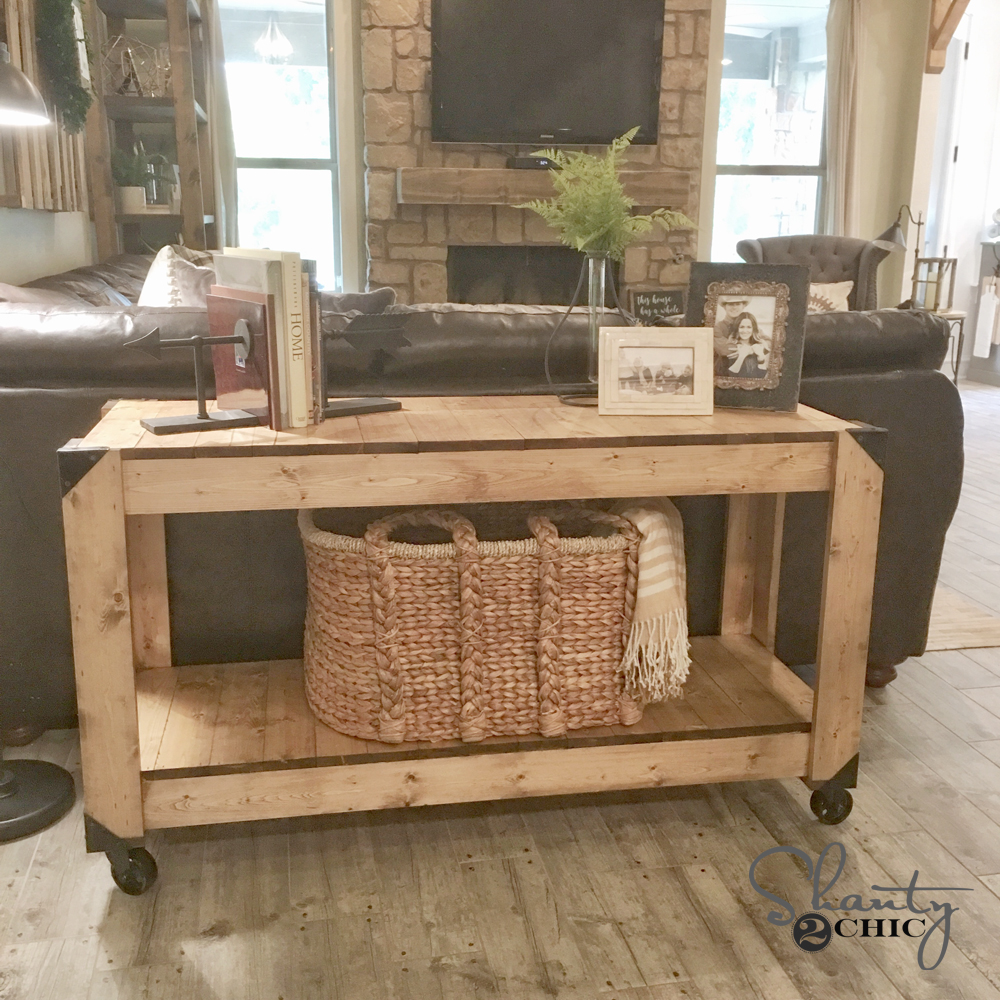
Hey friends! It’s almost Thanksgiving… I hope you’re all having an awesome week and eating a whole lot of food… Don’t worry. We are doing our part. Today is Wednesday which means it’s time for another YouTube video! Yippee! Do you follow us on YouTube? Be sure to SUBSCRIBE HERE! We share a new video every Wednesday and you don’t want to miss them. For today’s, we teamed up to build and amazing 3-tool Console Table… Oh yes. I said it. We built this baby with 3 tools. Check it out! Here is the how-to video on YouTube!
How fun is that?? You can download and print the FREE PLANS by clicking HERE!
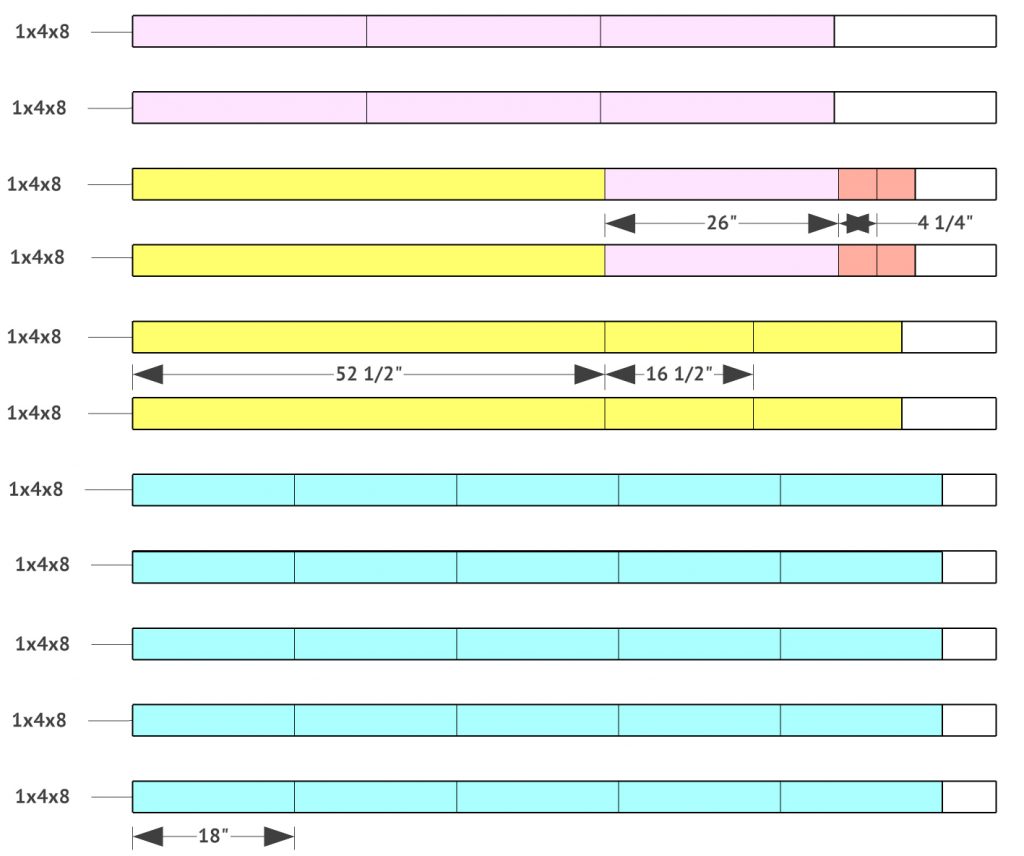
This is super easy to make! First thing is making your cuts. Here is the cut list for the console…
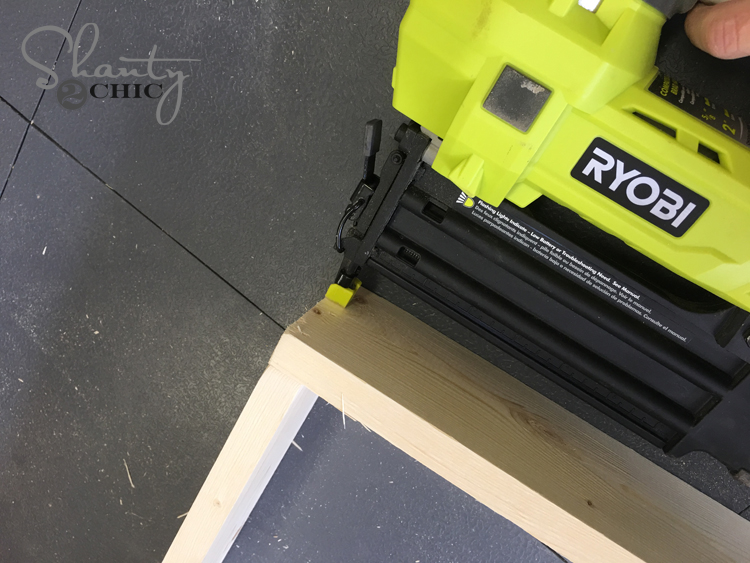
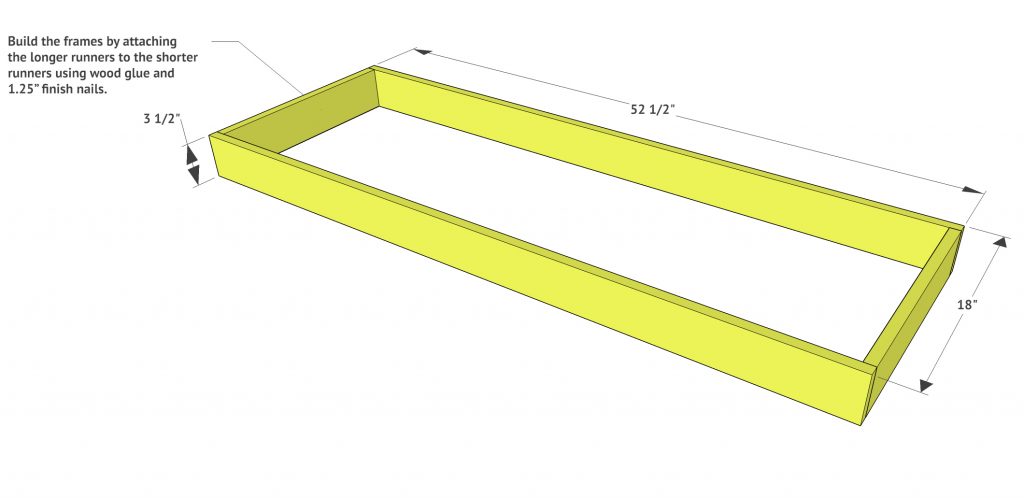
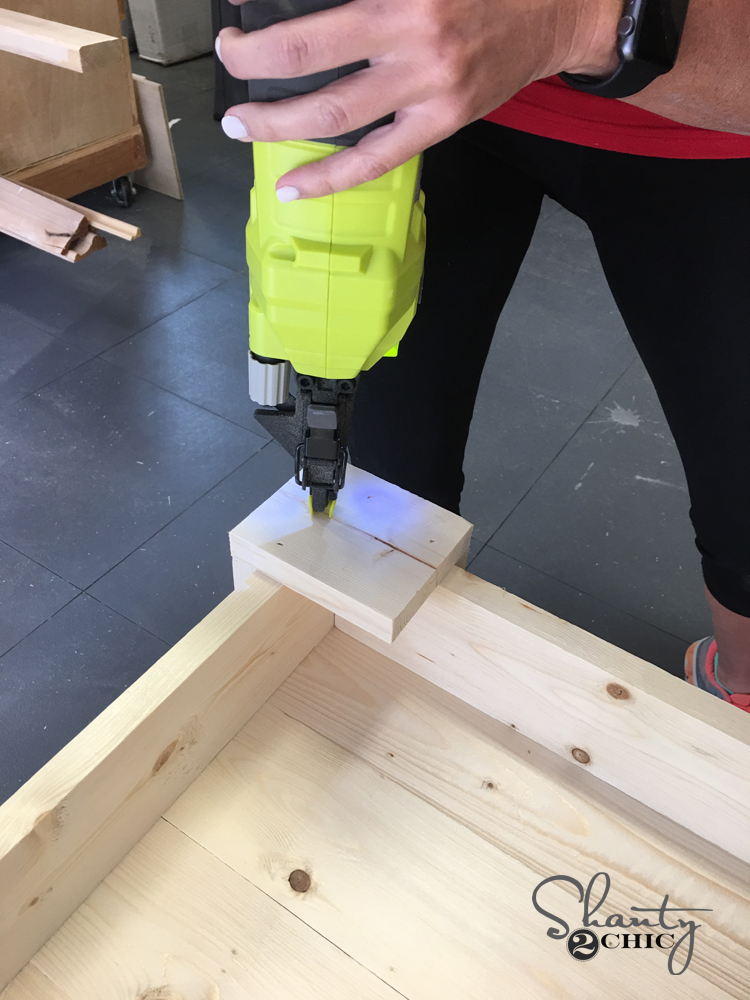
The first step of building this console is building the two frames. These will serve as the top of the console and the bottom shelf of the console. We used wood glue and our 18v Ryobi Brad nailer to attach the long runners to the short runners. We used 1.25″ brad nails for the entire build.
You will have two frames that look just like this…
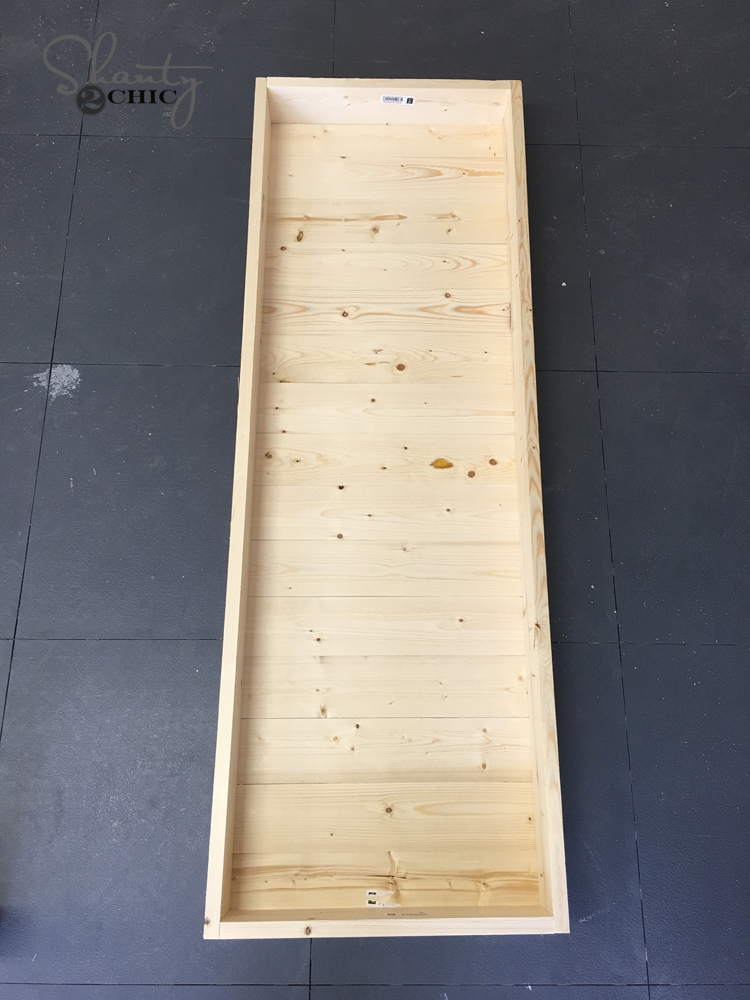
Next step is planking these frames. Each frame will be planked with 15 1×4 boards. These are all cut the same length and we attached them using wood glue and our brad nailer.
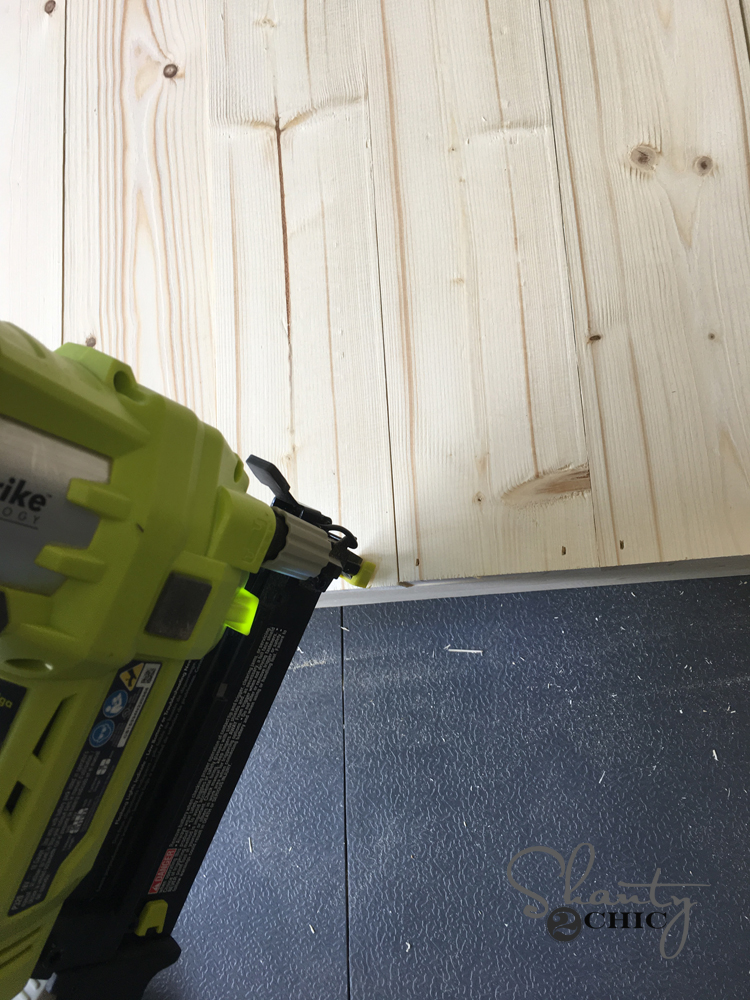
Here is one shelf all finished up…
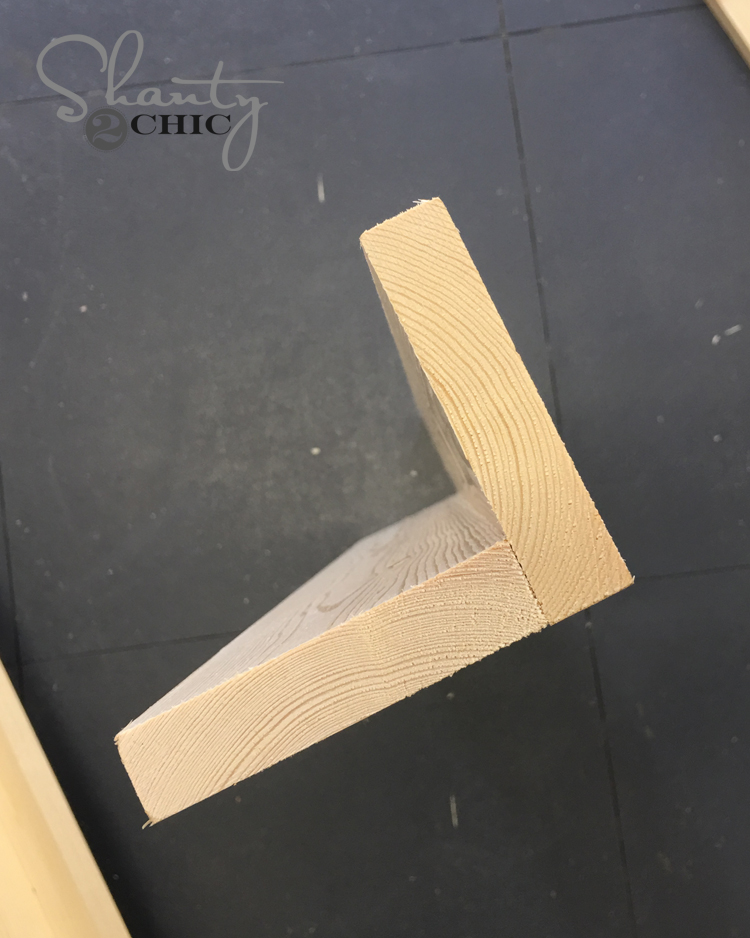
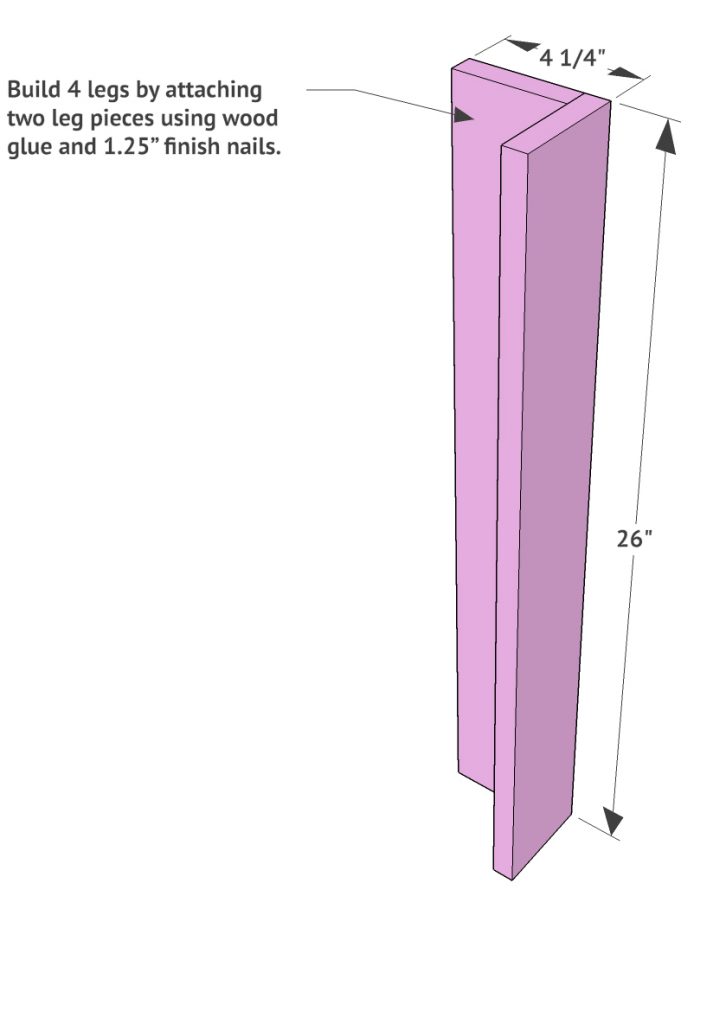
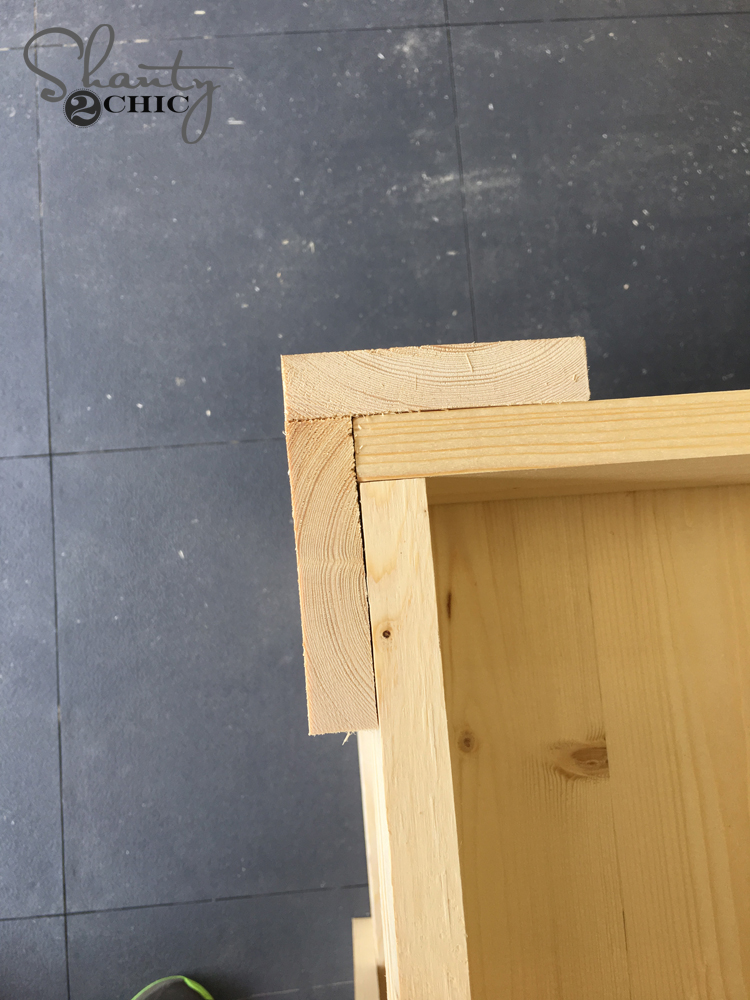
After building both shelves, it’s time for the legs. Each leg is built by attaching two 1×4 boards together. Use wood glue between the seams and attach them using brad nails.
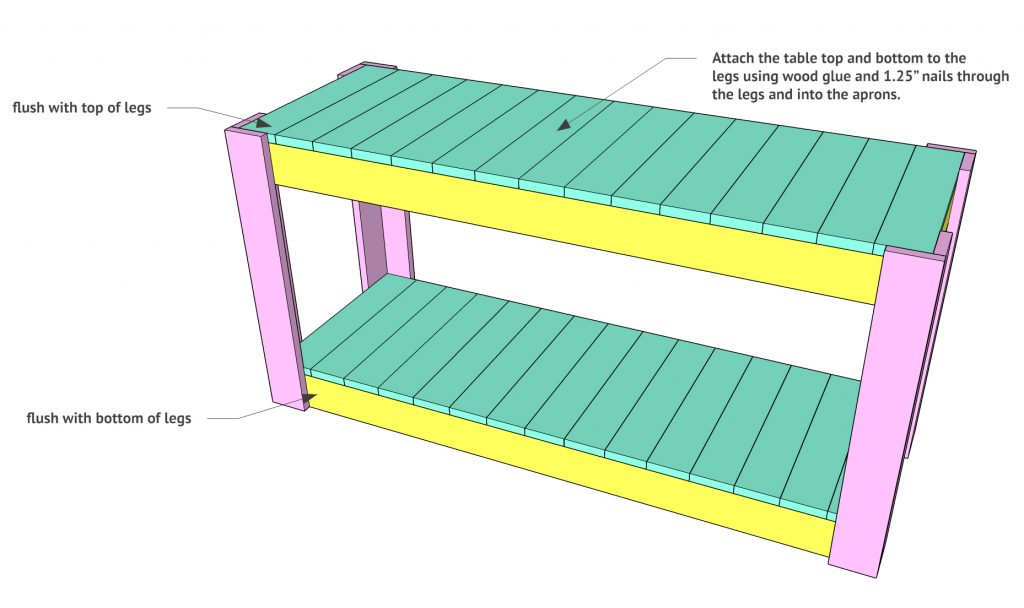
Now attach the legs to the frames to create the table itself. Again… Super easy. Just use lots of wood glue and attach one leg to each corner using the nail gun. Watch the way you line them up. You want the side of your leg that shows a seam to always face the side of the table. This will give an even look overall.
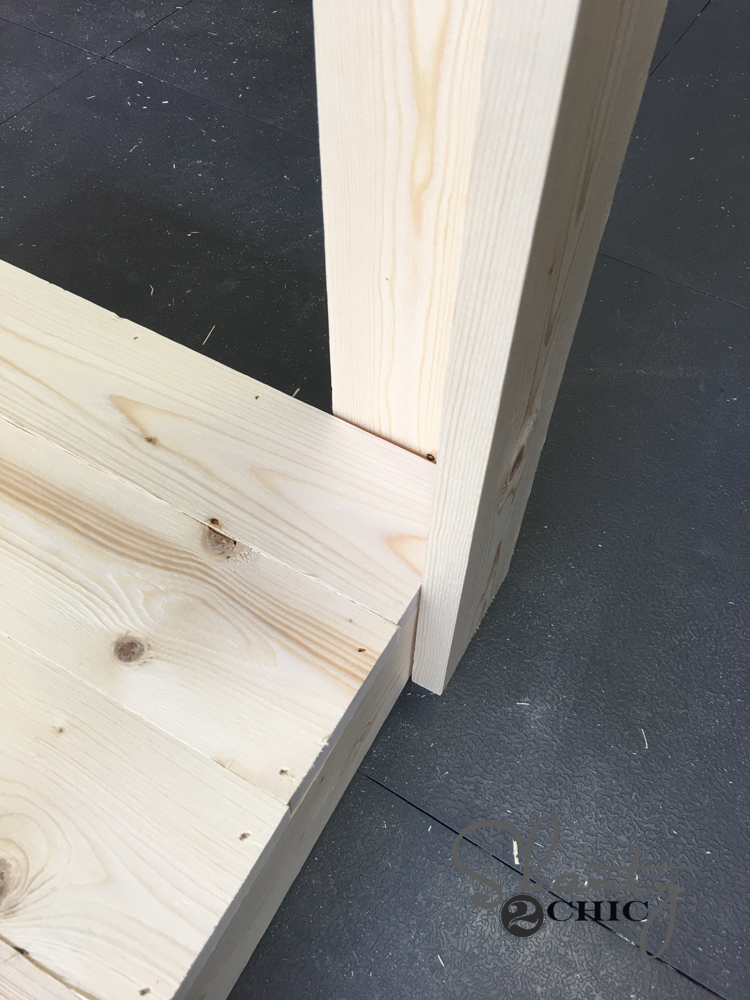
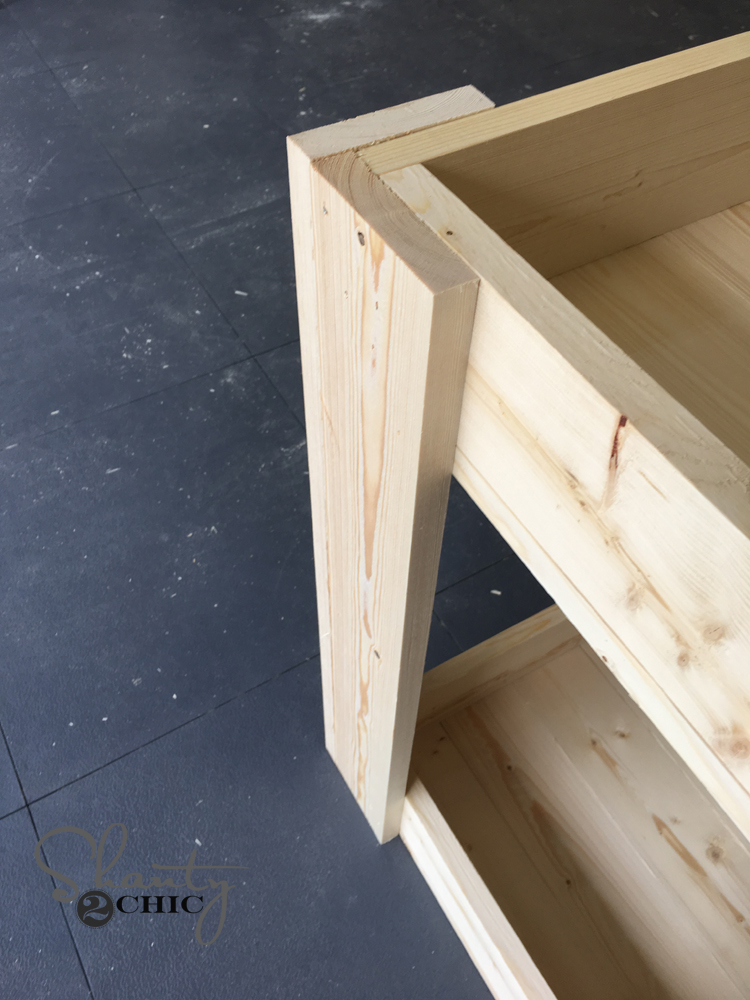
You can see the top of the leg lines up with the top of the table and the bottom of the leg will be flush with the bottom of the table.
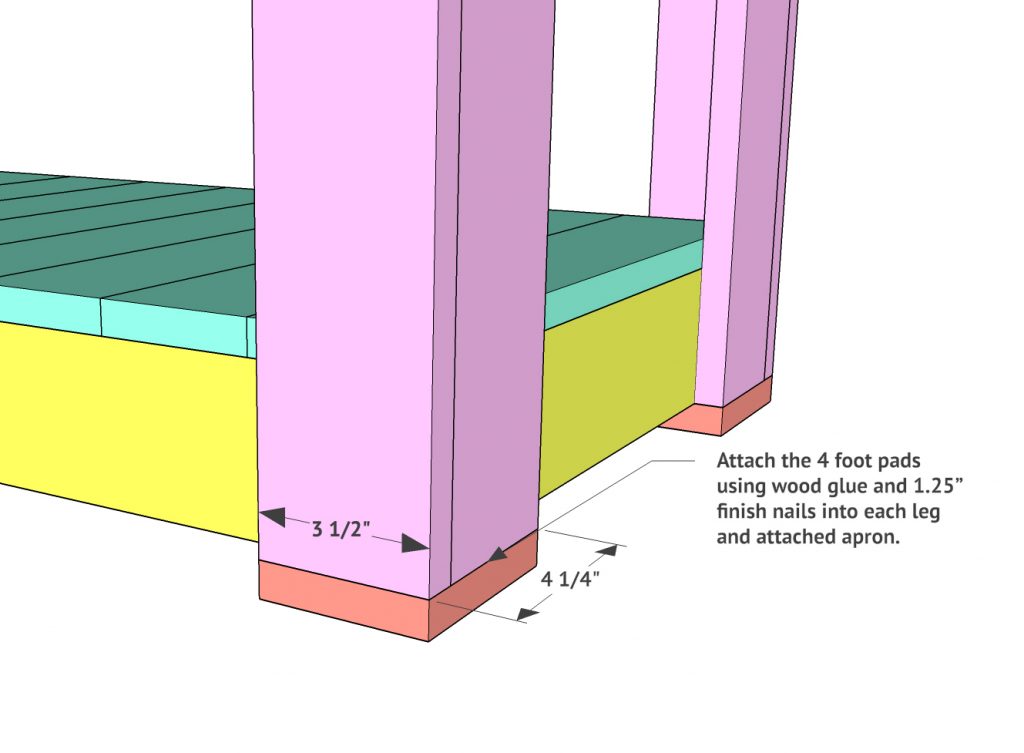
Almost done! Time for foot pads! Turn the table upside-down and use wood glue and brad nails to attach the foot pads to each leg. These wood blocks will give you a place to attach the casters.
That is it for lumber assembly! We gave the entire piece a coat of Varathane Stain in Golden Oak.
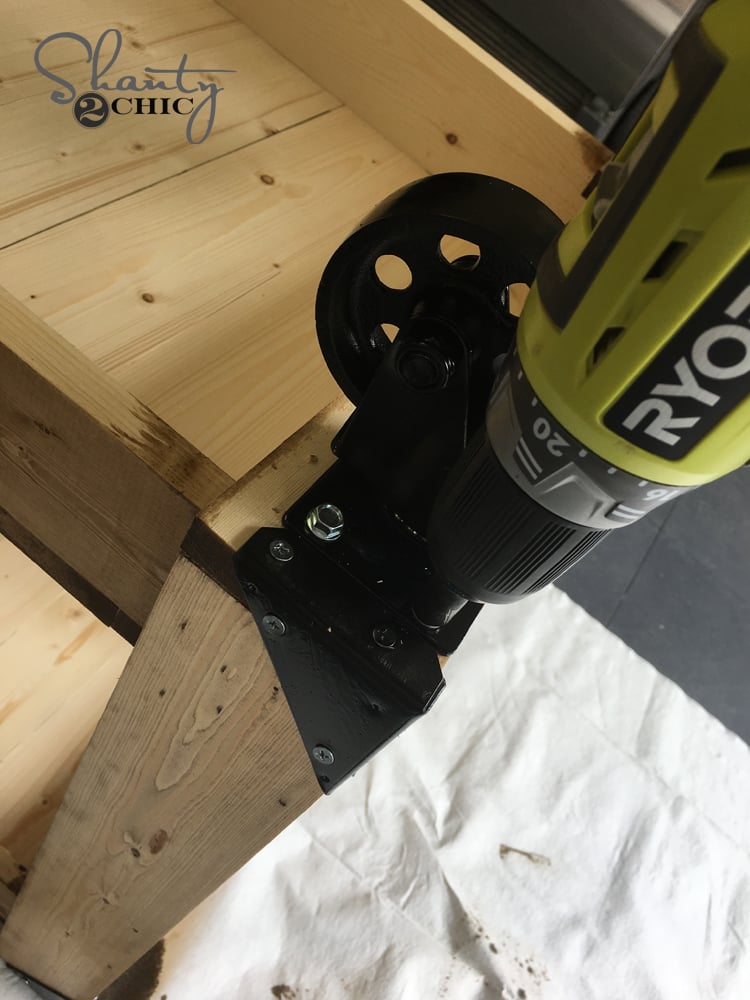
Once that was dry, we attached our casters. We used THESE CASTERS we found on Amazon! We gave them a coat of Rust-Oleum black spray paint.
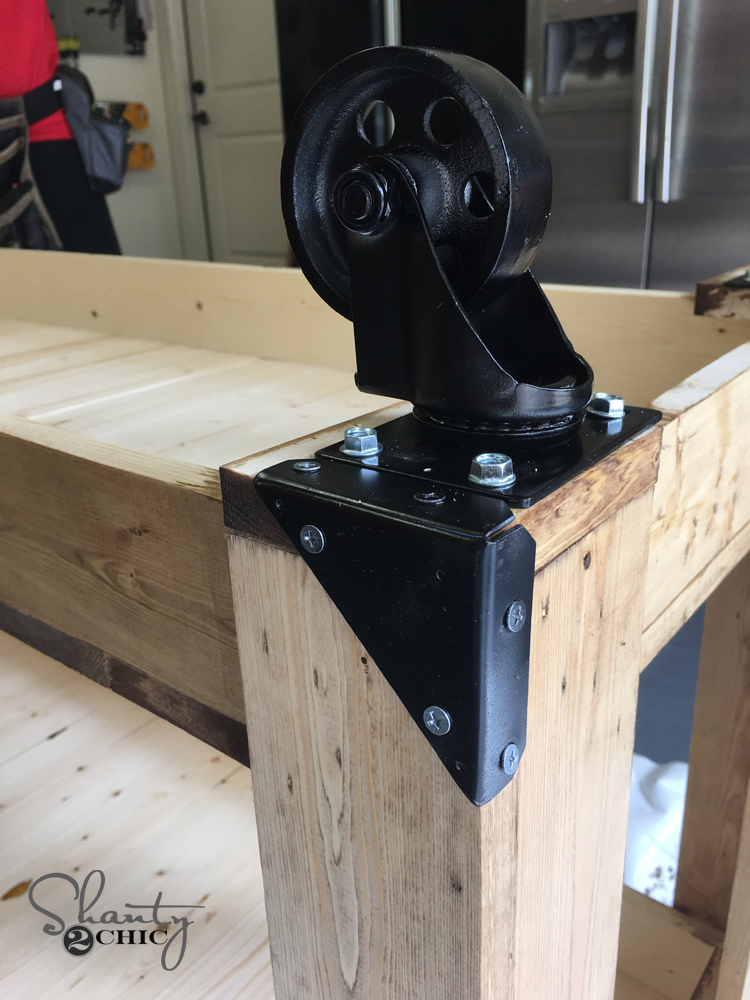
For the metal corners, we found these great corners also on Amazon that we spray painted black. How cute are they??

That’s it guys! Before moving it in the house and dressing it up we had to test it out…

Here it is again all finished up!


It’s the end of 2019 and the plans are not updated to include the 30 cuts at 18″.
I have a question. If I wanted to swap the 15 short boards for long boards, how would that change the plans?
Plan is 1 board short. The 5 1×4’s you cut into 18 inch pieces gives you 25 and you need 30. Love the plan and the finished product
Thank you for catching that! I’ll get it fixed!
Are the plans updated with the extra 1×4 cut into 18 in. If I read them right, they are not. Correct?
Obviously the mistake isn’t fixed! As my husband & I just found out while building! Guess it’s another trip to the lumber store!
Can I use my 18 Gauge brad nailer for this?
I did