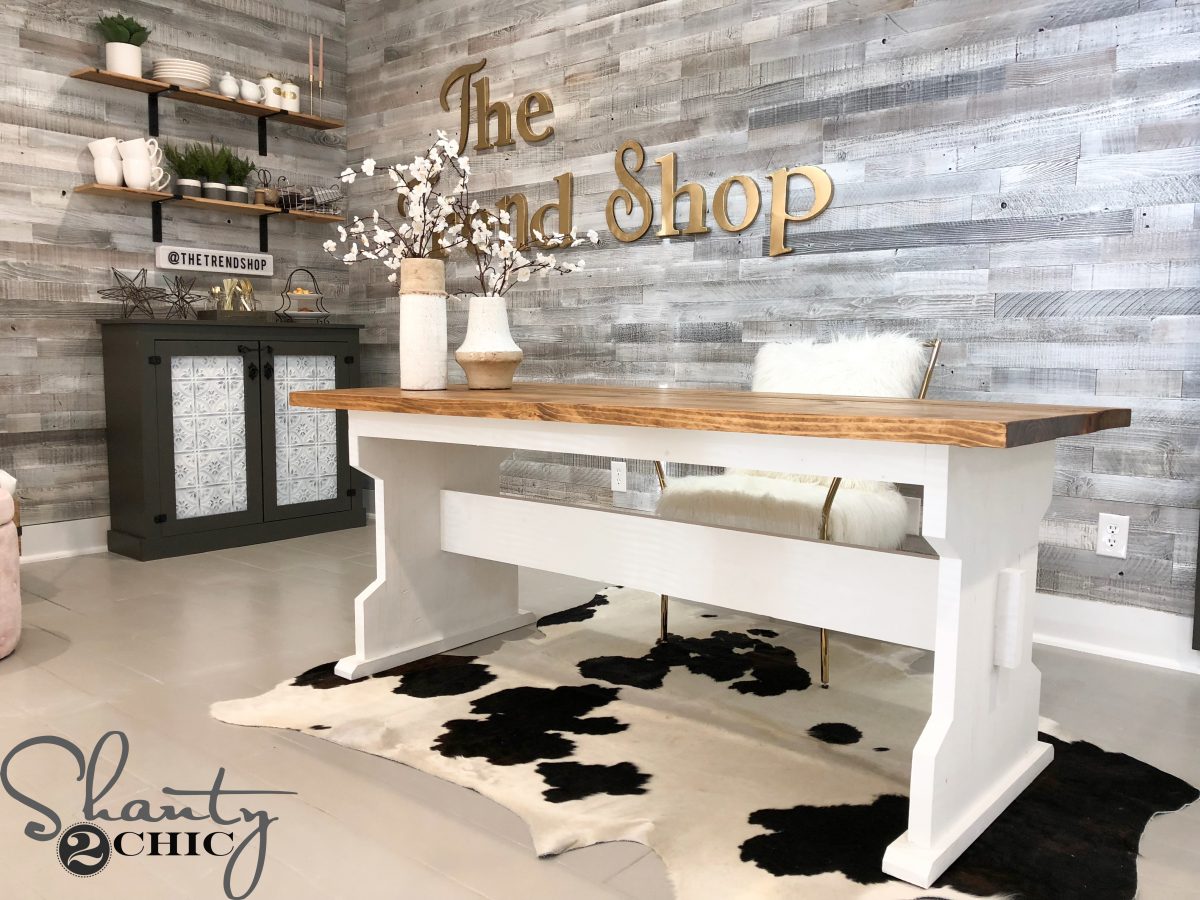
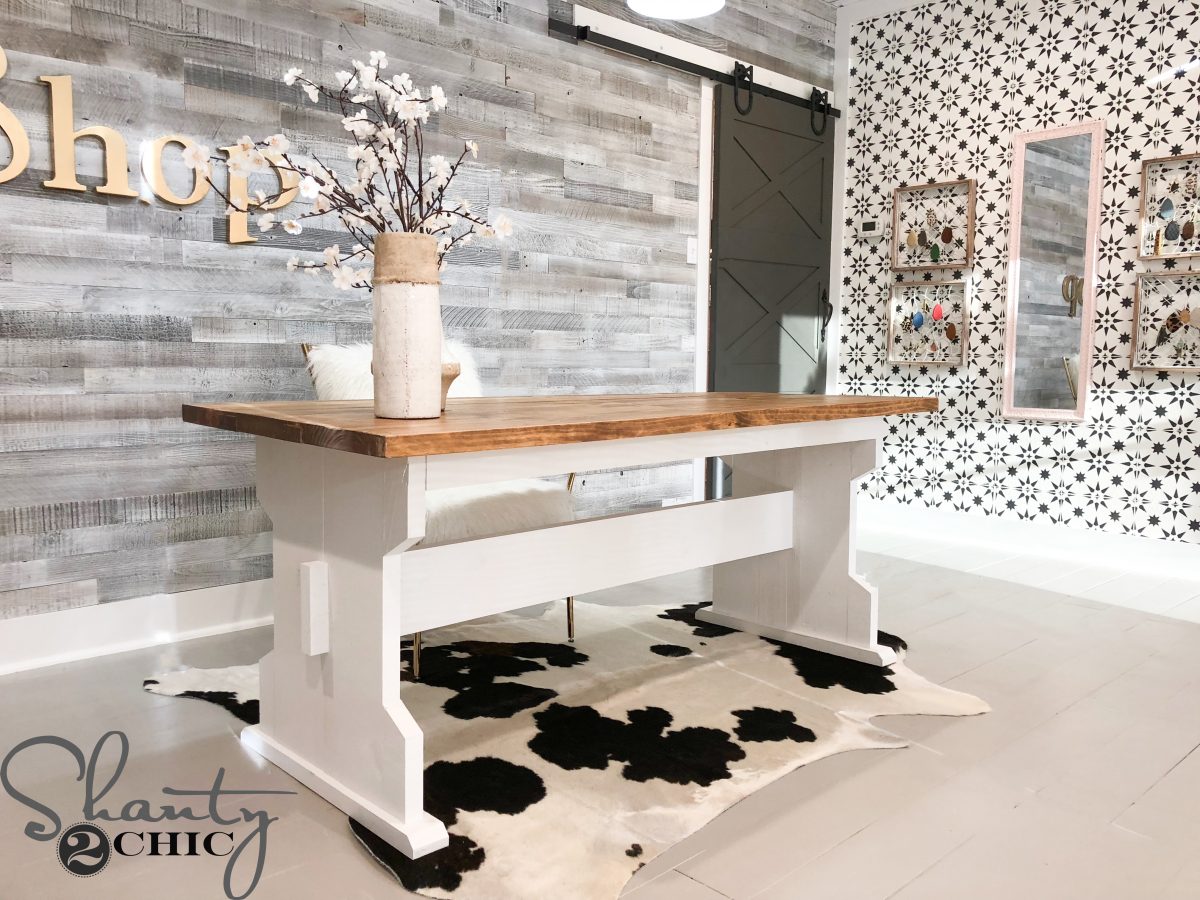
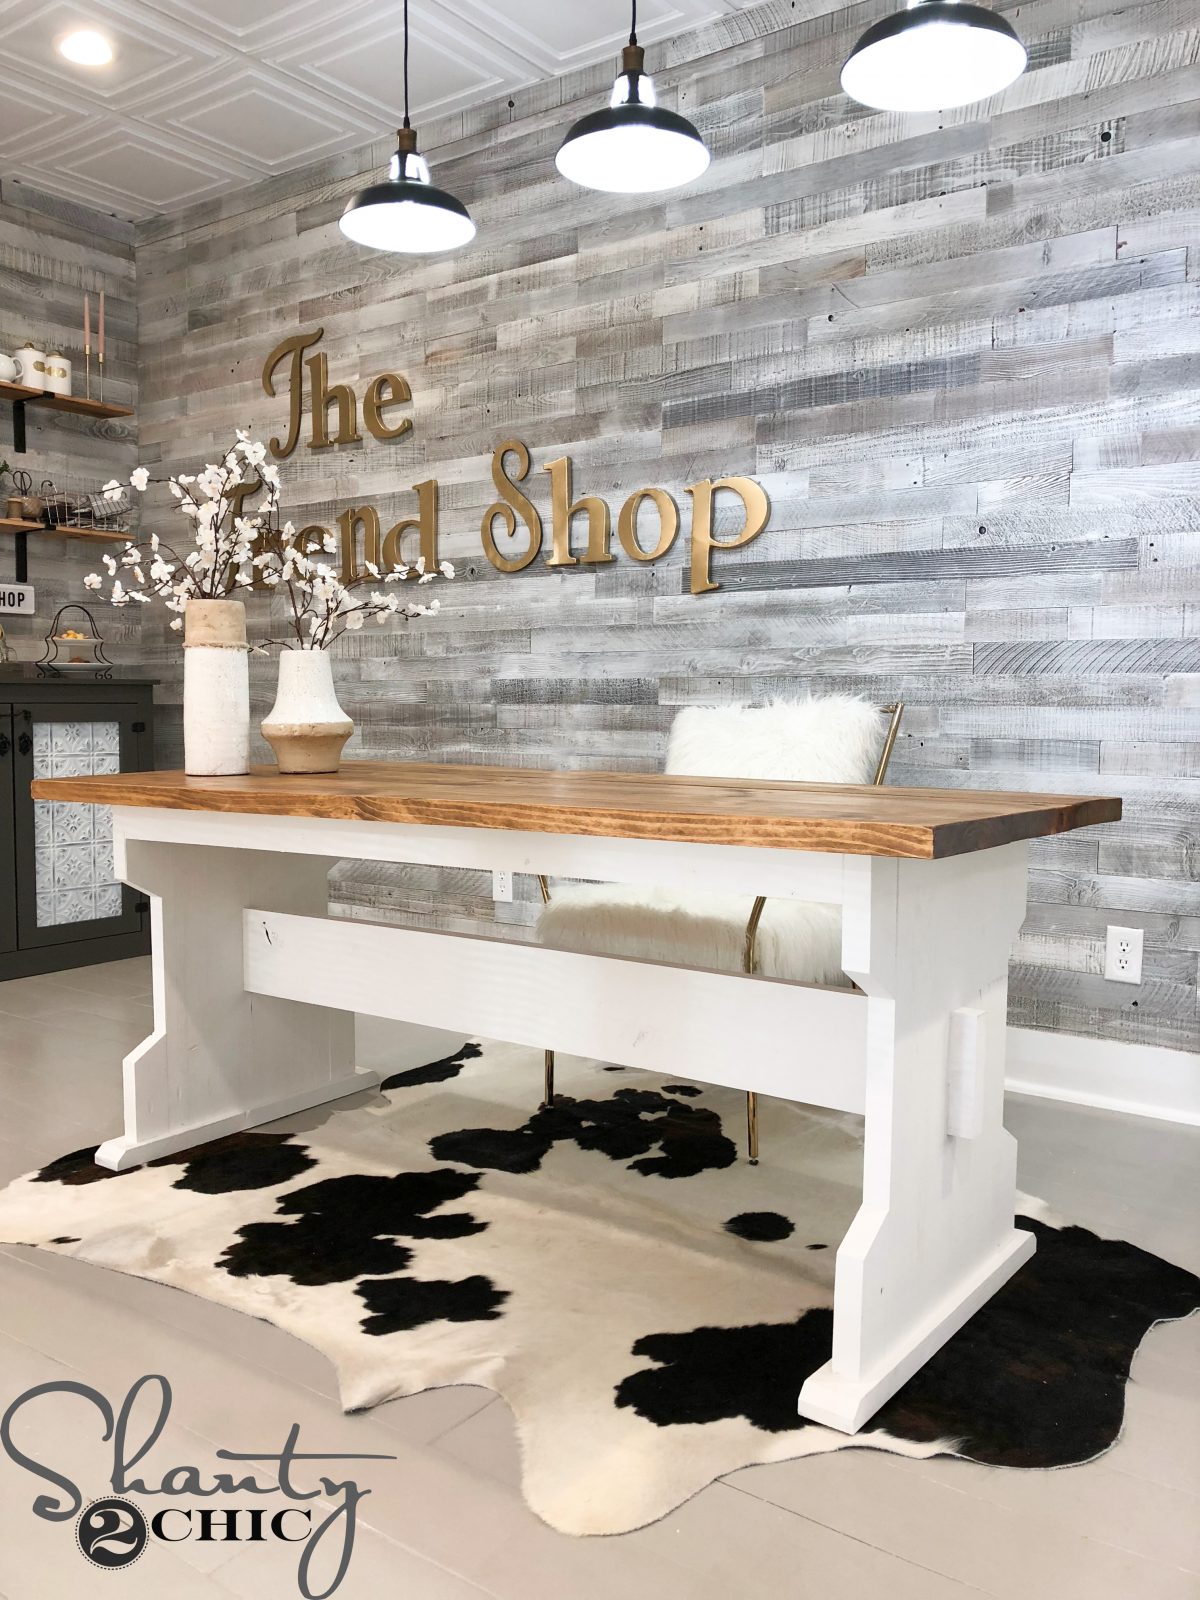
We are back with the next piece of our “Retail Spot Renovation” puzzle! Every retail space needs a welcome table but we wanted to build something that could also act as a dining table – for you guys 😉 So, we designed this DIY Pew Bench Farmhouse Table!
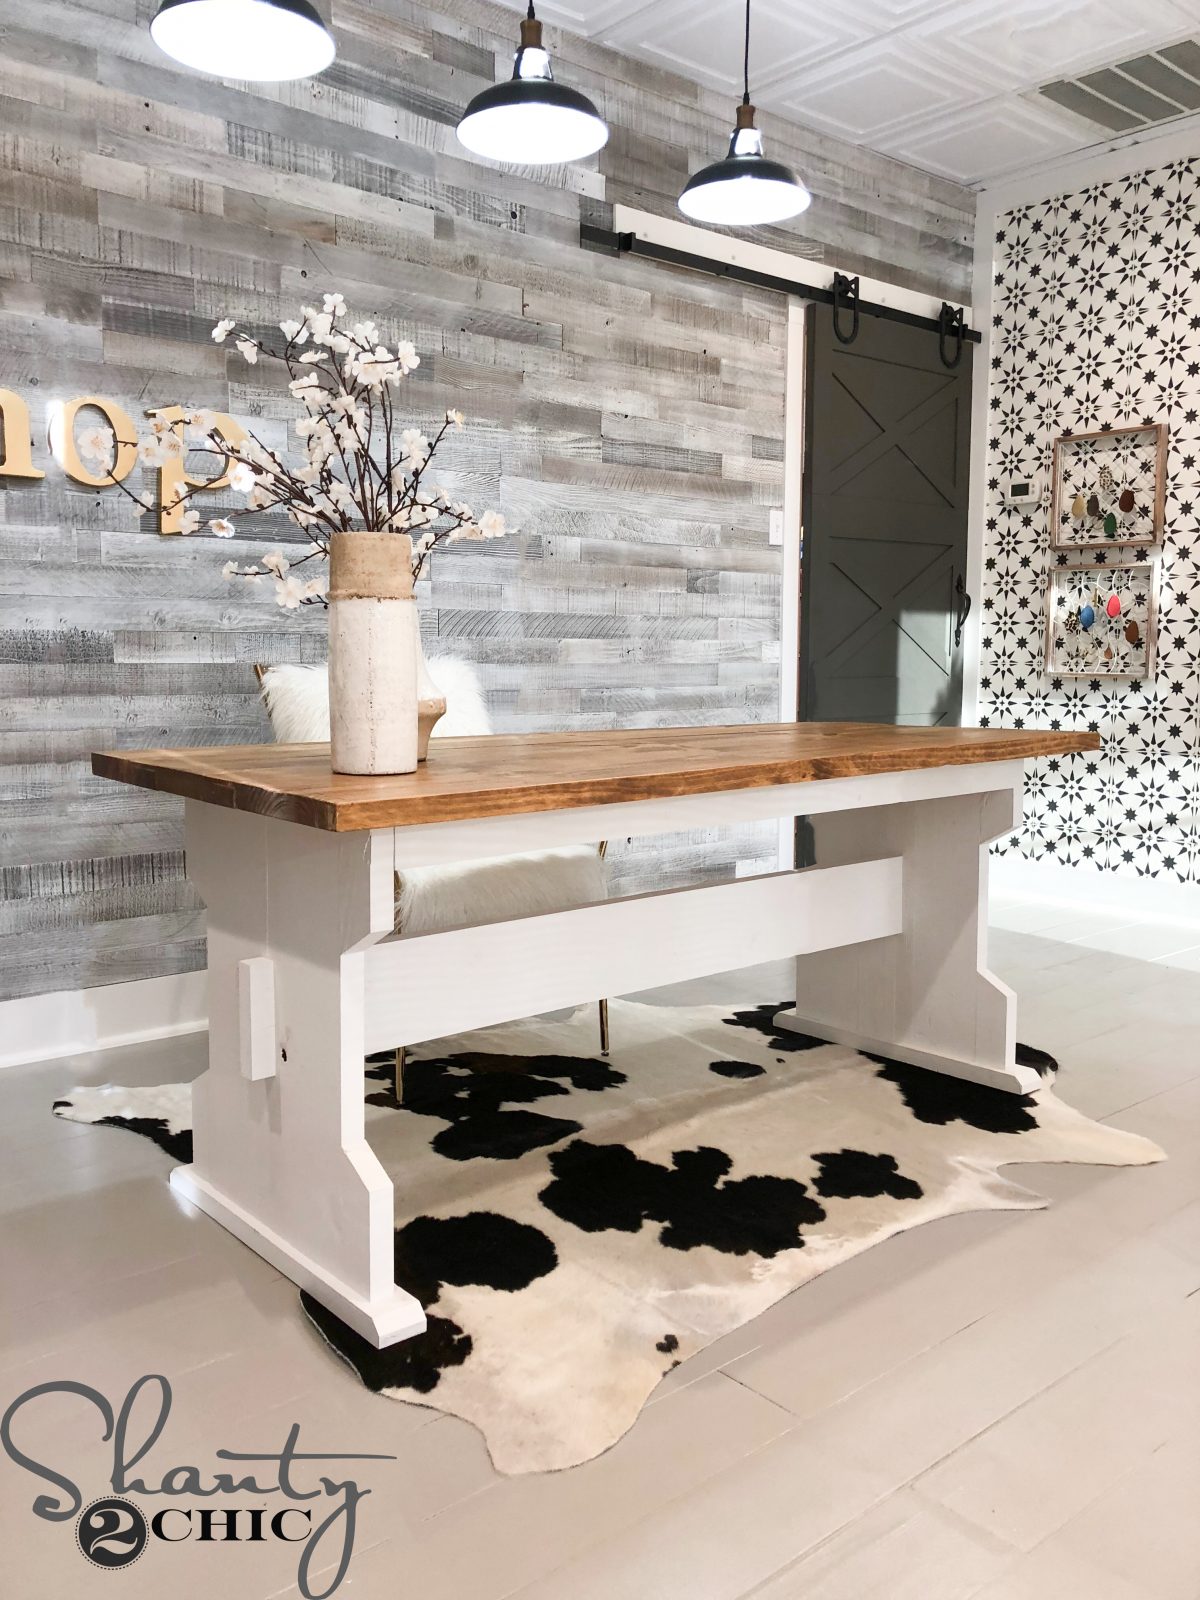
We love that it looks found, it only uses 8 boards AND it only cost us about $65 in lumber! Grab a cup of coffee and come build it with us!
DIY Pew Bench Farmhouse Table – The Free Plans!
Just click here or the image below to watch! And, don’t forget to download the FREE PRINTABLE PLANS HERE!
The video!
So easy, so fun and so cute! You can follow along below in the how-to, as well!
The step-by-step tutorial!

To begin, I used my Ridgid table saw to rip all of the round edges off of the boards. You can refer to the plans for the exact width that I ripped them down to.
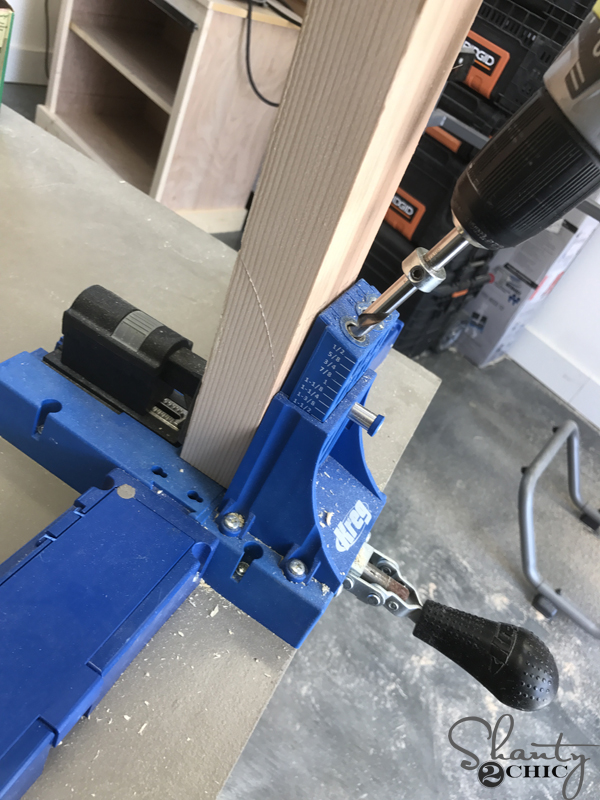
DIY Pew Bench Farmhouse Table – Kreg Jig
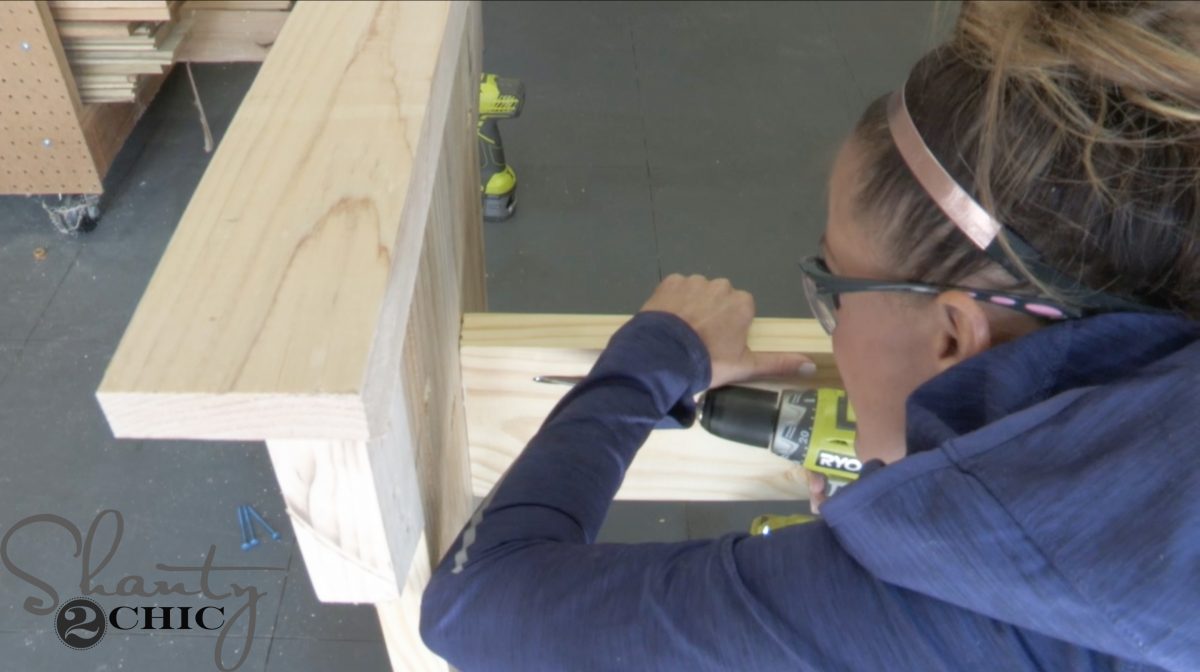
Once the boards were ripped, we used our Kreg Jig to drill 2 1/2″ pocket holes in all of the boards. Refer to the plans for pocket hole placement! You can find our favorite Kreg Jig model HERE on Amazon!
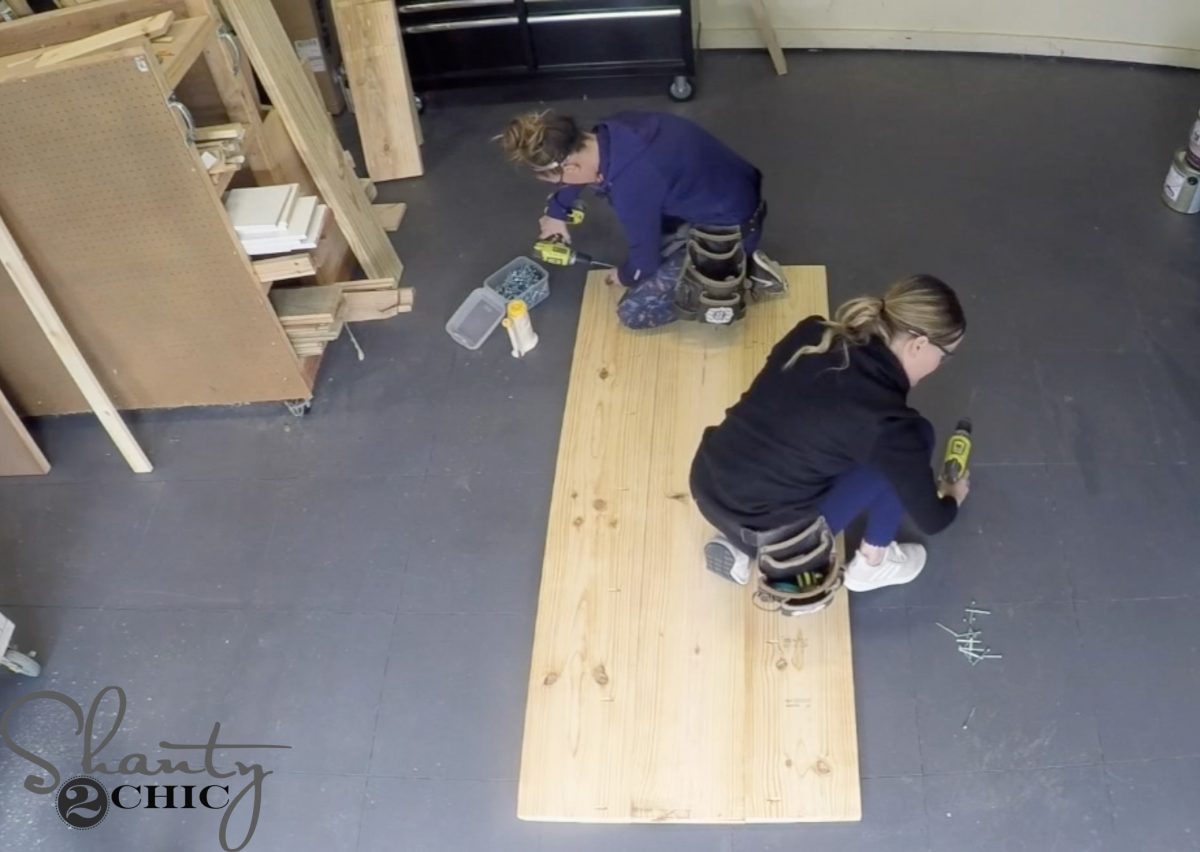
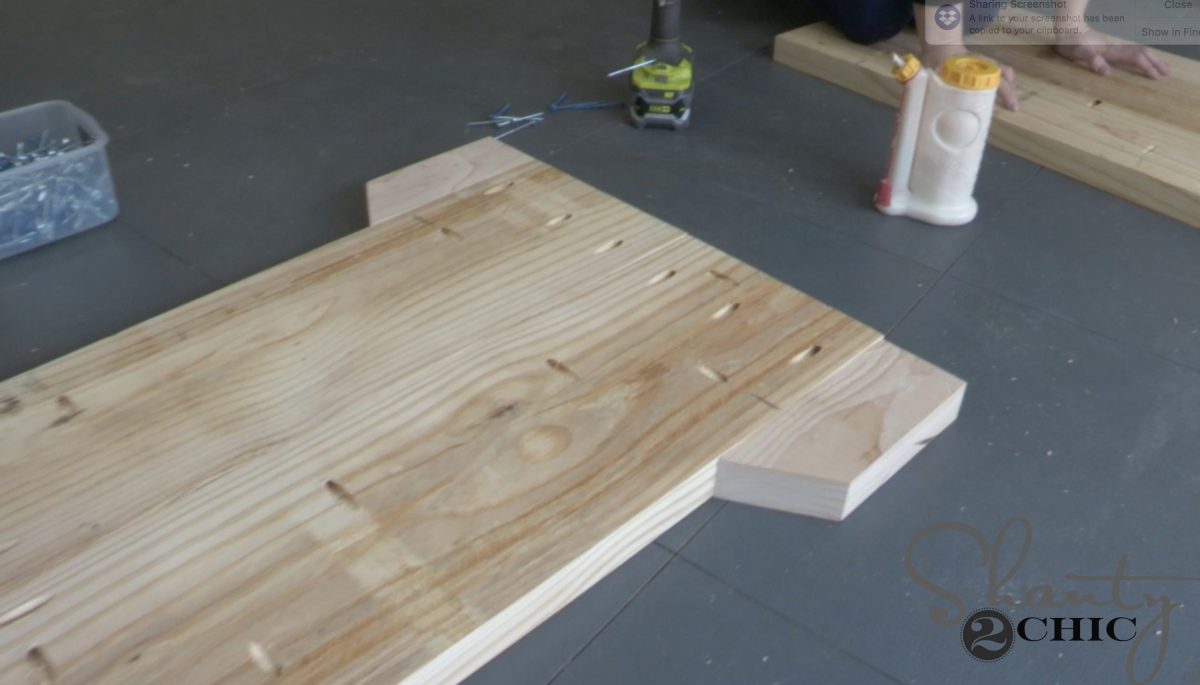
Our first step in assembly was to plank the table top. We used 2 1/2″ pocket hole screws to attach the table top planks.
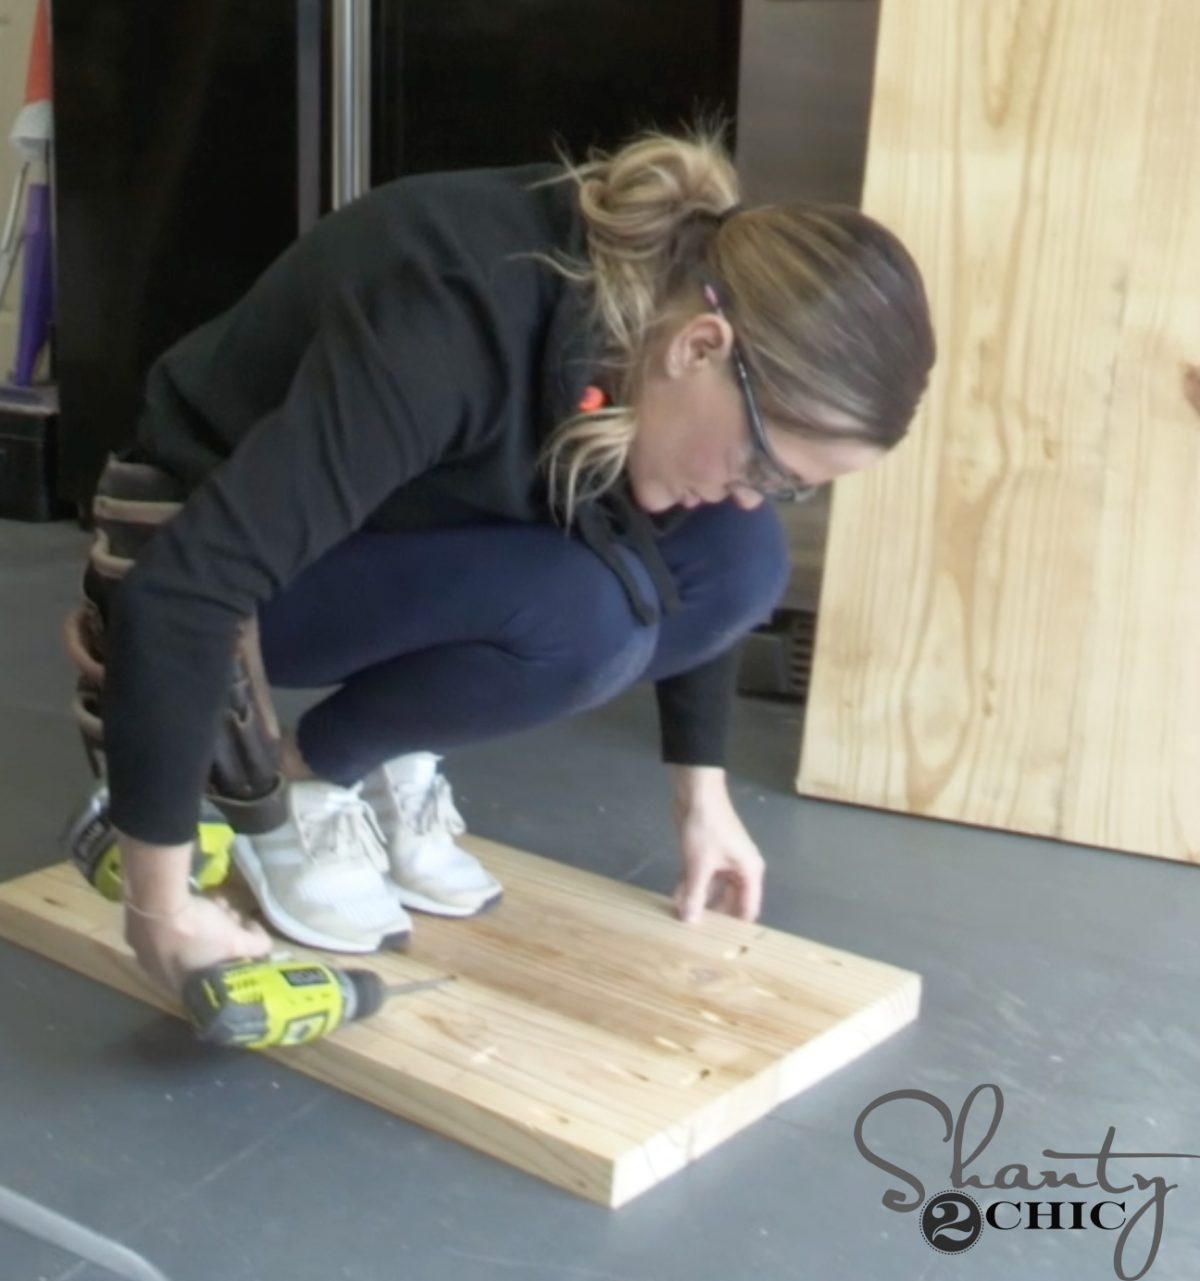
Next, we assembled the side, leg bases. We used wood glue and and 2 1/2″ pocket hole screws.
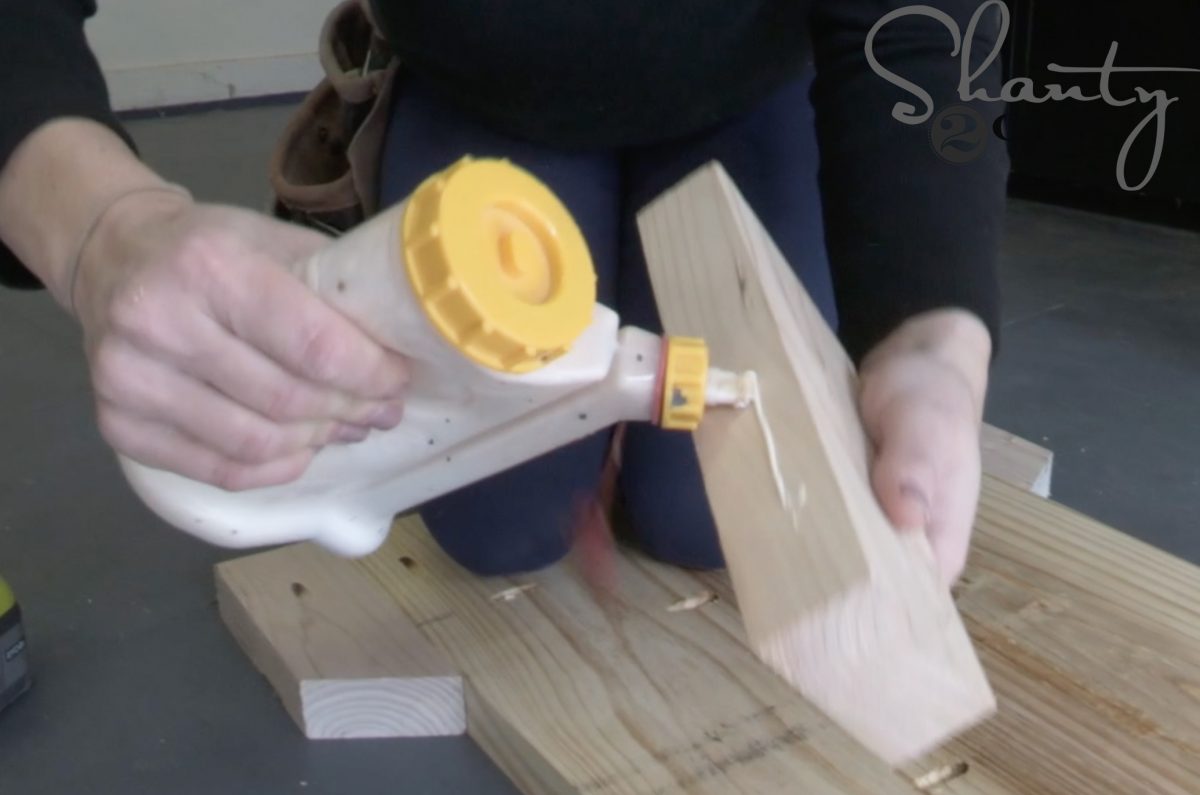
DIY Pew Bench Farmhouse Table – Glue Bottle
We cut the trim pieces to size and applied wood glue to the inside of each piece (we LOVE this glue bottle and you can find it HERE on Amazon)!
and attached them to the leg bases with 2 1/2″ pocket hole screws.
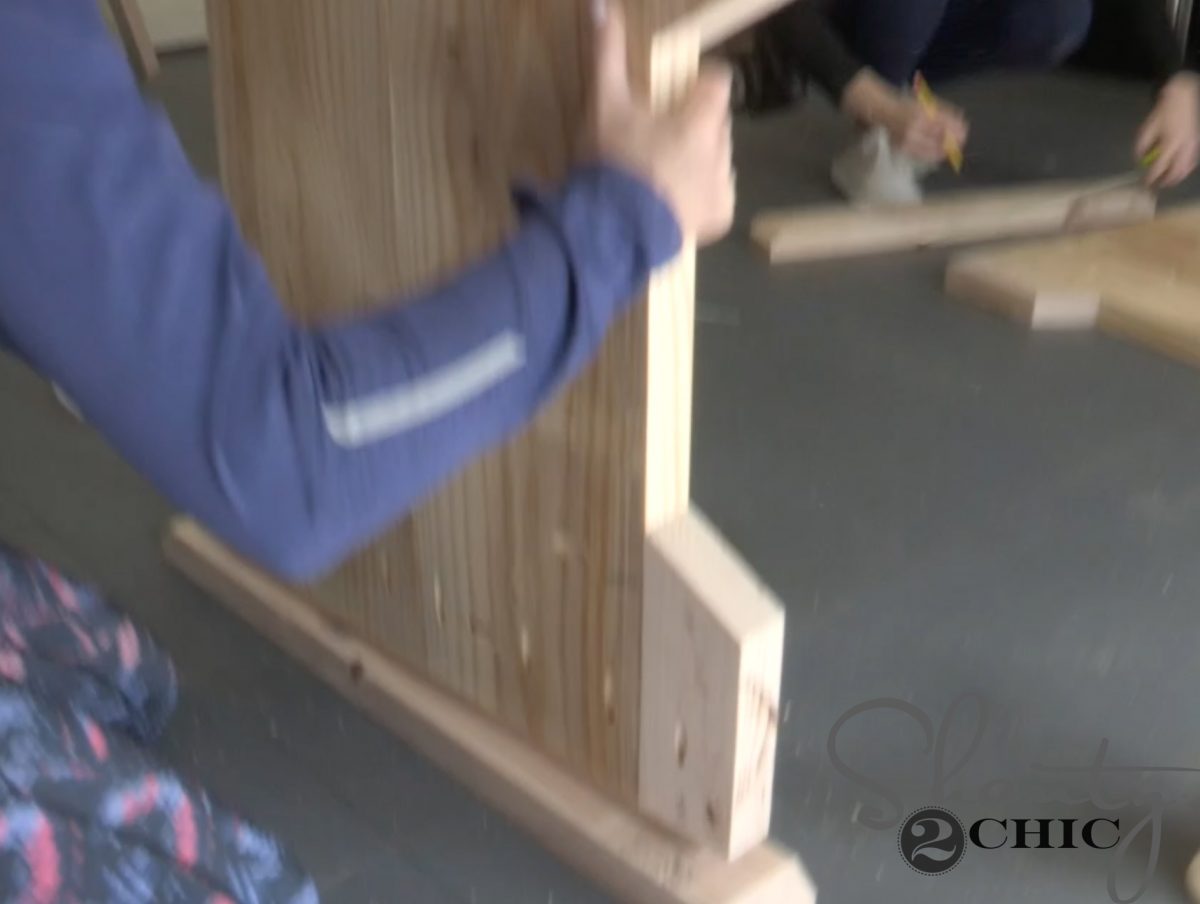
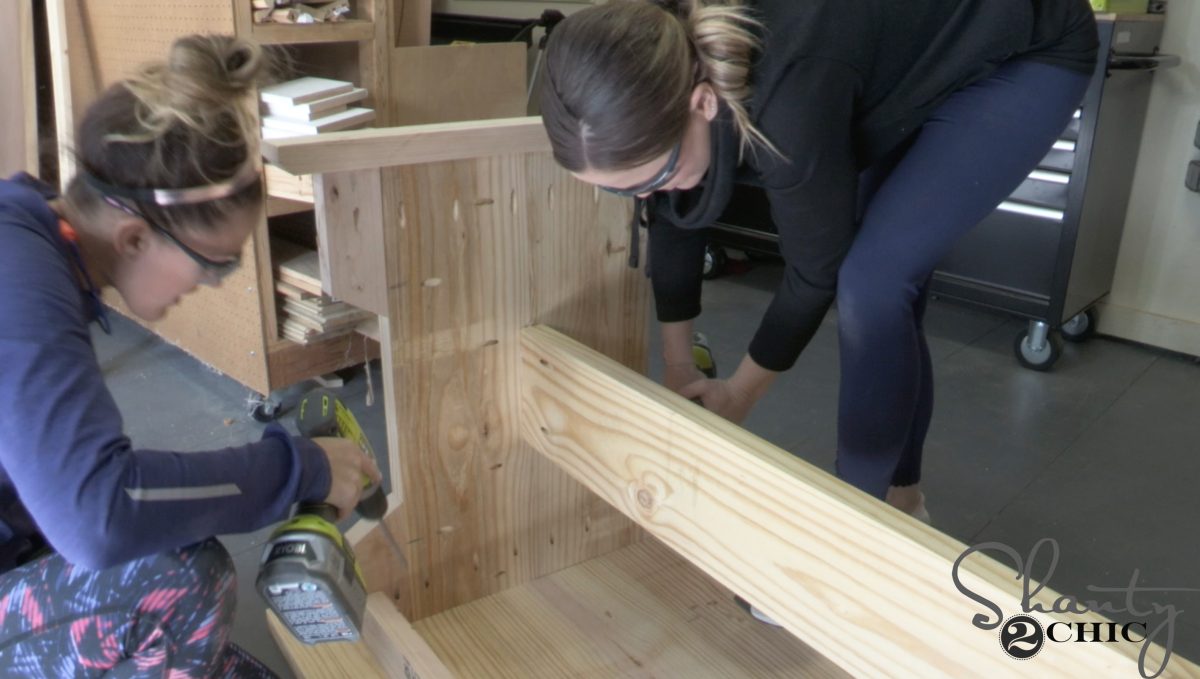
Once the bases were assembled, we attached the bases to the feet with 2 1/2″ pocket hole screws and wood glue.
Next, we attached the apron pieces to the bases with 2 1/1″ pocket hole screws and wood glue. Make sure the pocket holes are facing inside the table and up, so that they can be used to attach the planked top.
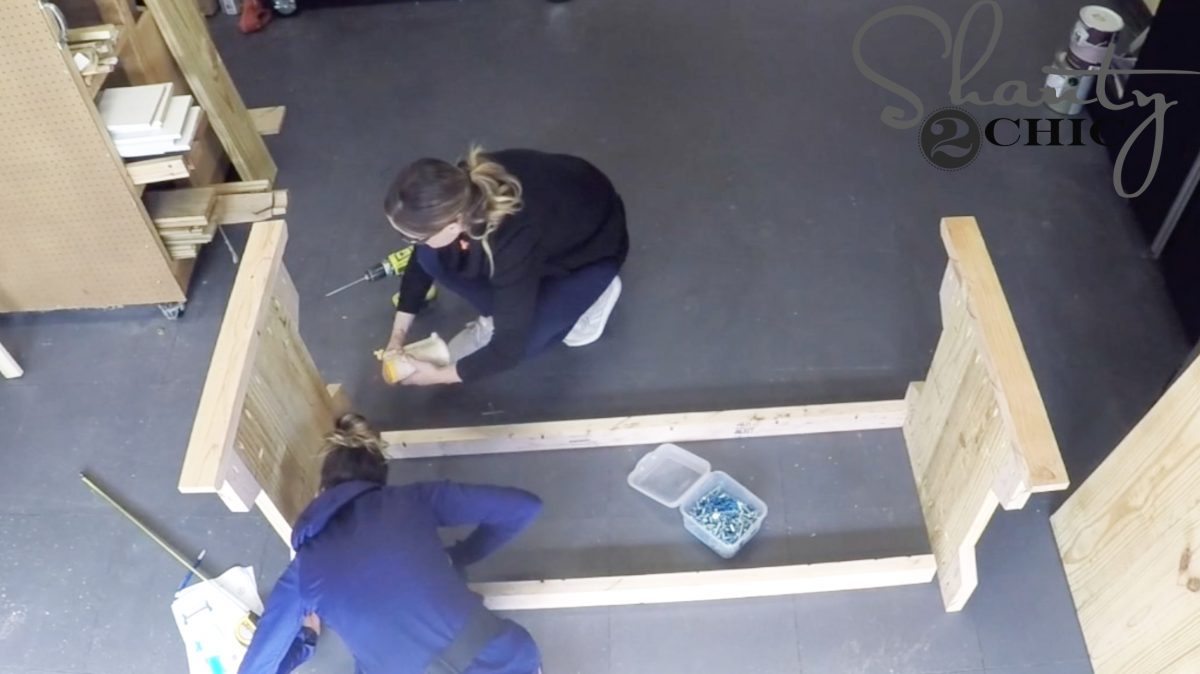
We centered the runner and attached it to the base with 2 1/2″ pocket hole screws and wood glue.
Once the base was assembled, it was time to attach the base to the planked top. We used 2 1/2″ pocket hole screws and drilled from the bases and aprons into the table top.
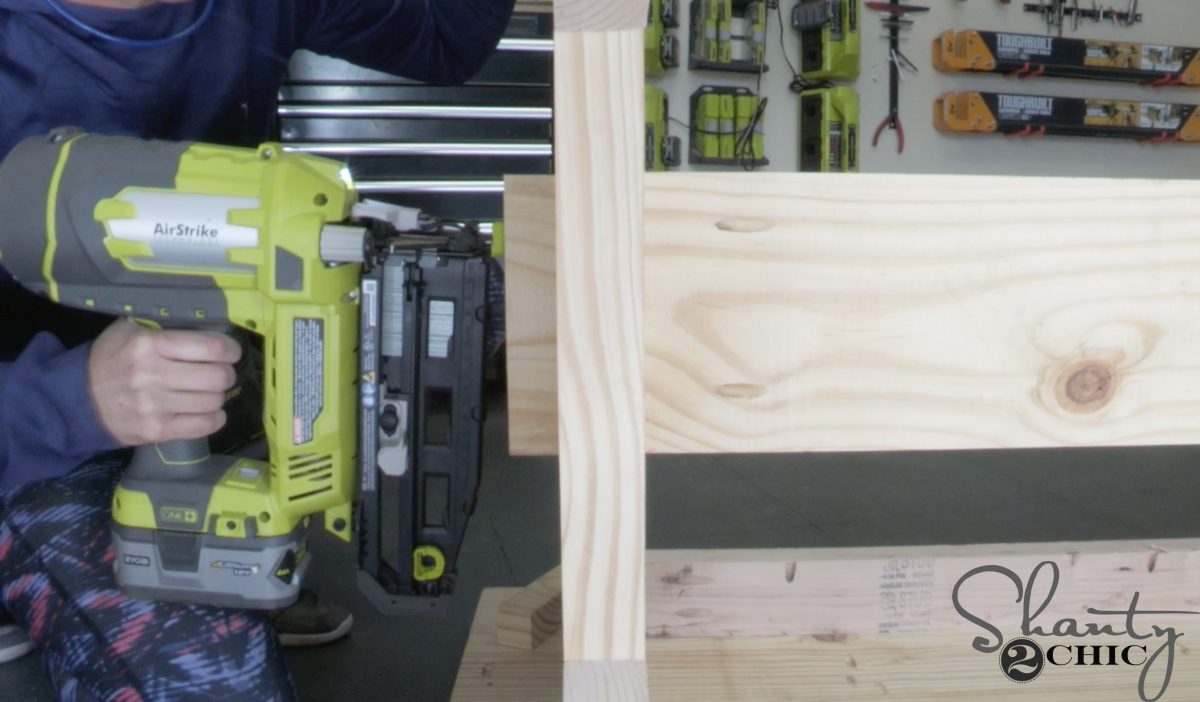
The final step in assembly was to attach the “faux end pieces” of the runners to the outside of the bases. We used wood glue and 2″ finish nails, with our 16 gauge finish nailer, to attach! (you can also use an 18 gauge brad nailer here).
DIY Pew Bench Farmhouse Table – the paint!
For the finish, we painted the base with a flat white paint, you can find it HERE on Amazon. For the base, we used Honey Maple Stain, you can find it HERE on Amazon!
Make sure to check out the other pieces in this renovation! Just click the links below!W

What would I need to do to add bread boards to this table? Just a few pocket holes?
I just built 4 of these tables. Changed the plans slightly because of the lumber I had. I used reclaimed 2x10s in place of the 2x12s and 2x8s. They are slightly narrower but still look proportional. With the narrower width, I move the 2×4 apron pieces to the edge of the 2×10. The small 2×4 pieces are still very secure. I love the simplicity of the construction along with the elegance of the final look.
would you have any plans for benches to go with this table? Planning on making this table soon but would love benches to match
Very shortly this web site will be famous among all blog viewers, due to
it’s pleasant articles or reviews
I need a counter height table, would this still be secure if I added 5″ to the side supports? I will also need to add another 2×4 in very bottom…to give me a total of 6.5″ additional height! I’m trying to reuse my existing stools and need 36.5″ total height from foot to bottom of table top!
I love ur plans!
What kind of poly do use on the top?
Plans are wrong you show 4 ea 8″ 2 x 4’s with 30 degree cut. Should be 8 ea. Luckily I bought 2 ea 2 x 4 x 10
Sorry about that!! Just fixed the plans 🙂 Thanks for the heads up!
Will a matching bench be coming soon?!
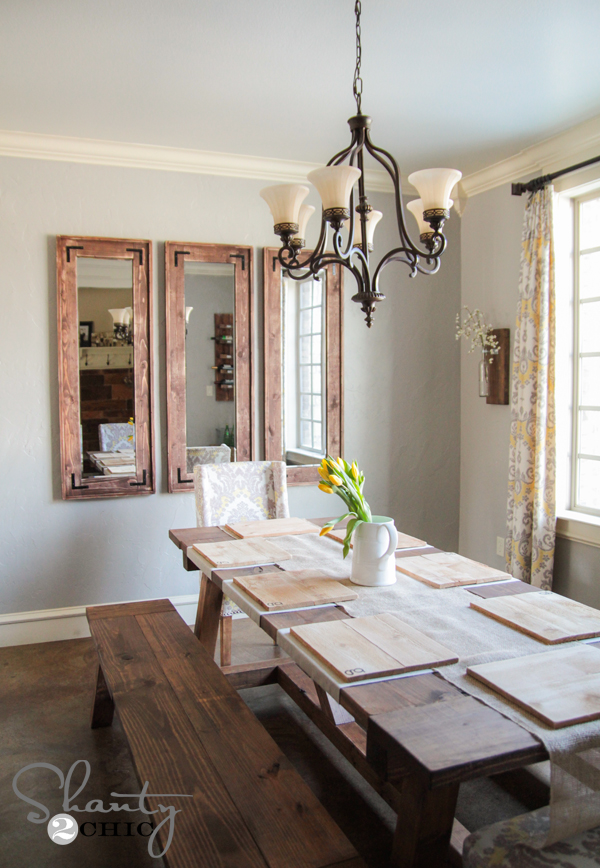
This is the bench that matches! The length might need to be modified.https://www.shanty-2-chic.com/2015/04/diy-coffee-table-or-bench.html
YOU two are the greatest! I love to see what my fellow Texans are up to and you are BUSY girls.
Great creativity, great enthusiasm. Wish I were a youngster so I could make that gorgeous table.
I am looking forward to following you forever. Keep up the great work.
Is the wall stenciled? I love it.
Yes! We have a tutorial and how-to video that I linked towards the end of the post 🙂
I just love this! I watched the you tube video first, then hopped over here. That transformation is SO beautiful and major goals! Pinning this to my woodworking board to do later!!
Plans do not have a cut list. Will
You be adding that soon?
I’m sorry! It didn’t load when I did the plans but I have fixed it 🙂
Downloadable prints do not have demensions for cut lengths. It just says cut to size.
So sorry! The cut list didn’t load but I fixed it!