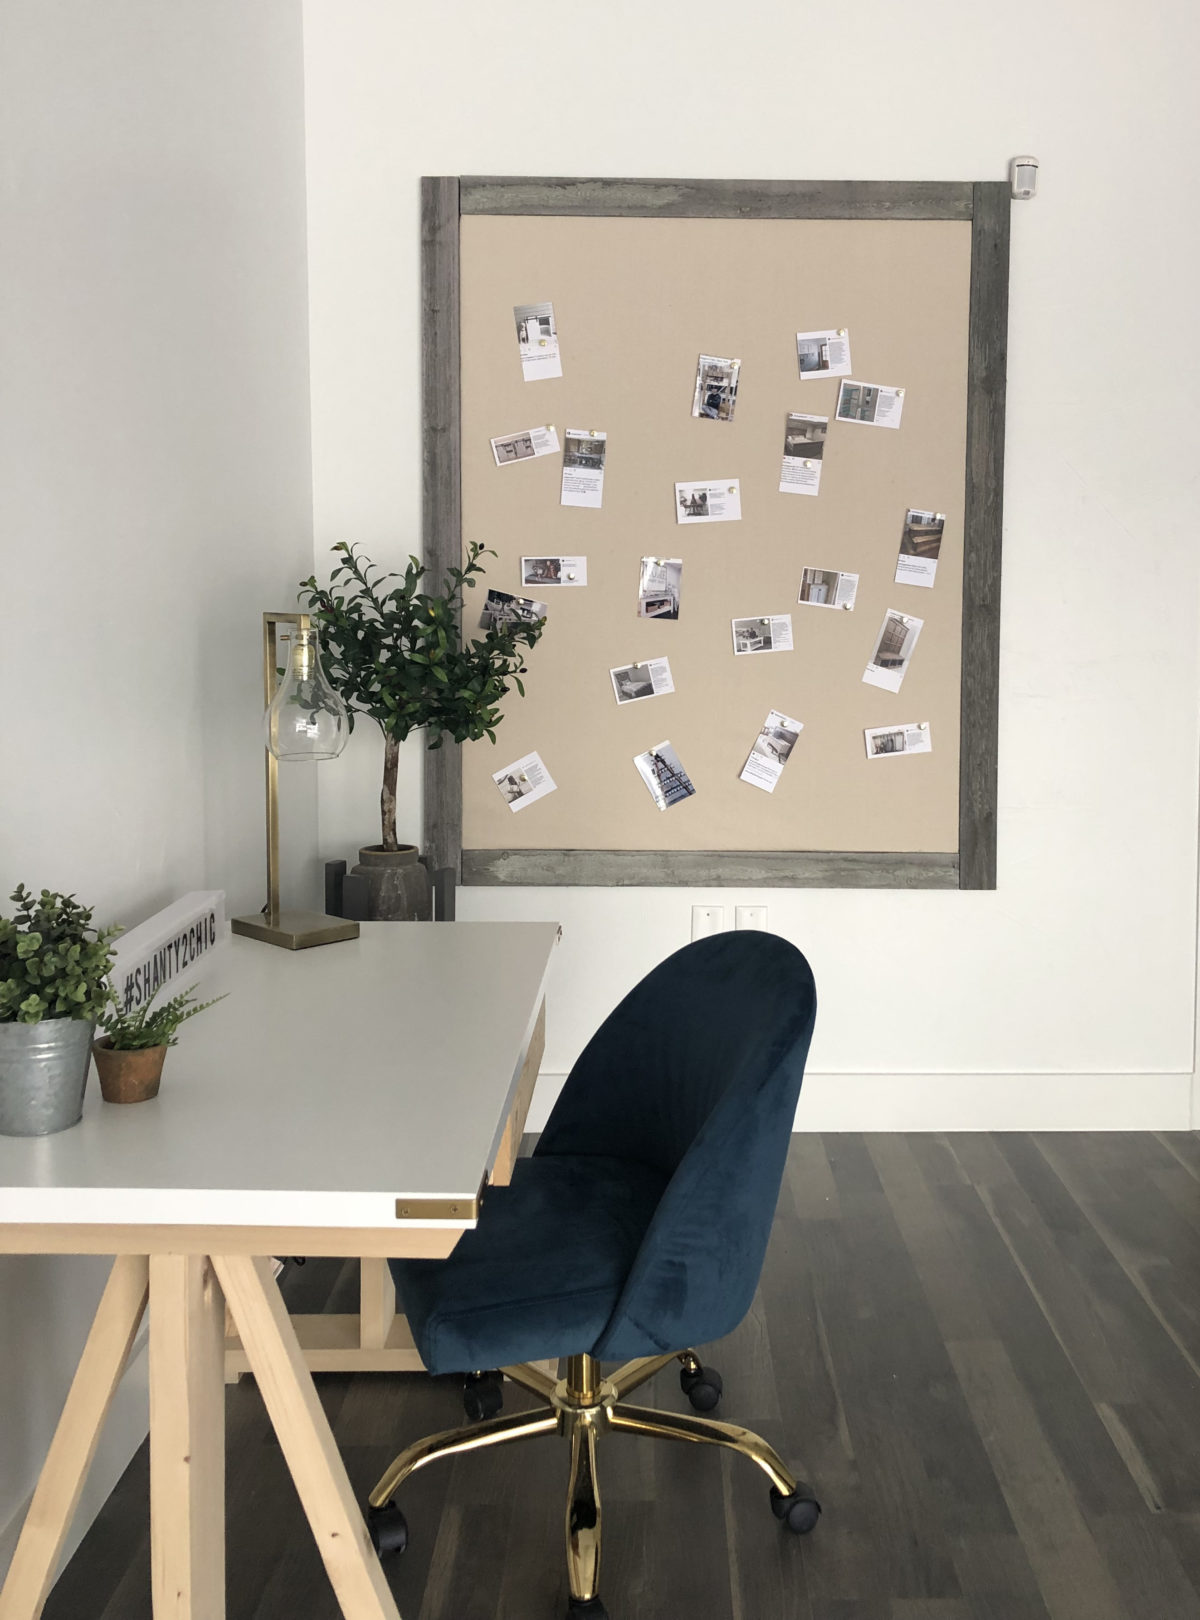
Hey guys! Happy Wednesday! Did you all survive Christmas break?? My kiddos went back yesterday, and I think they were all ready to get away from me 😉 As lots of you know, Ash and I recently moved into our new office, and we have been doing some fun projects to dress it up! This week’s project is one of my FAVS because it involves YOU! We have so many of you send us photos of your Shanty projects and tag us on social using #shanty2chic, and they make us smile every time we see one. We knew we wanted a place to start showing them off, and that’s just what we are sharing today! This is such a simple project, and works for any room of your house. Click the video HERE below to see just how easy it is!
How fun was that??
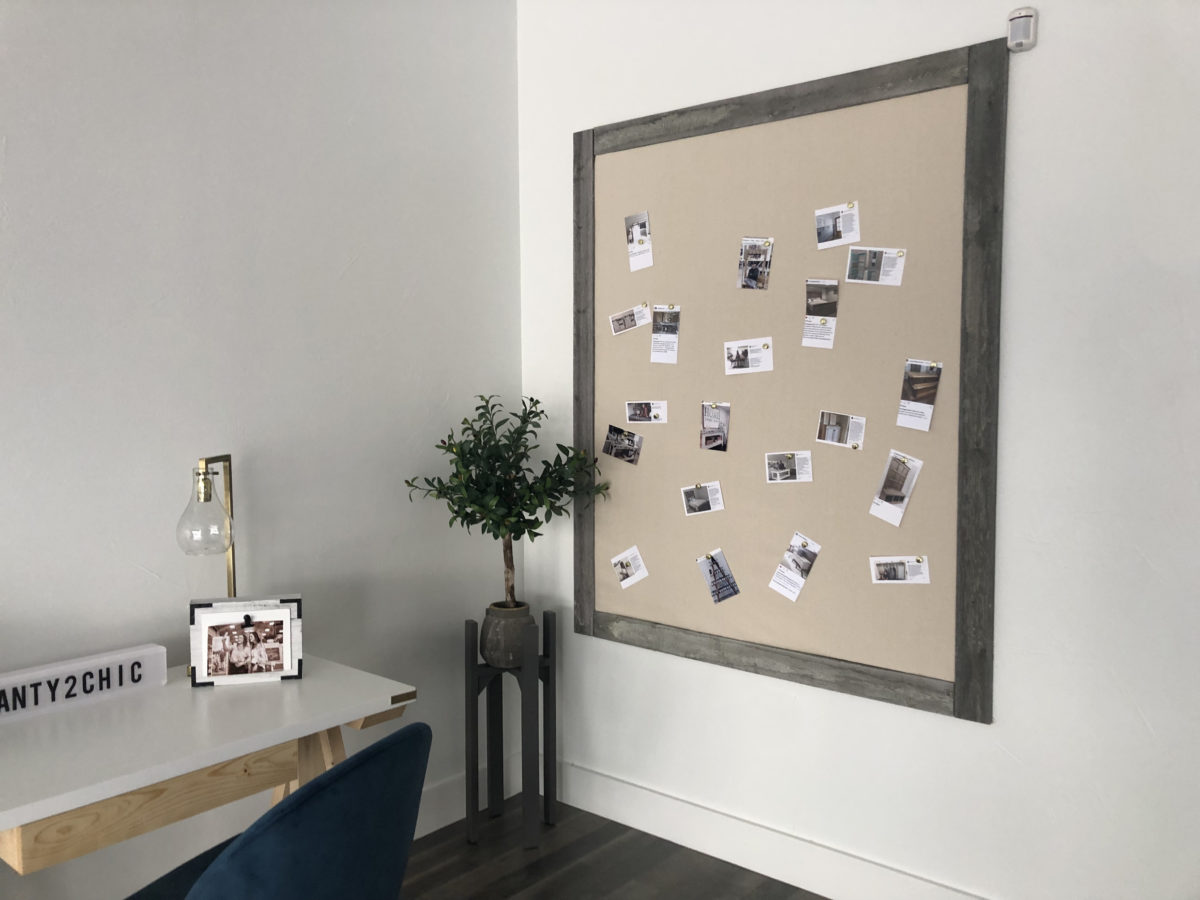
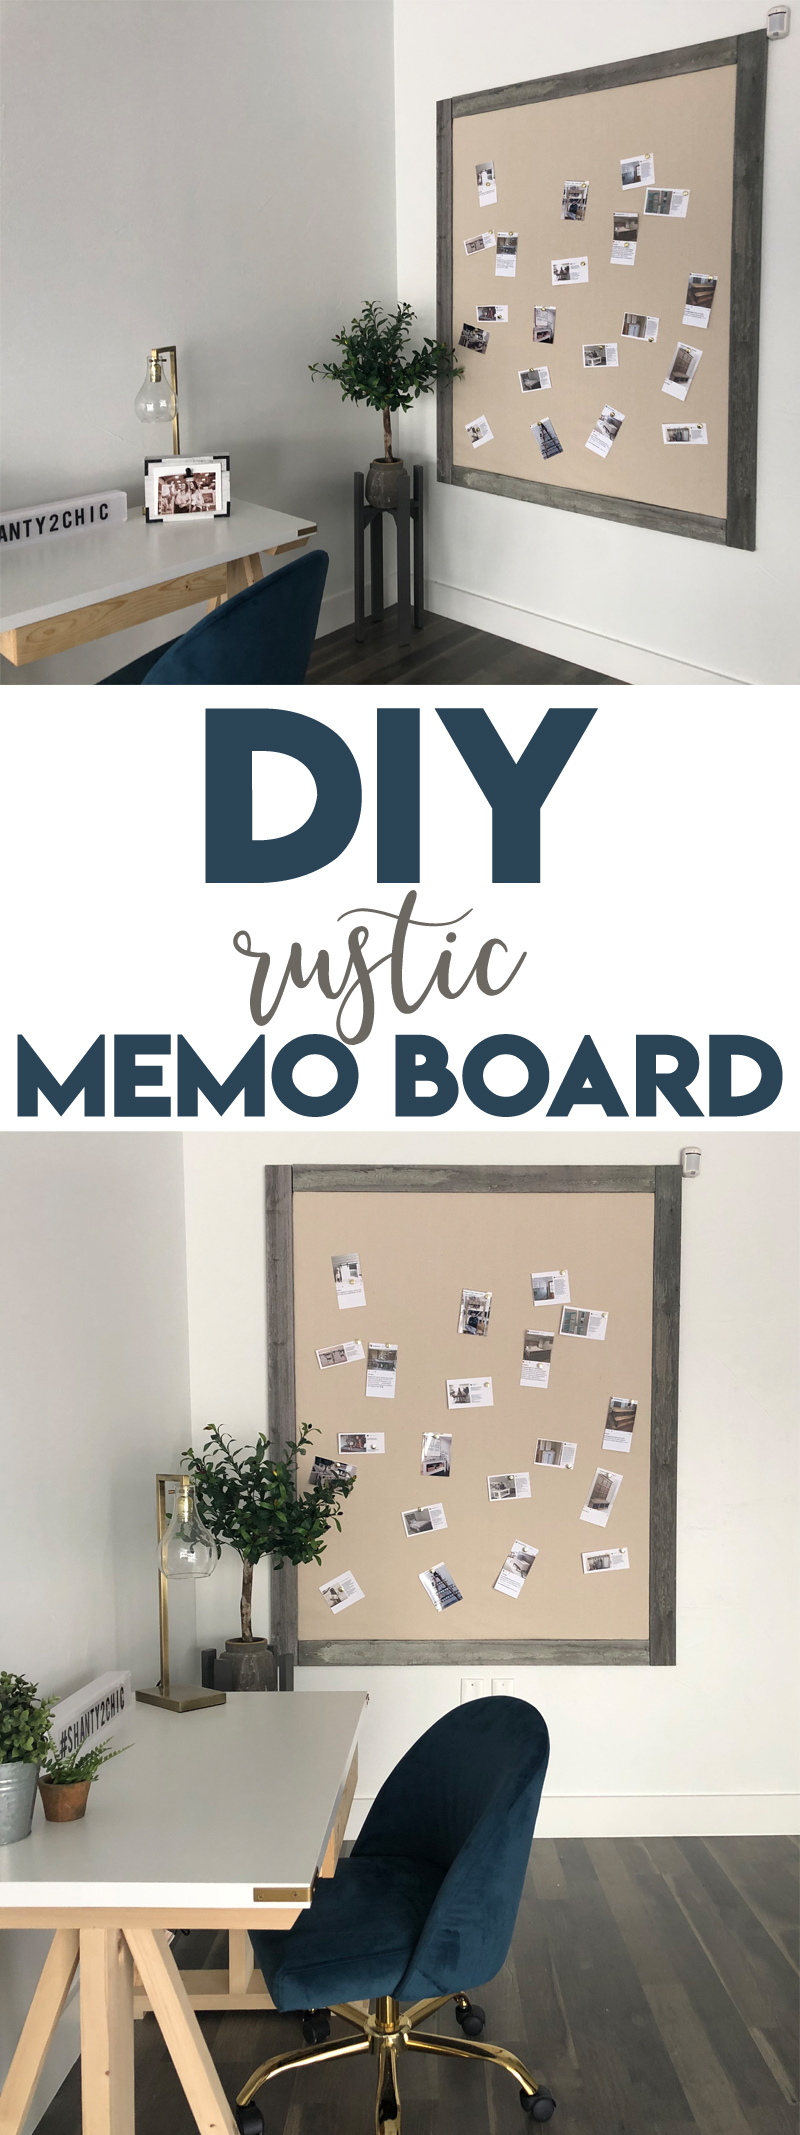
DIY Rustic Wall Memo Board using Insulation
This really is such a simple project and totally customizable in size and style!
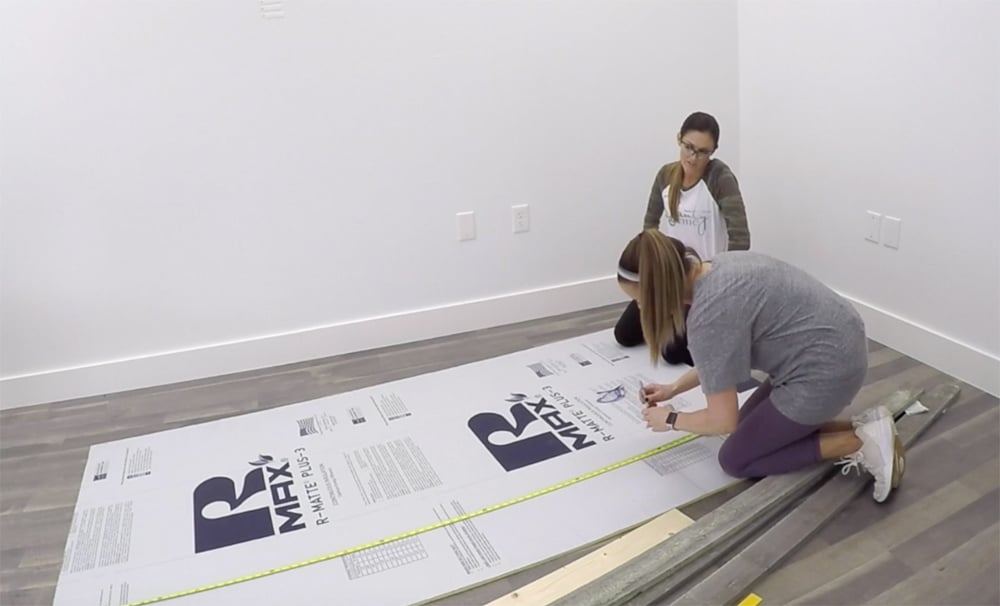
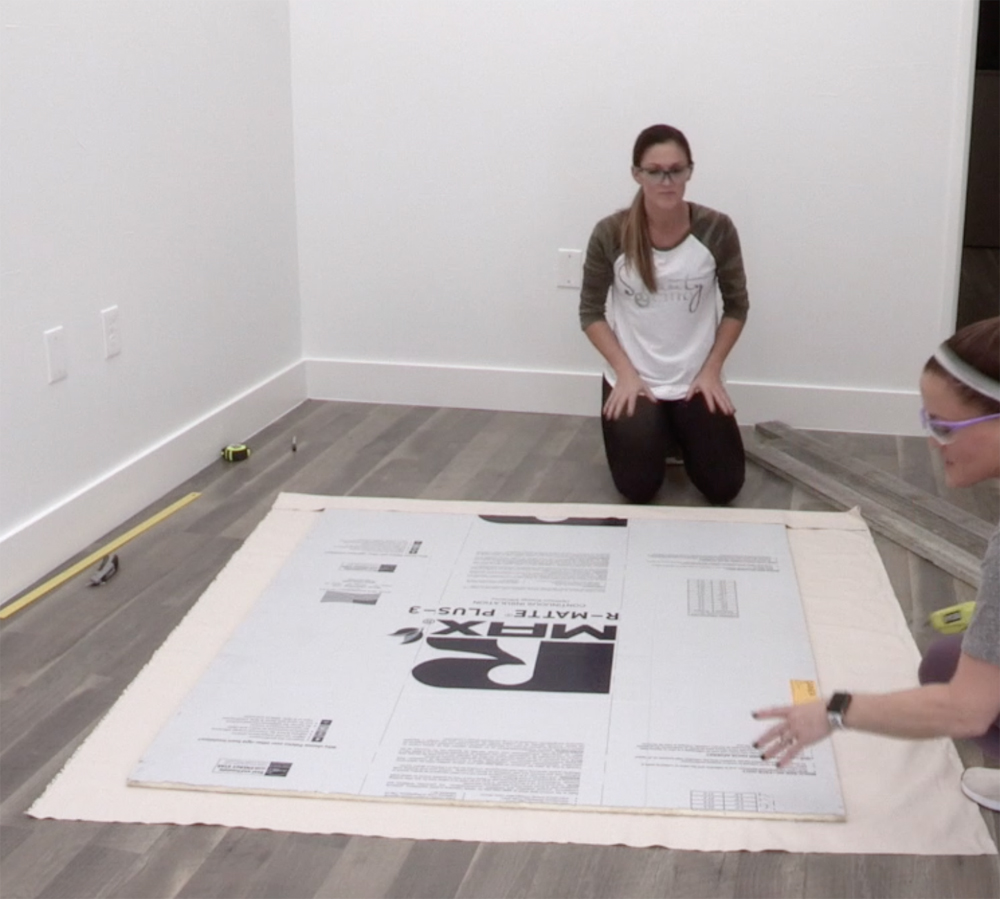
You first need a foam insulation board. THIS is the one we purchased!
Measure both the length and width of the size memo board you are wanting and use a straight edge to mark the cut with a sharpie marker.
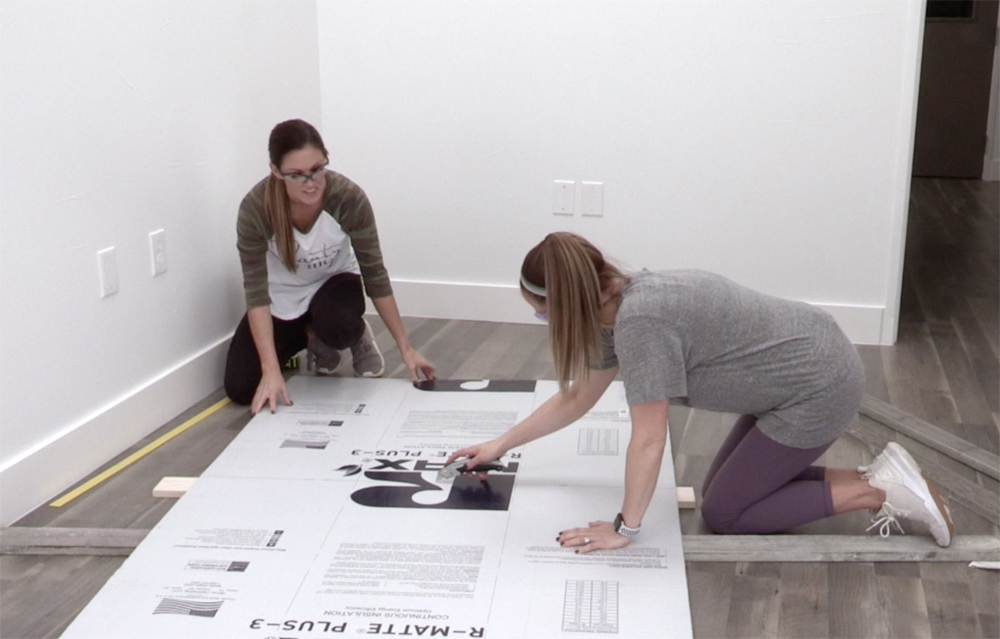
Now, use a utility knife to cut the board on those lines. Be sure to put a scrap board under it to keep from damaging whatever surface you are working on.
We chose to use a linen look fabric. A canvas drop cloth like this one also makes a great cover!
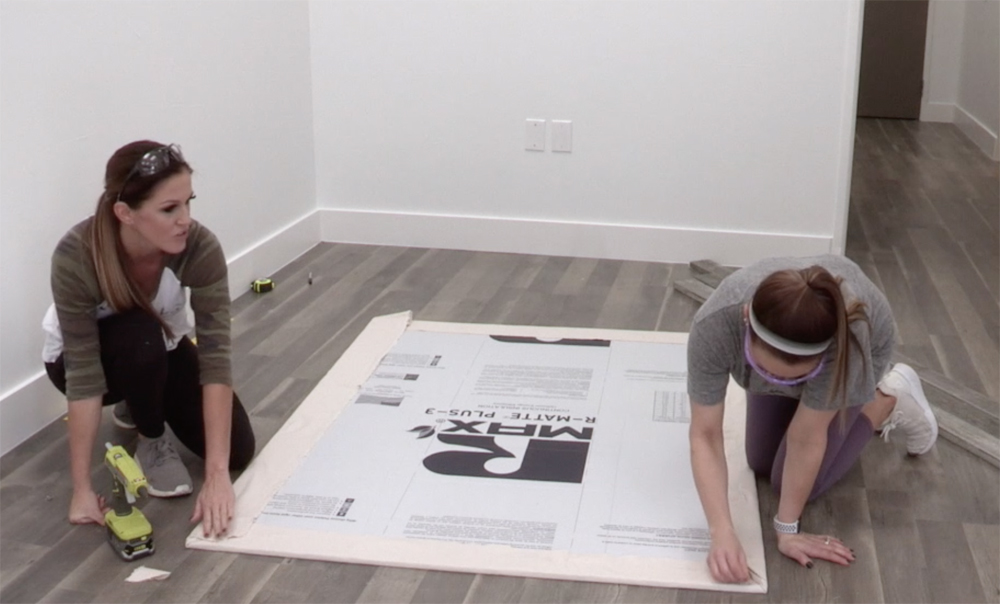
They are inexpensive and neutral, and a perfect weight for this project. Cut the fabric 3-4″ wider around the entire board and lay it bad side up on the ground. Lay your cut foam board on top of it and center it on your fabric. Use a hot glue gun to glue one side first. We started with one of our shorter sides.
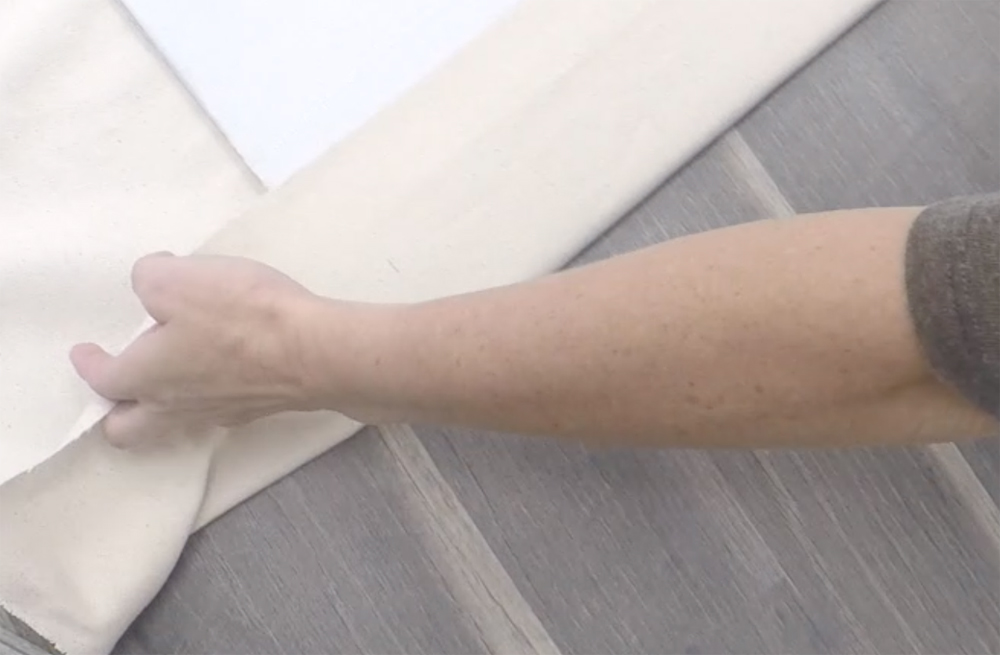
Now, move to the opposite side and glue it down. Be sure to pull the fabric tight to prevent wrinkles.
Now repeat these steps on the longer sides. Just glue and lay the fabric flat on the board.
Once all 4 sides are done, you are ready for the command strips. The great thing about using command strips is that you can pull this down and change the fabric if you ever choose to. We did 6 on the back of ours. HERE are the strips we used.

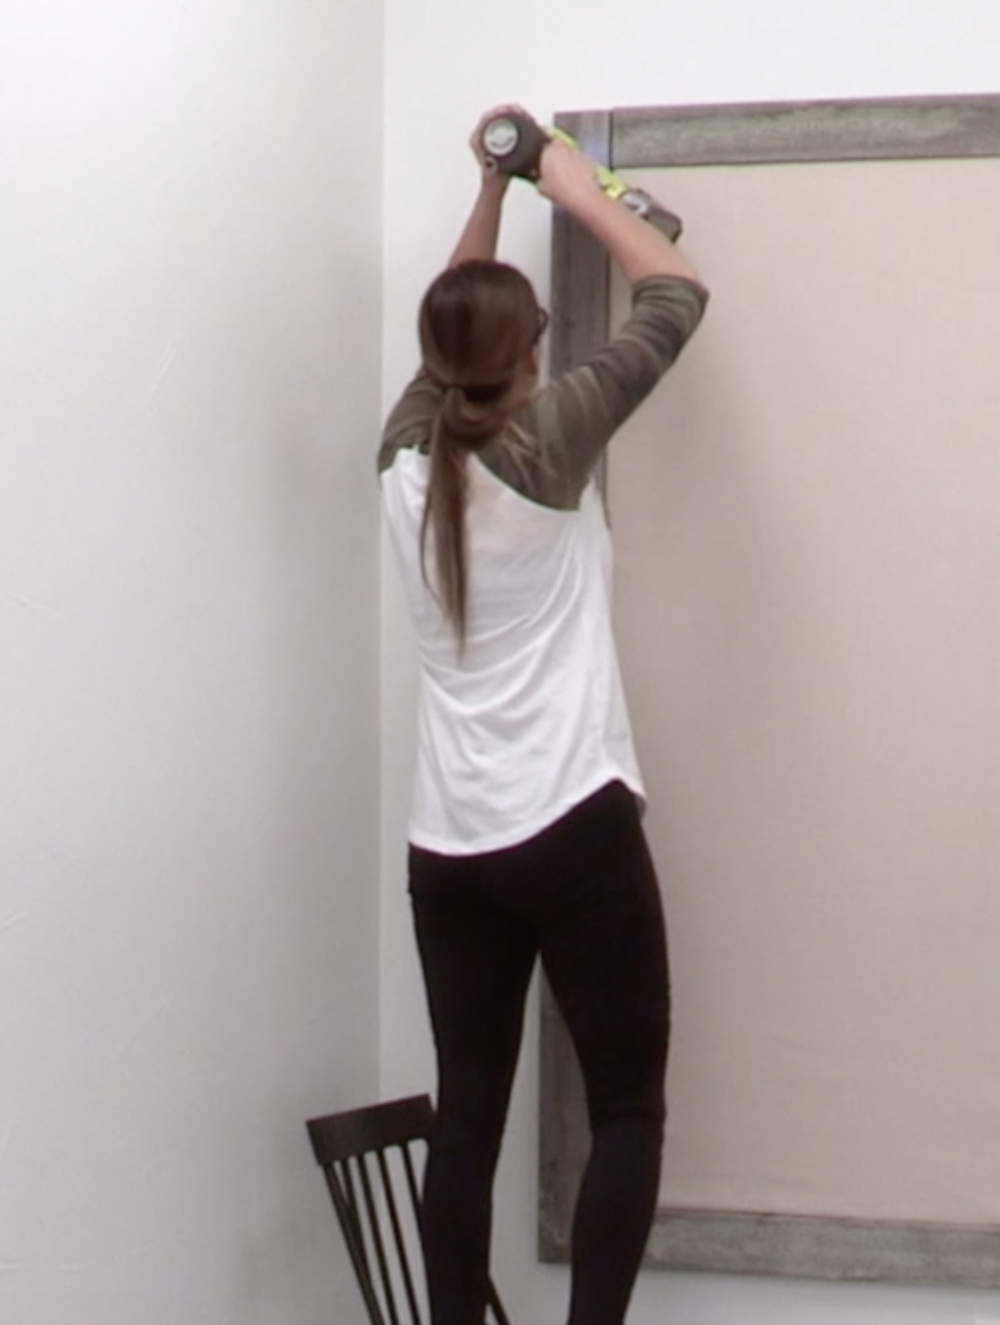
Now check for level and press the board against the wall. Be sure to hold it on the wall long enough to get a good hold, usually that is about 30-45 seconds.

Now for the trim! You can use any boards for this part. The wood we used for the frame is great because it is already finished! It saves you a step! HERE is a link to it!
We measured and cut the short sides first. We chose to attach ours using construction adhesive because our walls are metal studs in the office and these boards have a good amount of weight to them. We used 2″ brad nails. You can also just use nails into wood studs if you have that option.

Once the top and bottom boards are done, measure and cut the side boards. You will attach these the same way!
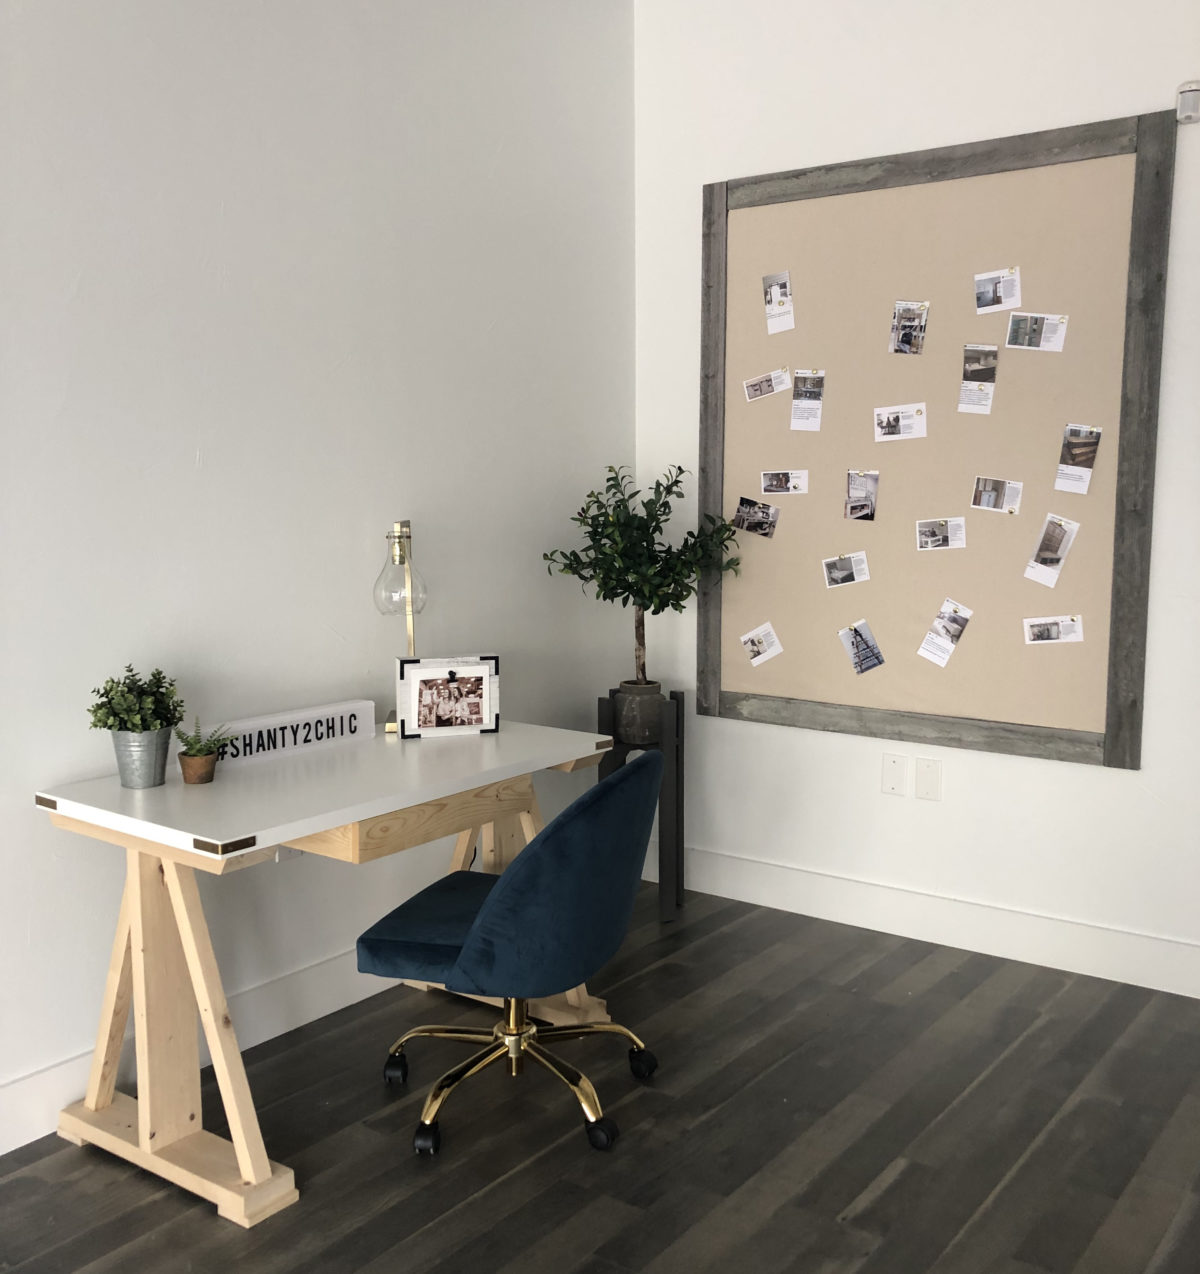
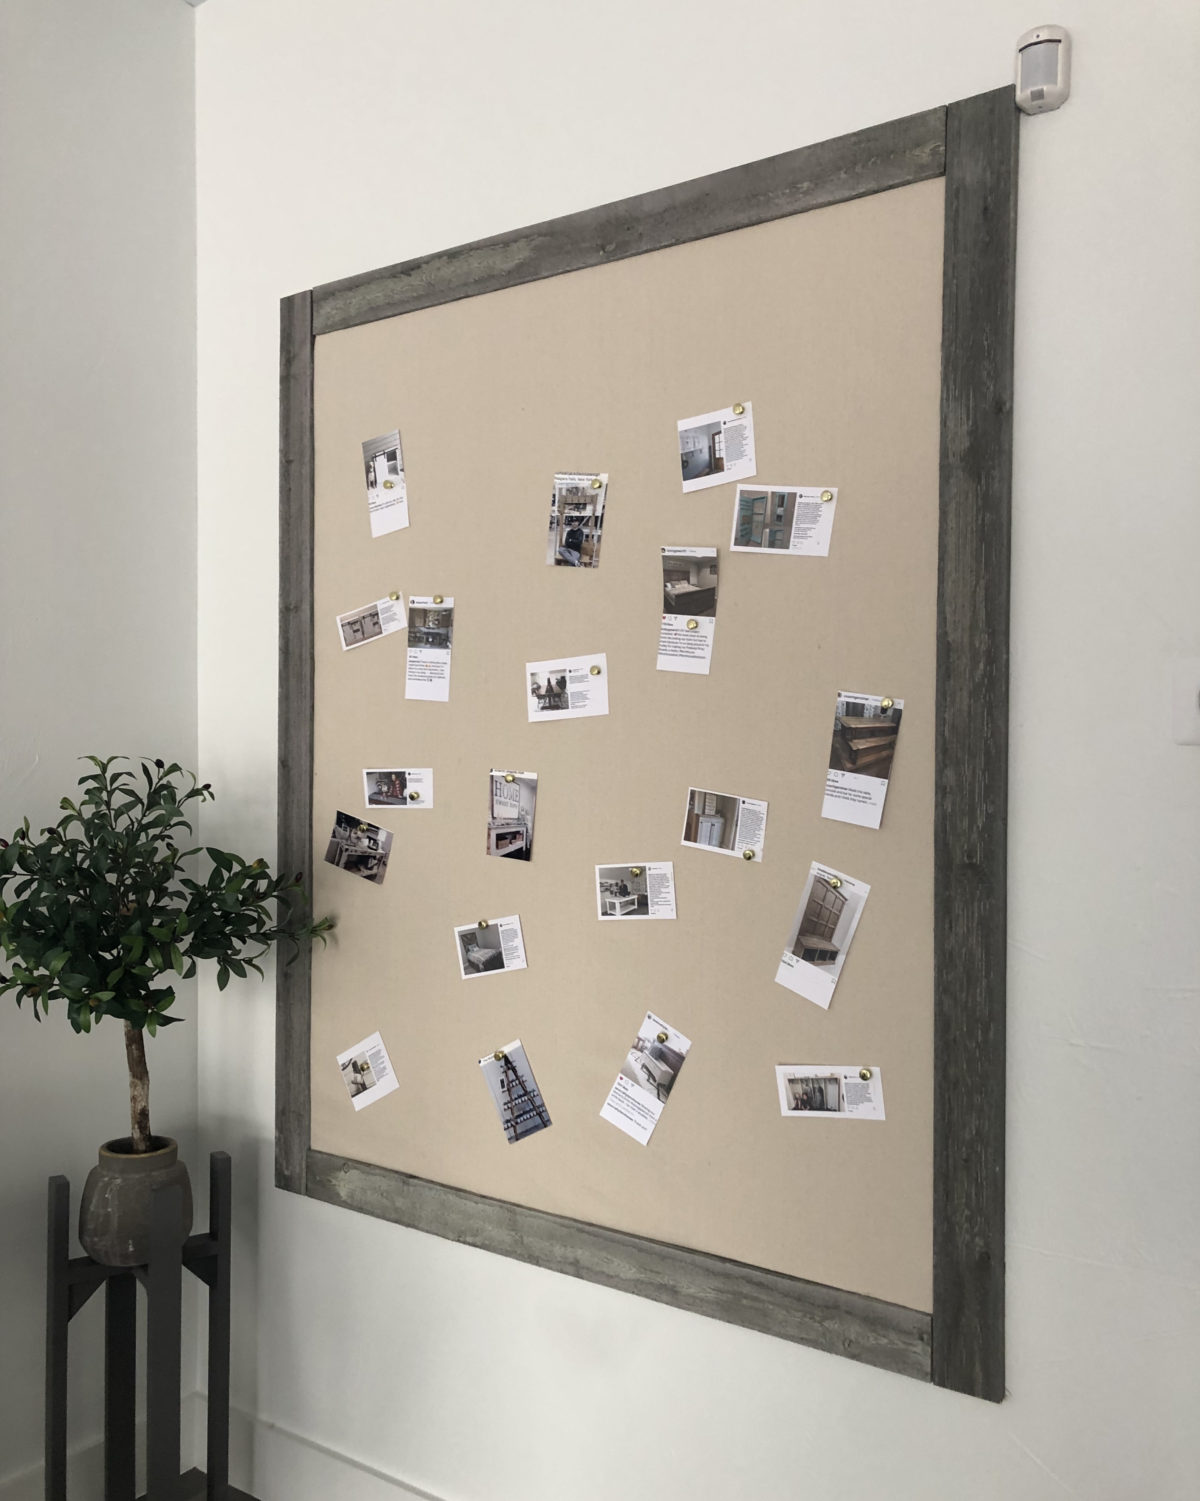
Now you are ready for pictures! See… We told you it was pretty darn easy!
And, look how cute it turned out!
To recap a few points…
Need a good hot glue gun?? Check out this cordless one on Amazon!
If you don’t want to go to the craft store and find fabric, a canvas drop cloth is a great solution. It’s neutral and inexpensive too! This one comes in lots of sizes…
The wood we used for the frame is great because it is already finished! It saves you a step! HERE is a link to it!


Oh, I don’t think that there are enough memo boards in this world to save me, but I might as well start with this one.
Yes ditto, need that desk…did you build it??? Will those plans be coming next???
I’m confused about why you used command strips when you ended up screwing in the boards that overlap with the foam. It appears the whole item is screwed into the wall and not hanging on a hook. Did I miss something? I need something like this in my Design studio. Thanks.
The boards didn’t overlap the foam board. The wood is on the outside framing the foam. They can pull the foam off and change the fabric.
Great idea – and pretty easy! Thank you so much for sharing. always happy to see there’s a new post.
On a completely separate note…can you please tell me where you found the desk lamp in the above pics?
Thank you!