Hey there! I’m excited to share this easy centerpiece that I put together this weekend!
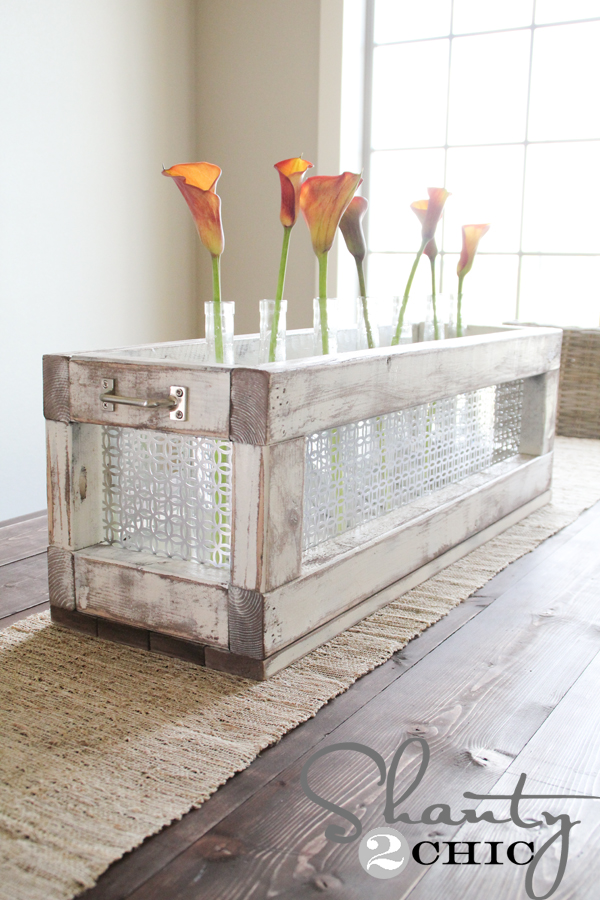 It’s quick, easy and only about $20!
Here’s how I made it 🙂
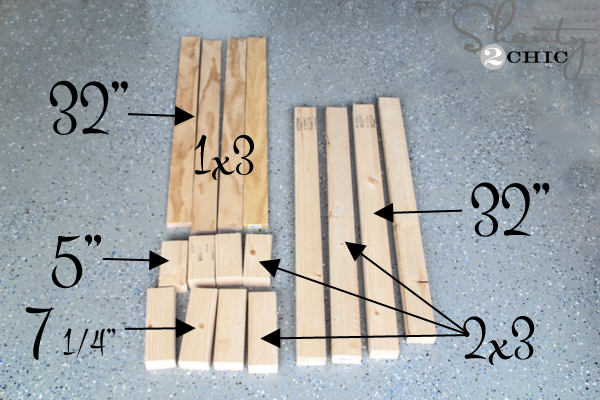 I made all of my cuts first. You can make it as big or as small as you like, this is just the size that I wanted for my Dining Table.
4- 2×3 pieces @ 32″
4 – 2×3 pieces @ 7 1/4″
4 – 2×3 pieces @ 5″
4 – 1×3 pieces @ 32″
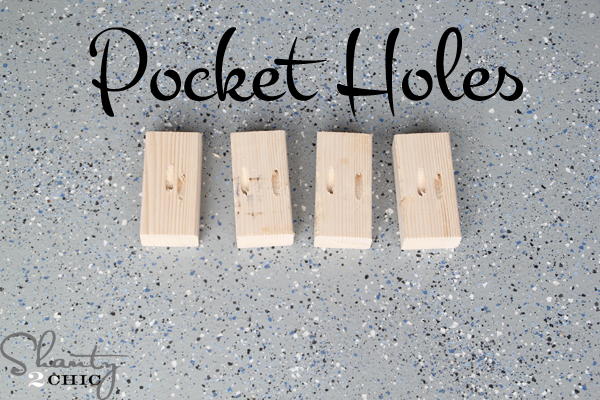 Next, I drilled one 1 1/2″ pocket hole into each end of the 5″ pieces, with my Kreg Jig.
 and attached them to the 32″ 2×3 pieces with 2″ pocket hole screws.
Now, this is where the steps get a little different than usual! I finished all of the pieces, at this point, before assembling the rest of the crate.

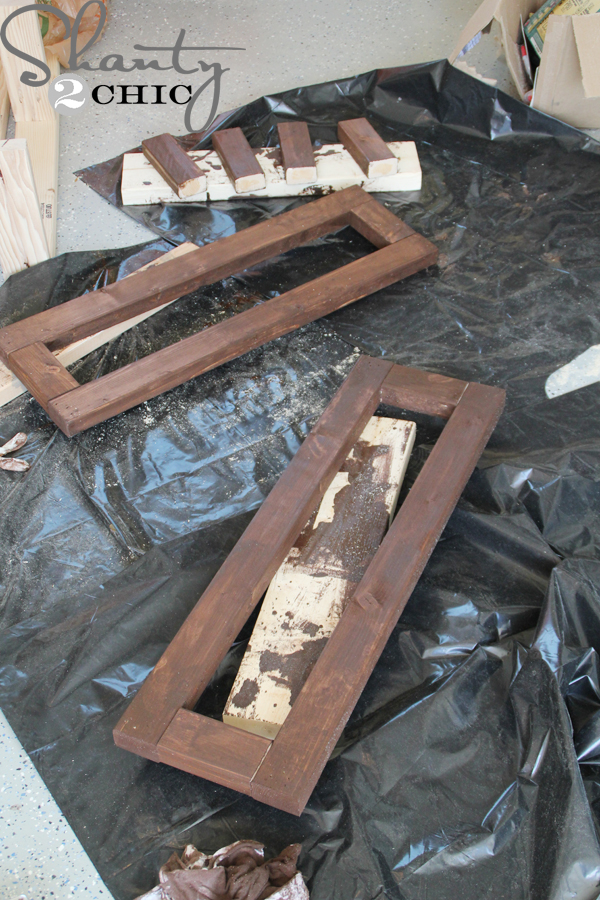 I used one our favorite Varathane stains, Carrington as the base coat. I just wiped one coat on every piece, let it sit for about 5 minutes and then wiped it with a clean cloth.
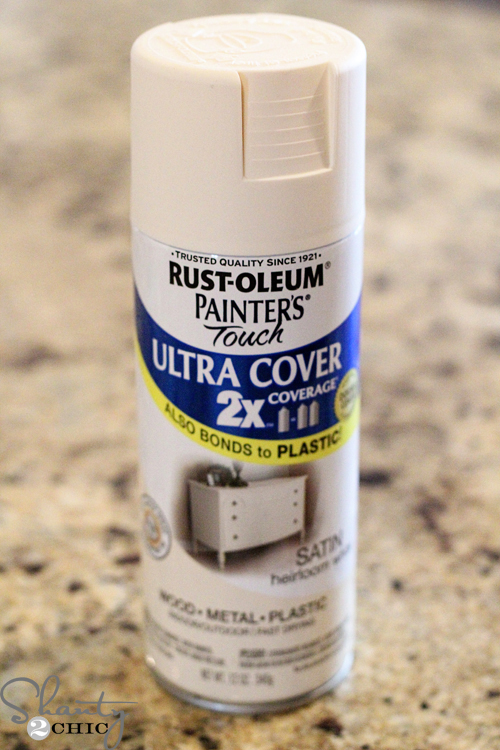 Then, I followed-up with 2 coats of one of our favorites, Heriloom White by Rust-Oleum. You can click the box below to purchase it online 🙂
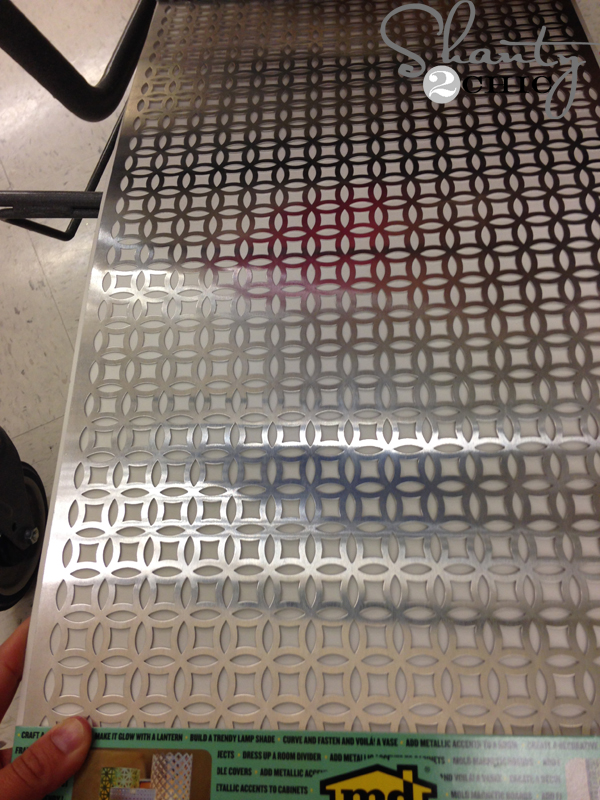 While I waited for the paint to dry, I began cutting the metal sheets. I purchased two sheets at Hobby Lobby for about $7 each (when they were marked at 40% off)! They have lots of different patterns to choose from!
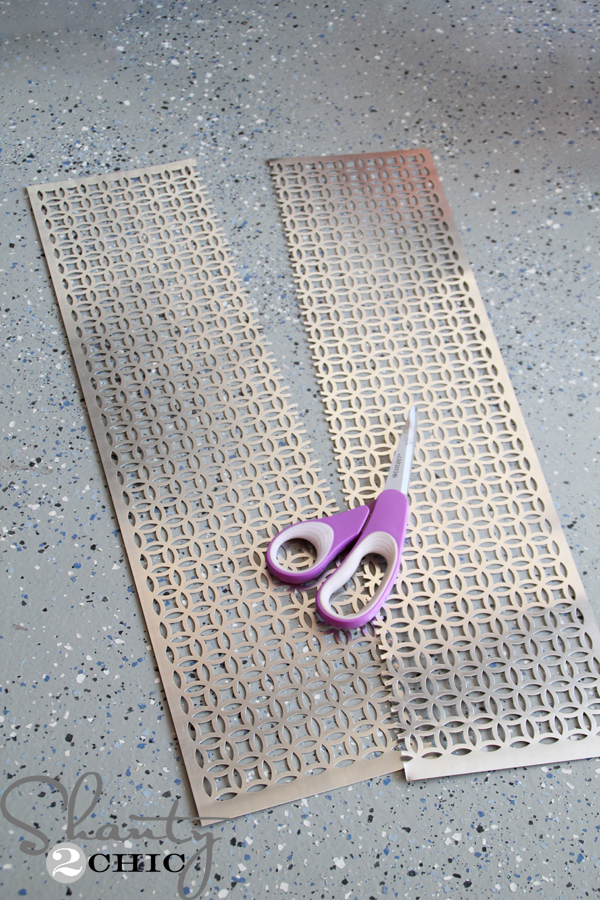 I cut it straight down the middle with a pair of scissors
 and because my crate is longer than the metal, I cut the edge off of one side.
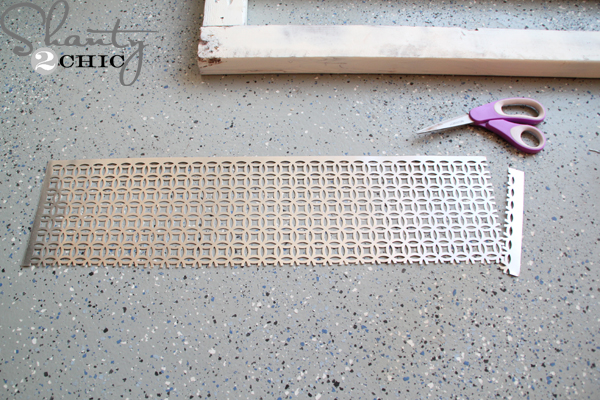
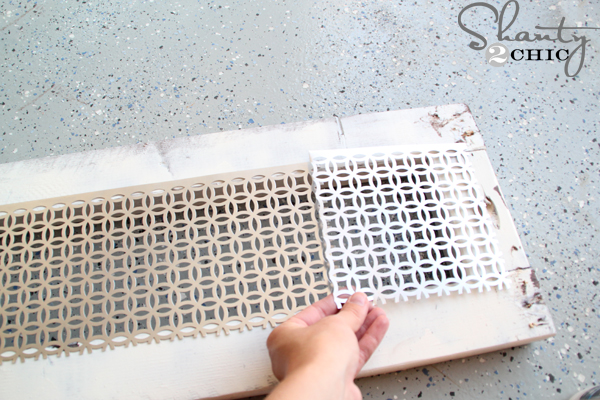 From the other sheet, I cut a piece that fit the end of my crate and matched-up the patterns.
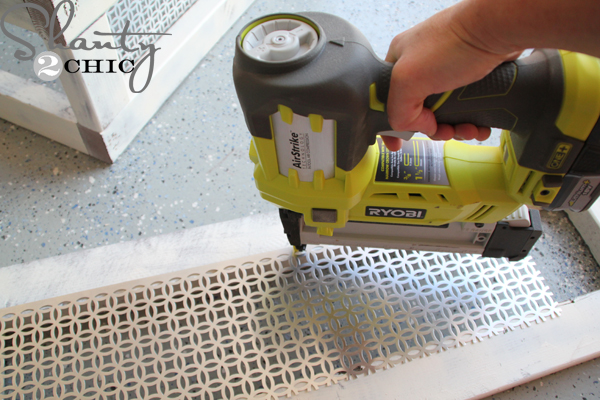 To attach the metal sheets, I just used my cordless stapler. I put about 6 staples on each side. (attach metal to the inside of the frames)
 After I attached the metal to the long sides, I assembled the crate by attaching each frame to the 7 1/4″ pieces. I used Elmer’s ProBond and 2″ nails with in Ryobi Airstrike Nailer to attach the pieces. Once the crate is assembled, you can add the metal to the short ends with the stapler.
 Finally, I flipped the crate over and attached the 1×3 boards, with my Ryobi Nailer and 1 1/4″ nails, to form the bottom of the crate.
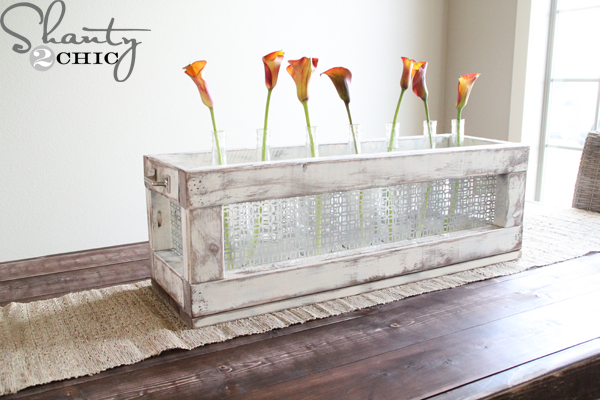
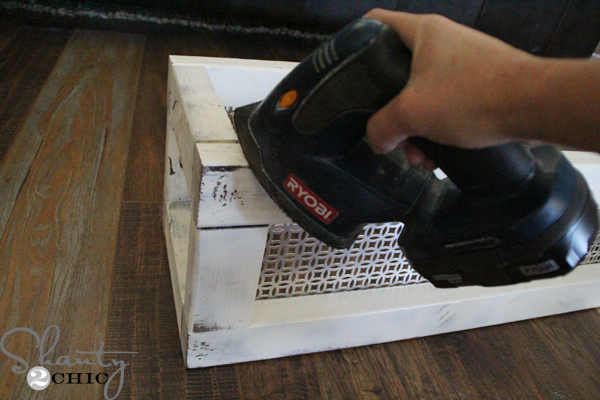 Remember the stain and paint I applied? I went back with my Corner Cat Sander and distressed the entire crate with an 80-grit pad. This will allow the stain and bare wood to peek through the paint, giving our crate that awesome vintage look 🙂
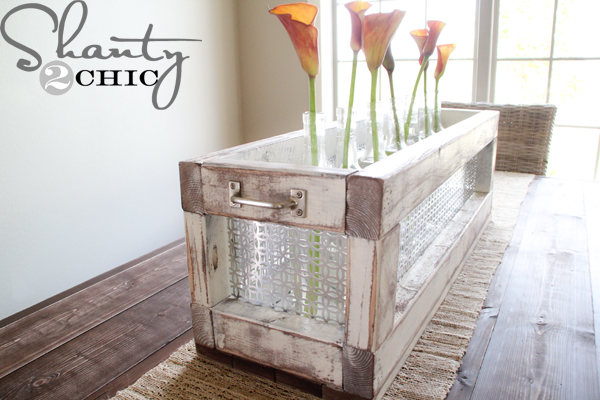
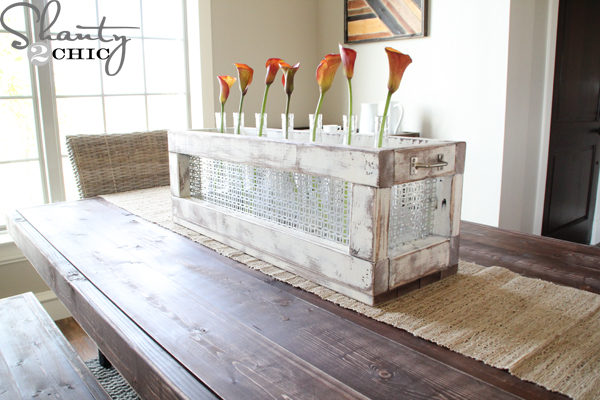
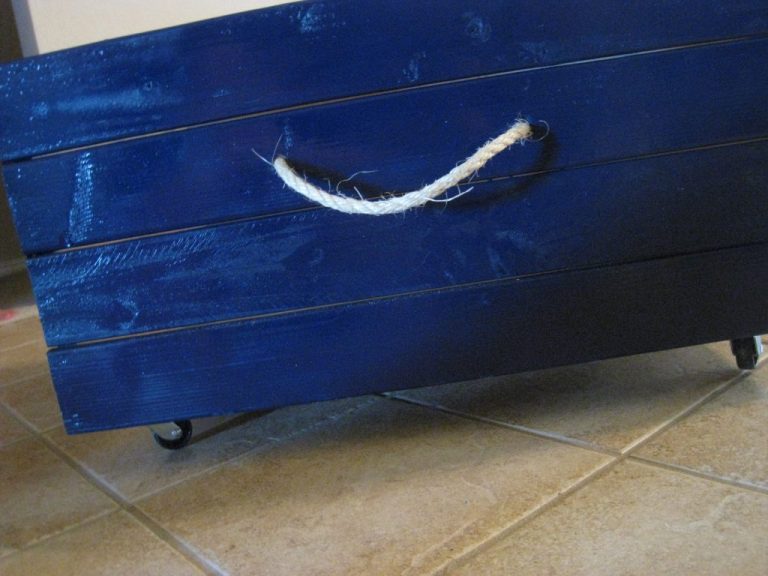
I added a pull on each end, filled it with 7 empty wine bottles and dropped a pretty flower in each one 🙂
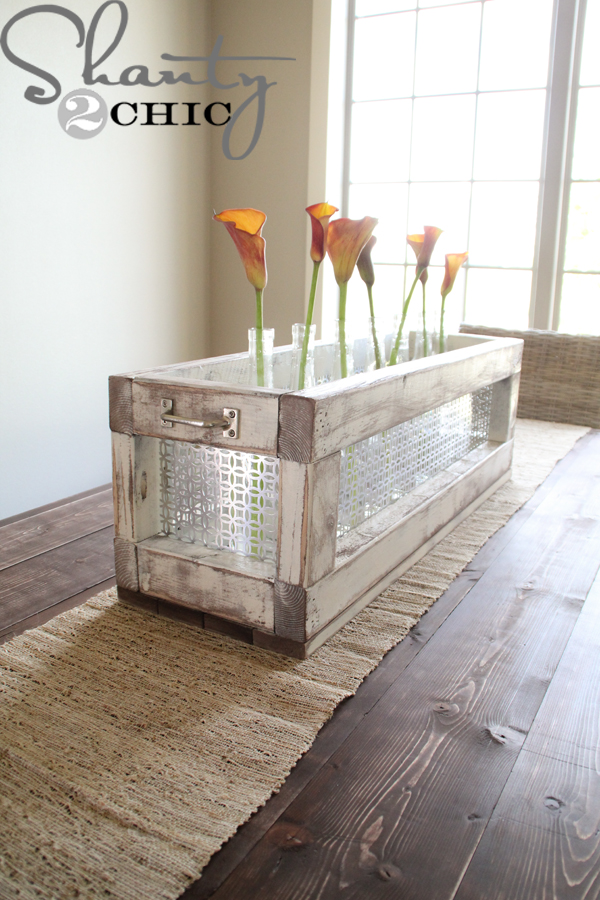 It’s such a fun way to add a different pop of color to my dining room each week!
I am still working on my dining room right now and I am sharing the benches that I built to match my new dining table and the fabric I picked for my curtains very soon!
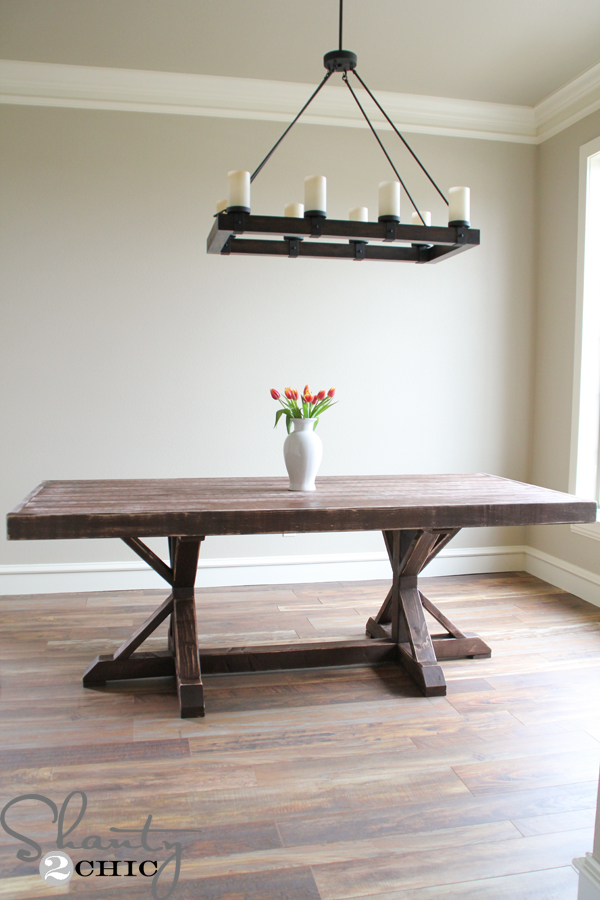 If you missed my new Restoration Hardware Inspired Dining Table, you can check it out HERE!
Thanks so much for stopping by 🙂
~Ashley


This is so cute! I showed my dad a picture of your work and he whipped this centrepiece up for me! Love your site!
Super cute! I’m having a hard time finding the metal sheets you used? Us there a certain brand name on them? I’ve looked on the hobby lobby website. Any help would be greatly appreciated;) thanks!!! Mandy
Super cute! I’m having a hard time finding the metal sheets you used? Us there a certain brand name on them? I’ve looked on the hobby lobby website. Any help would be greatly appreciated;) thanks!!! Mandy
Super cute! Hopped over from Hometalk. Sounds like your are a couple of great gals!
hugs,
Jann
Thank you so much Jann! So sweet of you!
I love this! The metal addition is so cool!!
Thank you Pauline 🙂
Very Cute Ashley! I love all your fun projects!
Thank you Mindi 🙂