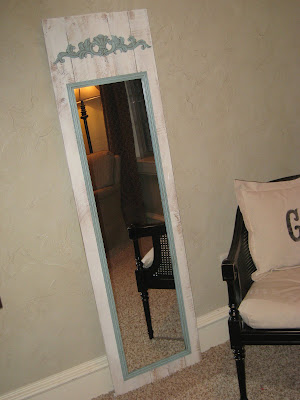
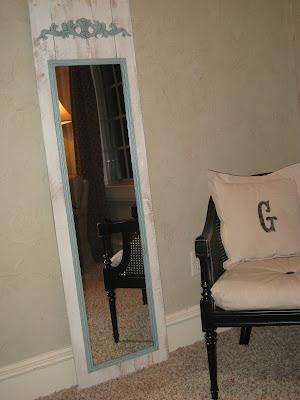
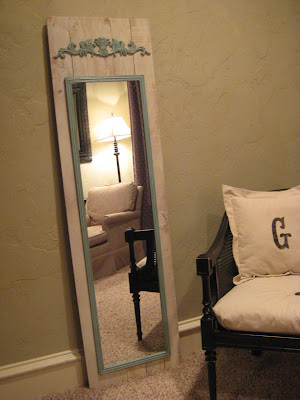
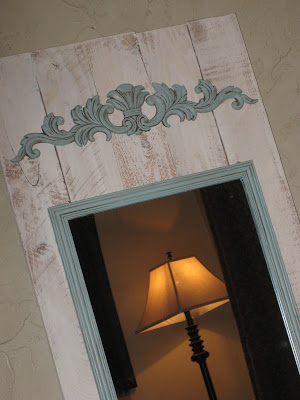
Ahhh! It’s been FOREVER. Sorry to stay gone so long but I had a series of things happen that kept me away from the computer… But I’m back 🙂 I’m so excited to share my next project with you. This is an easy one you can have done in a few hours but it will look like it took you much longer. I have been wanting a full length mirror so I made this.
This is how I did it. I started by purchasing a few things that were cheap and easy to find.
I found my full length mirror in black at Walmart for $5.00… Can’t beat that!
I found everything else at Lowes. The 5 fence posts were super cheap!
The wooden scrolly was around $7.
And my wood screws were about $5 also but will last me a long time.
My first step was to cut my posts the same length. I used my miter saw for this part but you can also use a small hand saw or have Home Depot cut them for you. Mine were about 5′ tall each after I cut them.
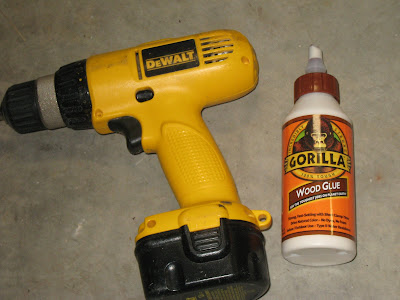
I also cut a piece of scrap 1×2 to anchor my posts together. These are around $1.50 at Lowe’s also. I put all my posts good side down on the ground. These are the tools you need now.
I ran a line of Gorilla Wood Glue one the posts where my 1×2 would lay.
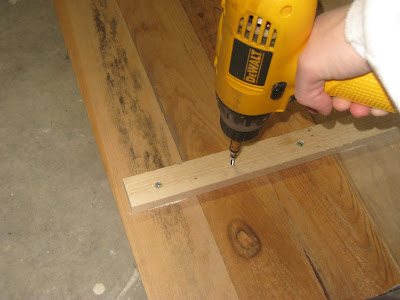
Then, I put the 1×2 on top of it and used my drill to drive a wood screw into each post.
When I was finished it looked like this.
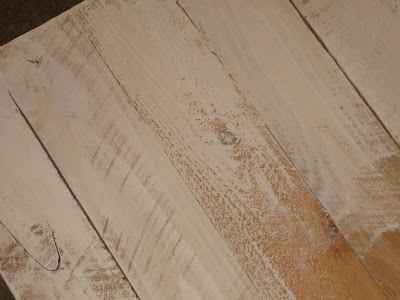
I repeated this step on the other end and I was done. I then used some cream latex paint to dry brush my posts. I wanted it to look and worn.
While that was drying I moved on to the other pieces. I taped off my cheap black mirror so I wouldn’t have to take it apart.
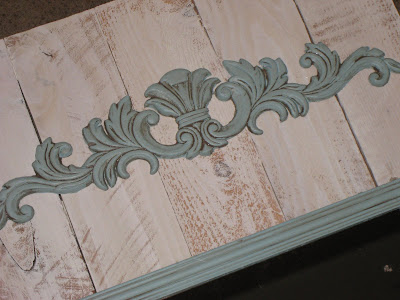
I then painted the entire black edge with FolkArt Seamist acrylic paint that I get at Hobby Lobby. This took at least 3 coats but they dry fast so it’s no big deal. After it was dry I added a bit of Ralph Lauren Smoke Glaze. You just paint it on and then wipe off as much as you want with a wiping cloth or old t-shirt.
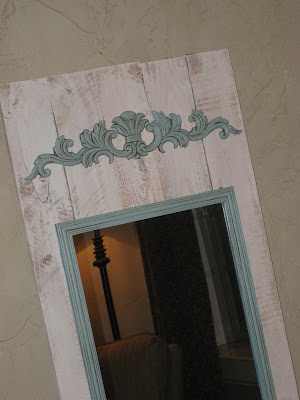
I also painted and glazed my scrolly…
Now it was time to put this baby together. Because both my mirror and scrolly were so light I decided to hot glue it to the posts. I just added LOTS of hot glue under the mirror to make sure it sticks. Then, I attached the scrolly.
I really like the look of this leaning against a wall rather then hanging so my work is done. For now, it sits in the reading area of my bedroom. I love it! What do you think??
Hope you guys like it! It was a simple and cheap way to create a very custom mirror! It’s good to be back… Thanks so much!!
~Whitney











That is absolutely beautiful! One of the most creative things I've seen!
Great job! I like Seamist too.
I'm going to paint my walls turquoise. I got a sample from Pittsburgh Paints called Aqua Bay. You would like it! To change up your technique a bit I painted a frame and a wooden box with the Aqua Bay, roughed them up, and glazed them with BLACK glaze. The black glaze just fits in with my black furniture better… LOVE IT…..You are my inspiration! I like using all those saws too 🙂
Oh, I painted a great big scolly plastic framed mirror ($4 at the thrift store) with red spray paint, roughed it, and put black glaze on it too! Amazing what adding that glaze layer does…thanks for teaching me!
that is really cute, glad you are back.
Fantastic! So creative! That is creative inpiration!
I think …Martha Stewart needs to look out …wow …crafty crafty and CUTE! [email protected]
Love it…this is just what my hideously ugly mirror in the closet needs!!
This mirror is sooooo beautiful i love the style the paint the scrolly thingy, it all works…i would love to make one myself. Thankyou for shraing this.
LOVE!!! I've been getting myself into trouble since finding your blog! 😉 my husband (the bank) and dad (the handy man) are not happy with my projects! 😉
You always have the best ideas!!
thanks for showing us.
blessings
barbara jean
Love the mirror! so creative
I'm not sure where you went? but I'm glad you are back too! This is such a great idea! Thanks for sharing!
OH SO PRETTY!!!
I love it!!!!! Your colors are wonderful.
Amazing! You ladies seriously amaze me. I would have NEVER thought of that! :o)
Great job! LOVE it!
That's a good idea; many of us need full size mirrors and some of the ones you can buy are just plain ugly. Thanks for the tip!