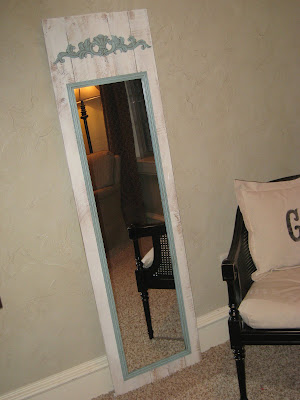
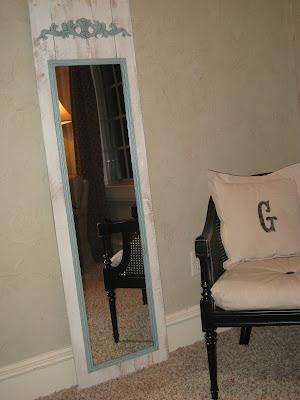
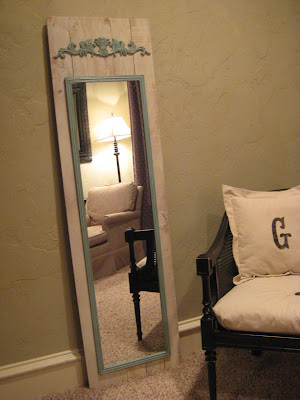
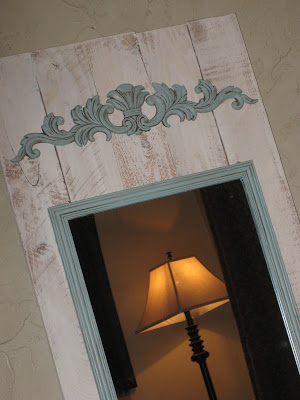
Ahhh! It’s been FOREVER. Sorry to stay gone so long but I had a series of things happen that kept me away from the computer… But I’m back 🙂 I’m so excited to share my next project with you. This is an easy one you can have done in a few hours but it will look like it took you much longer. I have been wanting a full length mirror so I made this.
This is how I did it. I started by purchasing a few things that were cheap and easy to find.
I found my full length mirror in black at Walmart for $5.00… Can’t beat that!
I found everything else at Lowes. The 5 fence posts were super cheap!
The wooden scrolly was around $7.
And my wood screws were about $5 also but will last me a long time.
My first step was to cut my posts the same length. I used my miter saw for this part but you can also use a small hand saw or have Home Depot cut them for you. Mine were about 5′ tall each after I cut them.
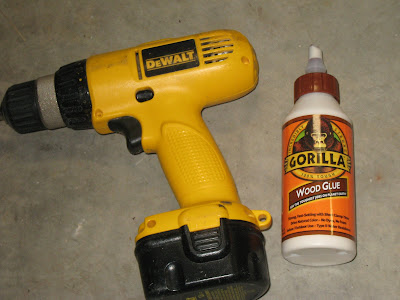
I also cut a piece of scrap 1×2 to anchor my posts together. These are around $1.50 at Lowe’s also. I put all my posts good side down on the ground. These are the tools you need now.
I ran a line of Gorilla Wood Glue one the posts where my 1×2 would lay.
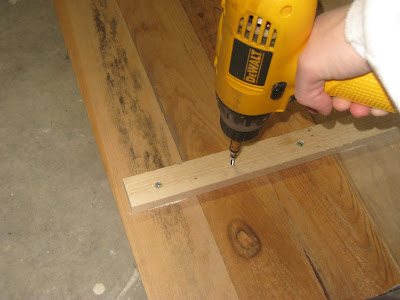
Then, I put the 1×2 on top of it and used my drill to drive a wood screw into each post.
When I was finished it looked like this.
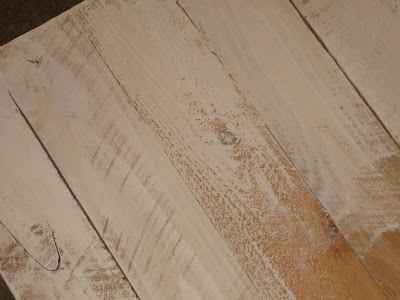
I repeated this step on the other end and I was done. I then used some cream latex paint to dry brush my posts. I wanted it to look and worn.
While that was drying I moved on to the other pieces. I taped off my cheap black mirror so I wouldn’t have to take it apart.
I then painted the entire black edge with FolkArt Seamist acrylic paint that I get at Hobby Lobby. This took at least 3 coats but they dry fast so it’s no big deal. After it was dry I added a bit of Ralph Lauren Smoke Glaze. You just paint it on and then wipe off as much as you want with a wiping cloth or old t-shirt.
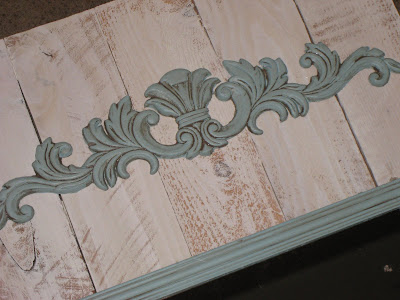
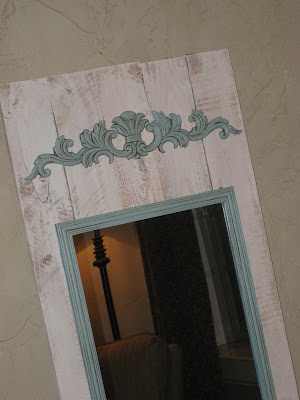
I also painted and glazed my scrolly…
Now it was time to put this baby together. Because both my mirror and scrolly were so light I decided to hot glue it to the posts. I just added LOTS of hot glue under the mirror to make sure it sticks. Then, I attached the scrolly.
I really like the look of this leaning against a wall rather then hanging so my work is done. For now, it sits in the reading area of my bedroom. I love it! What do you think??
Hope you guys like it! It was a simple and cheap way to create a very custom mirror! It’s good to be back… Thanks so much!!
~Whitney











I ♥ that mirror… you are so creative!
Looks fantastic!
GENIUS! Thank you for the inspiration!!
DARLING! Thanks.
Thank you for this blog! I have some old '60s style furniture that I have been wanting to update, but figured the cost would be too expensive. I am so inspired by your blog that I'm going to start working on the projects this summer.
I also appreciate how simple and easy your projects are. I feel liberated to have nice things for my house without breaking my budget at Pottery Barn.
Love your whole site! Great work!
I am totally going to make one this week. My daughter has this mirror sitting in her room! Thanks for the inspiration.
Shanty…yet, SO Chic!!!
what a great idea for a cheapo mirror!! i totally am going to do this! 🙂 thanks for the wonderful idea!
What a creative way to dress up those mirrors! I have one sitting in the back of the closet … I might have to it drag out again …
awesome love the green with the glazing…
Wow… I love it! It looks awesome… I learn so much from you! thanks for sharing your creativity with us…
cielo
I think it's great. It looks like something I will have to try. Thanks. Amy
I love this! What a great way to dress up the mirror. Thanks so much, I'll be linking.
Chic……and simple
Love it !!!!