Hey guys!
I wanted to show you guys the next step in my dining room overhaul. I spent the last few days revamping the dining room furniture. Here is how I did my table…
You guys remember the before??
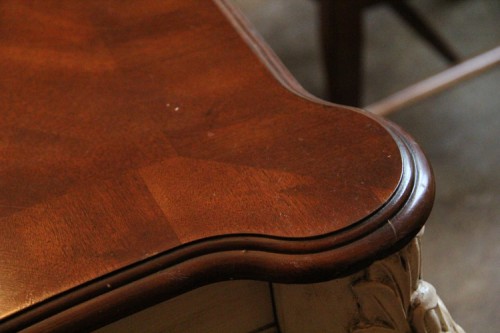
The top of the table was stained wood but it had a red cast to it that I was a bit “over”. And, I was ready to brighten her legs up too!
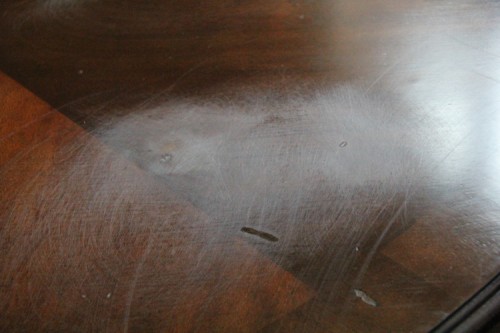
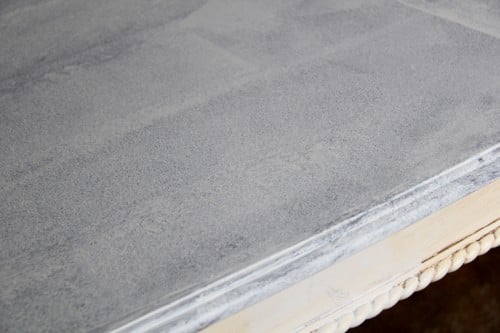
I did lightly sand the top of the table. There are a few scratches on it and I thought better safe than sorry!
I used a 120 grit sandpaper to lightly go over the top. I sanded just a bit harder over my scratches.
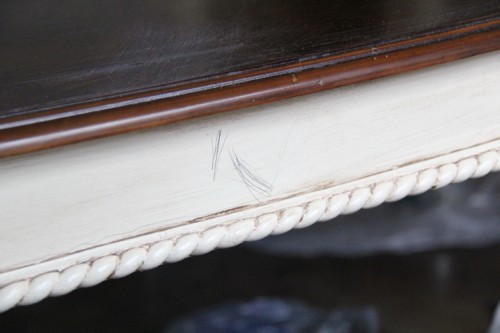
During this process I also found some lovelies that my sweet kids left for me….
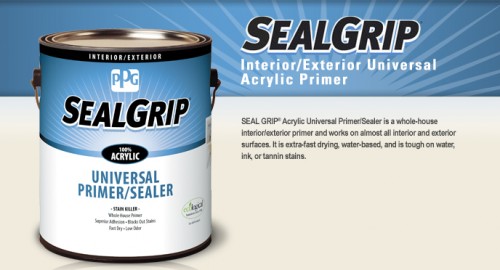
I found this primer back when I was repainting my laundry room cabinets and fell in LOVE. It has never let me down and seems to stick to just about anything. I only used one coat on the top of the table. I decided to not put any on the legs because they were already painted.
Primed and ready…
I applied both my primer and paint using the same roller. I swear by these things, and I promise once you use them you will not go back. They are Whizz Roller Systems.
I get mine at Lowe’s and they come with a small 4″ roller. Love them.
The paint color I went with is a Dutch Boy color called Clam Island. I didn’t love the name of the color but it matched my spray paint perfect 😉 I will get to that in my next post! I put on 2 coats of paint to both the table top and legs. I did have to use a brush on the legs.
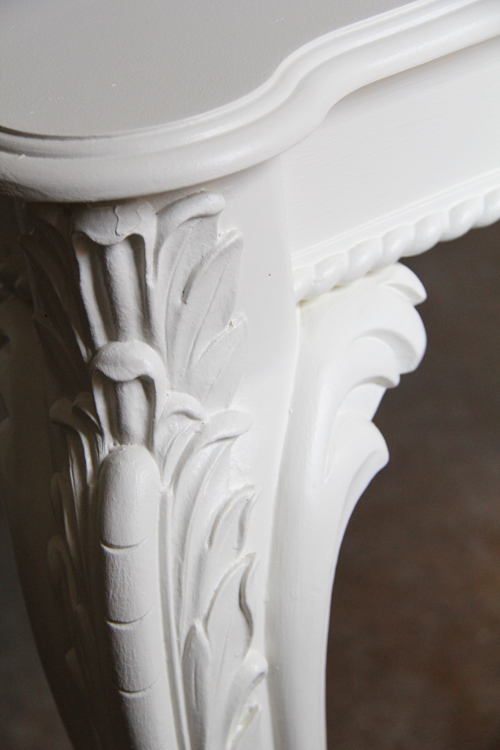
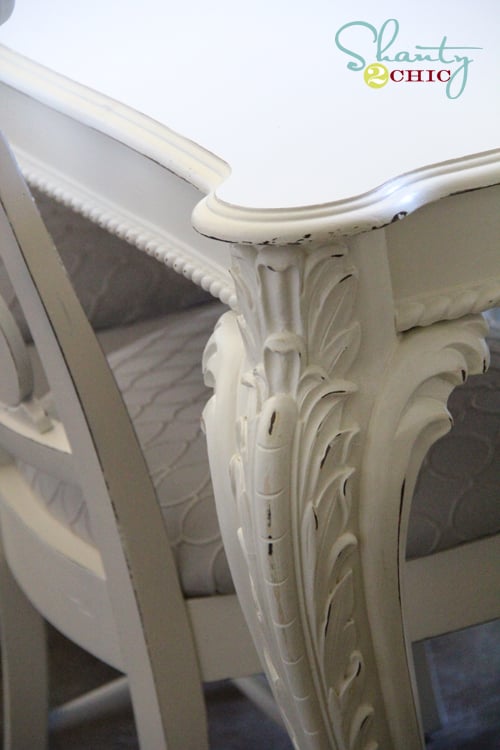
Now I was ready to distress. I went back and forth over this. I wasn’t sure I wanted it distressed but finally decided to lightly go for it. I figured that with 5 kids running around the table may get scratched a time or two. The distressing will just make it all blend, right??
I used a 120 grit sanding block to lightly sand the edges and the details on the legs.
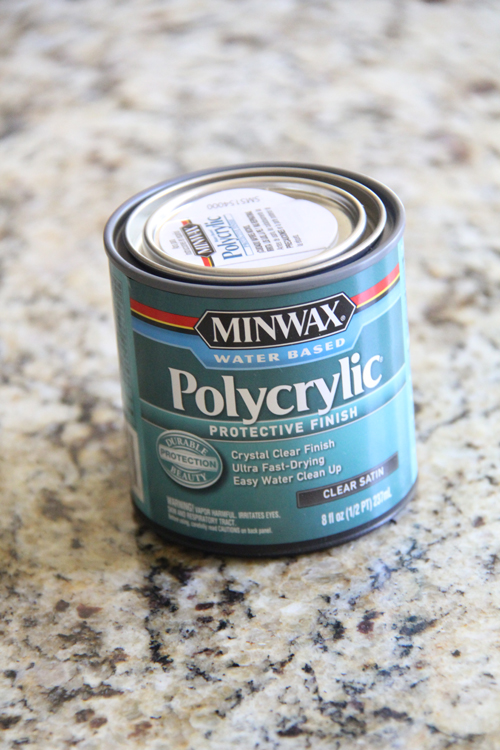
Finally I put two coats of Polycrylic on the top. I love the durability of this stuff! I use it on all my painted furniture. I like that it is water based so it doesn’t stink too bad and you can work inside. I also like that it doesn’t yellow like polyurethane.
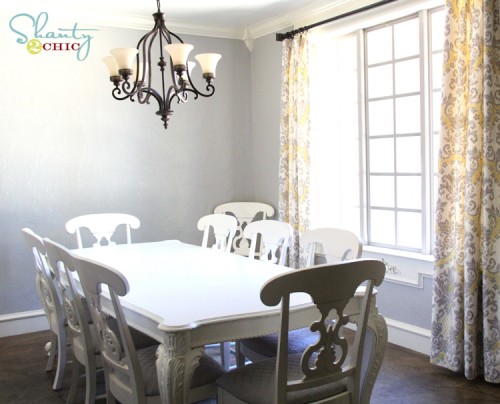
That was it! I was done… With the table. The chairs were a different story, and I will share that later. For now… Here are the results. I still have stuff to add to the walls and a few other things. It’s getting there though!
Thanks for stopping by guys! Let me know if you have any questions!
Here are a few of my other dining room revamp posts!








hi there! my fiancee and i just purchased a huge wood dining table with chairs from craigslist. as soon as i saw it i pictured how i wanted it to be totally redone. we debated whether or not to even start because the table was in great condition and we are still newbies at this. anway, after working on sanding it this weekend, we got stuck! then, i came accross your post and instantly yelled ‘that’s it! your dining table is exactly how i pictured mine! so thank you for this post, we will most definitely be using your tips….
Did you use the “Polycrylic” only on the top? and not the chairs?
When I saw the photo of your “before” table, I thought it was beautiful .. and then your transformation was incredible. How brave you were to paint this table. What a marvellous job… the end result is fantastic. I have an old wood/glass top coffee table and will plan to “transform” this during the warmer months. thanks for sharing!!
wow this is amazing! very nicely done!!!!!
I love it! The end result looks so gorgeous! It fits in perfectly with the design of your dining room.
I bought a dining table at a garage sale and I just primed and painted it. I’m kind of unsure what to do next and I actually came across this post while doing research. Does the polycrylic give it a glossy finish? That’s what I searching for in a top coat. And did you sand before/after applying the polycrylic? Ahh, sorry for all the questions!
It looks AMAZING!!! I love it!!!!! I have been in the process of redoing my dining table & chairs too and the chairs have turned into a nightmare! Can’t wait to see how it went with yours (hoping your experience is better then mine!) 🙂 I am running out to by the primer you suggested and keeping my fingers crossed that it works for me! Thanks for sharing all your creative-ness with us! 😉
Hey Jill! Thanks so much for your sweet comments! I would love to see your stuff when you get it done! 🙂
Beautiful! The table was pretty before, but now it’s gorgeous! I’m thinking of painting my kitchen cabinets and may have to try out that primer. Thanks for the tip! Love your window panels too! Great colors!
I can’t remember if I already posted that I love your new improved dining room. I just looked at it again and yep… I still love it. So I figured I would say so just in case I forgot to the first time. Looks great! 🙂
I love this!! I used the same fabric for a headboard that you used for your chairs. Love that fabric!!
What fabric did you use, would love to know. Thanks
Our table needs a redo, too.
It’s a banged up second-hand country pine type on top with white on the bottom.
I’m looking forward to black on the bottom and now I’m not so sure about the top.
I like your white banged-up look a lot.
It looks great! I love how light and bright it is. I am definitely going to have to try out that Whiz Roller.
?✌?✌?✌?✌So happy with how mine looks! I used the plans at WoodworkPlans.info to build mine – I highly recommend you visit that website and check their plans out too. They are detailed and super easy to read and understand unlike several others I found online. The amount of plans there is mind-boggling… there’s like 16,000 plans or something like that for tons of different projects. Definitely enough to keep me busy with projects for many more years to come haha
Head on over to www. WoodworkPlans.info – click the pink link above for some more plans! Best of luck on your building adventures!
???
Love your table, seat fabric & your grey paint. WHAT COLOR IS YOUR GREY? I have about 17 swatches of grey up right now for my dining room. Please share.
Such a great piece, I love the detail on the legs
Love it. The color is great and the distressing of it made it pop and look great.
Love your table painted! It really brings out the details. And the gray/white/yellow combination is so pretty!