
Hey guys!
I wanted to show you guys the next step in my dining room overhaul. I spent the last few days revamping the dining room furniture. Here is how I did my table…
You guys remember the before??
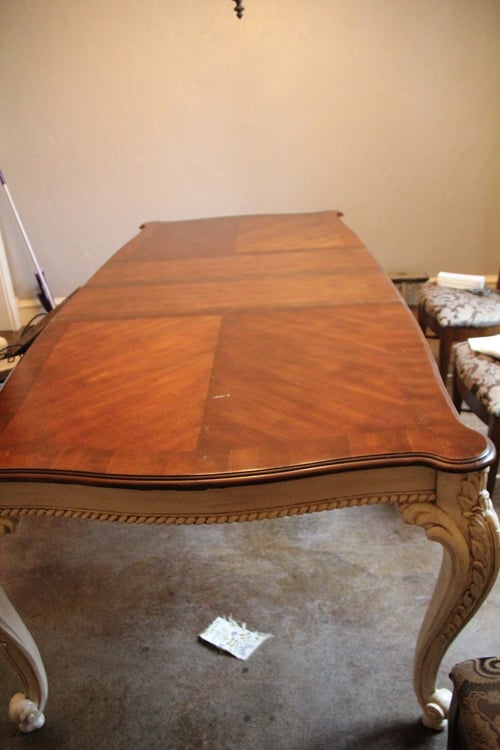
The top of the table was stained wood but it had a red cast to it that I was a bit “over”. And, I was ready to brighten her legs up too!
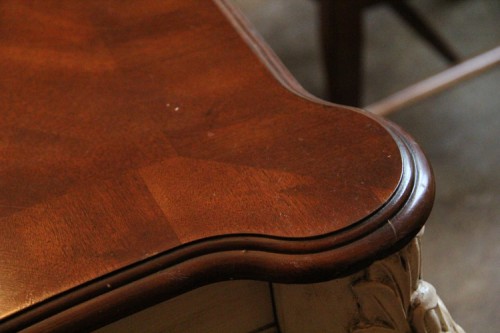
I did lightly sand the top of the table. There are a few scratches on it and I thought better safe than sorry!
I used a 120 grit sandpaper to lightly go over the top. I sanded just a bit harder over my scratches.
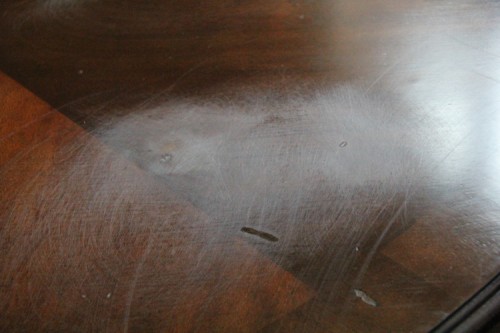
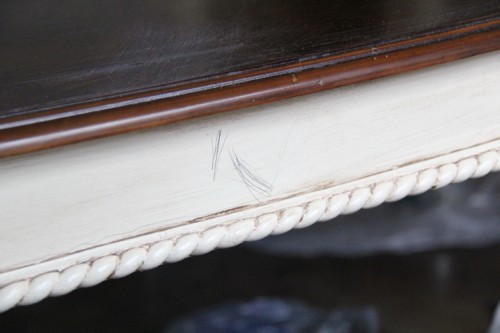
During this process I also found some lovelies that my sweet kids left for me….
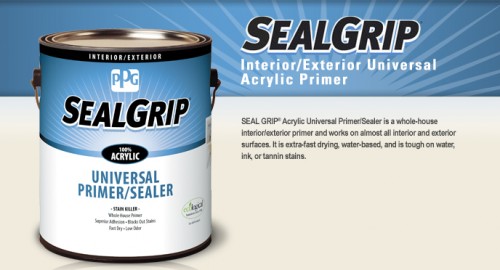
I found this primer back when I was repainting my laundry room cabinets and fell in LOVE. It has never let me down and seems to stick to just about anything. I only used one coat on the top of the table. I decided to not put any on the legs because they were already painted.
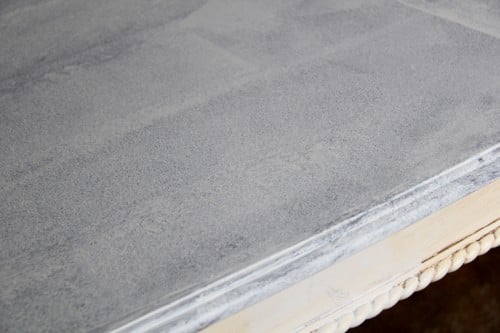
Primed and ready…
I applied both my primer and paint using the same roller. I swear by these things, and I promise once you use them you will not go back. They are Whizz Roller Systems.
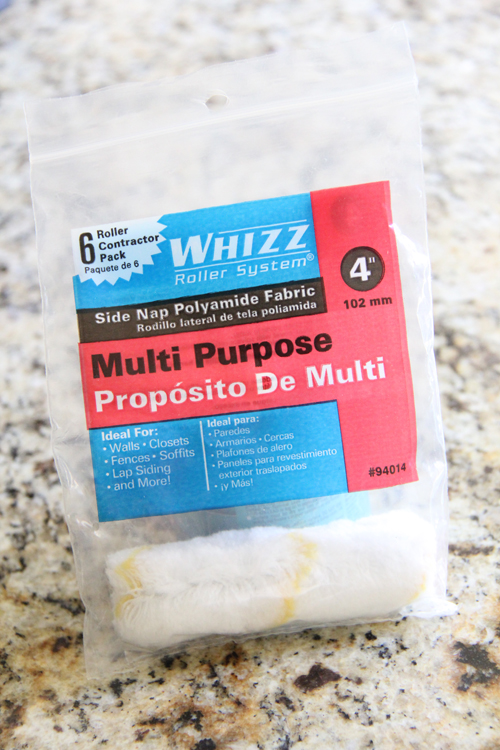
I get mine at Lowe’s and they come with a small 4″ roller. Love them.
The paint color I went with is a Dutch Boy color called Clam Island. I didn’t love the name of the color but it matched my spray paint perfect 😉 I will get to that in my next post! I put on 2 coats of paint to both the table top and legs. I did have to use a brush on the legs.
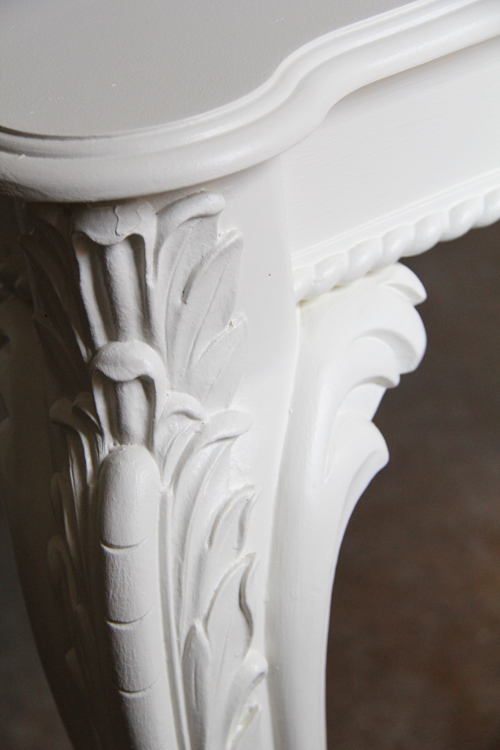
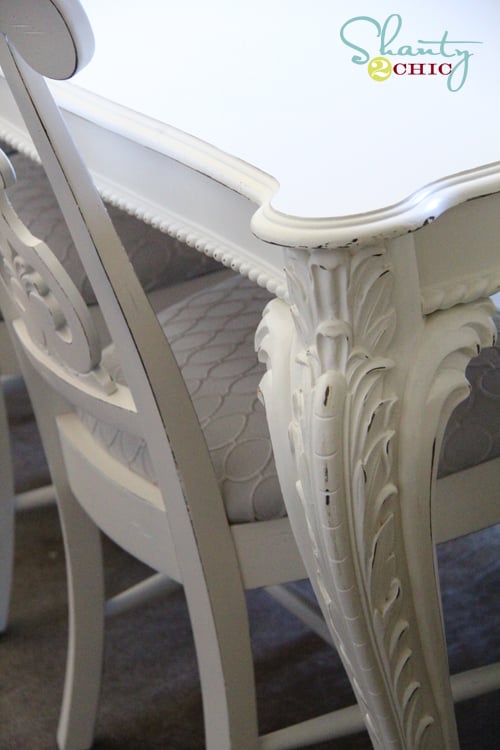
Now I was ready to distress. I went back and forth over this. I wasn’t sure I wanted it distressed but finally decided to lightly go for it. I figured that with 5 kids running around the table may get scratched a time or two. The distressing will just make it all blend, right??
I used a 120 grit sanding block to lightly sand the edges and the details on the legs.

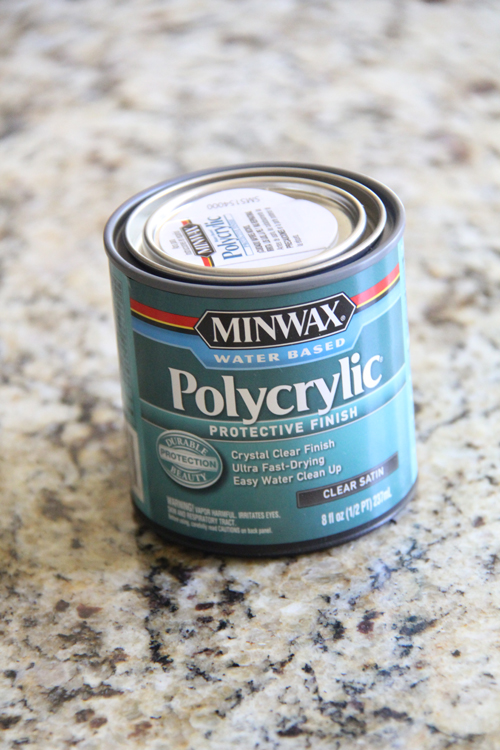
Finally I put two coats of Polycrylic on the top. I love the durability of this stuff! I use it on all my painted furniture. I like that it is water based so it doesn’t stink too bad and you can work inside. I also like that it doesn’t yellow like polyurethane.
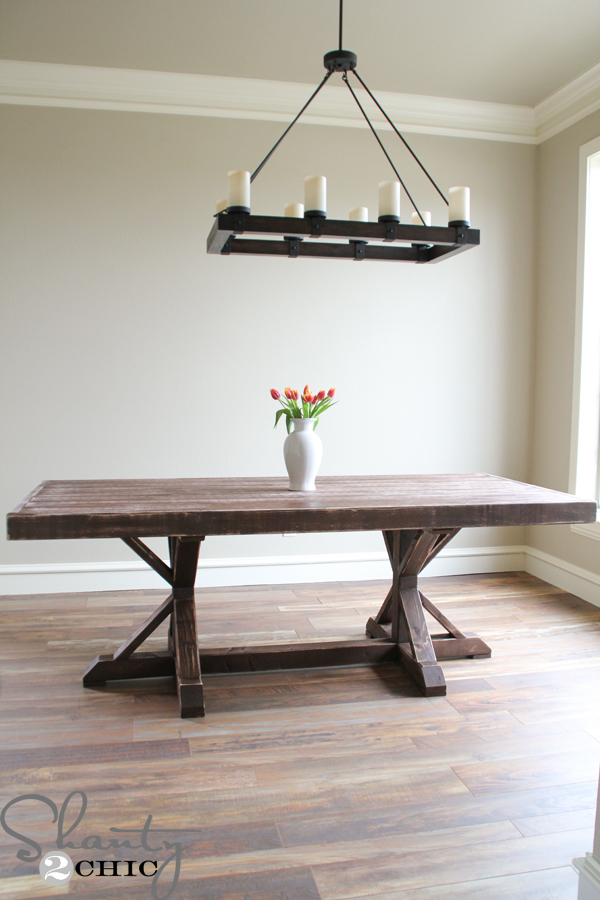
That was it! I was done… With the table. The chairs were a different story, and I will share that later. For now… Here are the results. I still have stuff to add to the walls and a few other things. It’s getting there though!
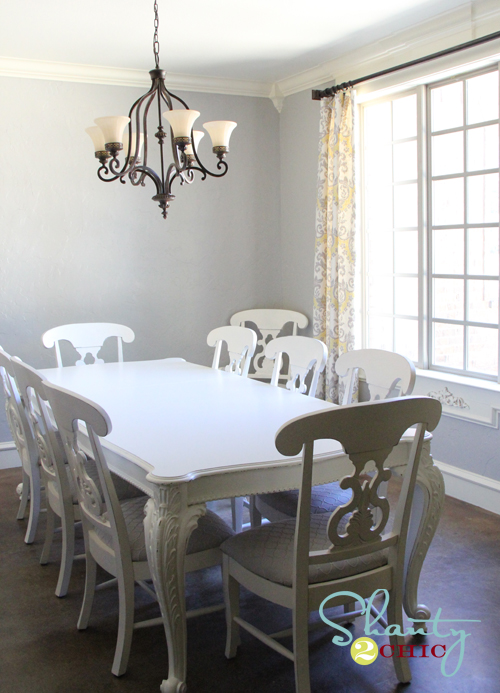
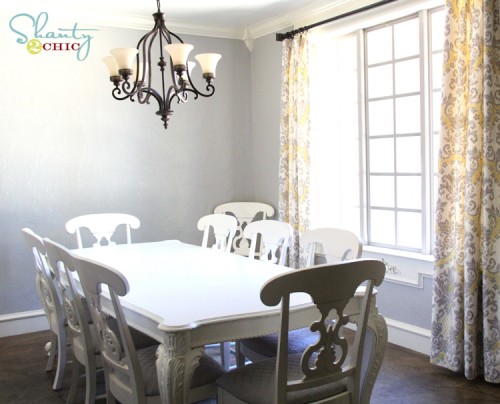
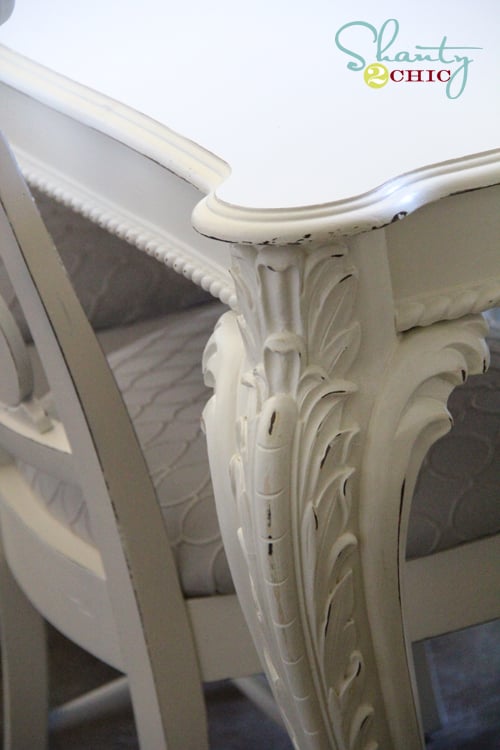
Thanks for stopping by guys! Let me know if you have any questions!
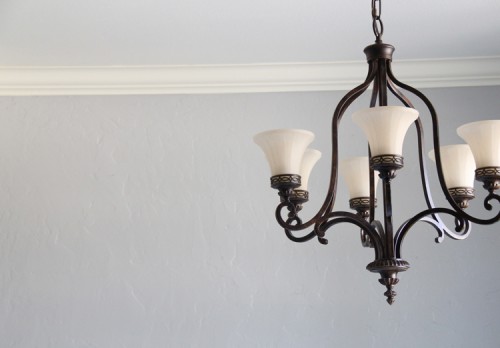
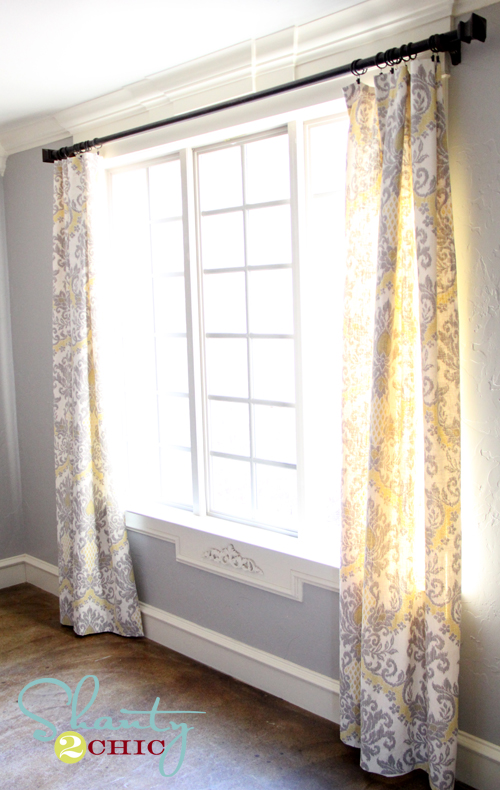
Here are a few of my other dining room revamp posts!

Which finish was used for the actual paint?
How did you get the distressed look to be black? I have a cherry color and am painting it white but don’t want the red cherry to come out when I sand.
I just primed my table top with tinted black primer and have painted two coats of polycrylic using a good foam brush but have some streaks. If I put a coat of minwax paste wax over the poly will it help blend in some of the streaks???
Hey Lovelys….
I Love what you did to your table. I’ve been looking for a paint to match the Heirloom White spray paint. Where did you get the paint, I can’t seem to find it, unless it was discontinued 🙁
I’m interested in how the table has held up. I did some chairs with just sanding, primer, paint and polyurethane. Looking back, I wish I had totally stripped them because the paint still did not adhere well and the paint is chipping. Is your table holding up or chipping?
I want to do this with my black table and chairs. But keep it black. I think it would look cool. Thanks for the tips.