Hey guys! So happy you found us! To keep up with all of our DIY projects, be sure to FOLLOW us on Instagram and Pinterest!
It’s our first official day of summer vacation and I am so EXCITED! I’ve mentioned, many times before, how much I love entertaining in the summer! Cook-outs, swimming, eating, time with friends and family – HEAVEN! I’ve always wanted a wooden ice cooler for our patio and decided last week that I could totally build one!
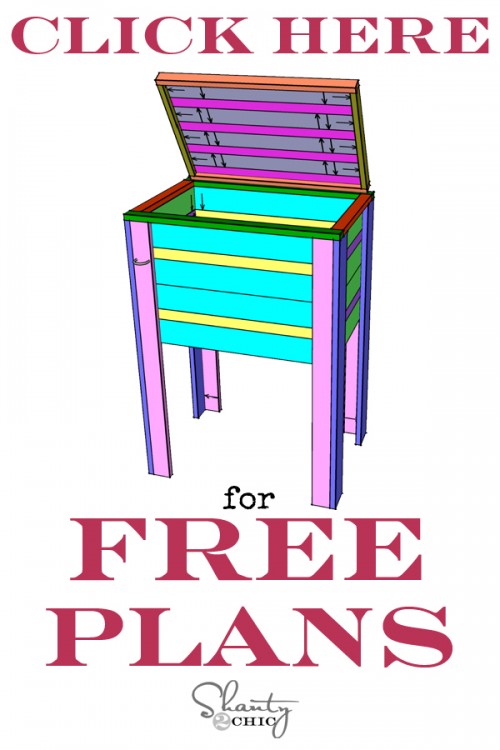
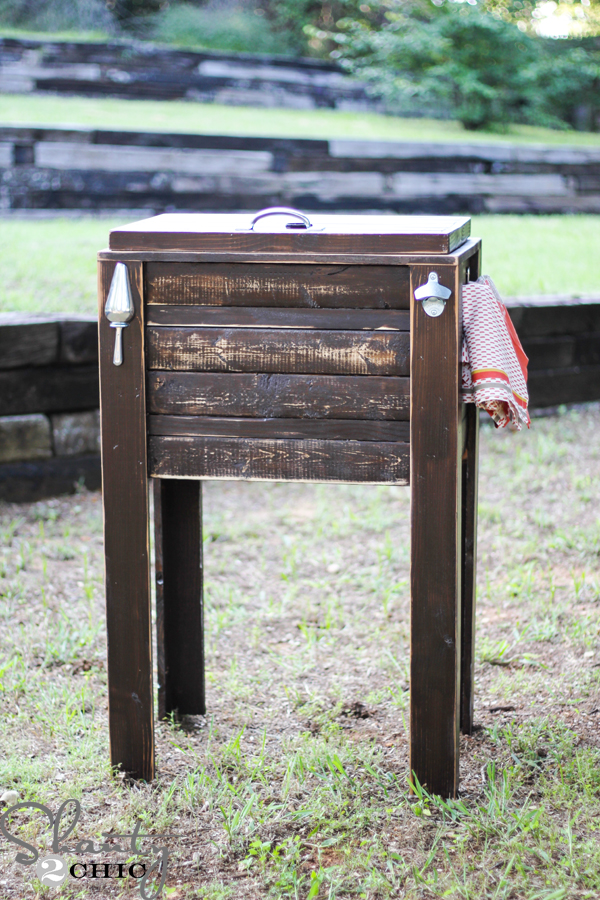
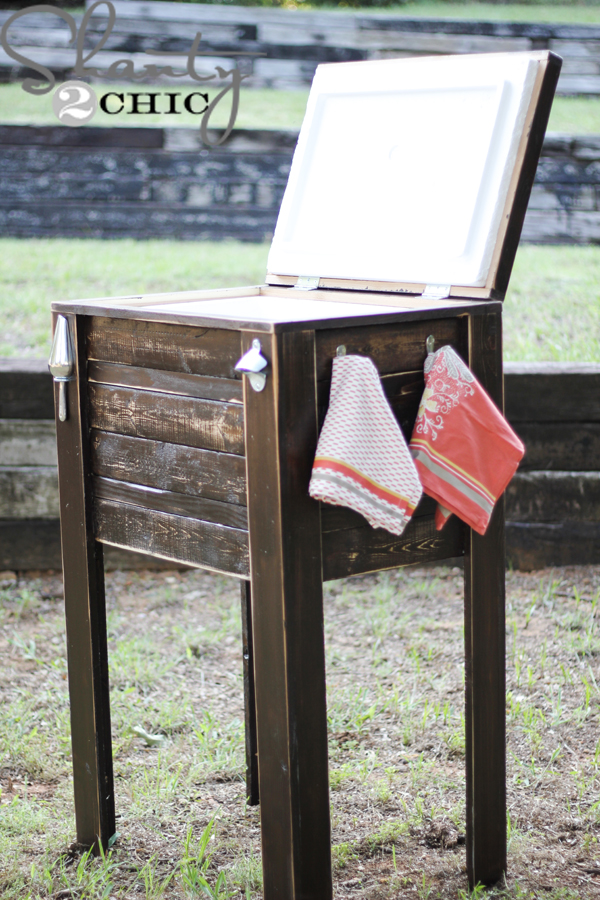
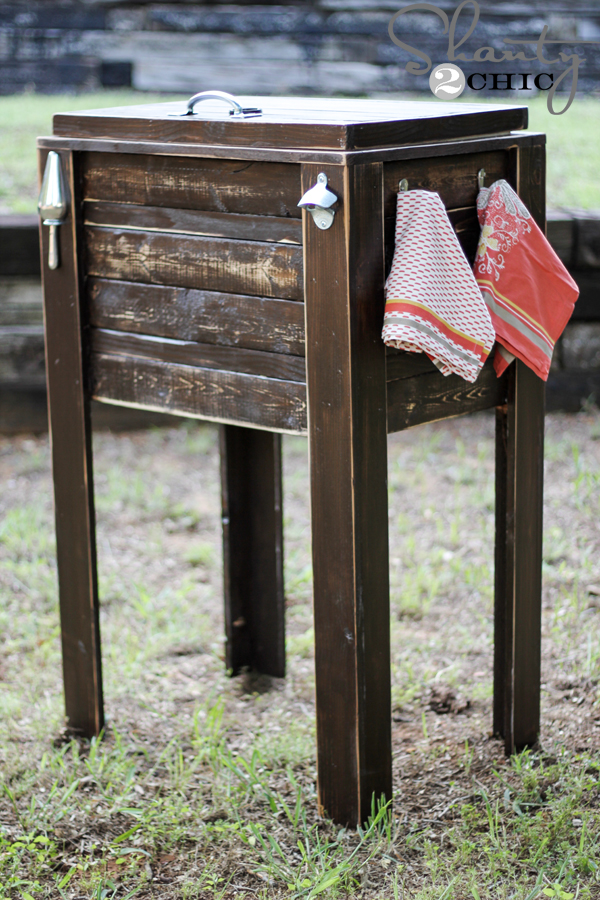
 Here she is, my Country Cooler! I’m so excited about this, not only because I have been wanting one but, I designed and built it myself! It’s my first attempt at a piece this big and I’m happy to say that it is such a beginner project and only cost me about $50! I will share a detailed tutorial with you here, and we now have FREE printable plans for this cooler! Click HERE, or the button below to save or print the plans!
Shopping List:
6 – 1×4 boards @8ft.
5 – 1×2 boards @8ft.
3 – 1×3 boards @8ft.
1 – 2×3 board @4ft. (try to find a scrap or buy an 8ft. board)
1 set of 2 1/2″ Zinc narrow hinges
1 – Rubber stopper with chain
1 – 6 1/2″ Zinc utility pull
silicone sealant
1 – sink flange
1 – 1/2″ U Bolt
1 – Ice scoop
1 – Zinc bottle opener
3 – Hooks
*I used cedar boards for everything except the 1×4’s on the main cooler surround. I had scrap 1×4 furring strips so I used those. However, if I didn’t have the scraps, I would have made the entire piece with cedar. It’s just gorgeous and great for outside!*
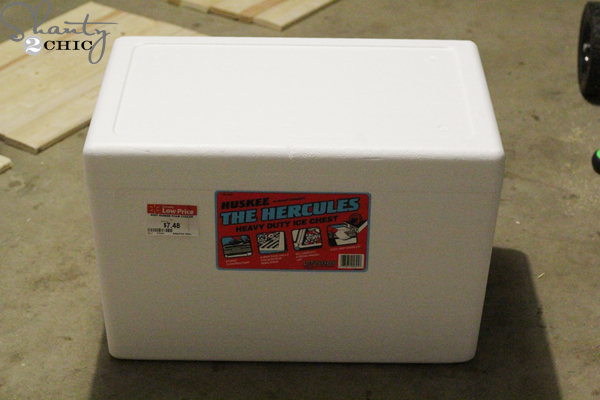 I found this great styrofoam cooler at Wal-Mart. I ordered it site-to-store, and it was ready for pick-up in about 4 hours!
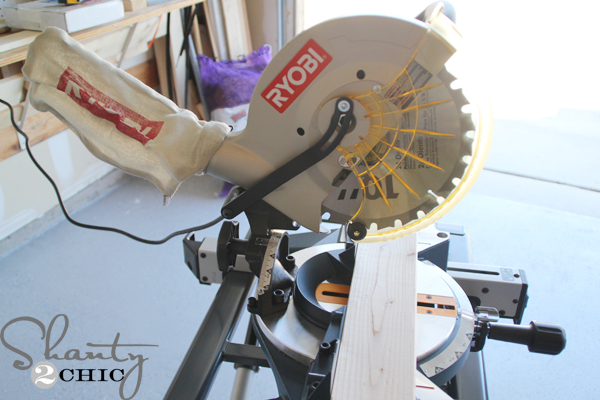 I used my miter saw to make the cuts. But, if you aren’t ready to purchase one, you can use the handsaw below for this project!
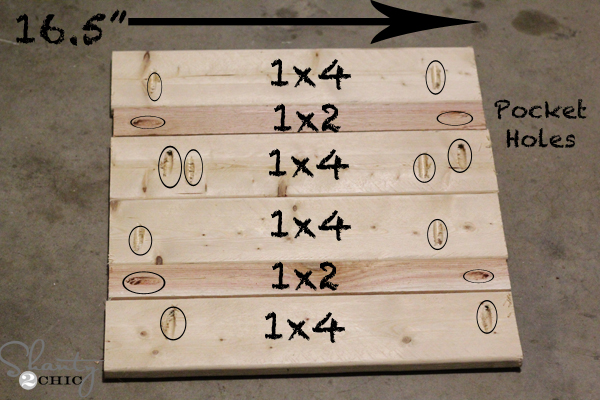 Start by building the surround for the cooler. I am going to share the measurements that I used for mine but, keep in mind that you need to measure and cut as you go. Board sizes vary and climates can affect the boards as well.
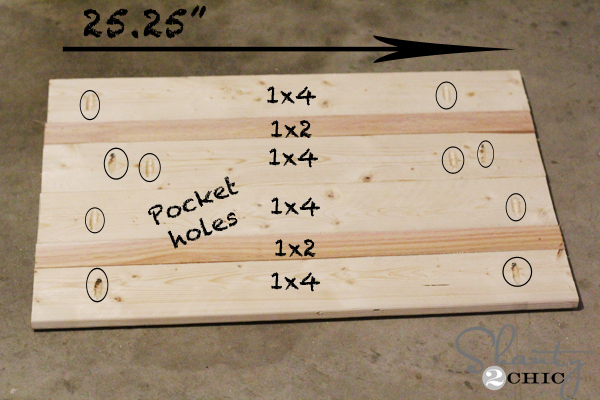
8 – 1×4 @25 1/4″
4 – 1×4 @16 1/2″
8 – 1×2 @25 1/4″
4 – 1×2 @16 1/2″
I attached the boards together using my Kreg Jig pocket holes! Above, I circled all of the places that I drilled the pocket holes and notice that I drilled pocket holes into the 1×4’s only so some 1×4’s have pocket holes going towards both ends to attach to the 1×2’s.
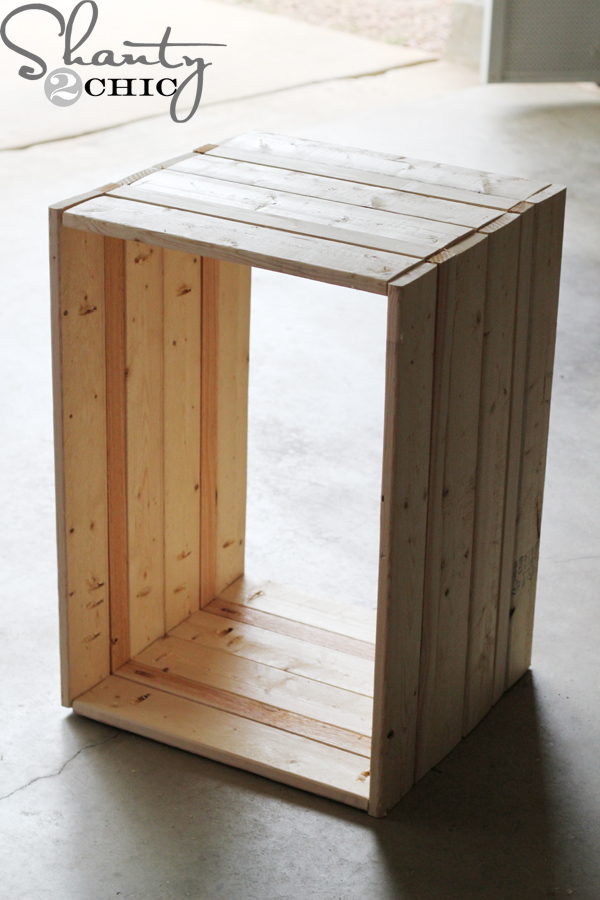 Here is the surround, assembled with Kreg Jig pocket holes and Gorilla Glue wood glue!
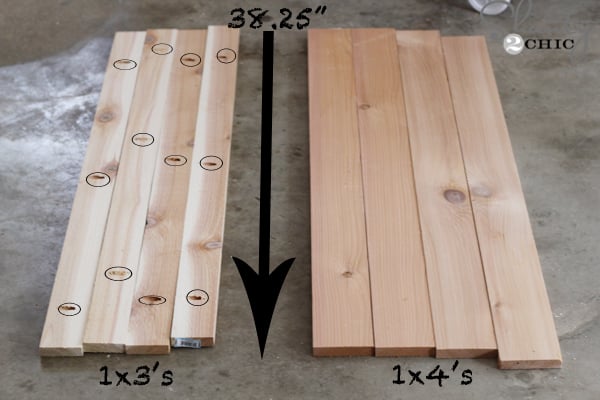 Now for the legs! I also circled where I drilled pocket holes into the 1×3’s.
Measurements:
4 – 1×3 @38 1/4″
4 – 1×4 @ 38 1/4″
 Attach them with pocket hole screws and a line of wood glue!
Next, I just nailed them to the surround with my new Brad Nailer!
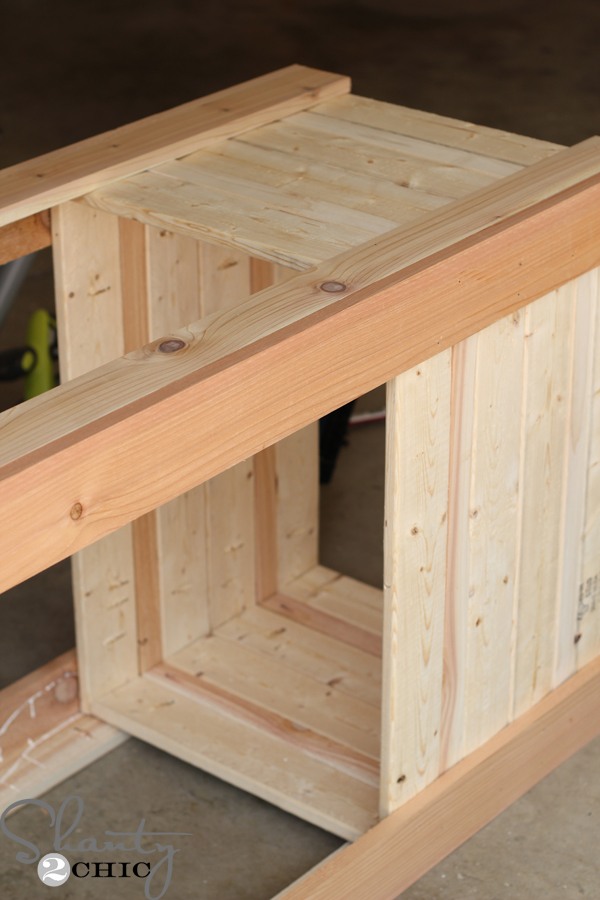 I put a few nails on the outside and a lot on the inside. I also used lots of wood glue 🙂
 Now, just drop the cooler inside the surround. it should be a snug fit! If not, it’s not a big deal, we are going to brace the bottom!
The top should be flush with the top of the surround
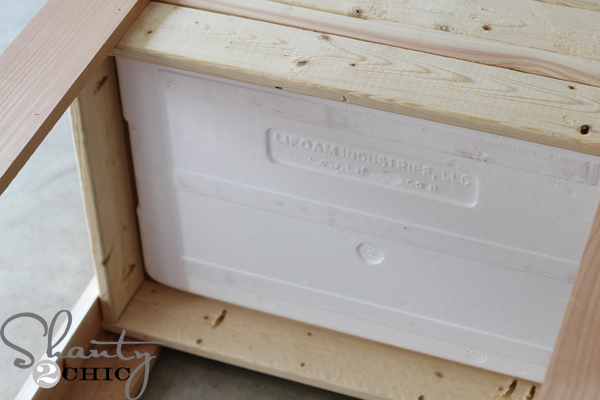 and you will have a little space below.
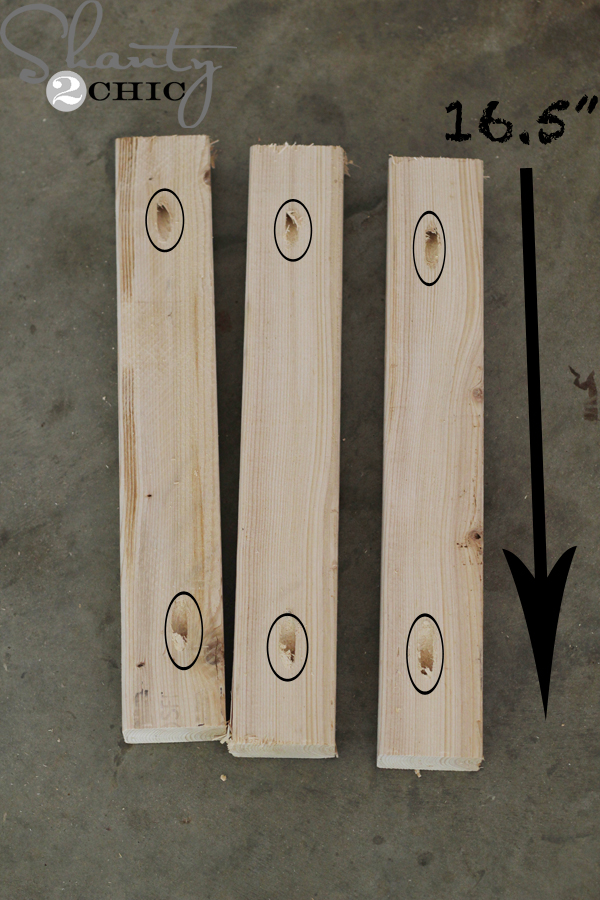 This is where the 2×3 comes in. Cut 3 – 2×3 @16 1/2″ and drill pocket holes into both ends of each board.
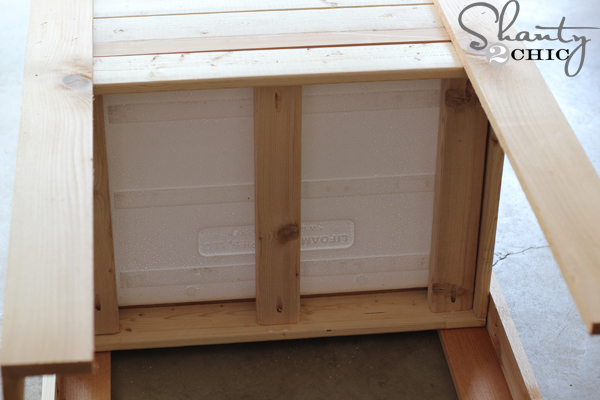 Just attach with pocket hole screws and wood glue!
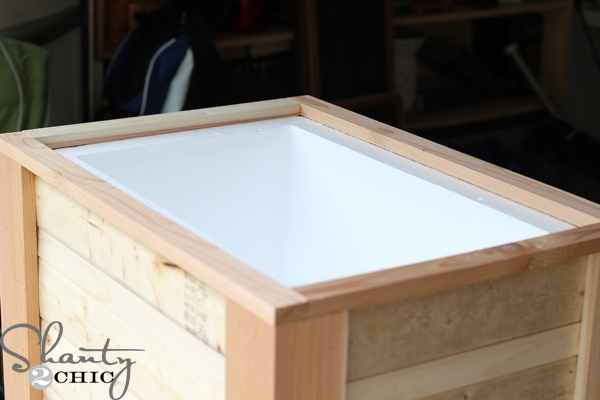 Now to make her pretty! Use 1×2 boards to trim the top, making the edges flush with the surround. You will have an over-hang between the legs. Measure for these cuts to get them exact and attach them with brad nails and wood glue!
Now for the top!
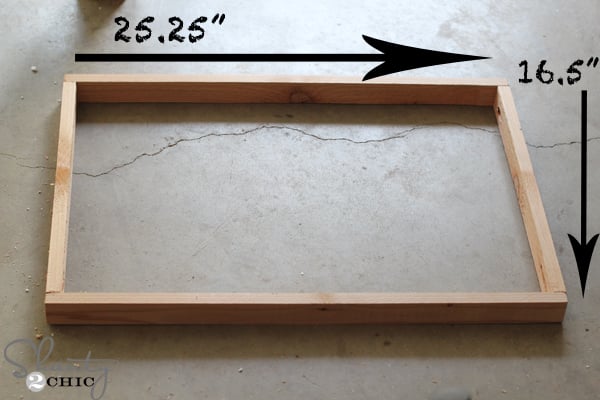 Use 1×2 for the trim on the lid and drill pocket holes into the ends of the 16 1/4″ boards. Attach with pocket hole screws and wood glue.
Measurements:
2 – 1×2 @25 1/4″
2 – 1×2 @16 1/2″
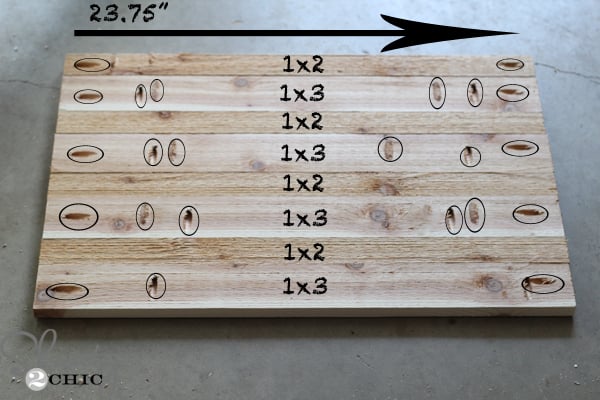
I attached the boards, for the top, with pocket hole screws. I circled where the pocket holes should be.
4 – 1×3 @23 3/4″
4 – 1×2 @23 3/4″
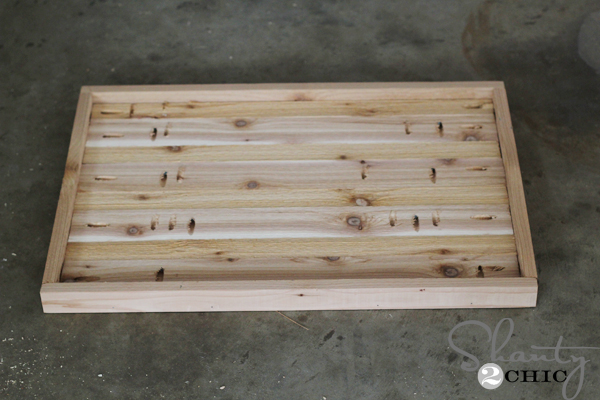 Now, just attach the trim to the top with pocket hole screws and wood glue. The top of the boards should be flush with the trim.
We need a drain still!
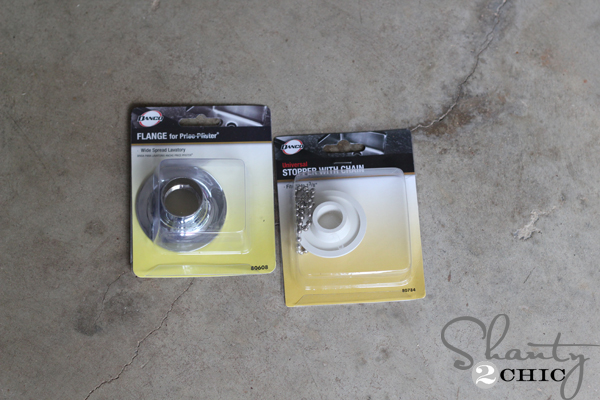 I had the idea to use a sink drain kind of contraption and this was SOOOO easy! I purchased a cheap sink flange and rubber stopper with a chain.
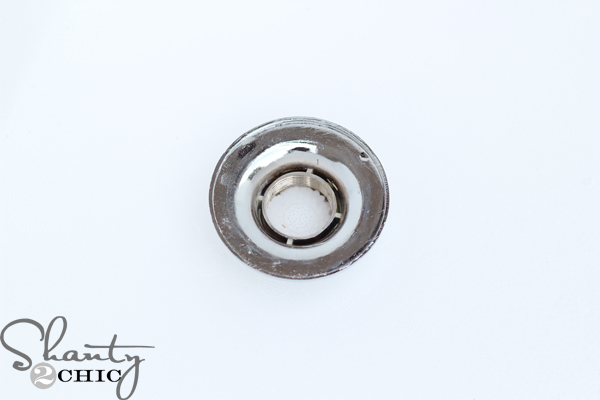 Just twist the flange into the spot where you want the drain (make sure the 2×3’s on the bottom are out of the way). Twisting it will cut through the styrofoam.
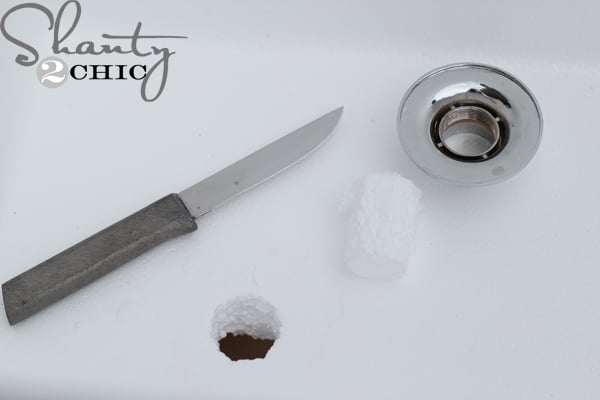 I had to follow up with my knife a bit but this technique made it easy to get the exact size hole that I needed for the flange!
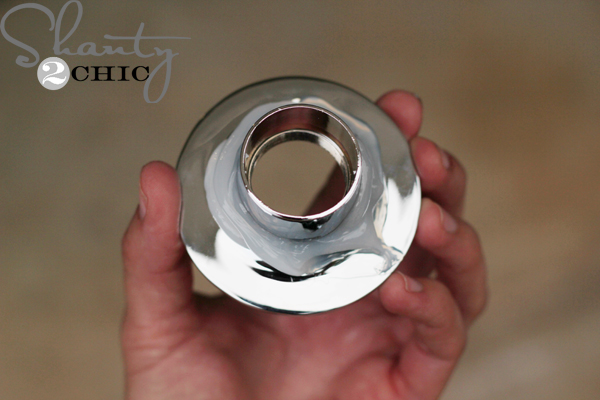 Next, I “gooped” silicone sealant around the flange and dropped it back inside the hole. Push it in snug and wipe the sealant that seeps out with a wet paper towel.
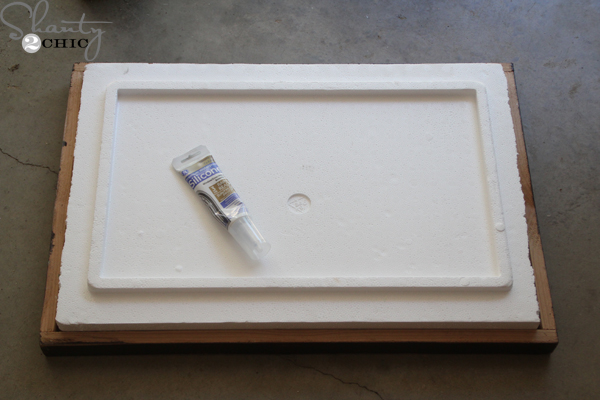 To attach the top of the cooler to the wooden lid, just use a generous amount of silicone sealant to the top of the styrofoam lid and press it into the wooden lid.
Now for the finish!
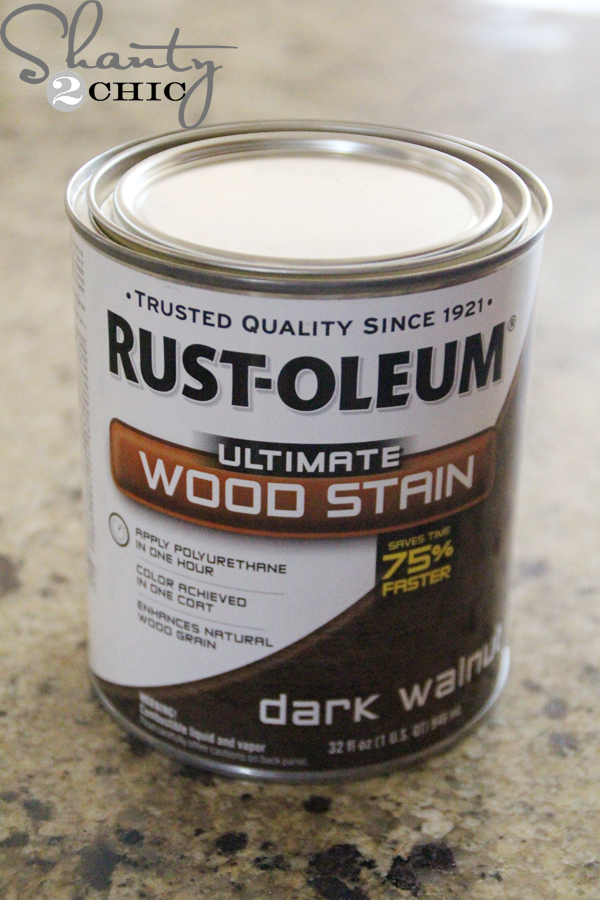 I brushed on 1 coat of Rust-Oleum Dark Walnut stain
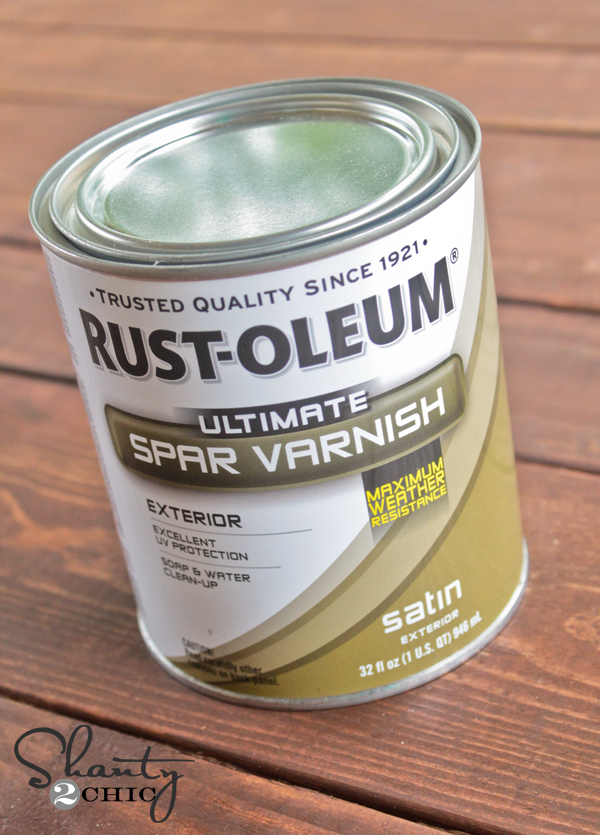 and followed up with 3 coats of Rust-Oleum Spar Varnish in satin! This is a great finish to protect outdoor pieces! Make sure to give the suggested drying time between coats!
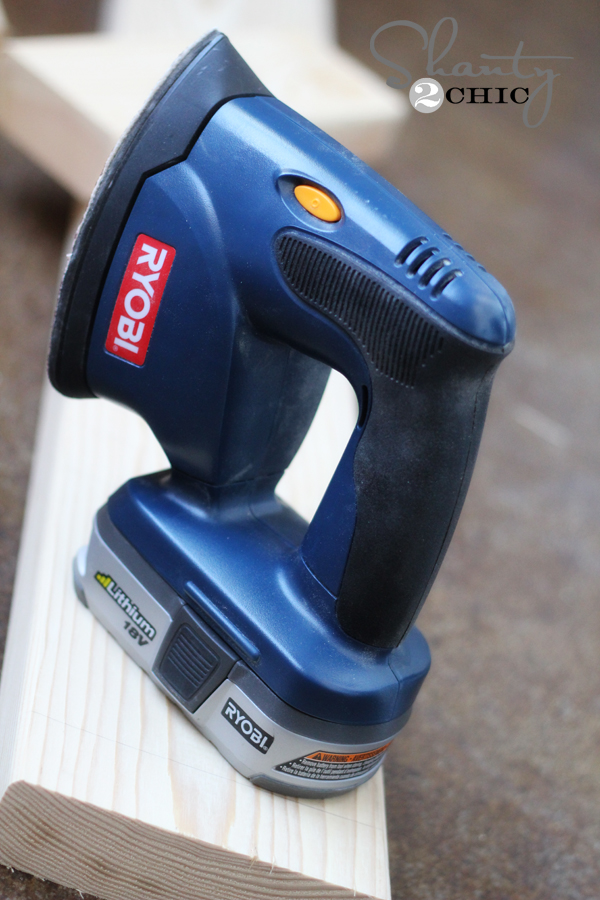 To get the distressed edges on the finish, I just used my Corner Cat! It’s super easy to use and it’s light-weight! I just ran over all of the corners and edges with it.
I got to excited to get this together and didn’t take a picture of the hinges. They are super easy to install though! I just two at the back of the lid.
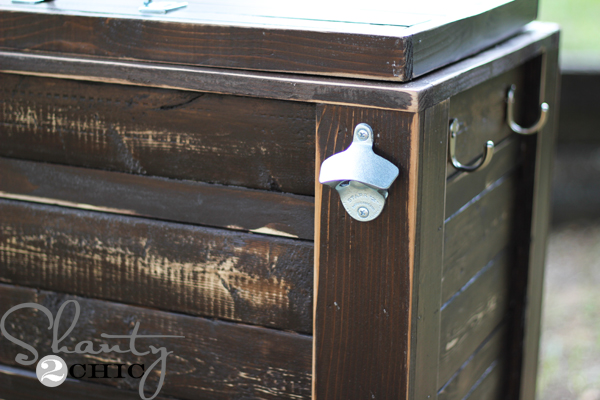
Do you love that zinc bottle opener? I purchased it from Amazon!. You can click the widget below to purchase your own!
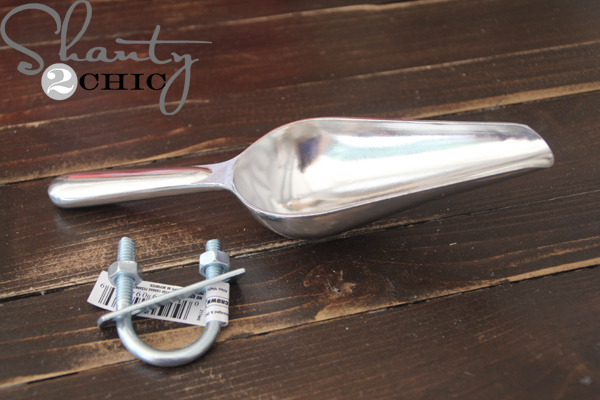 I found this great ice scoop on Amazon, as well, and found a U bolt to attach it with! You can click the widget below to purchase this same ice scoop!
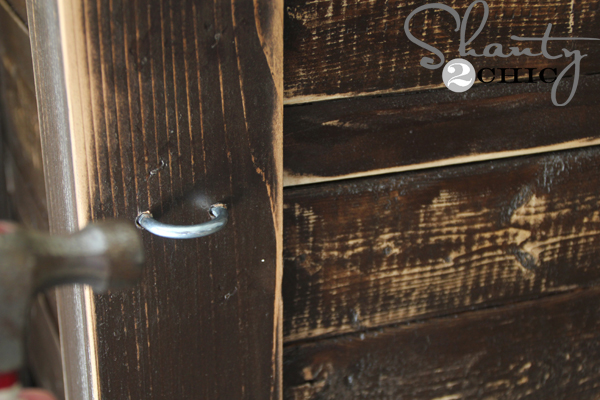 I just predrilled (using a drill bit that was the same thickness as the bolt) and hammered it into the holes 😉 If it isn’t a snug fit, I would use Gorilla Super Glue Gel to secure it.
I attached my hooks and handle and in the ice and drinks went 😉 It’s time to party!!!
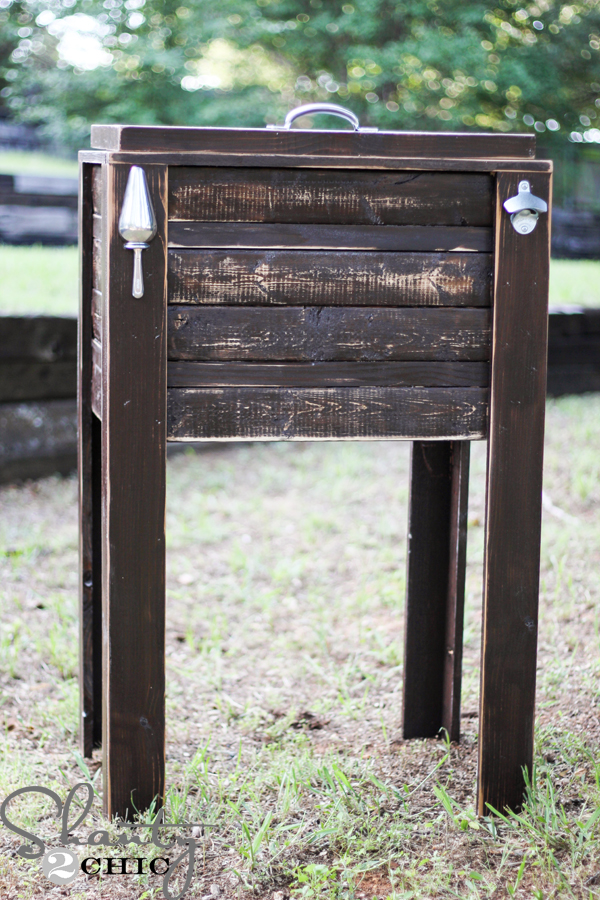
 I’m just in love with this cutie! We have already been enjoying it this weekend! I designed this cooler so that the styrofoam cooler can be replaced as needed. It just slides in and out. The lid can be pulled off as well! And, FYI, the cute kitchen towels are Threshold brand from Target 😉
If you love my Country Cooler, I would LOVE your pins;)
Remember, you can download and/or print our FREE plans for this cooler by clicking HERE!!
Thanks so much for stopping by and Happy Summer!
~Ashley





I have question. Is the sink flange pushed in from the bottom? The rubber stopper and chain would then be on the outside of the cooler so you wouldn’t need to stick you hand into cold water to drain it.
I made it by myself thanks to woodprix website.
My friend and I have talked about making this cooler for over a year and just completed them. We’re so pleased with our wooden twins! 🙂 Thank you for the great project and plans!
Excelente idea, saludos desde México.
I am going to have to make this, it is a great cooler idea for those of us who have trouble bending down. (My wife and I both have back problems)
Howver, I think instead of a prefab cooler, I will put a ply bottom in, and cut sheet styrofoam to fit. Add some galvanized sheet steel, which is thin enough to cut easily, as a liner, install a drain, and this would be a classic design fit for the years to come!
So I’ve been wanting to do this for a while. We bought our first house last year and our first summer there I was dedicated to studying the CPA. Now that that’s all over with I finally had time. Only issue was my wife didn’t want something as a dedicated cooler since we have a deck in our townhouse and now a huge backyard…so after some modifications, here’s the end result! The top opens for a cooler inside but a table all other times! Looks like it’s going to upload upside down so apologies if that’s the case…I’ll try again if it does
Did you distress the cooler (with you sander) before or after you applied the varnish? Thanks!
Hey I just want to thank you for giving me this awesome idea! I actually made one for a pretty unique christmas gift! Added are some pictures of mine. I used the same idea for ice scoop and beer opener but used a hard igloo cooler and added my own touch of design to the lid a silver and gold sugar skull also i had a little lady bug friend while i was outside staining it. Thanks.
If you want to make it by yourself just go to woodprix page.
We love our cooler! We had some friends over this weekend and had three people ask me to build one for them. I started using your ideas to build decorations for our daughter’s wedding last fall and it has continued from there. Thanks so much for the awesome directions for the cooler!
hi. sorry if this is a dumb question. but I am confused by your shopping list. its has a certain # of 1×4’s for example. But when you scroll, each section has a new list? It just doesn’t all add up to your “main ” shopping list? How many of each board, total, do you need?
I just built this yesterday and I LOVE IT!! It came out beautiful! I ran into some issues as well with the cooler and the lid being larger than the opening, but I just used a large hand saw and cut the ends off to fit!!
Thanks Shanty2Chic for the great idea and plans!! I may be building another one for a Christmas gift! I used all cedar wood for mine, when all said and done I end up spending $100.00 and I still need to stain and varnish it. LOVE IT!!!
So awesome Belinda!!! Wed love for you to email us pictures:). Thank you for sharing your experience! Great job!
I will do that, I think it turned out great!!
Getting the fixins to make this.
Alrighty….I’m waiting to put one more coat of sealant. BUT…I’ve run into a bit of an issue. I ordered the same cooler from Walmart however it’s slightly too large. Actually it’s not square like yours in the picture is so can you recommend a way to cut it down to size? The lid is too large too so I would need to cut it down as well. We were thinking maybe a blade of some sort so that we could keep a nice clean cut. Thanks in advance!!
Oh!!! Regardless of the cooler issue the structure itself is AWESOME and my hubby and I are super stoked and proud of ourselves!!!
Hey Lindsey!
That’s so exciting!!! I’m not sure why there would be an issue with size but maybe the coolers are not all the exact same? I would get a steak knife and cut away at it. Cut slow and back and forth to make it smooth! Hope this helps:)
This might be the coolest DIY project I’ve ever seen in my entire life. Amazing work!
I’m starting this project now and have my wood cut. Can you give me the information on where to drill the Kreg pocket holes. .. How far from the edges… Thanks! Great project!