Hey hey guys!
Ash and I have been CrAzY busy these last few weeks. We are wrapping up the renovation of two homes for Open Concept on HGTV in the next week, and we CANNOT wait to show y’all! You will love them… And there are lots of new furniture plans coming with each episode, so get excited people.
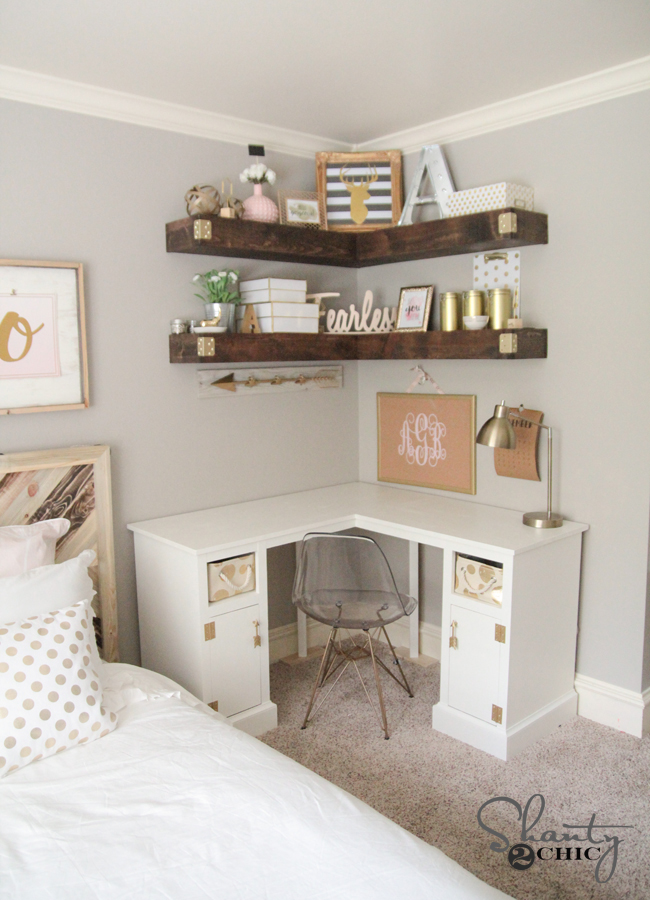
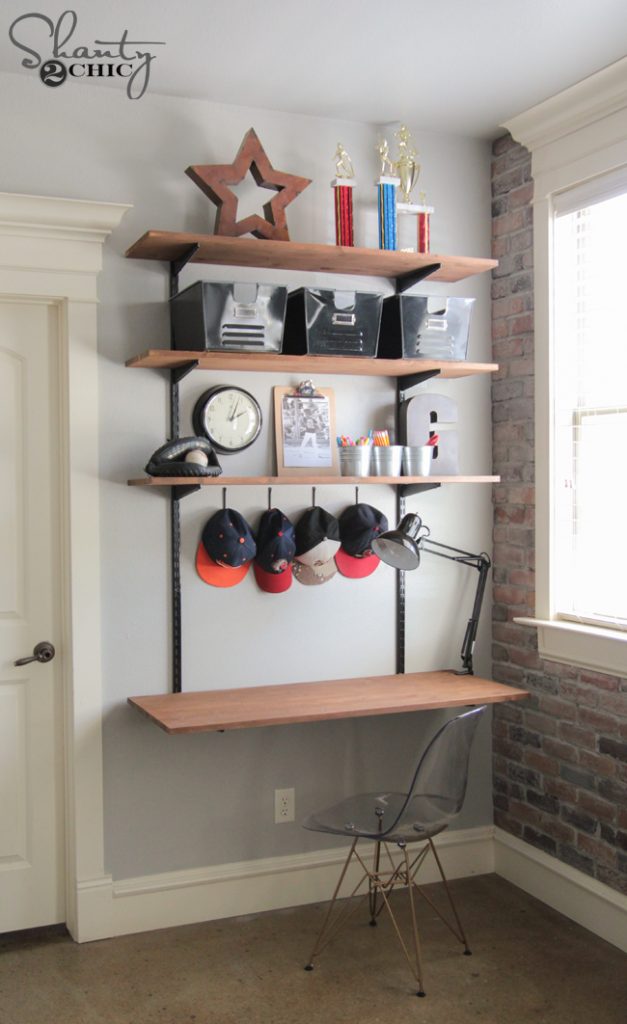
Today I am sharing the corner desk I built for my now 13-year-old (pray for me)… I am in love with how this room came together. Here is a shot of the desk!

So cute right?!
This is a really simple build!
You can download and print the free plans by clicking HERE!
There are three main steps to this build… Building the bases, building the top, and then attaching them.
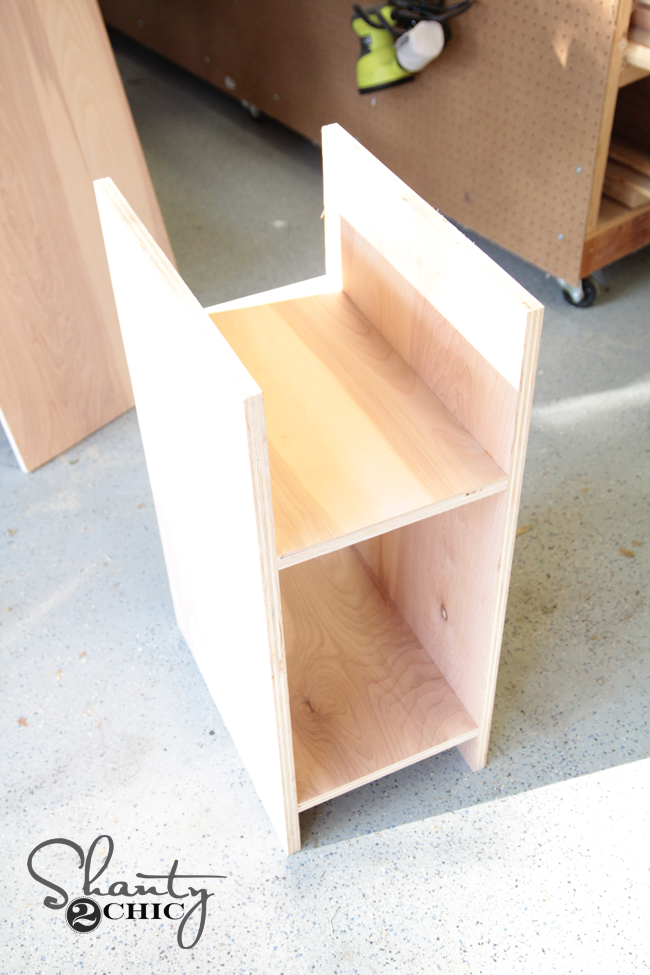
The bases are constructed out of hardwood plywood. We use PureBond Plywood from Home Depot. It is one of our favorite brands for many reasons. It’s formaldehyde-free and made in the USA as well. I have the guys at Home Depot rip it down so I can get it home and then I make the smaller cuts at home on my miter saw.
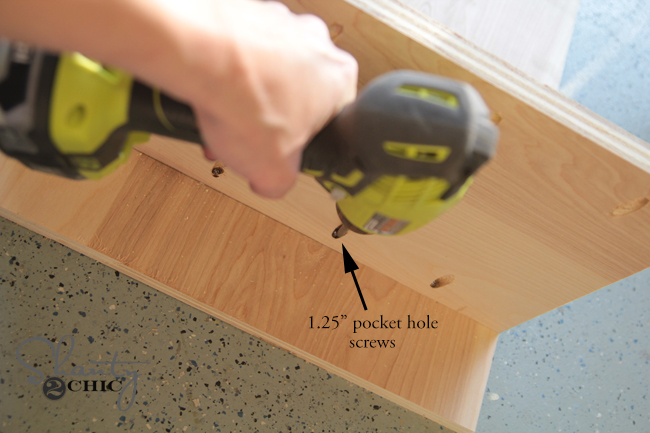
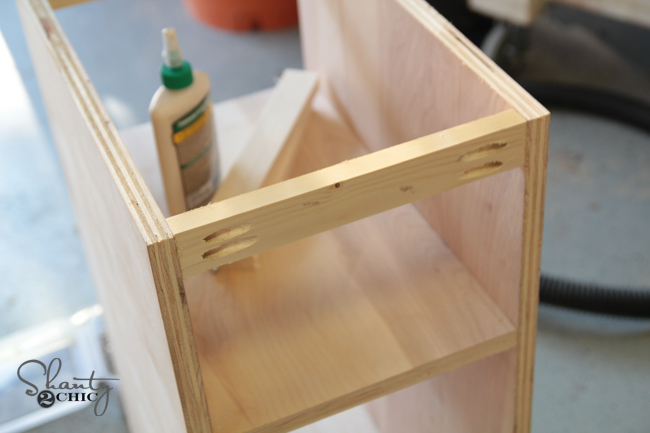
I used my Kreg Jig K5 to make my pocket holes. I’m using 3/4″ material for the whole build, so all of my pocket holes are 3/4″.

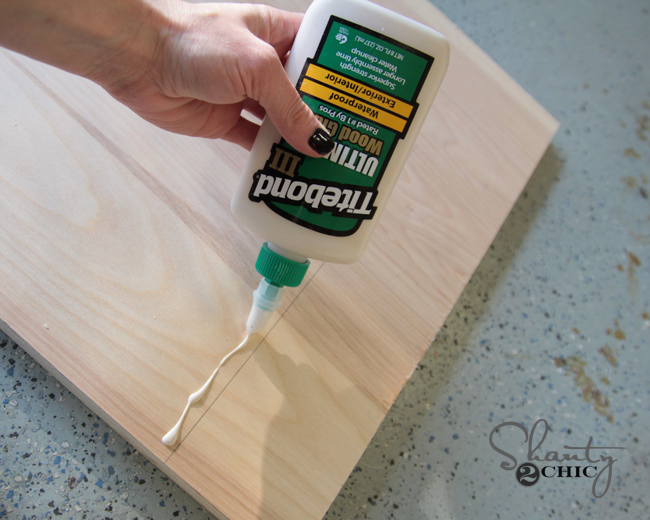
I added a line of glue under each seam, and then attached them with 1.25″ pocket hole screws using my Ryobi drill.
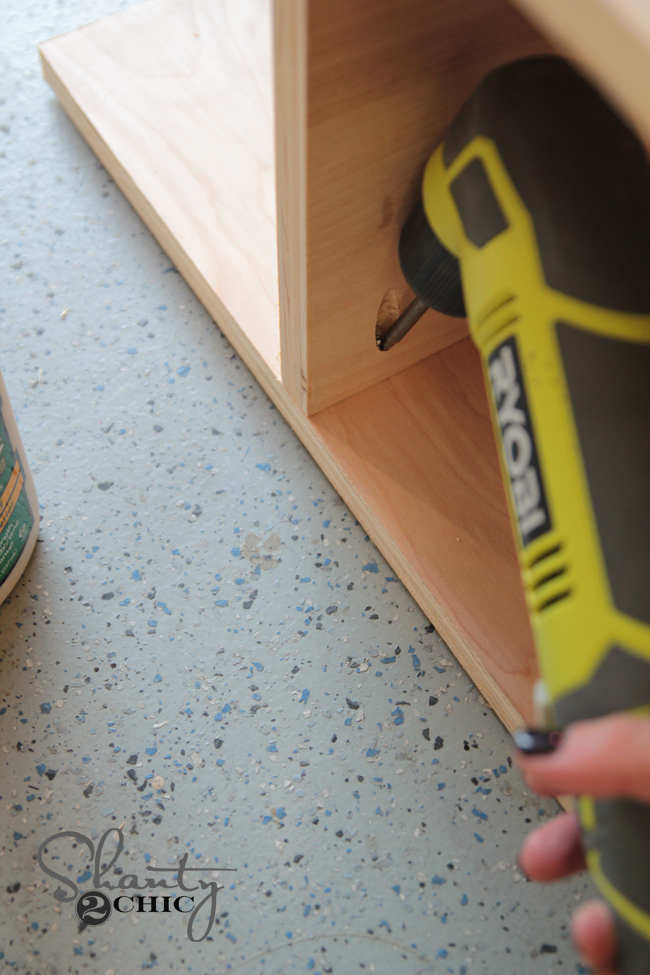
If you have a hard time squeezing your drill and Kreg bit into a space, you can use a right angle drill. I don’t use mine all of the time, but when I need it, I need it. It makes this part much easier!
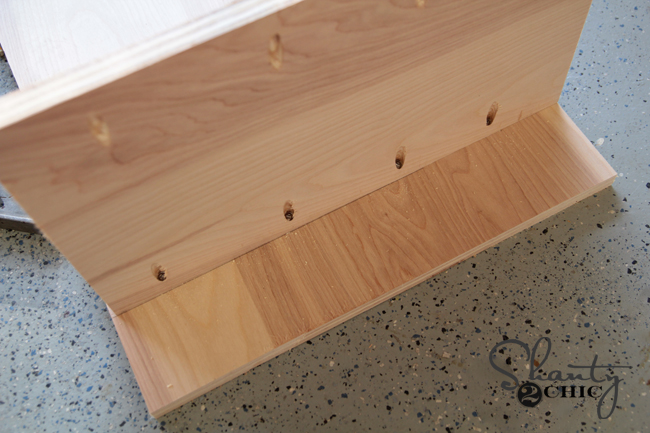
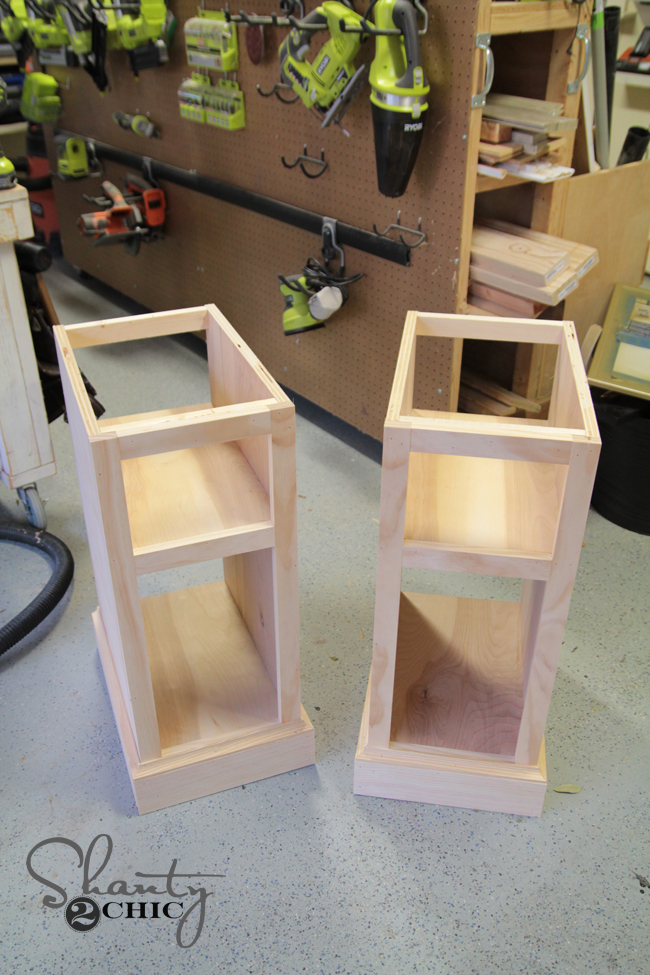
Here is a shot of them before attaching the trim.
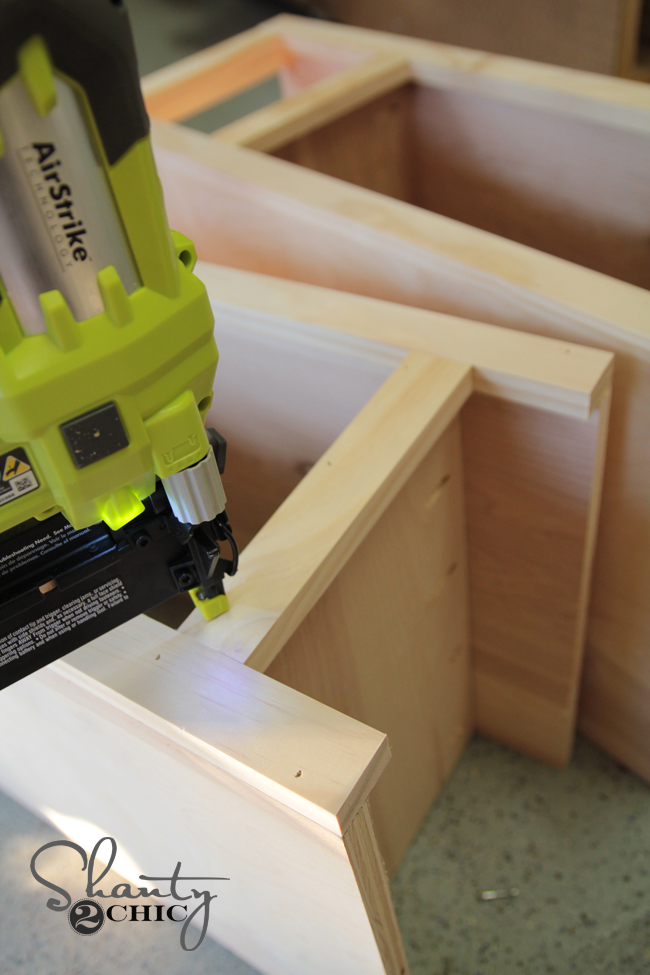
The trim is added to the front first. This is just to create the face frame with covers the rough edge of the plywood and pretties everything up.
I used 1.25″ brad nails with my 18g Ryobi Airstrike brad nailer…. If you don’t have one of these yet, it is a MUST. I use it on nearly every build.
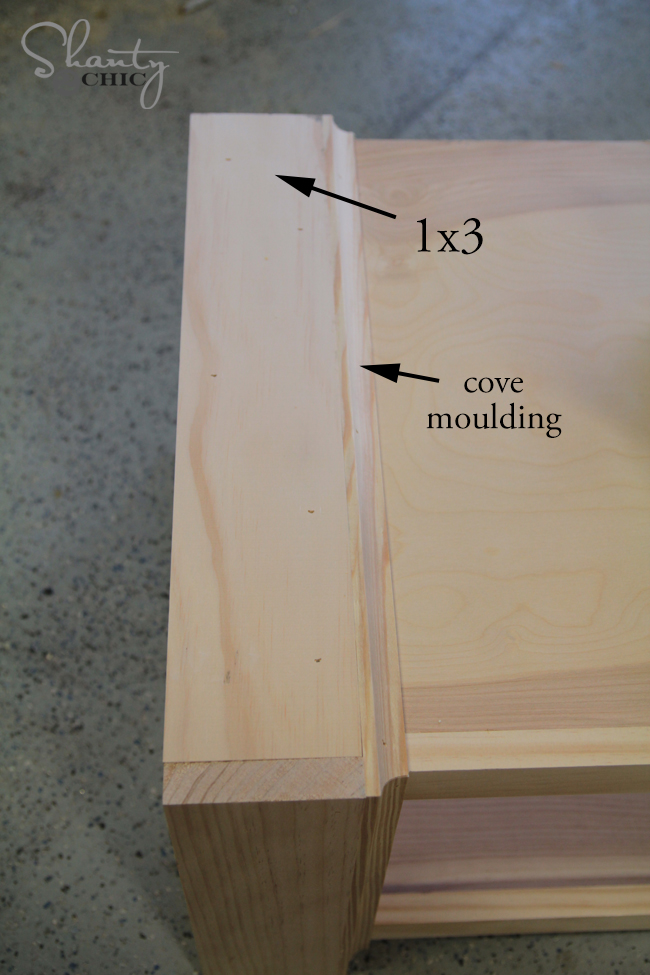
The base trim is just 1×3 with a piece of cove moulding on top. I attached it using wood glue and brad nails as well.
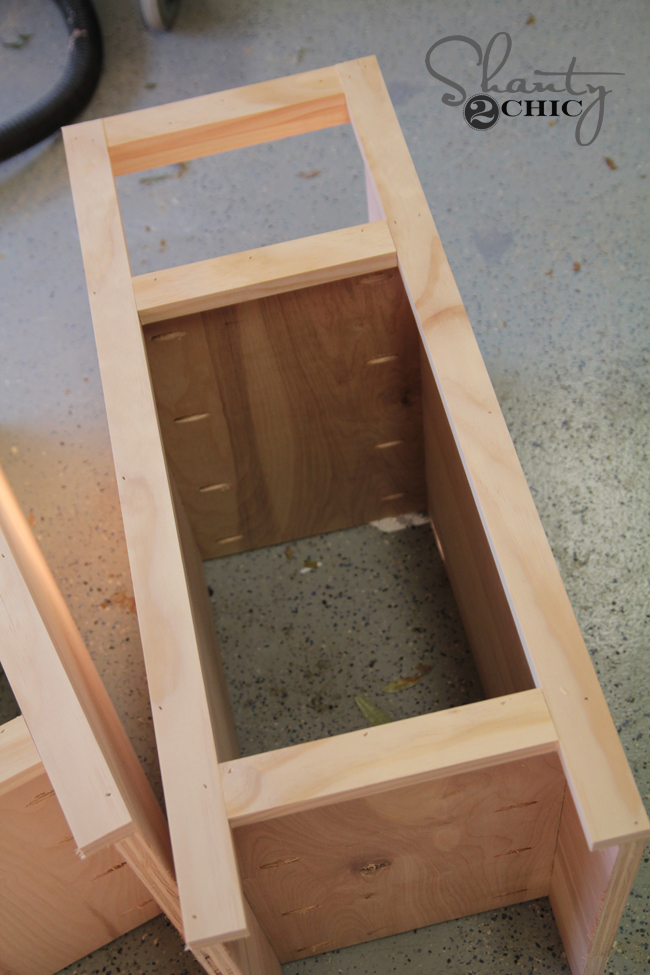
There will be a small 1×2 attached to the back of each base. This is attached with 1.25″ pocket hole screws and helps support the desk top.
All trimmed up!
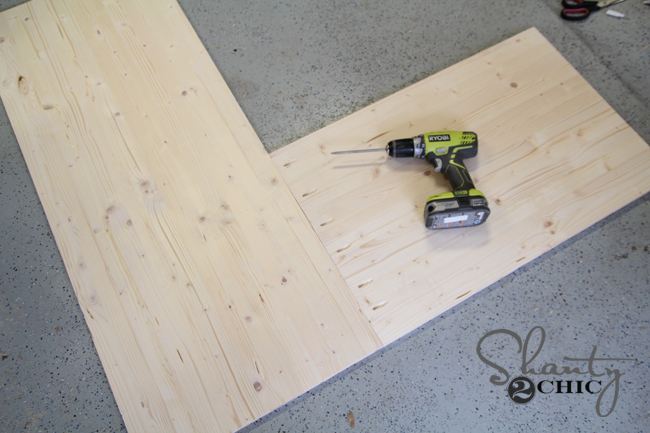
The desk top is built from project panels. Some hardware stores don’t carry these. I do have to get mine at Lowe’s. I cut down each side to size and attached them to form an L using 3/4″ pocket holes and 1.25″ pocket hole screws.
Next, I used 2″ Spax screws and wood glue to attach the frame to the bottom of the desk top.
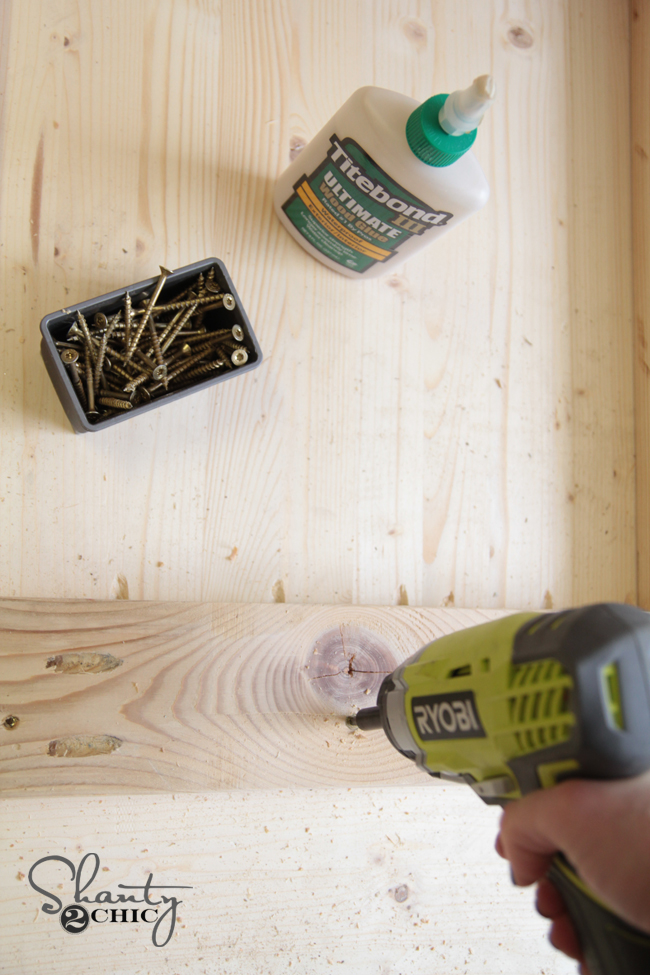
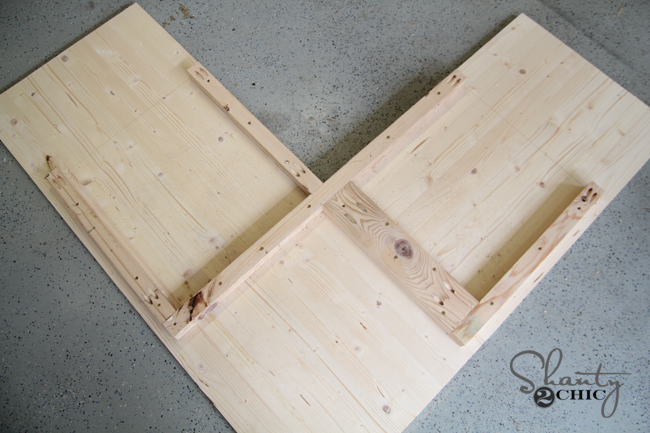
The bottom of the desk top will look like this before attaching it to the bases.
I painted everything in the shop, and then moved it into her room to attach it all. Made life lots easier!
I found the knobs at Hobby Lobby and the hinges are brass, but I used some Martha Stewart paint to dull them a bit to match the knobs. I found it at Michael’s. The baskets are also from Hobby Lobby and the chair is from Industry West!
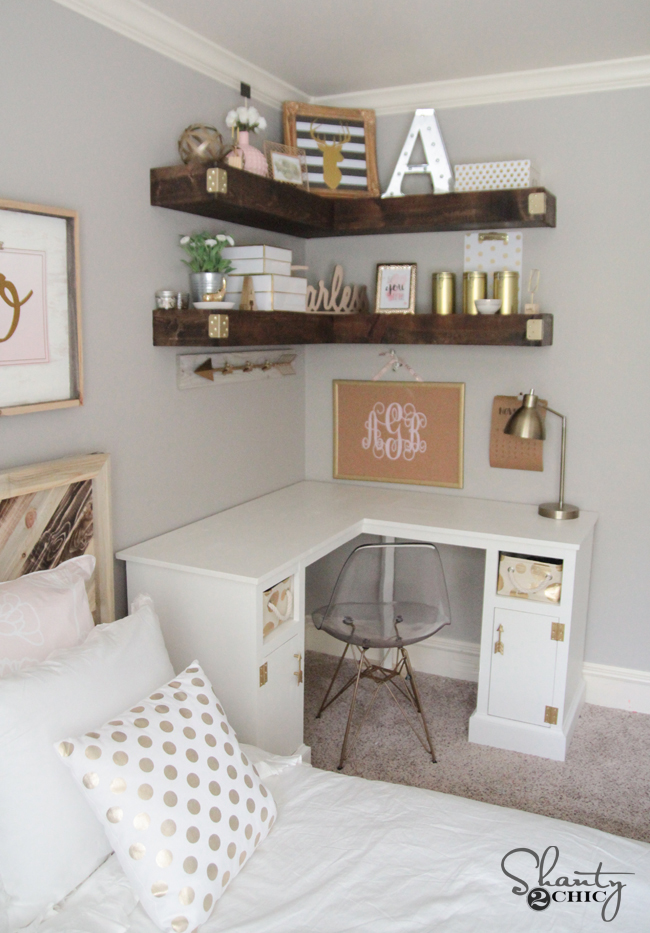
Here she is all finished up!
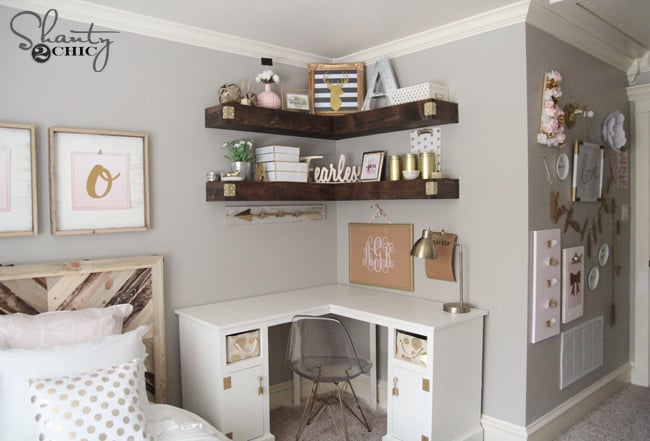
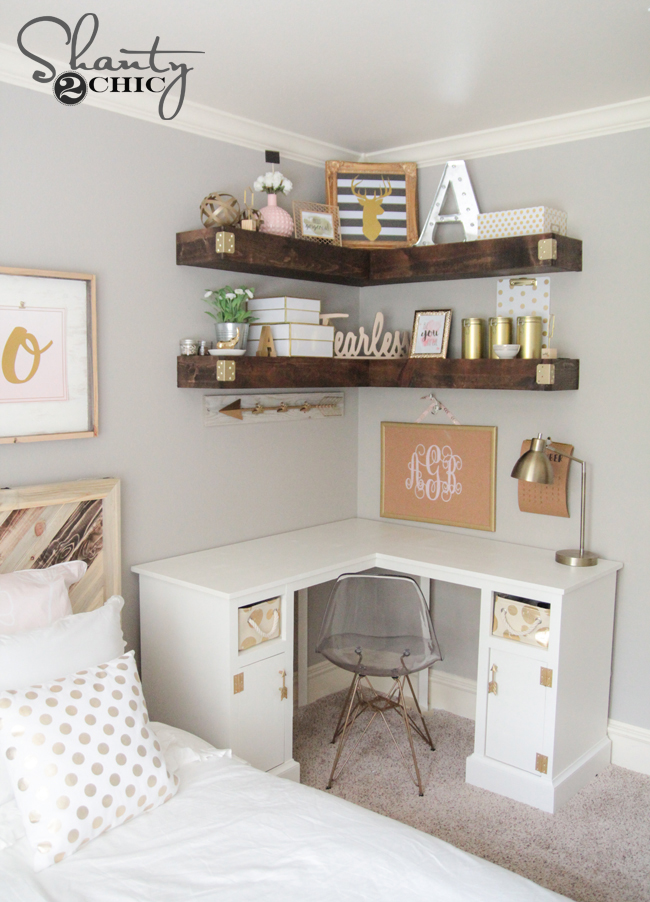
You can find the plans for the corner shelves HERE and find the plans for the bed HERE!
Thanks so much for stopping by! I’m off to finish off these renos with Ash… Wish us luck!
Thanks guys!


GREAT BLOG! I AM REALLY APPRECIATED IT, THAKS FOR SHARING!
Thanks for this great post, I find it very interesting and very well thought out and put together.
The details mentioned within the write-up are a number of the top accessible
Great information, thanks for sharing it with us
What a nice comment! Nice to meet you. I live in a different country from you. Your writing will be of great help to me and to many other people living in our country. I was looking for a post like this, but I finally found
Hi Good day
It was really useful for me
Thanks for putting it on your site
I come to your site every week – thank you
You have revealed all the production secrets. Aren’t you afraid of competition? A good master will always be appreciated.
That’s very interesting. Thank you for sharing!
thanks… i will surely make one.
Thank you for such an amazing write-up. Great work you made up while writing and shared this with us.
can i make Corner desk at home? Please tell me how to make this?
These corner desk are really impressive. I want to buy one of them but how can i bought?
What a blog and pictures. Thank you for sharing this with us.
Keep it up.
Thank you so much for sharing. This is really informative.
Wow! How amazing. It’s really great. Thank you for sharing this.