As many of you know, I am in the process of revamping my dining room. I had an itch to build a new table, and that led to a whole new room… Story of my life 😉 My hubby tells everyone that there is one thing you can count on at my house… A piece of furniture will not stay in one place very long. Yep. That’s how I roll.
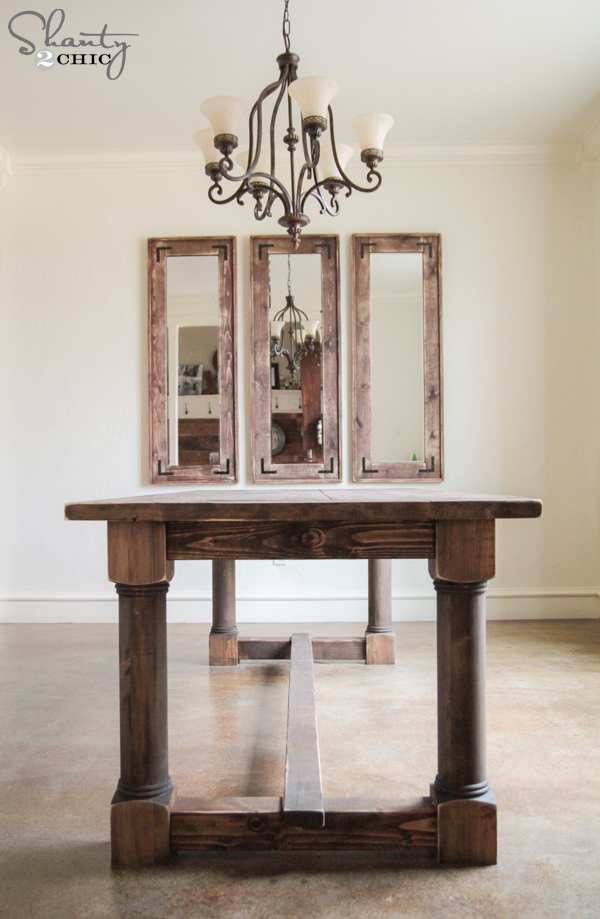
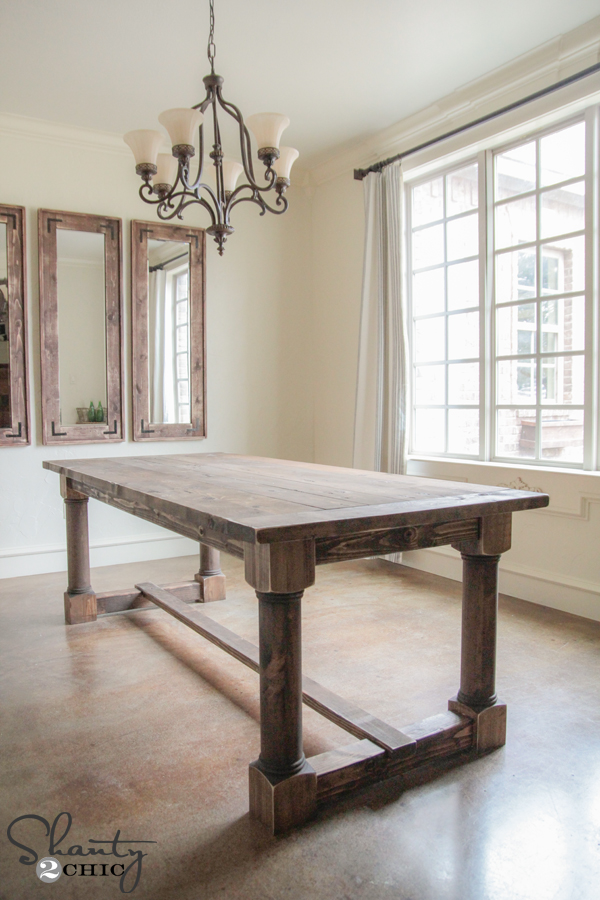
Here it is! Check out my new DIY Dining Table!
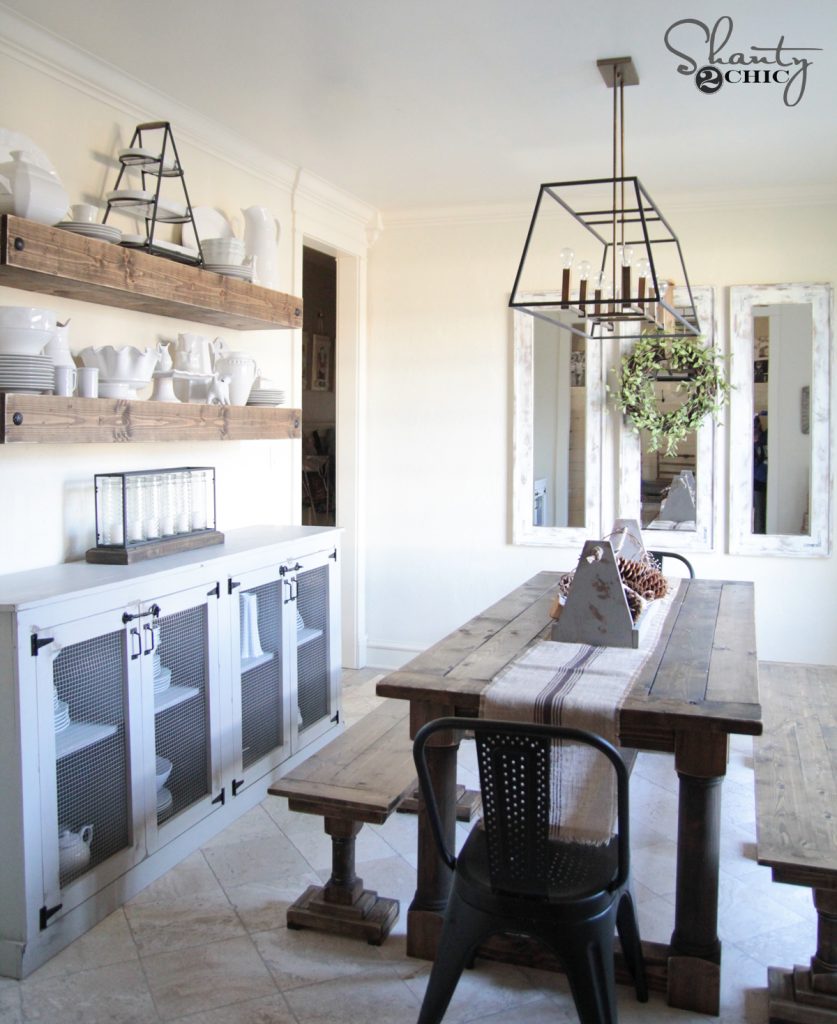
Can we please talk about how much I love this table? I do. A lot.
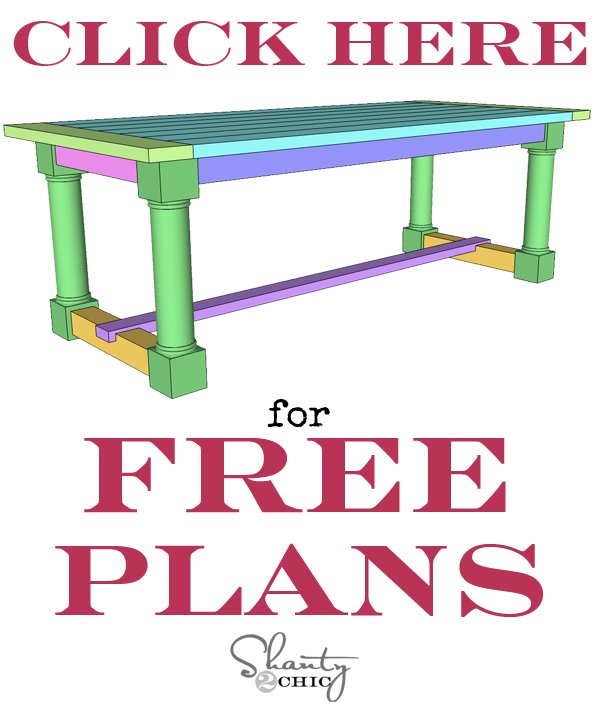
As always, I will walk you guys through the entire build below, and you can download and print the FREE set of printable plans by clicking HERE or the button below! Thanks so much to our good friend Jay of Jay’s Custom Creations for putting our furniture designs into printable plans for you guys… Makes it much easier than taking the phone out into the shop!
This table is so simple to build! It does require a few tools that you may not have in your stash currently, but I’m about to give you a great excuse to add them. You’re welcome. 🙂
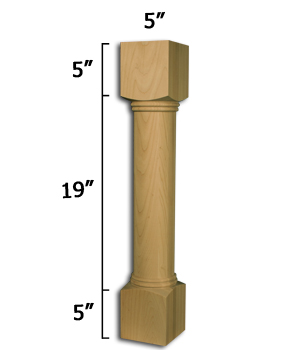
I will start with the legs. Oh those legs. I worked with one of my favorite companies to design these legs.

I used knotty pine for my wood choice on these. I love the wood grain and knots in this wood. These run right around $48 a leg. Shipping will vary depending on location. For my location, I had all 4 legs shipped for $50 making the total around $250 for the legs. This may scare some of you off, but the price is actually excellent on these. The price of the legs with the additional wood for this table keeps the cost of lumber for this table at around $300. A very similar table at a store we all know and love runs around $2200 without shipping. So, no complaints.
These are the legs I used for the table…
My first step of this build was preparing the 4×4 for the braces along the bottom of the table.
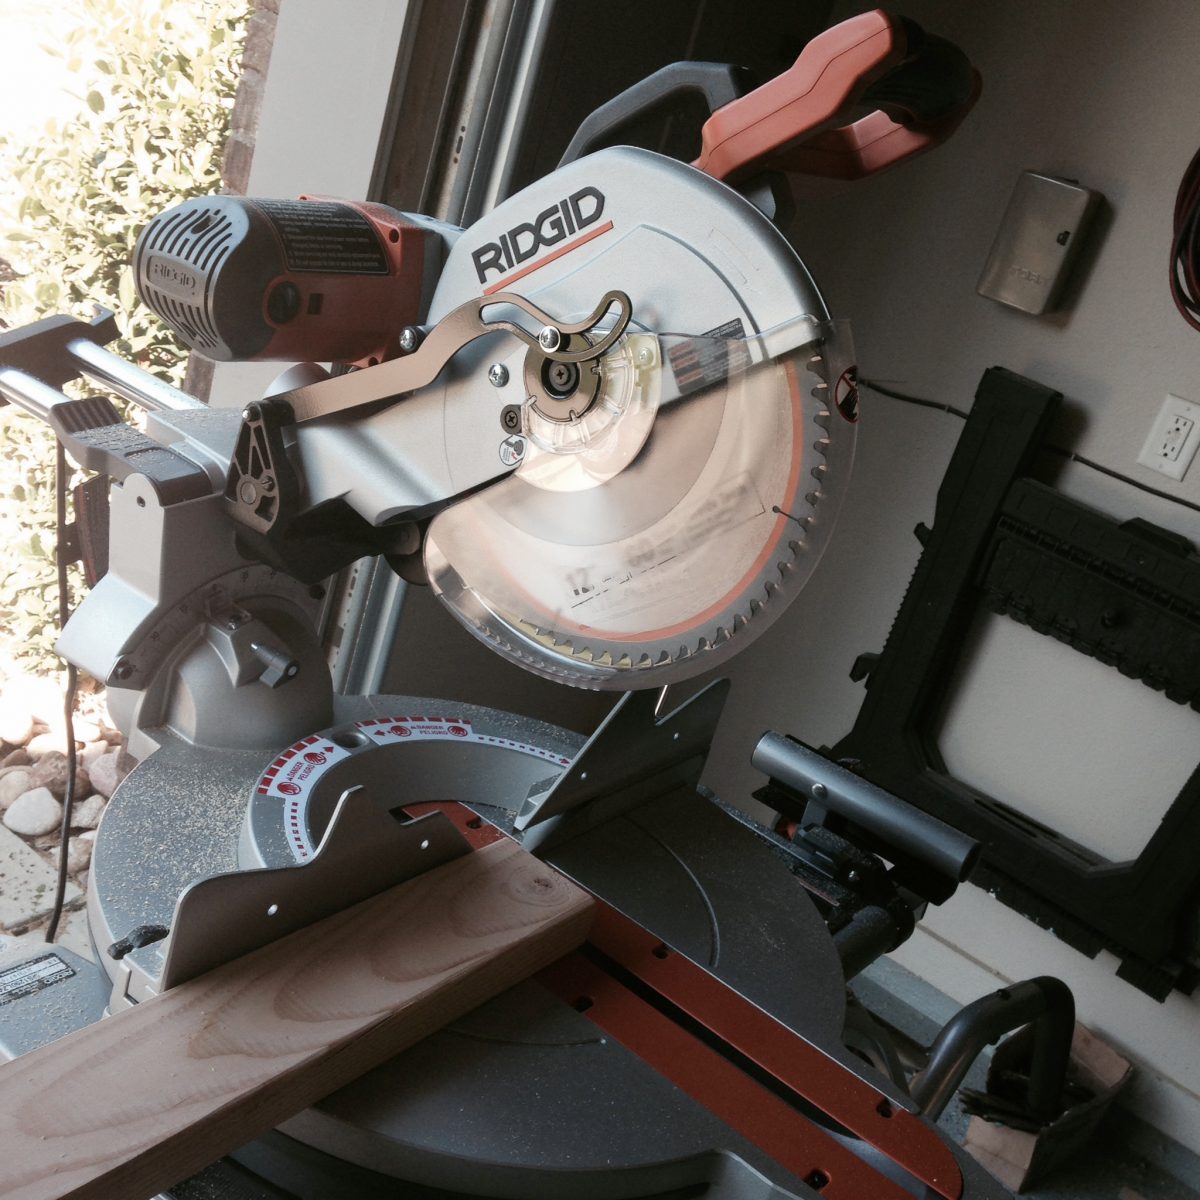
Cutting a 4×4 can be tricky and impossible for some saws. Most 10″ saws will not be able to make this cut for you. Ash and I both use Ridgid’s 12″ sliding compound miter saw. I love my 10″ Ryobi saw to pieces, but this guy… He gets the job done.
You can also have your local hardware store make these cuts in store for you, but I really recommend looking into a 12″ saw if you are looking to build longterm.
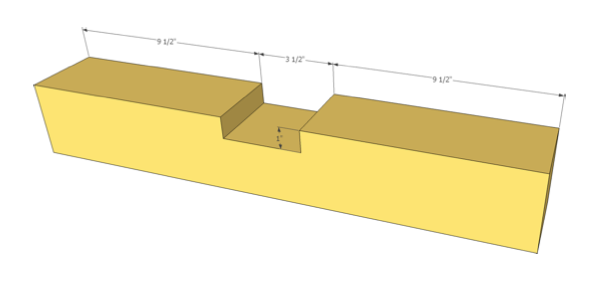
After cutting these pieces to size, you will need to make the cuts on each brace. These run between the legs. I was so intimidated by these at first. I wasn’t sure at all how to get a cut out of the 4×4 the way I needed to. This is the cut from our plans that I am referring to…
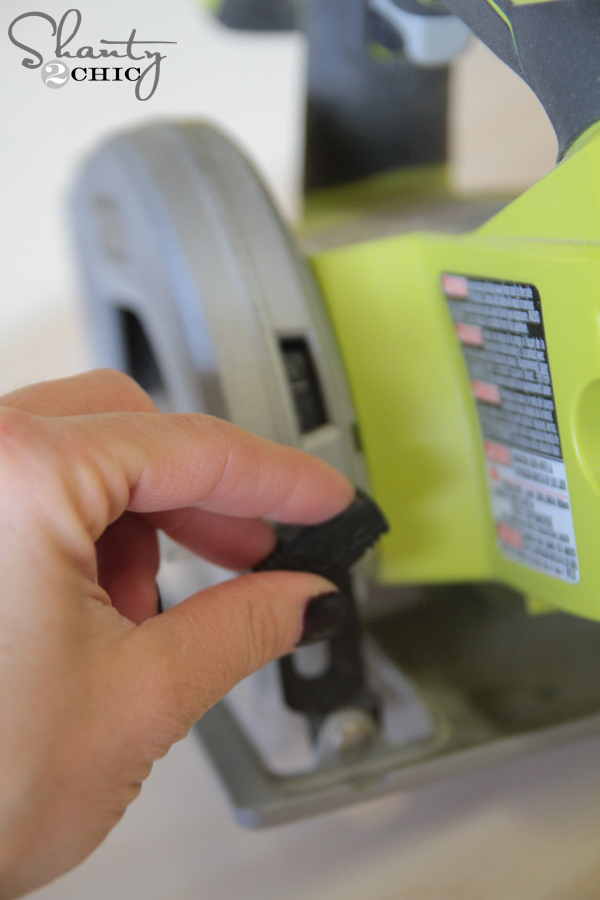
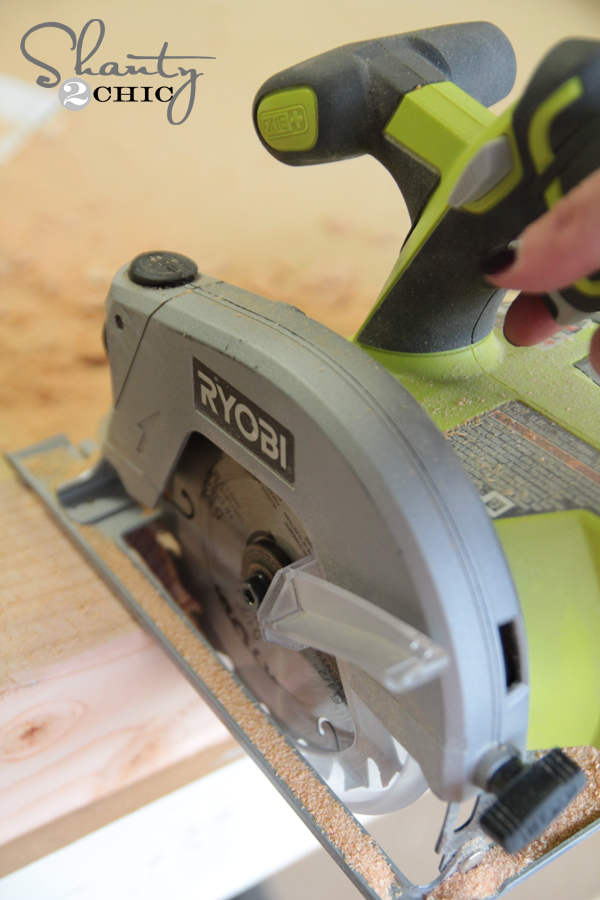
It is actually much simpler than I planned. I used my circular saw to notch this out. Mine is Ryobi’s 18V circular saw. I started by adjusting the blade depth. You do this by turning the knob on the back and moving the plate to the correct size. For this cut I set it to 1″.
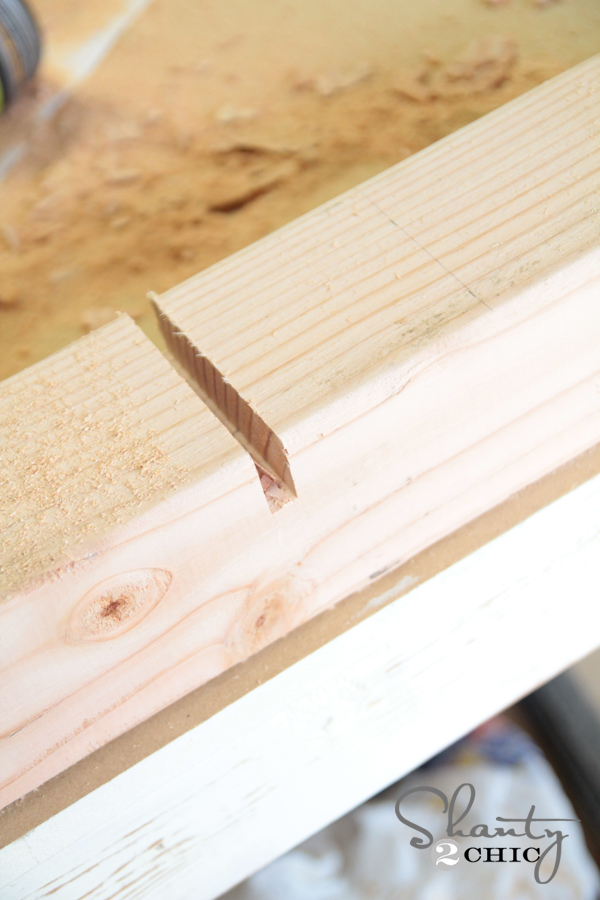
Next, I drew lines on the piece marking where I would make the cuts.
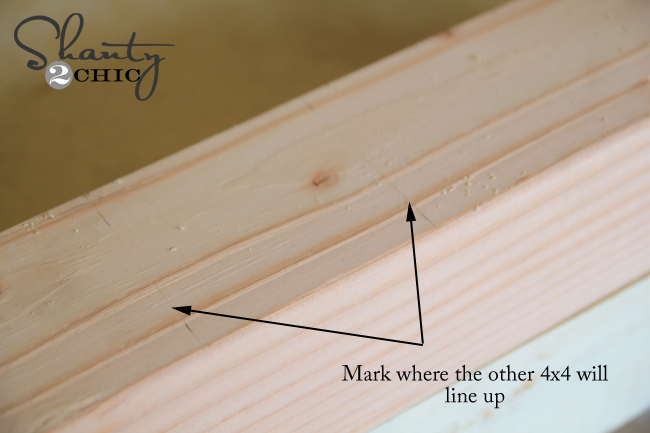
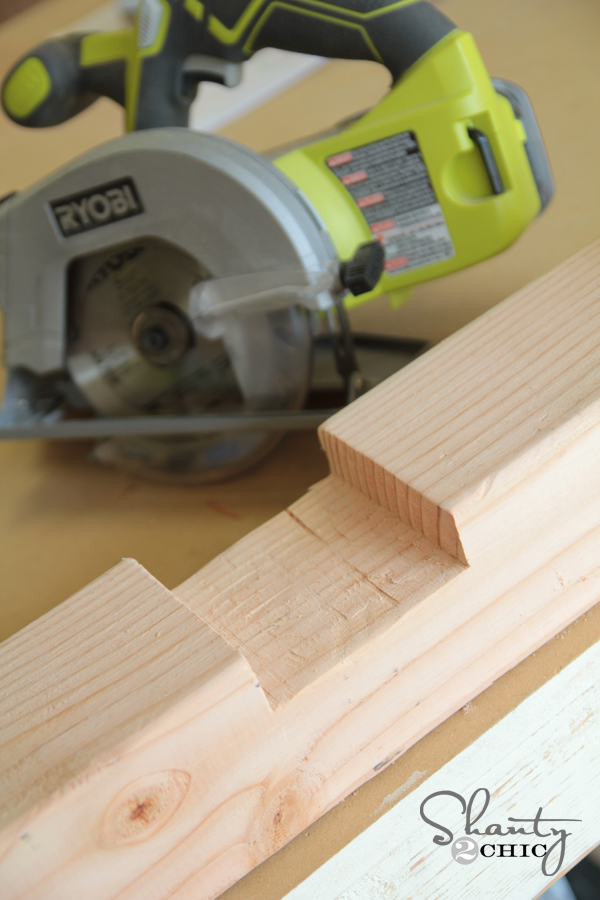
I started in the center and worked my way to the edges making lots of passes. It’s messy, but worked like a charm!
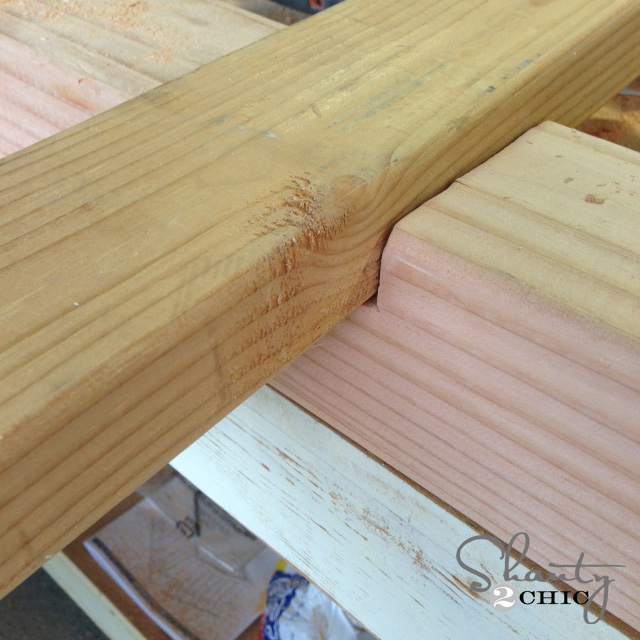
Now, the 2×4 runner should fit nicely into this notch.
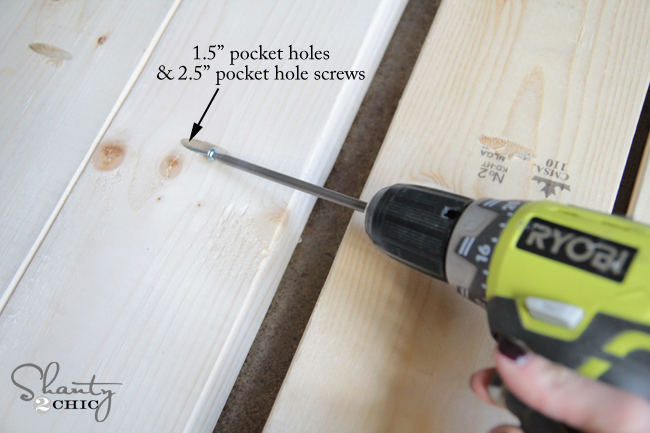
At this point, I cut my boards for the table top and made all of my pocket holes. I used my Kreg Jig K5 ![]()
model for this part. I love every model of Kreg Jig I have used, but this one really is such a great model for nearly every project. It has so many features making it super easy to use. I made 1.5″ pocket holes for the table top.
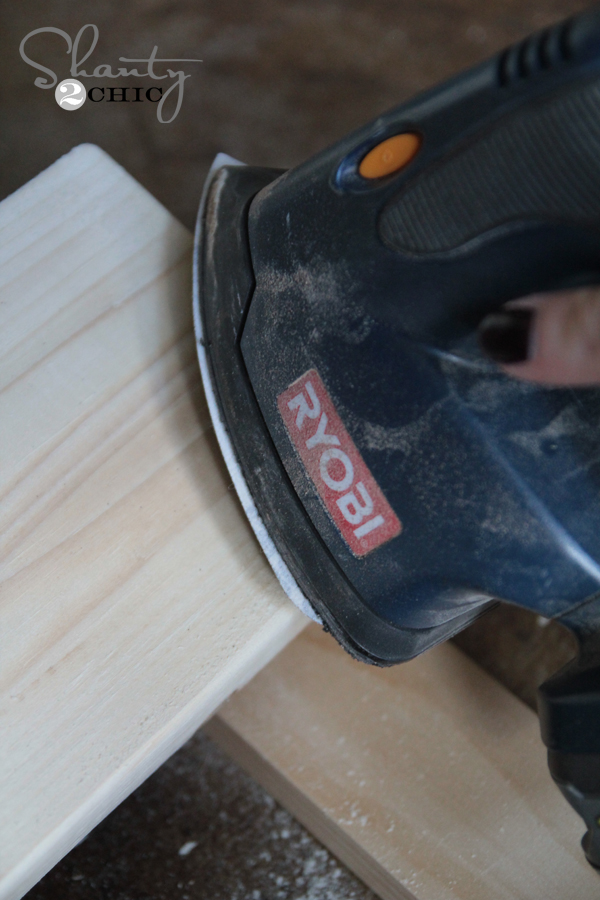
I also used my Ryobi Corner Cat sander to round all of my corners of the planks before attaching them. I love the look this gives the table top when it’s all put together.
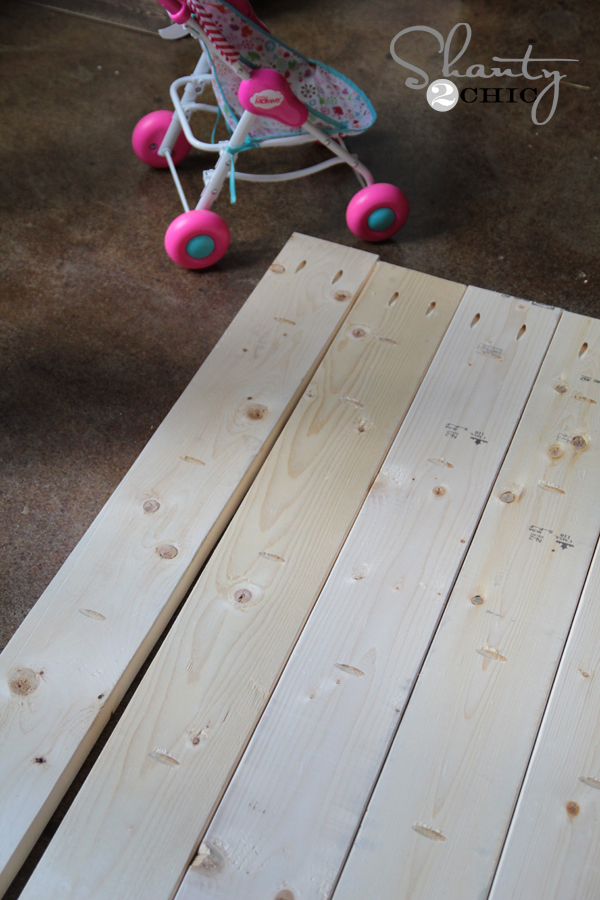
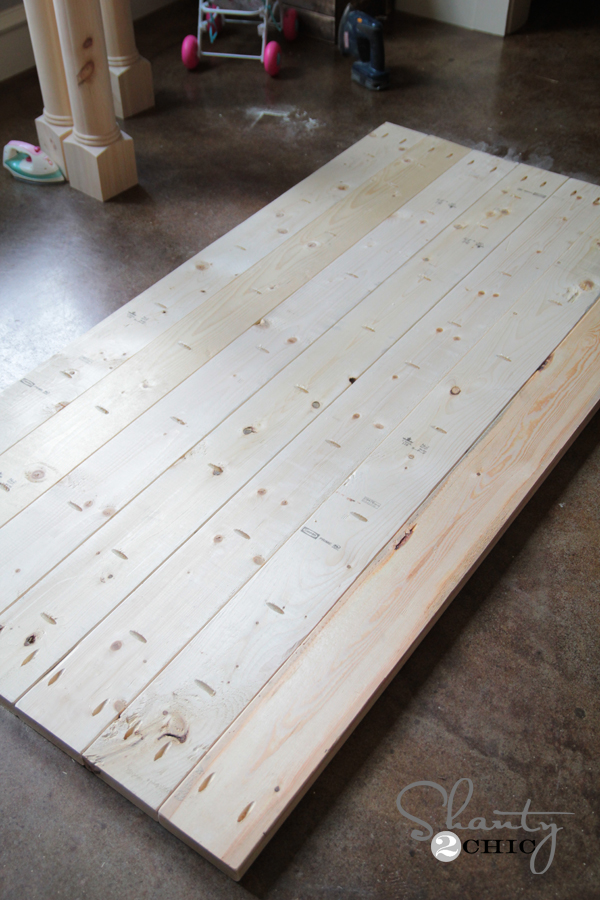
At this point, I moved the entire build inside. I knew I didn’t want to attempt to move this baby through the door or by myself, so I did the assembly inside. I started by laying out all of my table top pieces.
Next, I used my Ryobi 18V drill to attach all of the pieces using 2.5″ pocket hole screws. The driver bit I have on that drill comes with the Kreg Jig and it’s made for the pocket hole screws.
I added my two breadboards after attaching all of the long pieces.
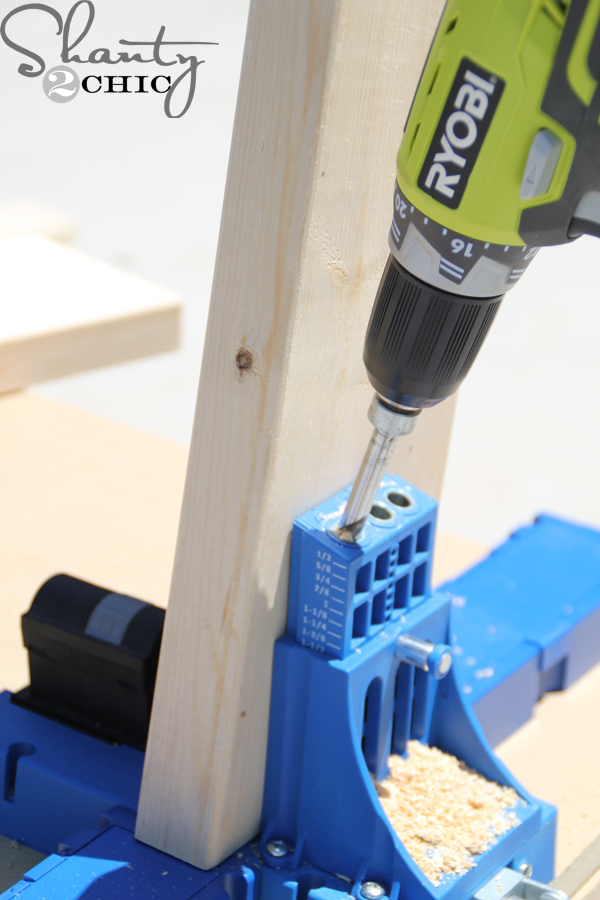
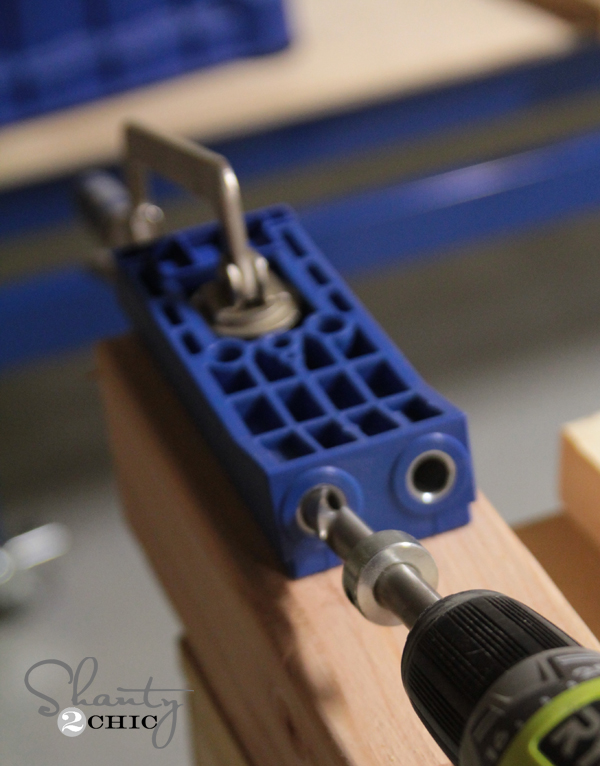
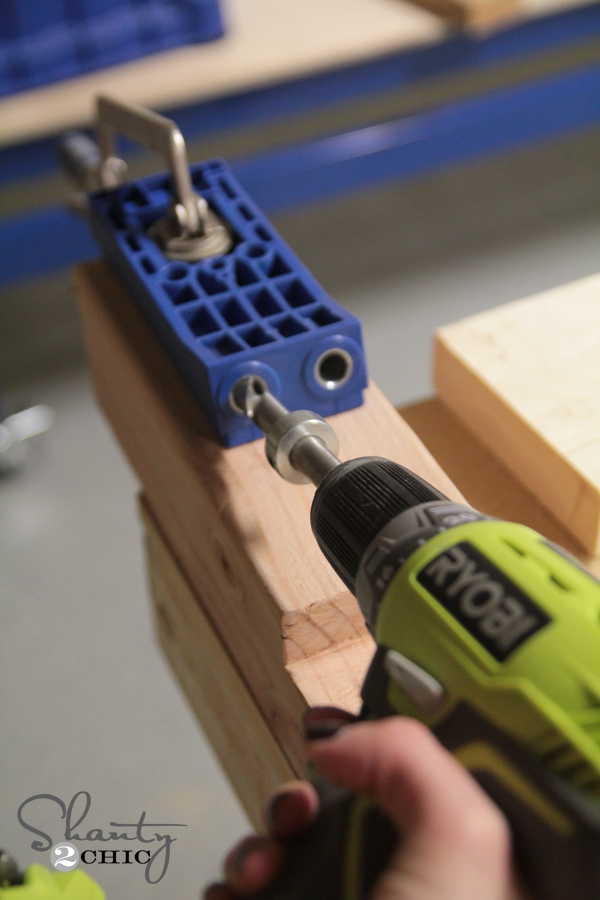
Now, back to those 4×4 braces on the bottom… These need pocket holes to attach to the table legs. I used my Kreg HD Jig![]()
for this part. This is an inexpensive tool that you won’t use on every build, but you will want it for projects like this one. It’s drill bit is larger and the screws are as well making the attachment stronger than the standard Kreg Jig.
Back inside…
I attached my apron pieces to the top of the table legs using 2.5″ pocket hole screws and wood glue.

Once I did that, I set the legs and runners on top of the upside-down table top and attached it through the pocket holes I made in the aprons and into the table top. I somehow forgot to shoot this part, so please forgive me for not having a photo. I hate when I do that… Brain fart.
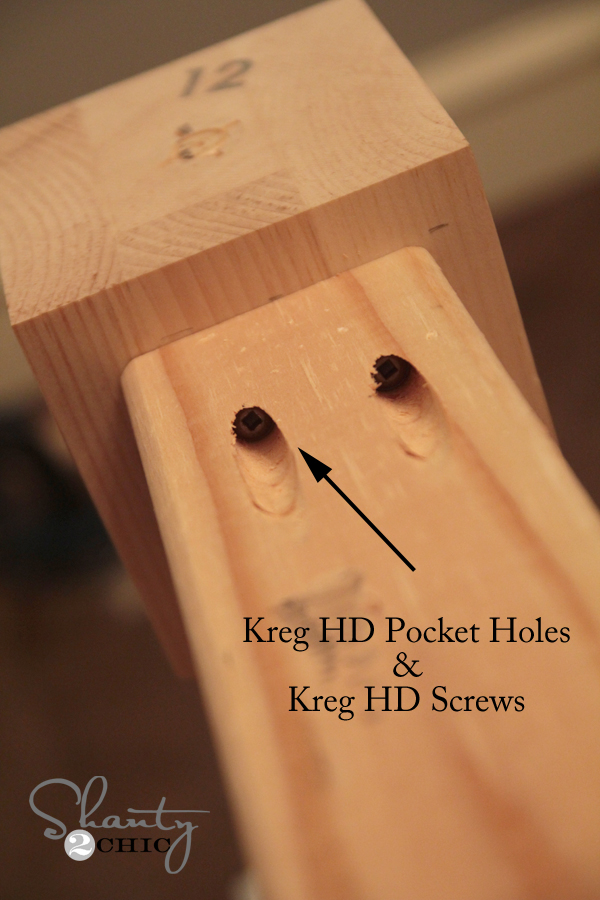
The final step before flipping it over is adding the 4×4 braces. These attach into the bottom of the legs using the Kreg HD screws. You can see they won’t be flush with the base of the legs. Once you have these attached, flip the table over and set the long runner in place. I used my finish nailer to attach it to the 4×4 runners.
I flipped it over and gave the whole thing a coat of my new fav stain color…
Varathane Wood Stain in Ash

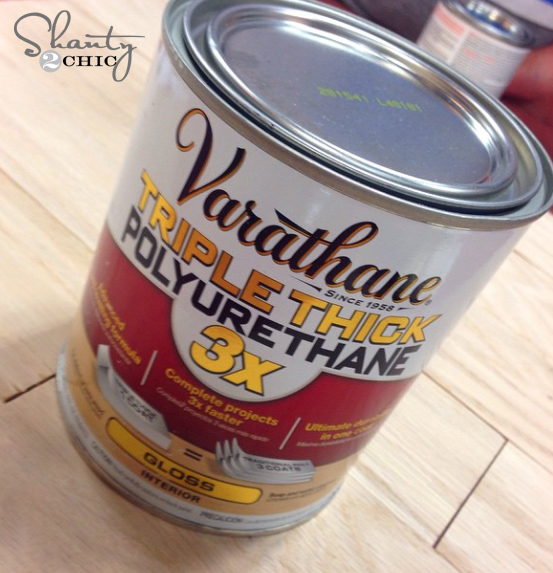
You can find this stuff at the Home Depot. After letting it dry (only takes an hour!) I added a coat of Varathane Triple Thick to the top to protect the finish. This stuff is new and amazing. It gives you 3 coats of coverage in 1. It dries so quick too! You guys will love it!
All finished!
I hope you love it as much as I do! Just wait until you see the other pieces I will be sharing… I plan to keep you guys very busy! 😉
I would LOVE for you to pin and share this table with all of your friends!
Thanks so much… Y’all are awesome.
Whitney


it looks great. Just one question: how did you attach 4X4 to the table legs at the bottom?