
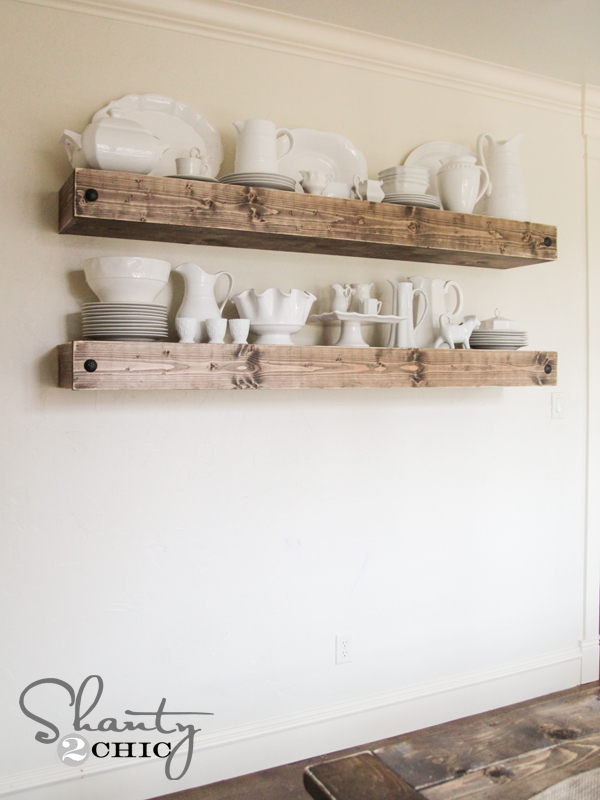
I am knee-deep in a dining room remodel. I had an itch to build some new pieces, so I decided to let everything go and start from scratch… Again. 🙂 First up on the list… Floating Shelves! Check em out!
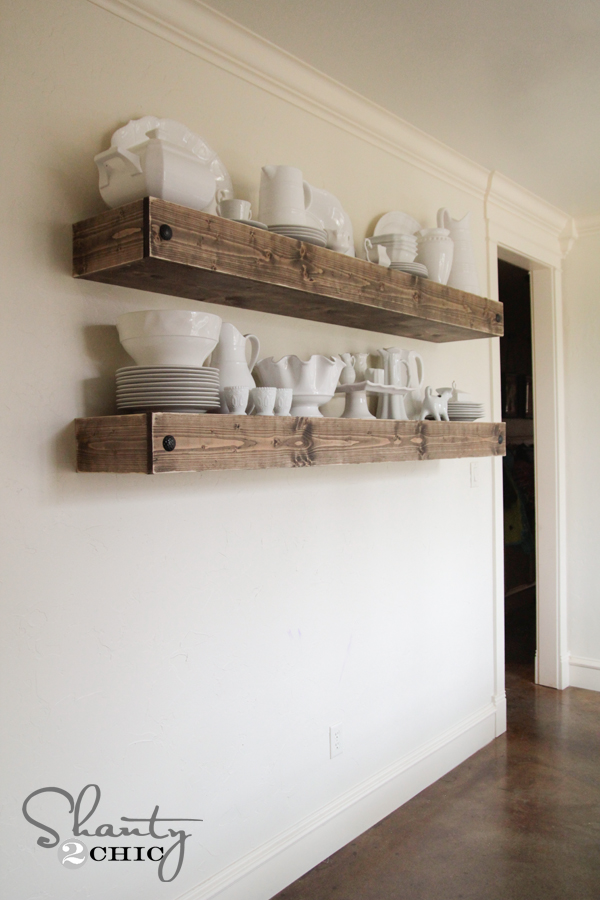
How fun are those?? I love how they opened up the space! And… Just wait until you see what’s going under them! 😉
Check out our How to Build a Floating Shelf Video HERE!
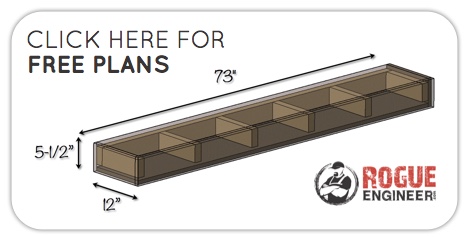
I teamed up with a good friend to bring you guys the printable plans for these shelves. I will walk you through the entire build here, and you can print the free plans for the shelves over at Rogue Engineer. Jamison is the author/builder over there. He is a great guy with a sweet wife and they have lots of great plans as well! Go check him out and tell him Shanty sent you for the DIY Shelf Plans!
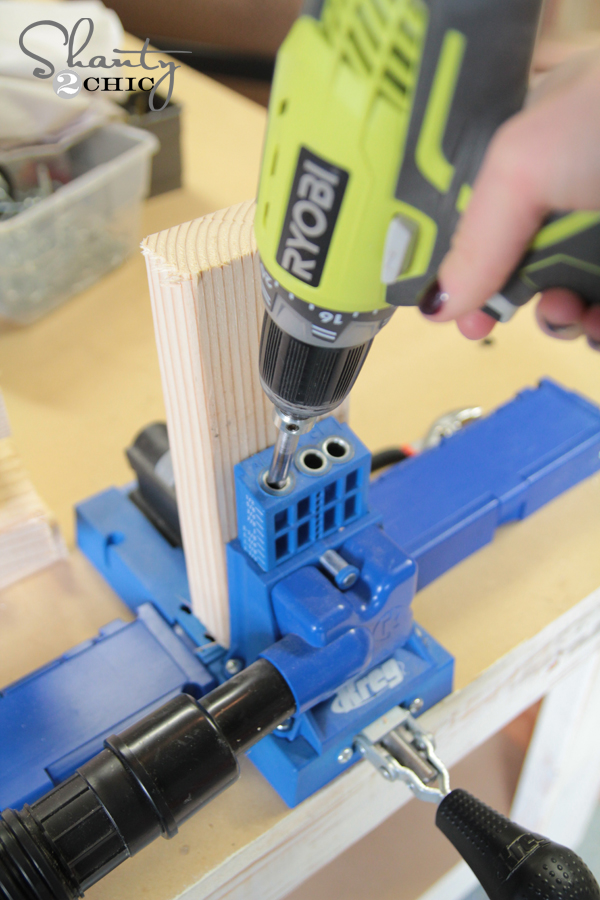
Like all of our floating shelves, I started by building the frame or supports of the shelves. I used 2×4 for this part. I also used my Kreg Jig for the entire build. I have several models of Kreg Jigs (all awesome). For those of you in the market for one, I totally suggest the K5 model!
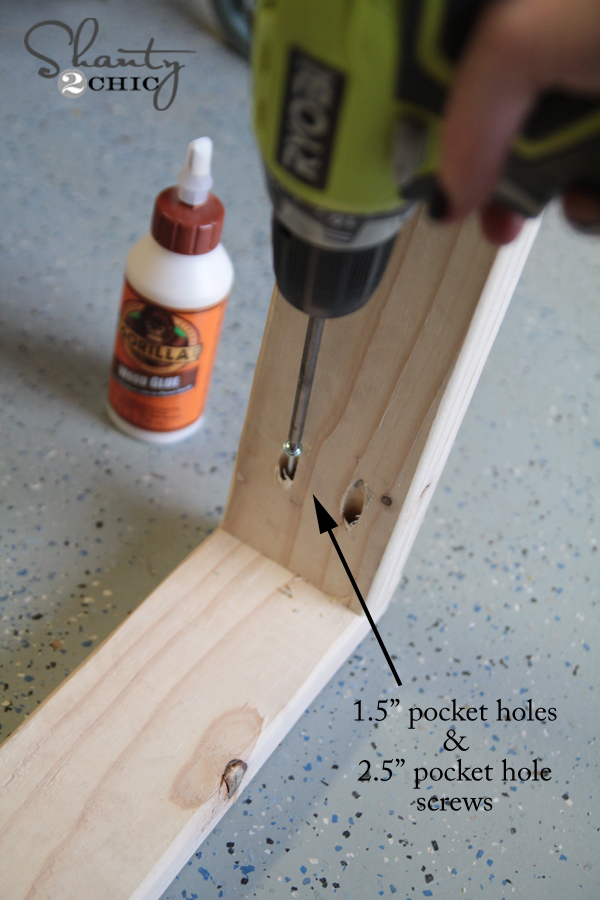
For the 2×4 frames, I used 1.5″ pocket holes and attached everything with Gorilla Wood Glue and 2.5″ pocket hole screws.
I spaced all of my small pieces evenly down the long back piece. When you are finished, it should look like this.
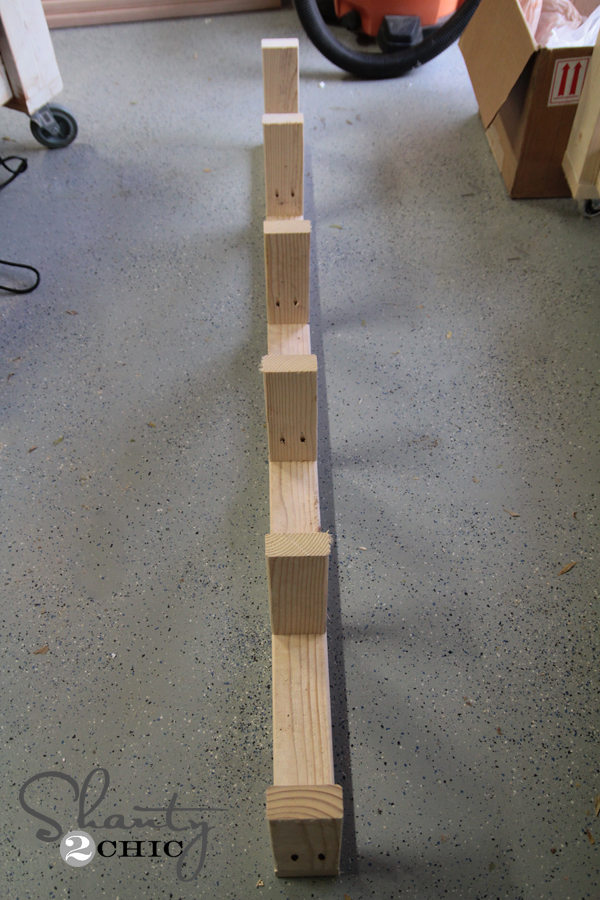
These frames will attach directly to the wall. Before doing that, I built the boxes.
I started by cutting my 1×12 boards and adding pocket holes. This is 3/4″ material, so I used 3/4″ pocket holes and 1.25″ pocket hole screws.
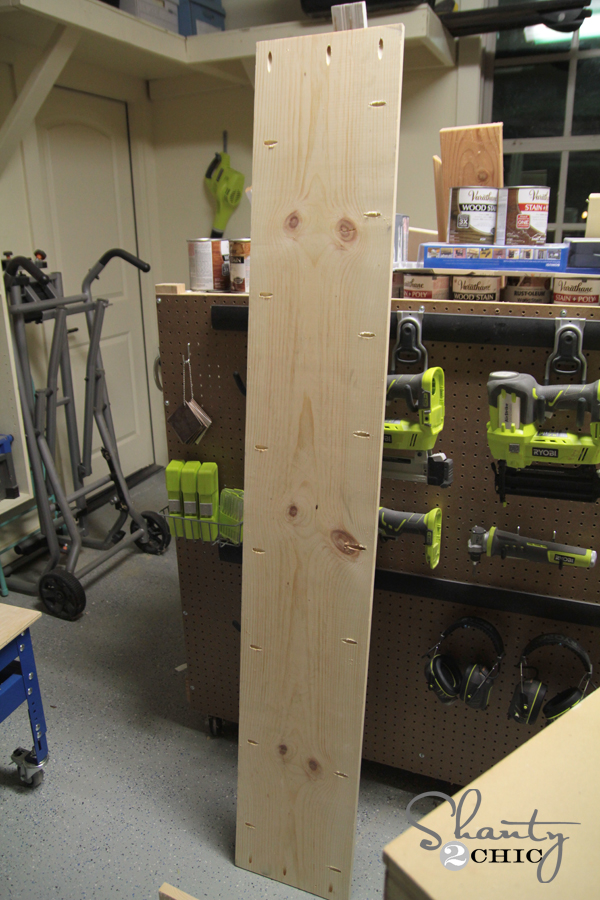
I attached the smaller side pieces first.
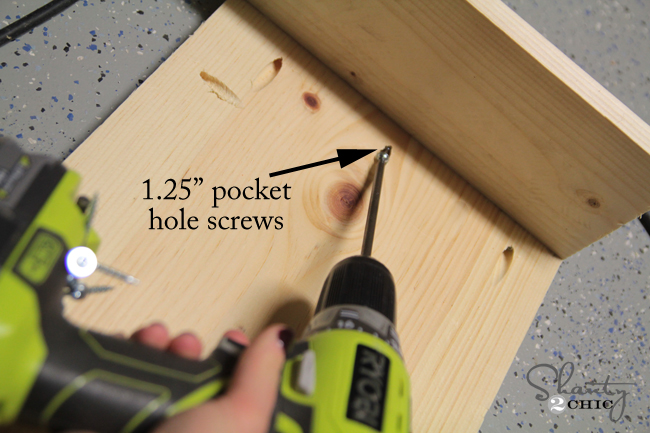
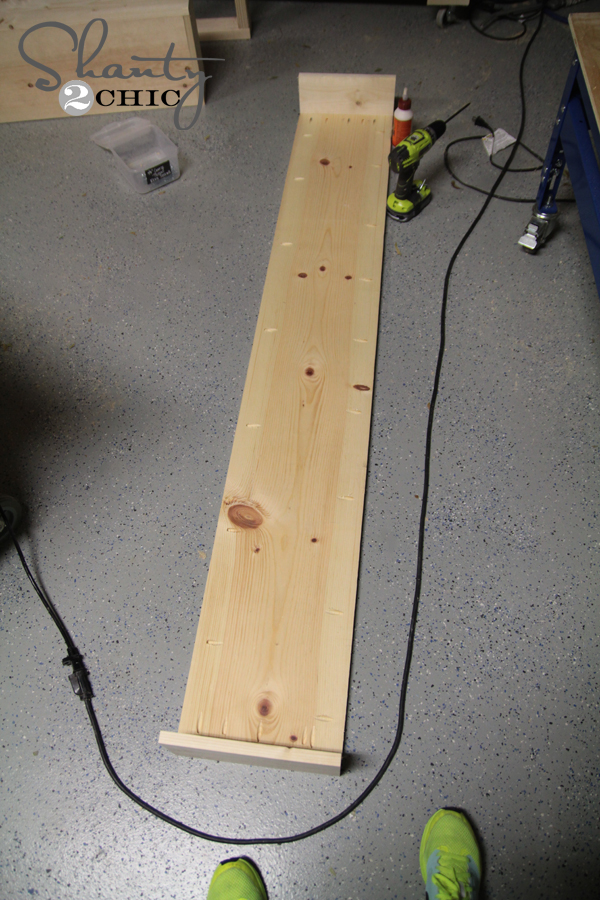
Next, I attached my long front piece.
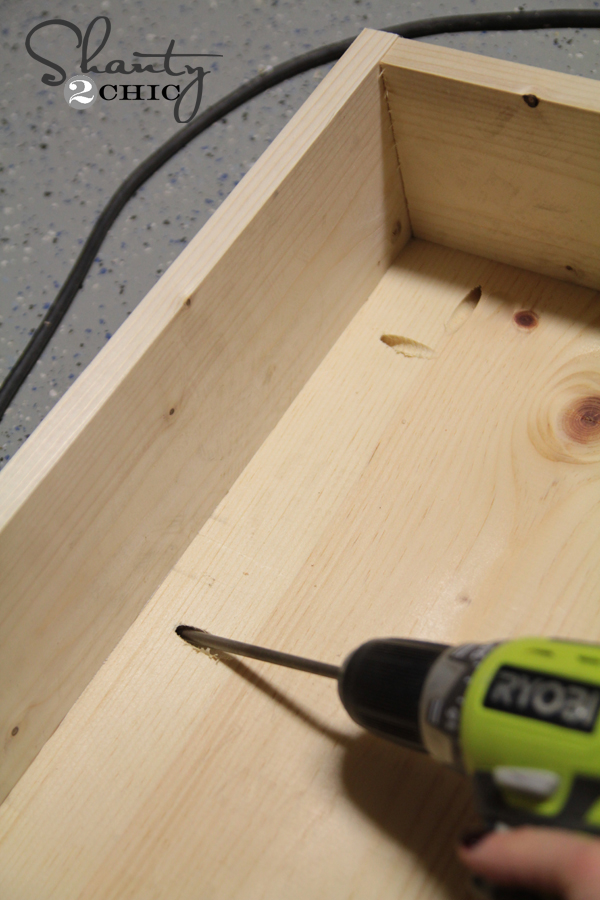

My final step was adding the bottom 1×12. This is a little bit of a squeeze with the tight space, but I have small hands so it wasn’t a problem. Guys… You might grab the wifey and have her help you on this part if your hands are too big! 🙂
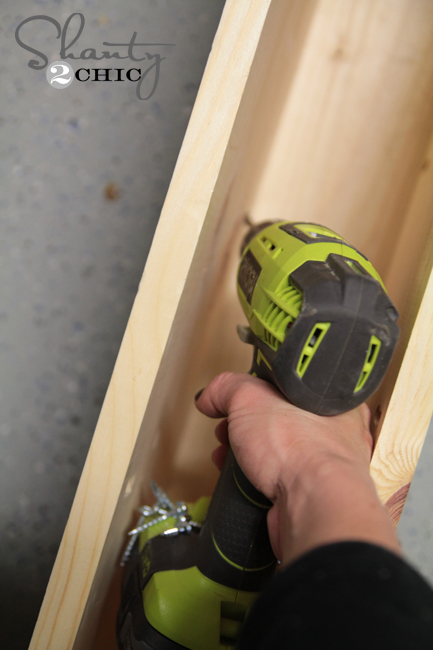
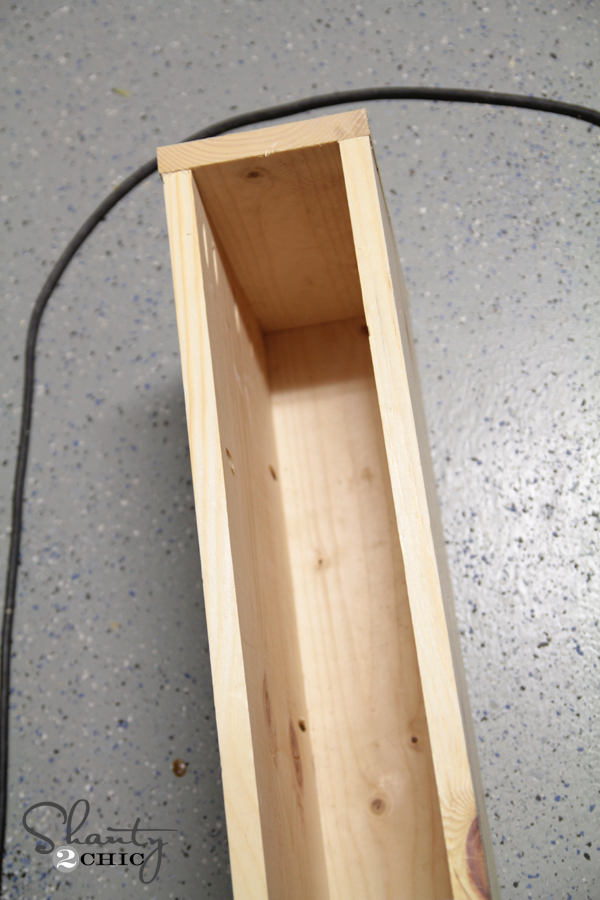
Once those boxes were built I stained them using a new FAV color called Ash by Varathane! You can find it at Home Depot. I stained mine and let it dry while I attached the frames to the wall.
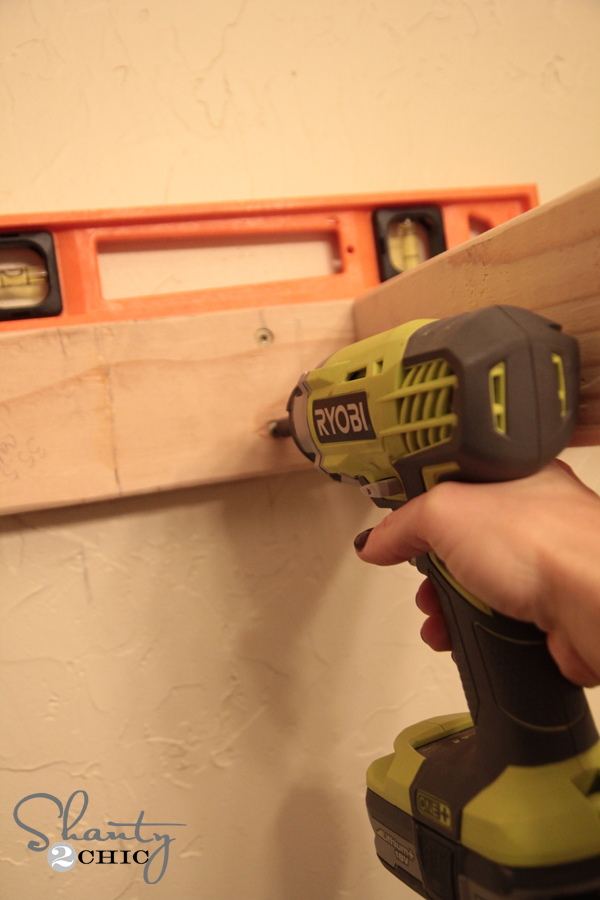
I started by finding the studs in my wall. I marked those with a pencil, and then held the frames up on the wall with a level on top. I put marks on the frame where my studs lined up and used my drill with a small bit to pre drill holes on those marks. This will keep the wood from splitting, and it also makes it easier to attach to the wall.

I like to keep the level on my frame as I’m attaching it to make sure it stays straight.
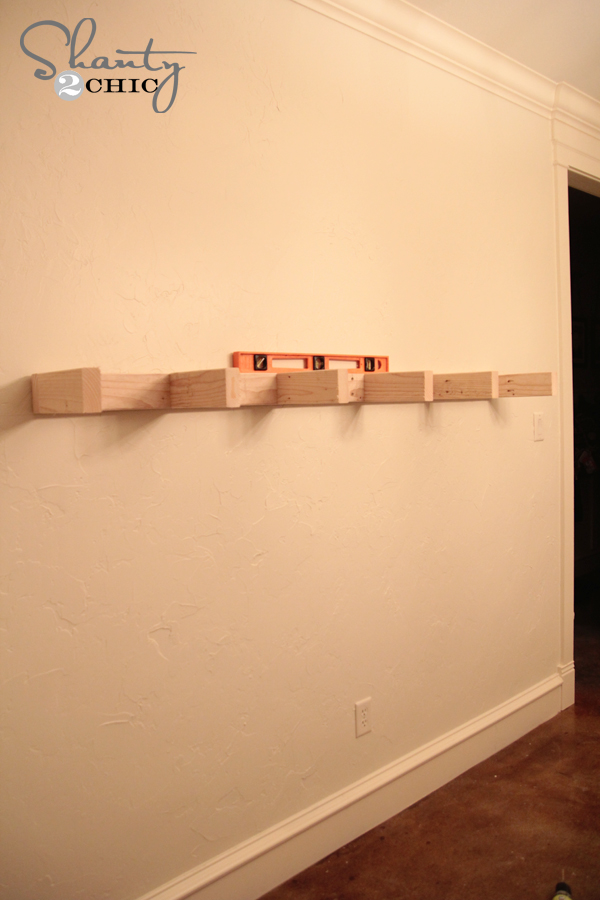
I used 3.5″ torx screws to attach my frames. You can also use wood screws. I used my amazingly awesome Ryobi Impact Driver to drive the screws through the frame and into the studs. This is such an awesome tool to add to your set guys. I use it anytime I am attaching something to the wall (which is fairly often) and for other applications. It’s awesome and inexpensive.
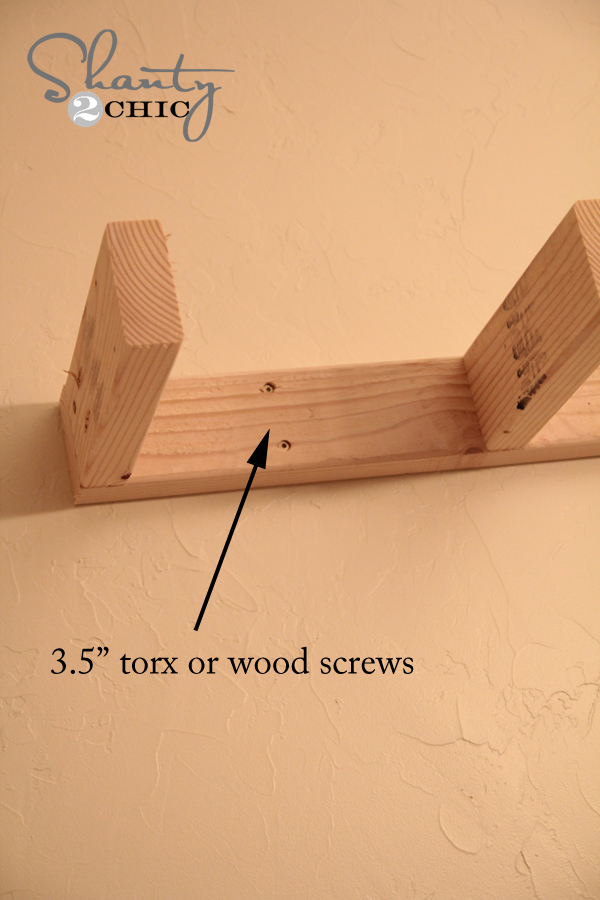
Here are both of my braces attached to the wall!

Before attaching the boxes to the frames, I used my Ryobi Corner Cat sander to distress the edges and corners of the boxes. I love the rustic touch it adds to the shelves… So shanty 😉
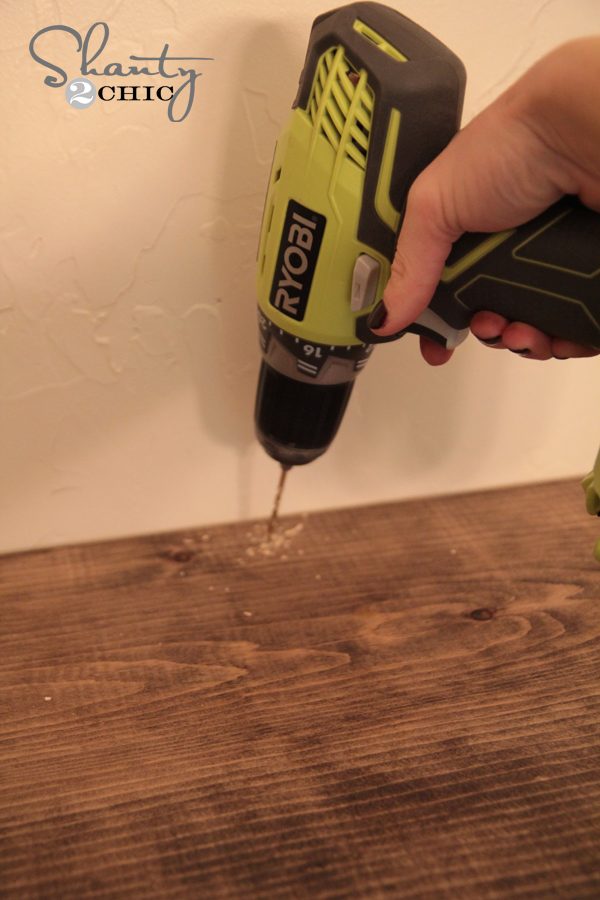
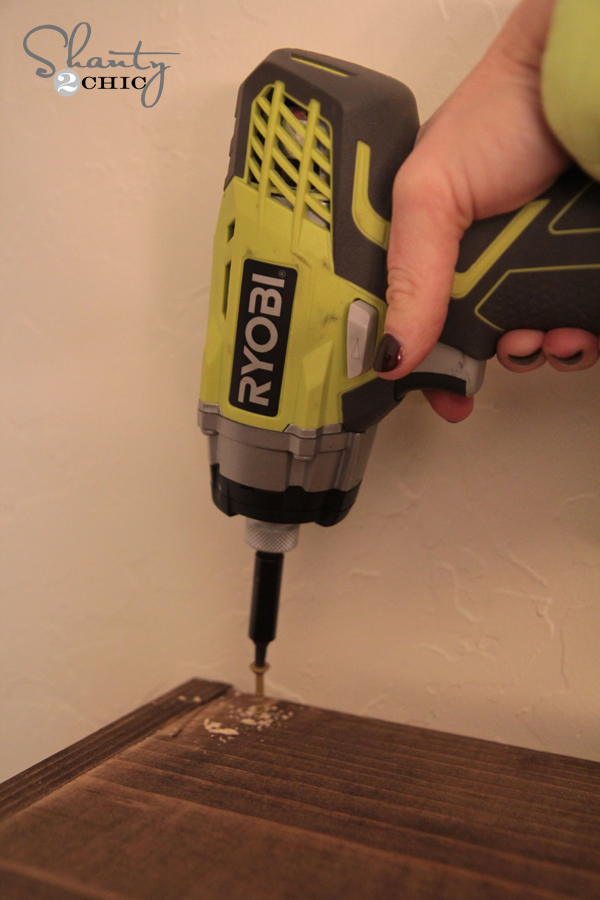
I fit the boxes over the frames and attached them using 1.5″ wood screws through the boxes and into the frames. Make sure to pre drill on this part too!
I used my impact driver on this part too!
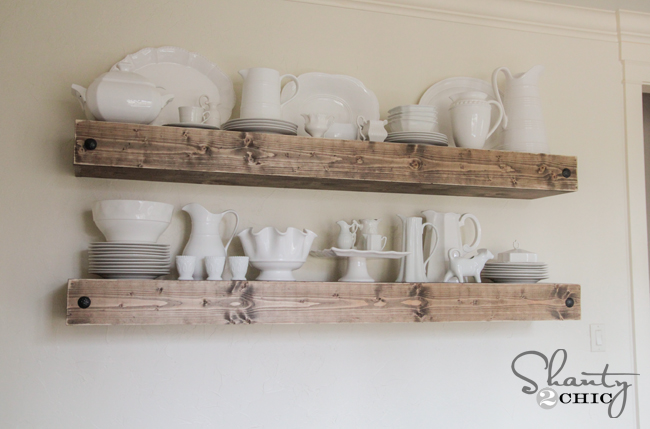
DONE! I loaded them with dishes and I was ready to go. Here are a few more shots…
Thanks so much for stopping by guys! I cannot wait to show you the rest of the dining room as it comes together 🙂
I would LOVE for you to pin and share these with all your friends! Thanks so much!
Whitney

What stain did you use on shelves? Heather
I know it’s been awhile but I’m wondering how the shelves have held up. Any sagging away from the wall?
Can you post the link to the stain you used for these shelves?
Hello Ladies!! I love absolutely everything that you make! You are such an inspiration to me! I am currently making over my office and want to include these shelves across one of the walls. I have 10′ ceiling on that side of the room and a 3′ cabinet up against the wall. The shelves will run the length of the cabinet…roughly 6′. How high above the cabinet should I hang the shelves? How far apart should I space the shelves?
Thank you for all of your help!!
OMG!!! You ladies are so creative and inspiring! I just happened to stumble across your pedestal DIY table and I am in love with you ladies. I love the whole modern farmhouse look but just don’t know how to create it. I live in Florida and there is nothing really like that here so I would love to steal some of your ideas. I don’t really even know how to get started. I am on a tight budget since I only work part time and am a nursing student, not only do I have absolutely no sense of decorating, I also don’t really have much time at all as it is. I wish I could pay you ladies to help give me ideas on how to create the look i want on a budget and with the space I have to work with … you ladies are amazing. I also have 6 kids :-)… I love your sense of taste and imagination..
Beautiful! Do you think these would be sturdy enough to support (lots of) books?
So I noticed you put pocket holes on both sides of the 1×12. I can’t figure out for the life of me what the pocket holes on the one side are for. Am I missing something? Love these shelves, building them today!
I got carried away and didn’t realize I did them on both sides. You don’t need them 🙂
Wow thanks for responding! Me and my best friend love getting together and building your stuff. You guys are our inspiration. ????
Love these! They are so cute!! Thanks for sharing!
had these babies up and stained in a day! thanks so much for the easy plans!
Awesome! The plans are the best I’ve seen for these type of shelves. Thank you so much for sharing!!!! I LOVE THEM!!!!!!!!
Can you share a link for the hardware of the front of the shelves? -Thanjs
I know others have asked this, but I guess you have not responded. Too busy building! Where did you get the hardware? Thank you!
Where do you get all your dinnerware from? I love them! Love the white!
i really like the outside hardware…where, in the box store, would you find these? Could you give more info on them? Thanks…cant wait to build some shelves in my dining room and bathroom and giving them the special touch of some really nice hardware…. 🙂
What kind of stain did you use? Thanks!
I think she said it was Ash by varathane!
I can’t find that stain online, anyone know where she got it?
Love the hardware on the front (carriage bolt?)! Did you attach it before or after you connected the box to the frame?
Looks like clavos
Good call! Thanks!