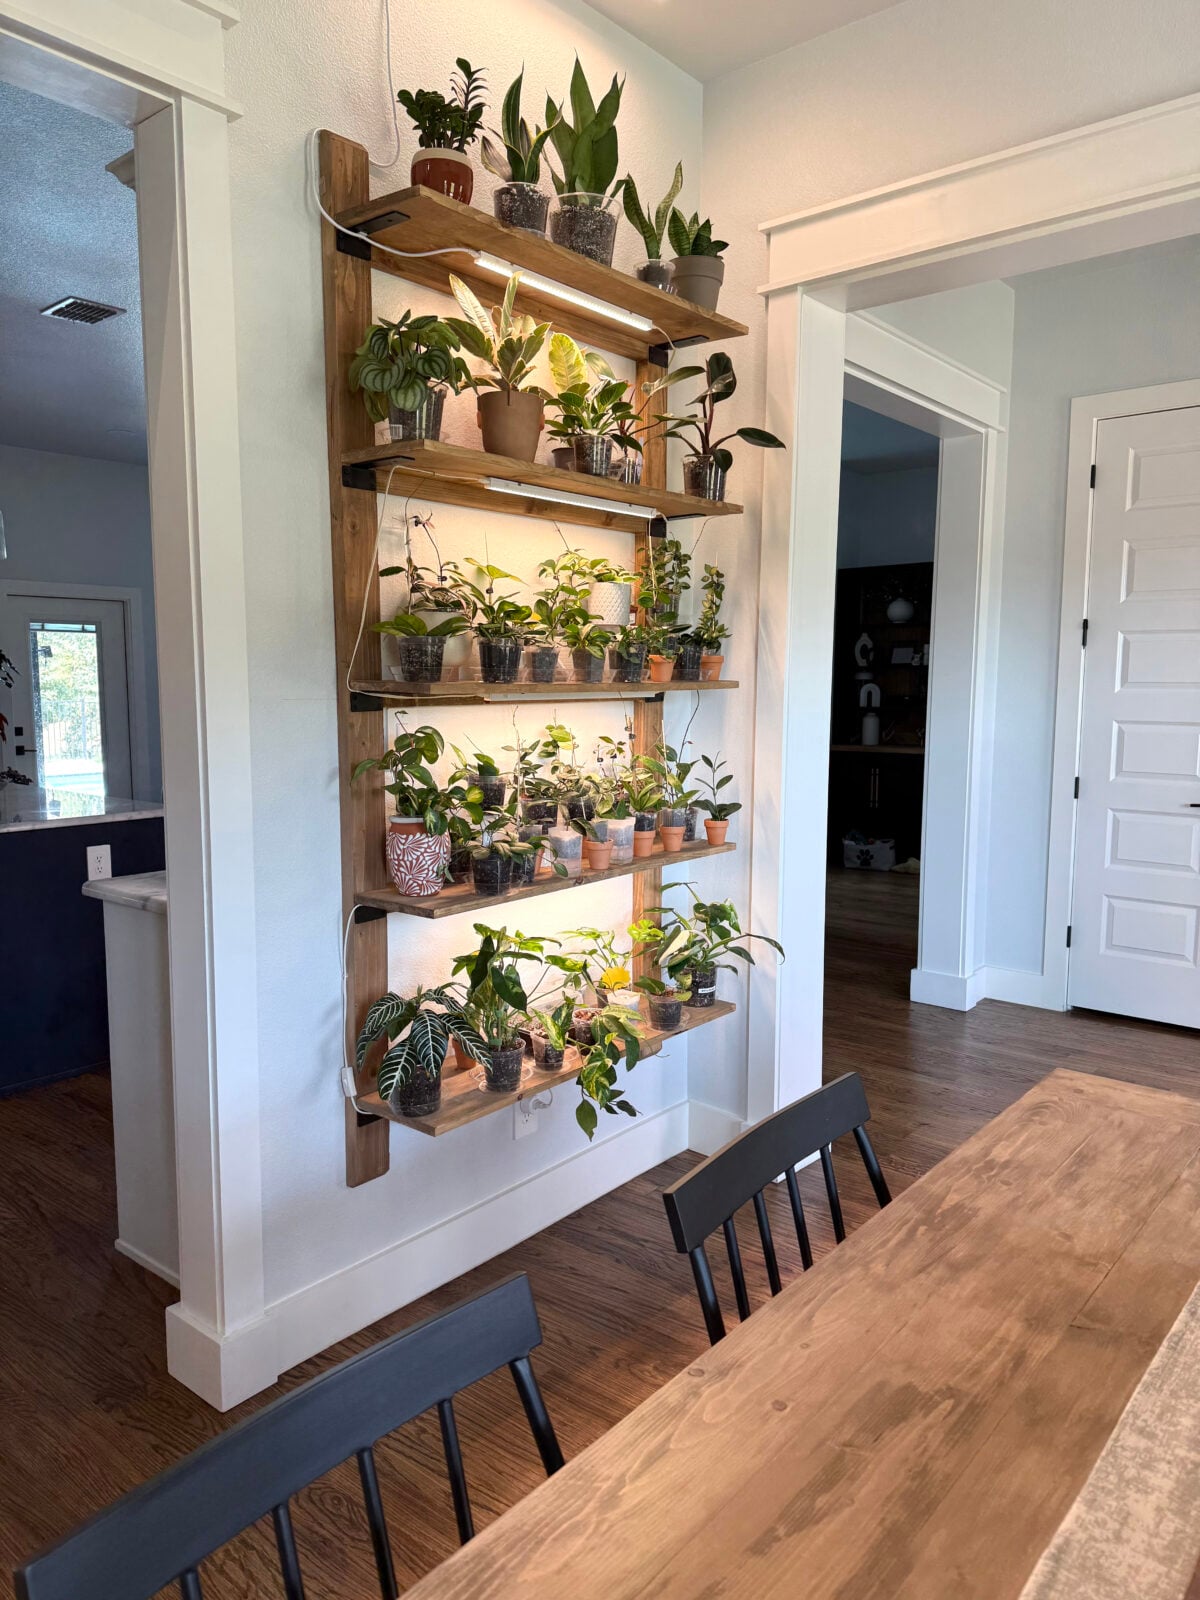
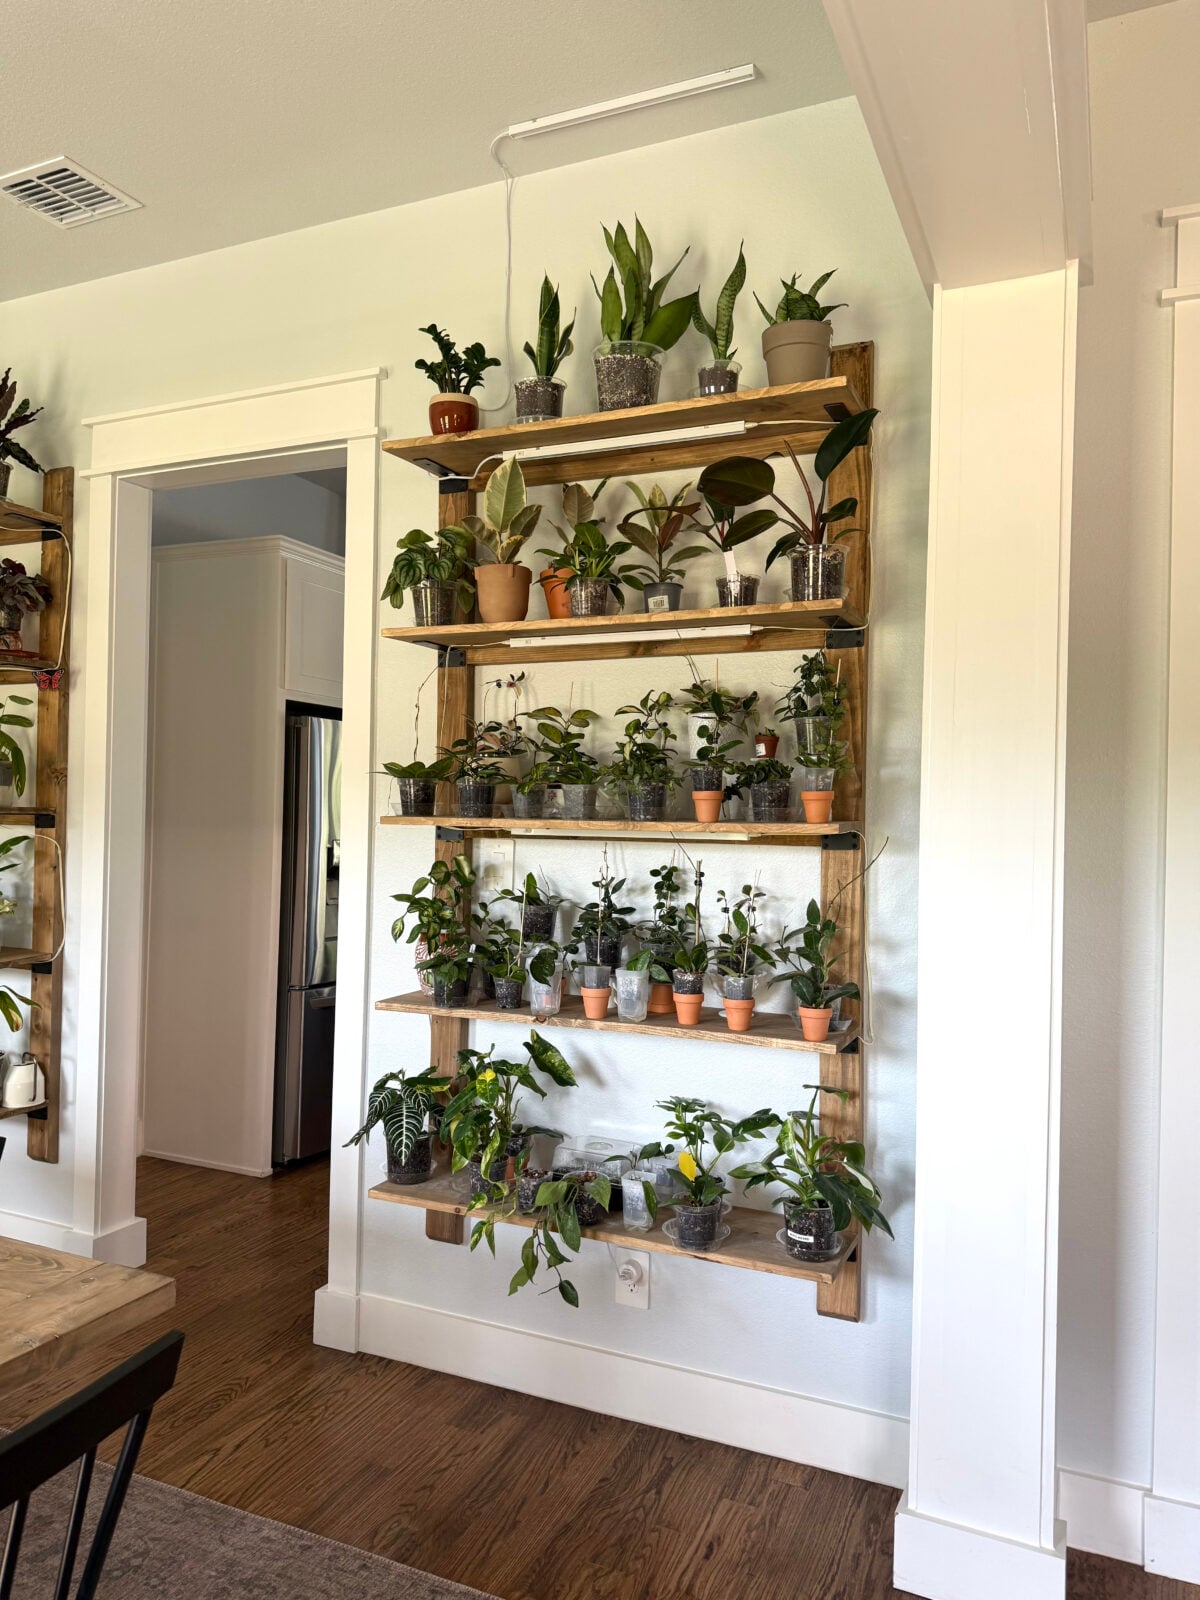
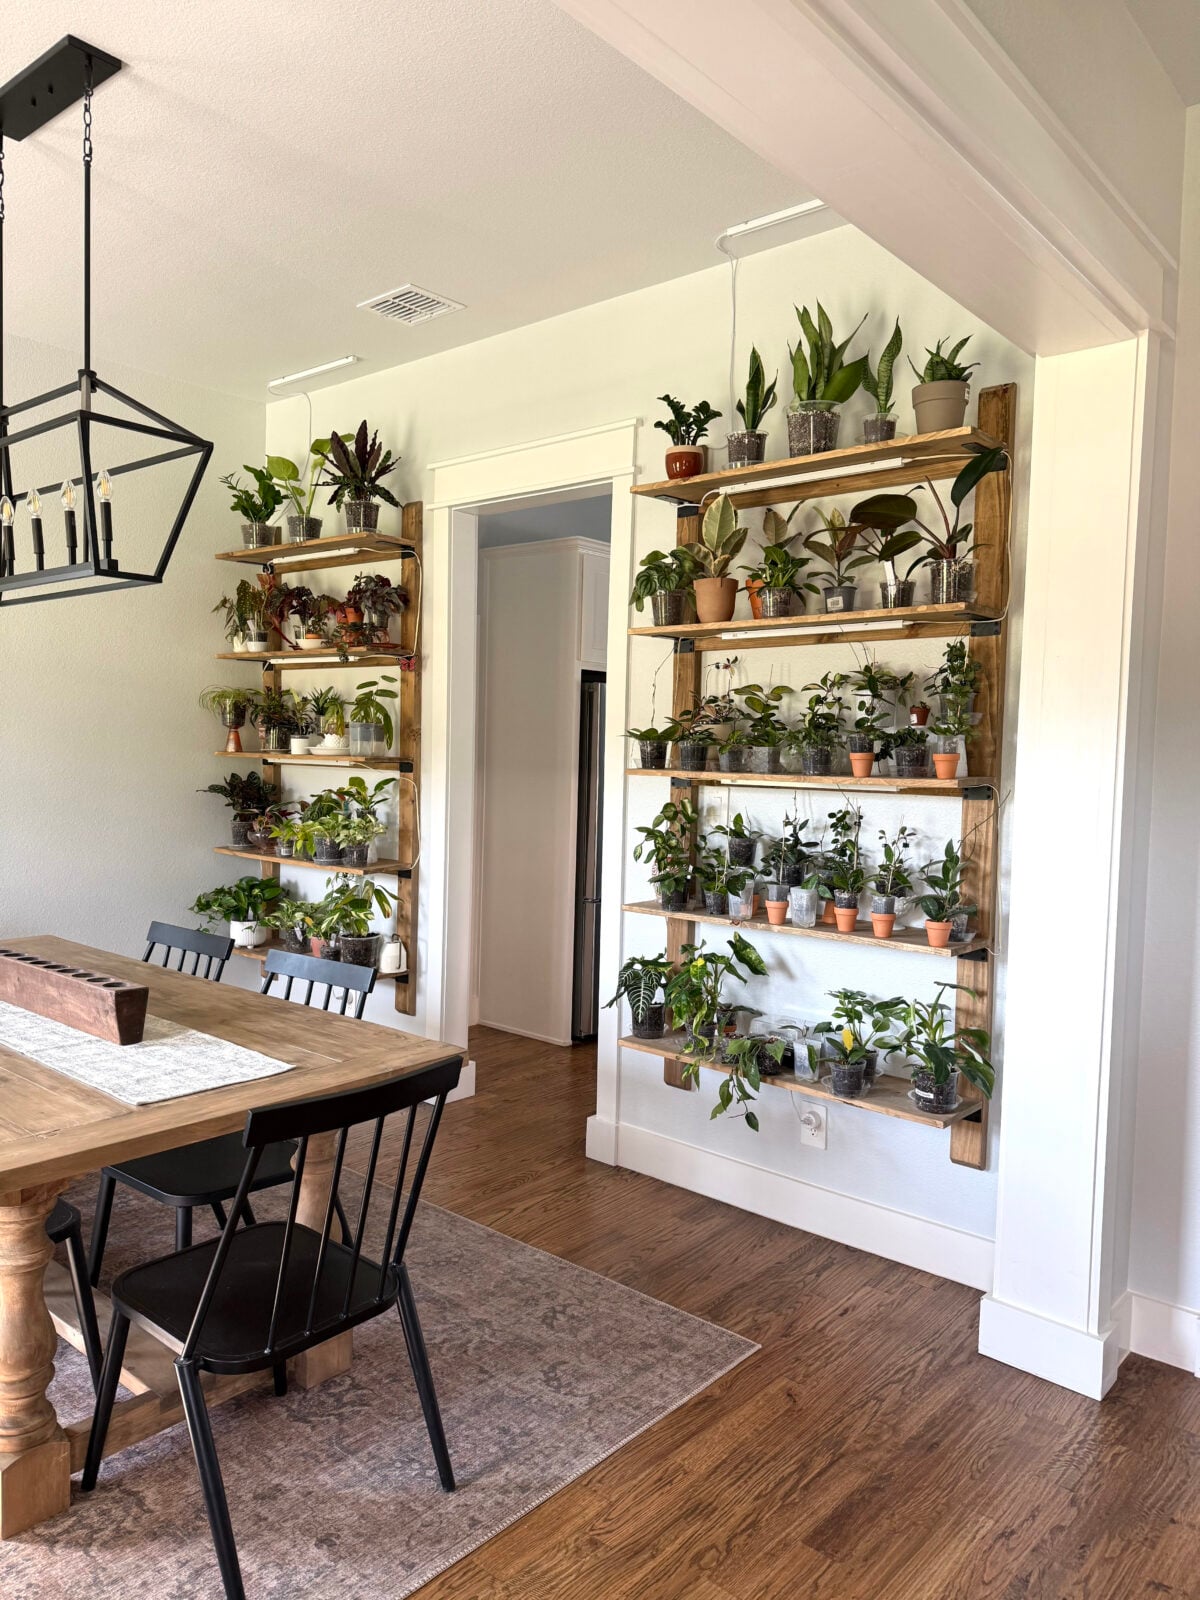
I started collecting houseplants about five months ago, and my collection quickly outgrew the few spots I had available. I needed a place to display them, so I built two matching DIY plant shelf units for each side of my dining room wall.
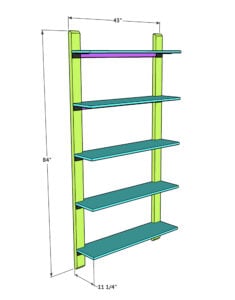
Each unit is 43 inches long and has five shelves, giving me so much room for my growing plant collection. I love how these shelves fill the wall while adding both storage and character to the room.
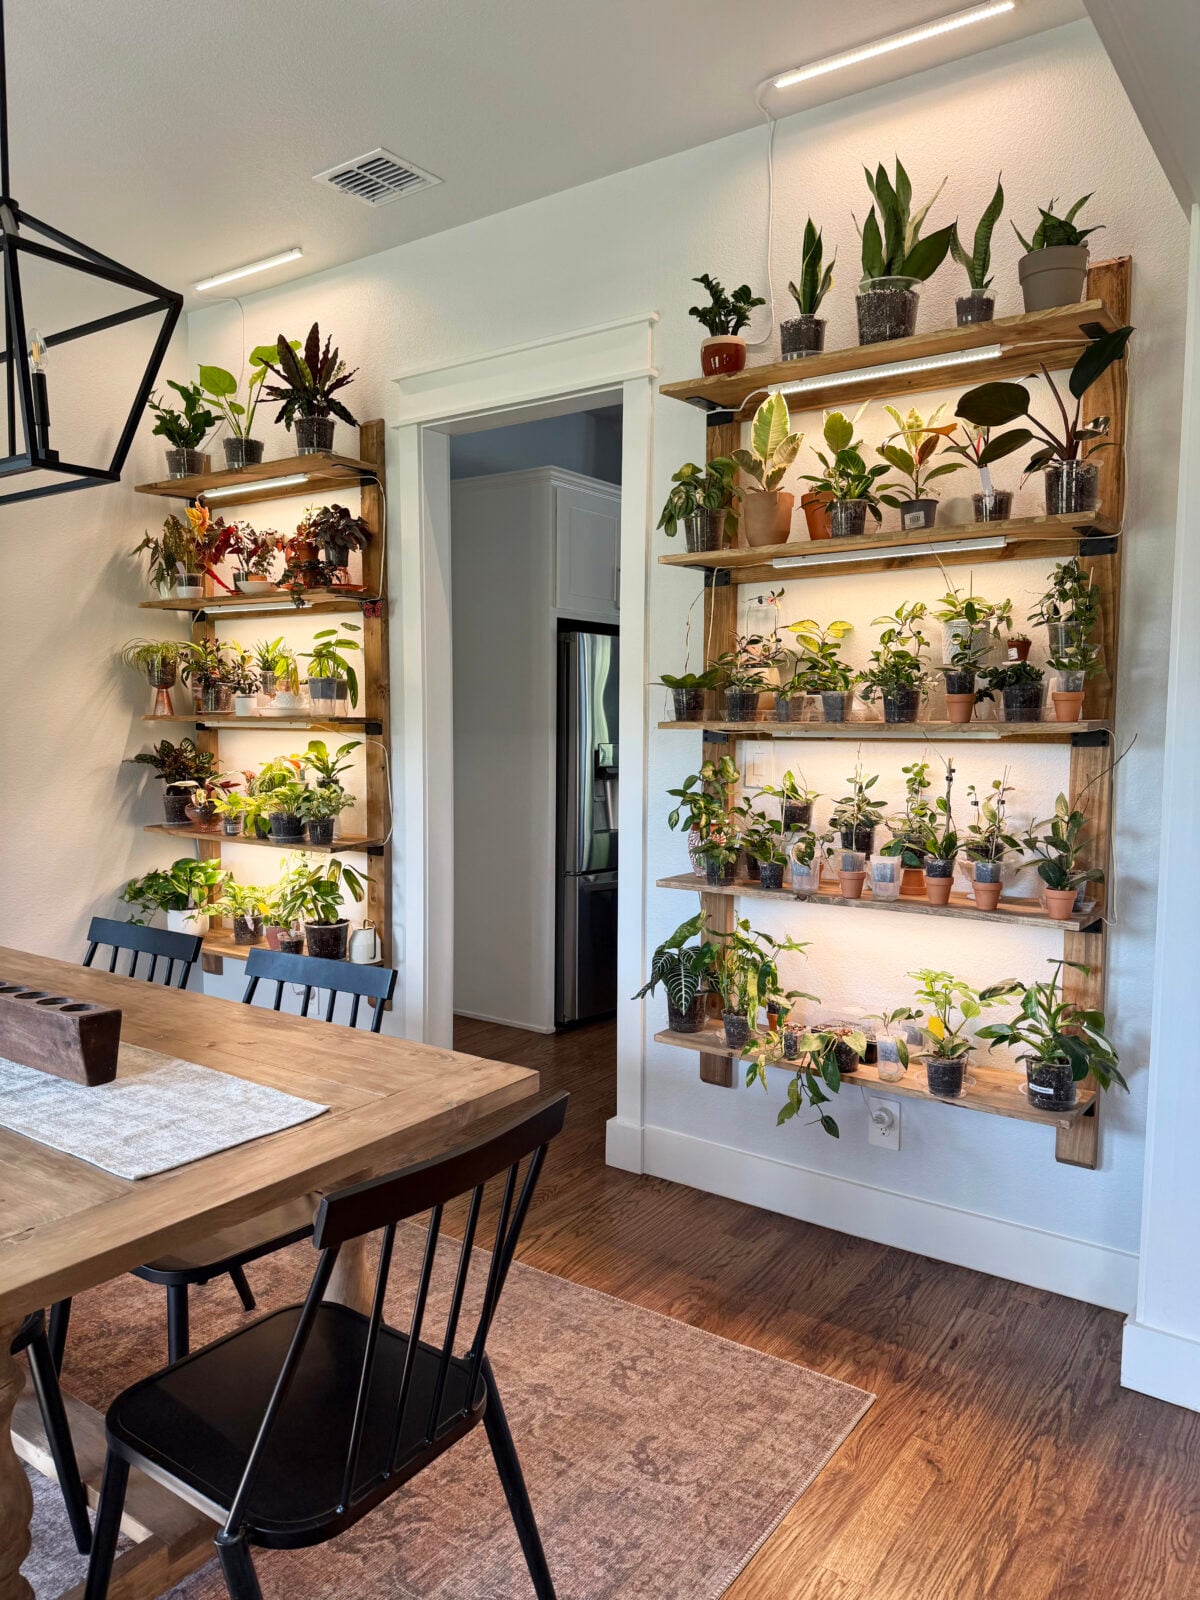
Table of Contents
DIY Wall-Mounted Plant Shelf
I designed these plant shelves to make use of the vertical space on an empty wall without taking up any floor space. I built two matching units, but you could build just one if you are working with a smaller space.
Each five-shelf unit costs about $150 to build. The finished shelves can also be used for books, plates, framed pictures, or other decor.
If you only need room for a few pots, our DIY wooden plant stand is another fun way to display houseplants.
Why I Love This Plant Shelf
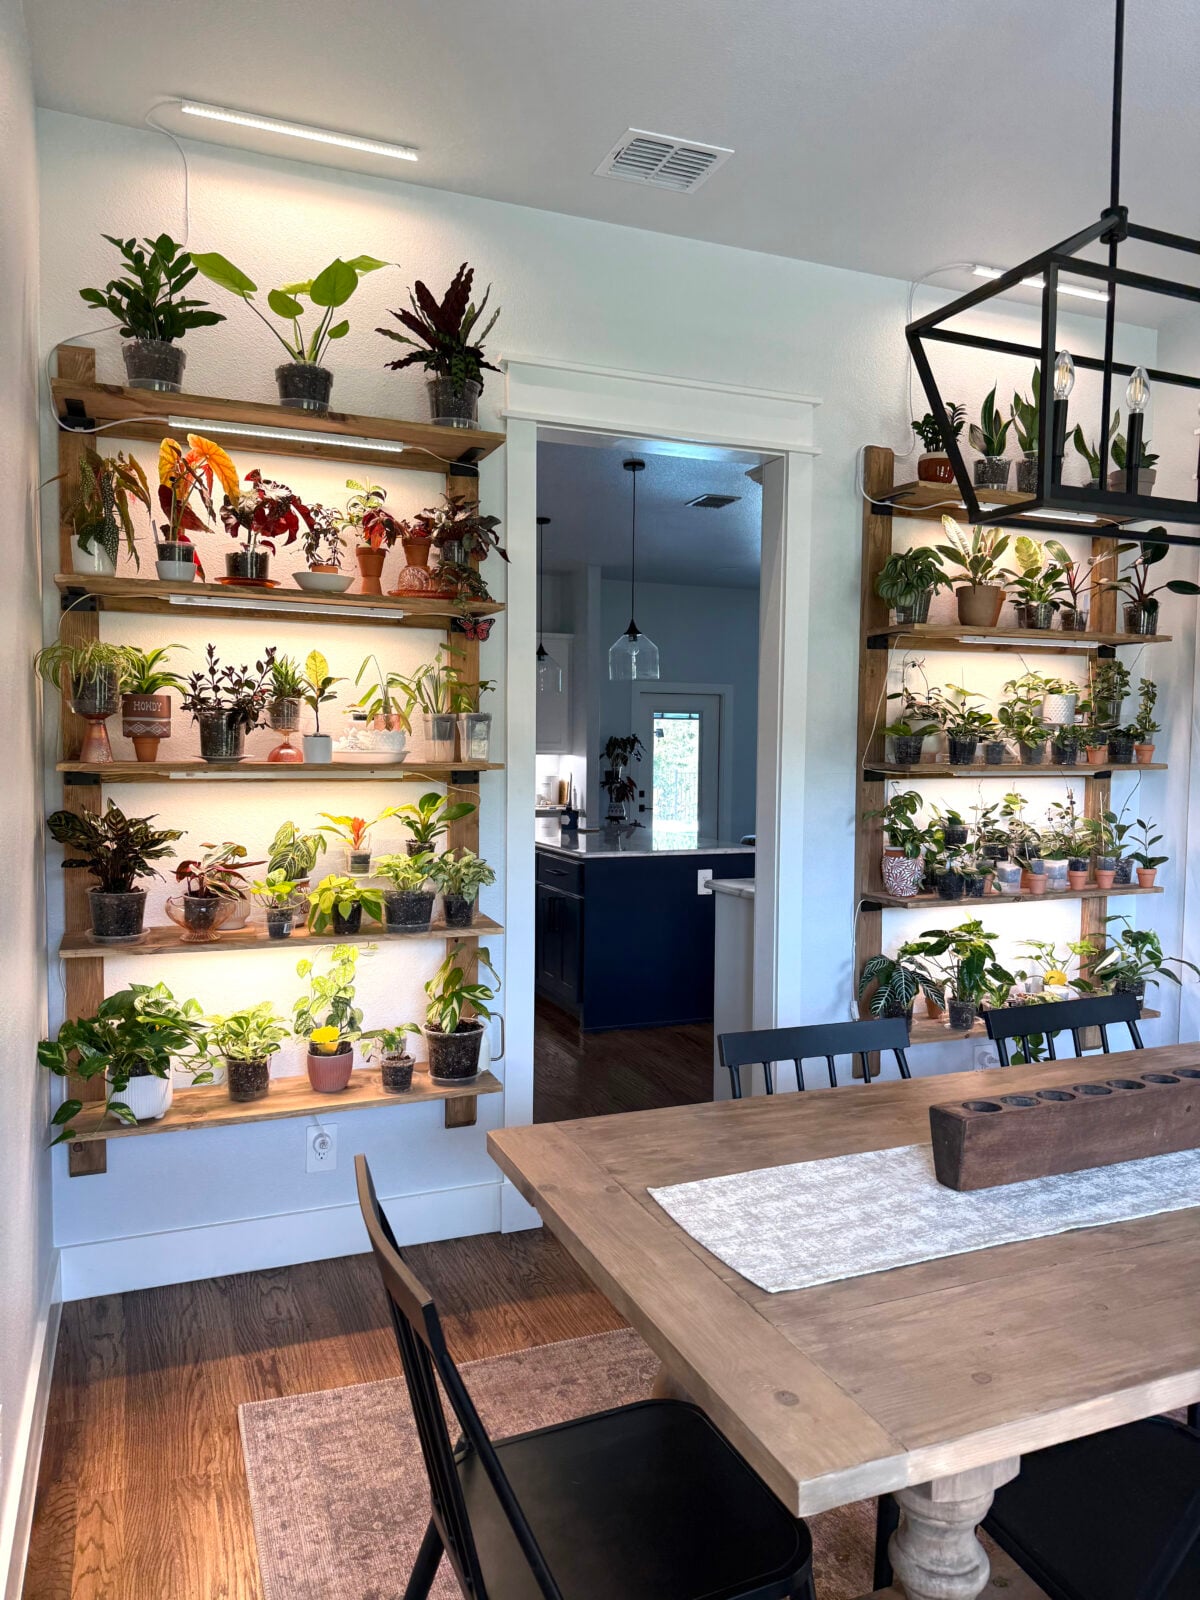
These shelves gave me the display space I needed while adding a custom feature to my dining room.
- Each shelving unit is 43 inches long.
- Five shelves provide lots of room for plants.
- The wall-mounted design keeps the floor open.
- One complete unit costs about $150 to build.
- The finish can be customized for your room.
- The shelves can hold plants, books, plates, or decor.
- Optional grow lights can be added underneath the shelves.
I built two matching units to balance the dining room wall. You could also build one as a stand-alone plant display or use several to fill a larger space.
Lumber and Supplies
The following lumber and supplies will build one 43-inch plant shelf unit with five shelves:
- 3 – 2x6x8 framing boards
- 3 – 1x12x8 common boards
- 10 – shelf brackets
- 2 1/2″ pocket-hole screws
- 3″ wood screws
- Wood glue
- 2″ brad nails (optional)
- Stain, paint, or another wood finish
The total cost for one shelving unit was about $150. Lumber and hardware prices will vary by location.
If you want to build two matching units like mine, double the lumber and hardware quantities.
I used the 2×6 framing boards to create the rails and cleats. The 1×12 common boards create wide shelves with room for several different plant and pot sizes.
Tools
- Kreg 20V Ionic Drive Drill
- Miter saw
- Kreg 720Pro Pocket-Hole Jig
- Kreg 20V Ionic Drive Jigsaw
- Kreg 20V Ionic Drive Sander
- Kreg Project Blocks
- Brad nailer (optional)
- Kreg Stud Finder
- Tape Measure
- Level
- Table saw (optional)
I used my table saw to rip the rounded factory edges from the 2×6 framing boards. This gave the rails and cleats cleaner, square edges, but the table saw is optional. You can leave the factory edges on the boards if you do not have one.
How to Build a DIY Plant Shelf
The complete plans and printable How-To Card are below, but I’ll walk you through the build first.
Click here to jump to the free printable plans.Cut the Rails
Cut the rails to size according to the plans.
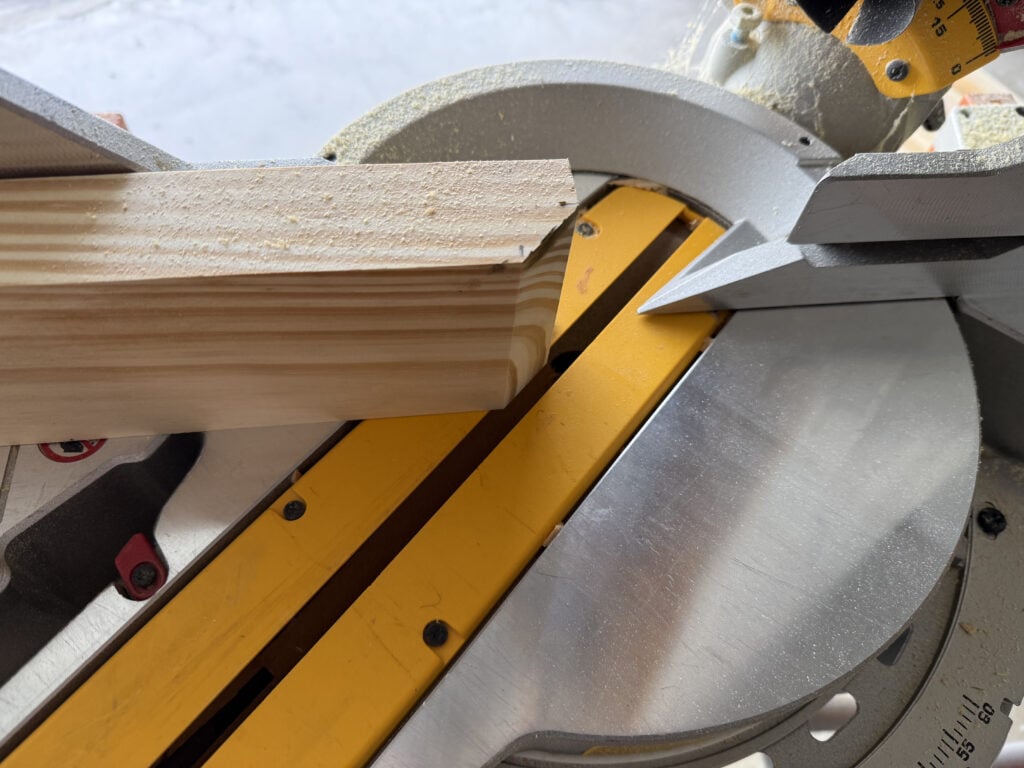
Use a miter saw to make a 45° cut across the top corner at each end of the rails. These angled cuts are decorative and are not structural.
Make sure the decorative cuts are positioned the same way on each rail so the sides match when the unit is assembled.
Cleats
Cut the cleats to size according to the plans. The cleats connect the rails and provide support beneath each of the five shelf boards.
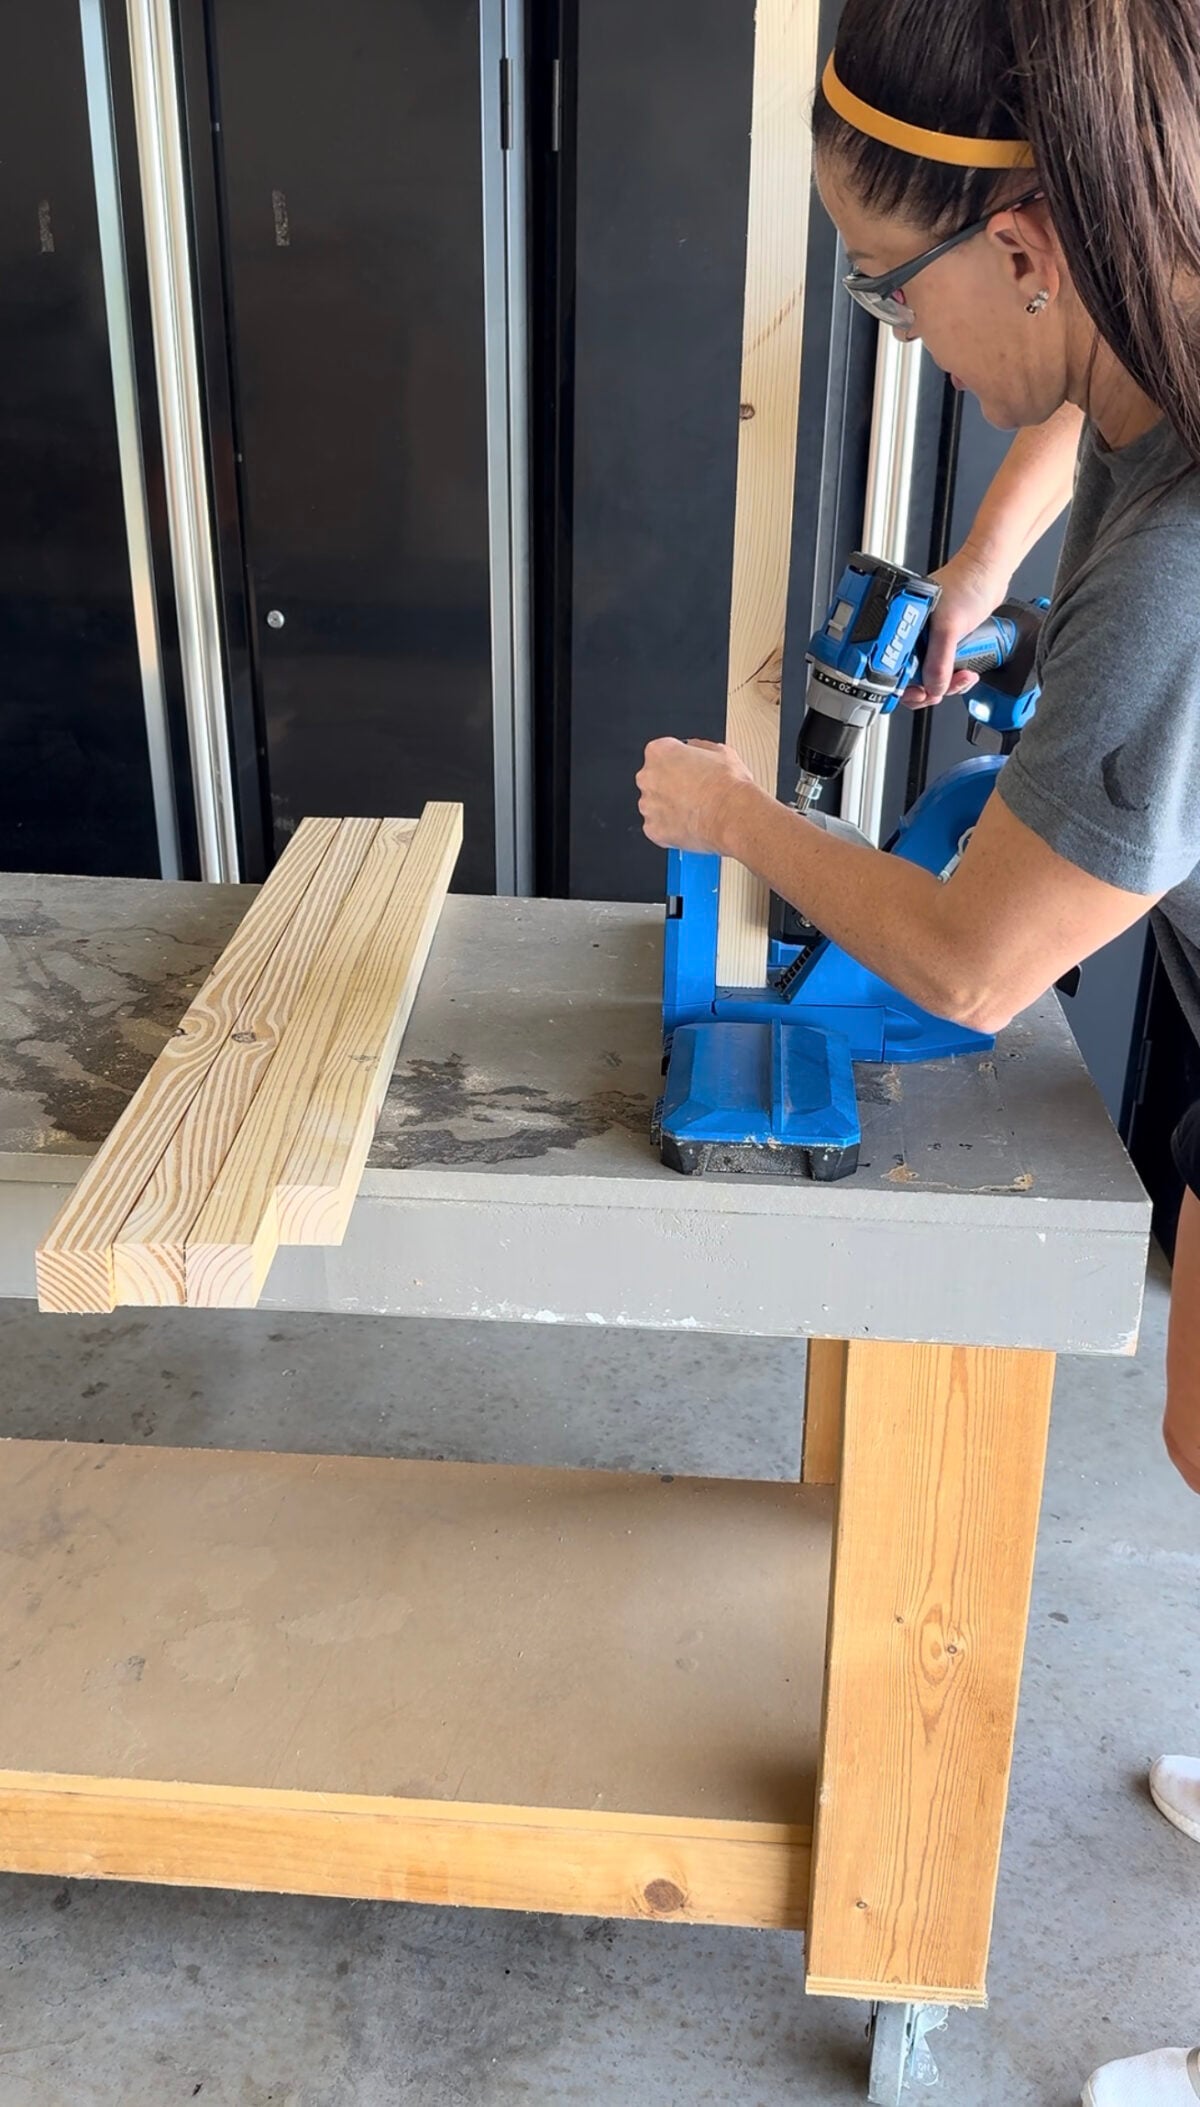
Set the Kreg 720Pro for 1 1/2-inch material.
Drill 1 1/2-inch pocket holes at both ends of each cleat. Position the holes so they will face the back of the finished shelving unit.
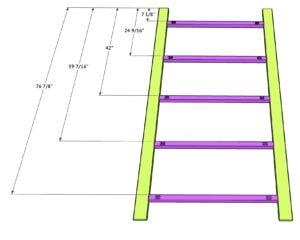
Assemble the Rails and Cleats
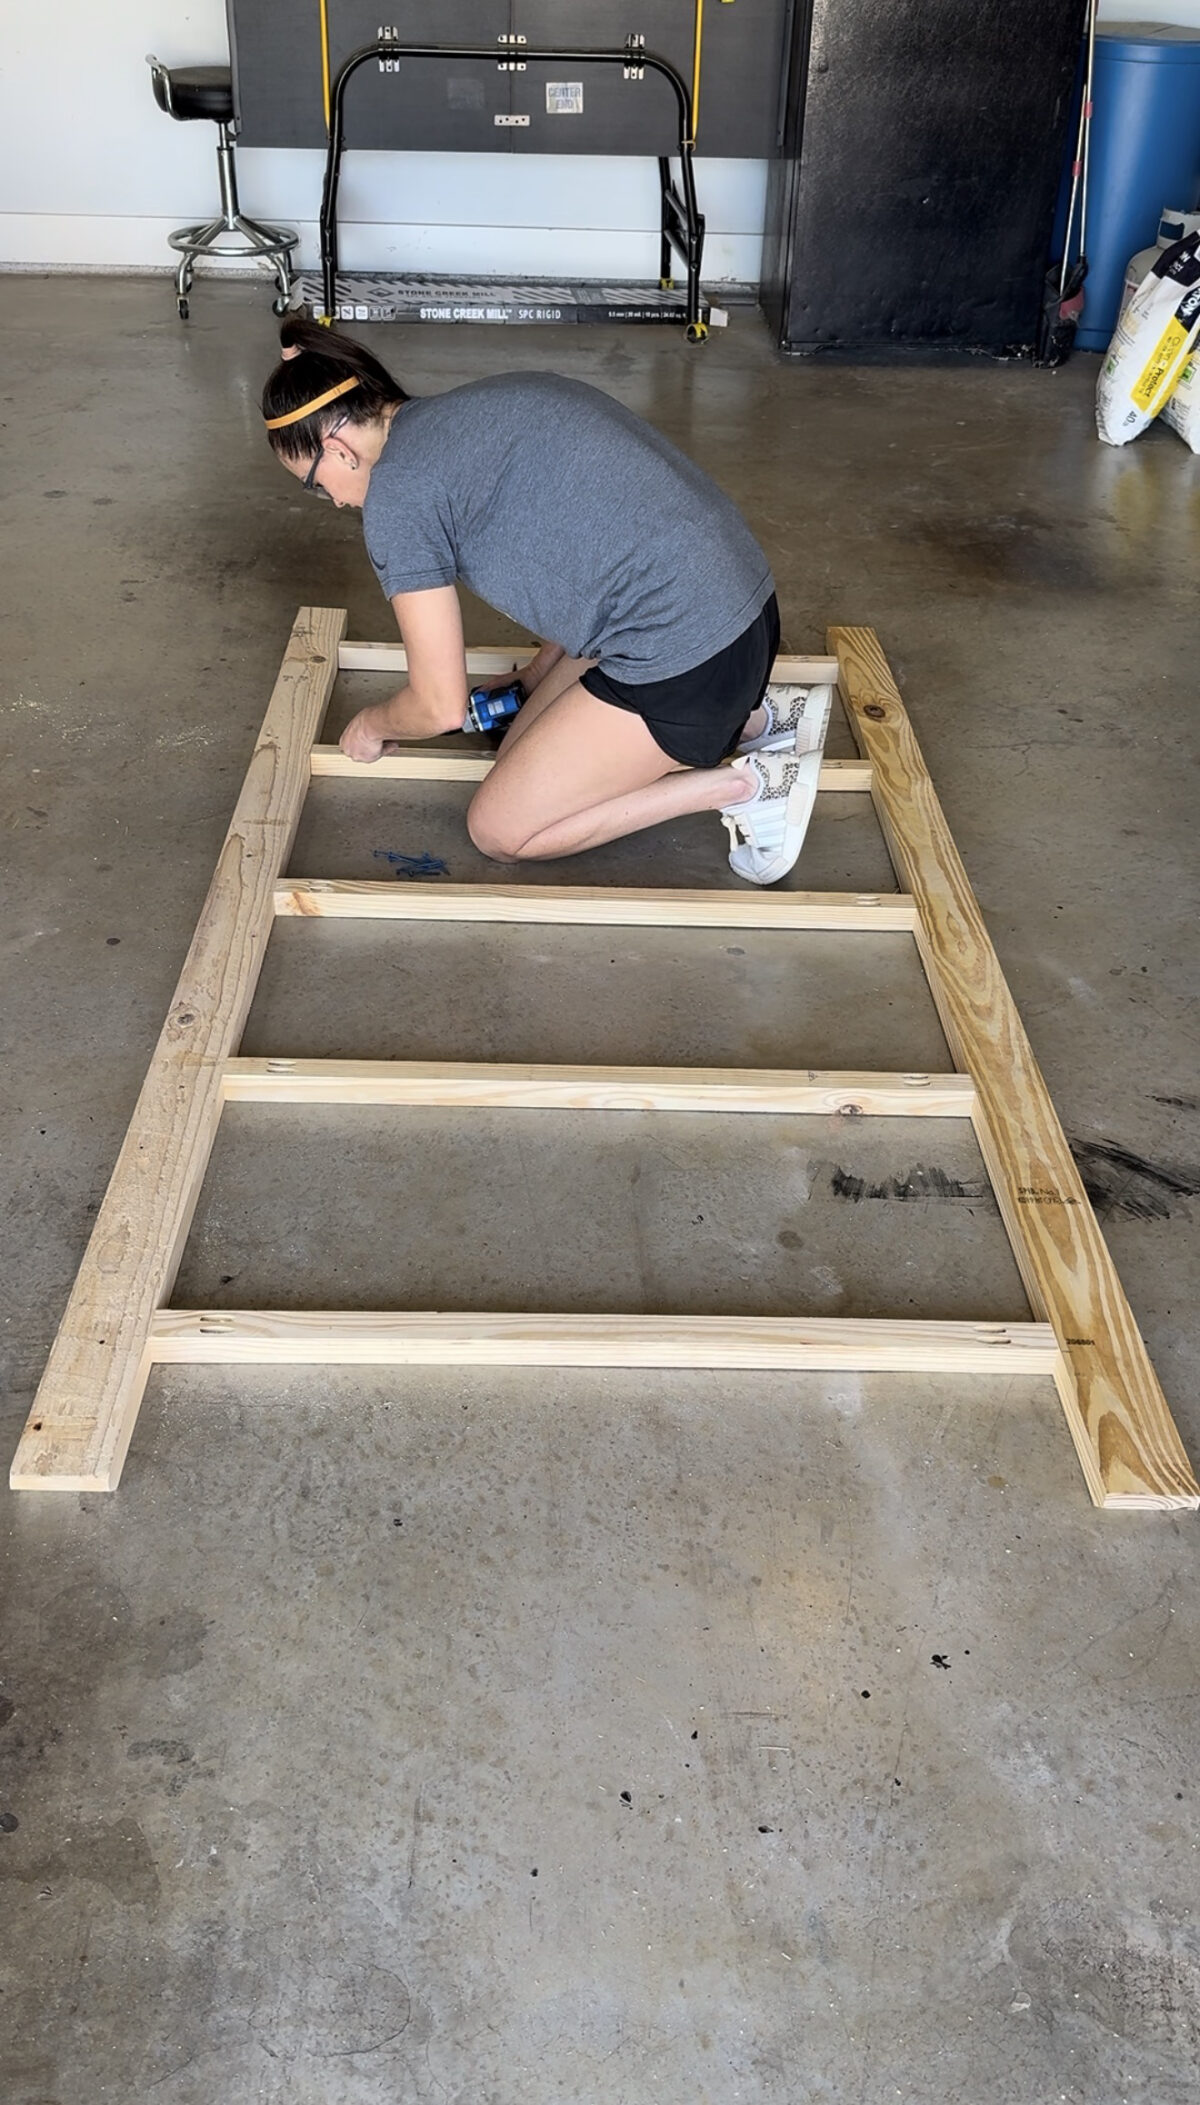
Lay the rails on your work surface with the decorative 45° cuts facing down and the pocket holes facing up for assembly.
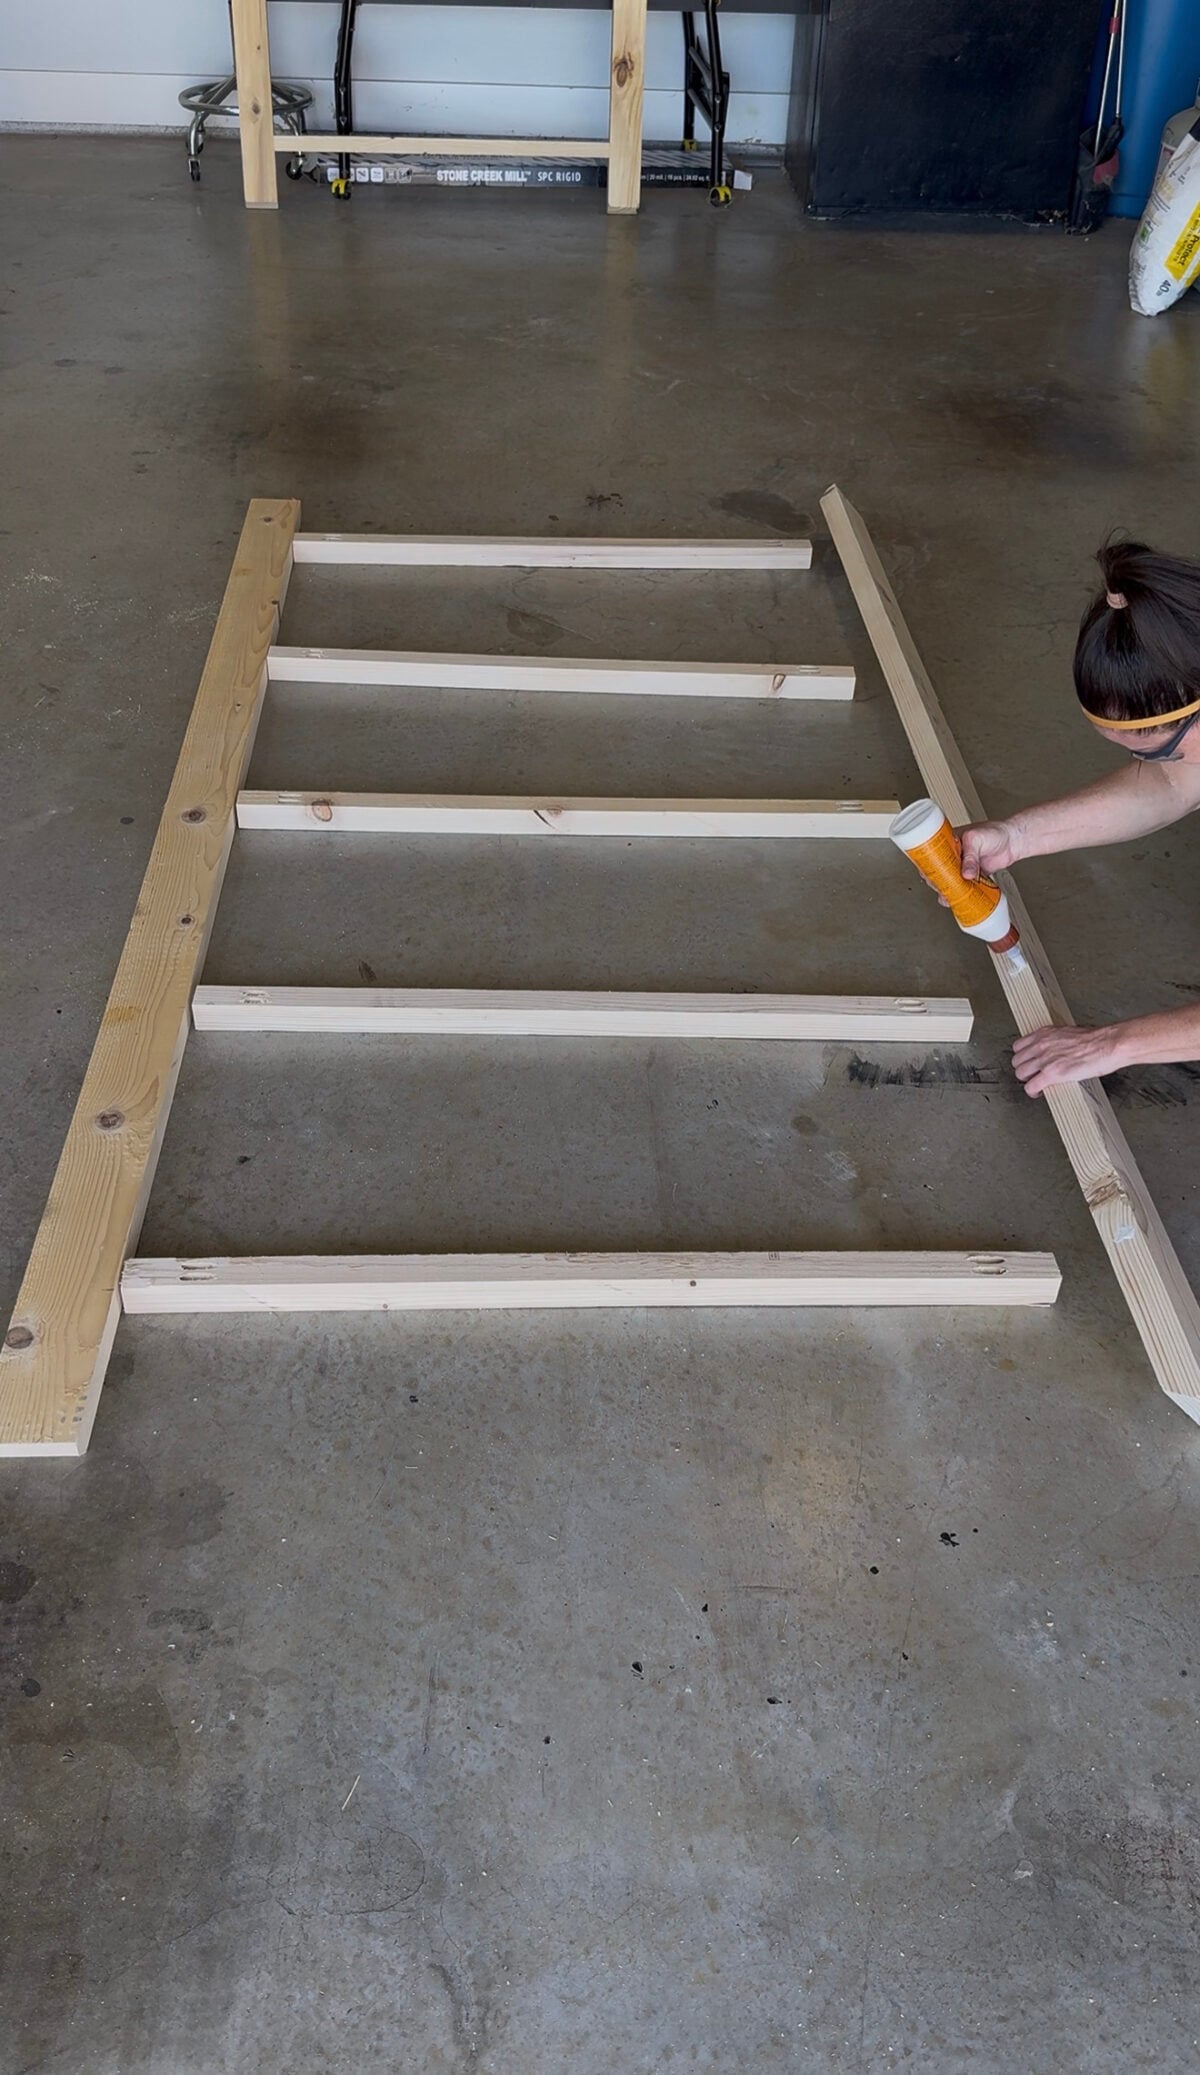
Apply wood glue to both ends of each cleat. Position the cleats between the rails and attach them with 2 1/2-inch pocket-hole screws.
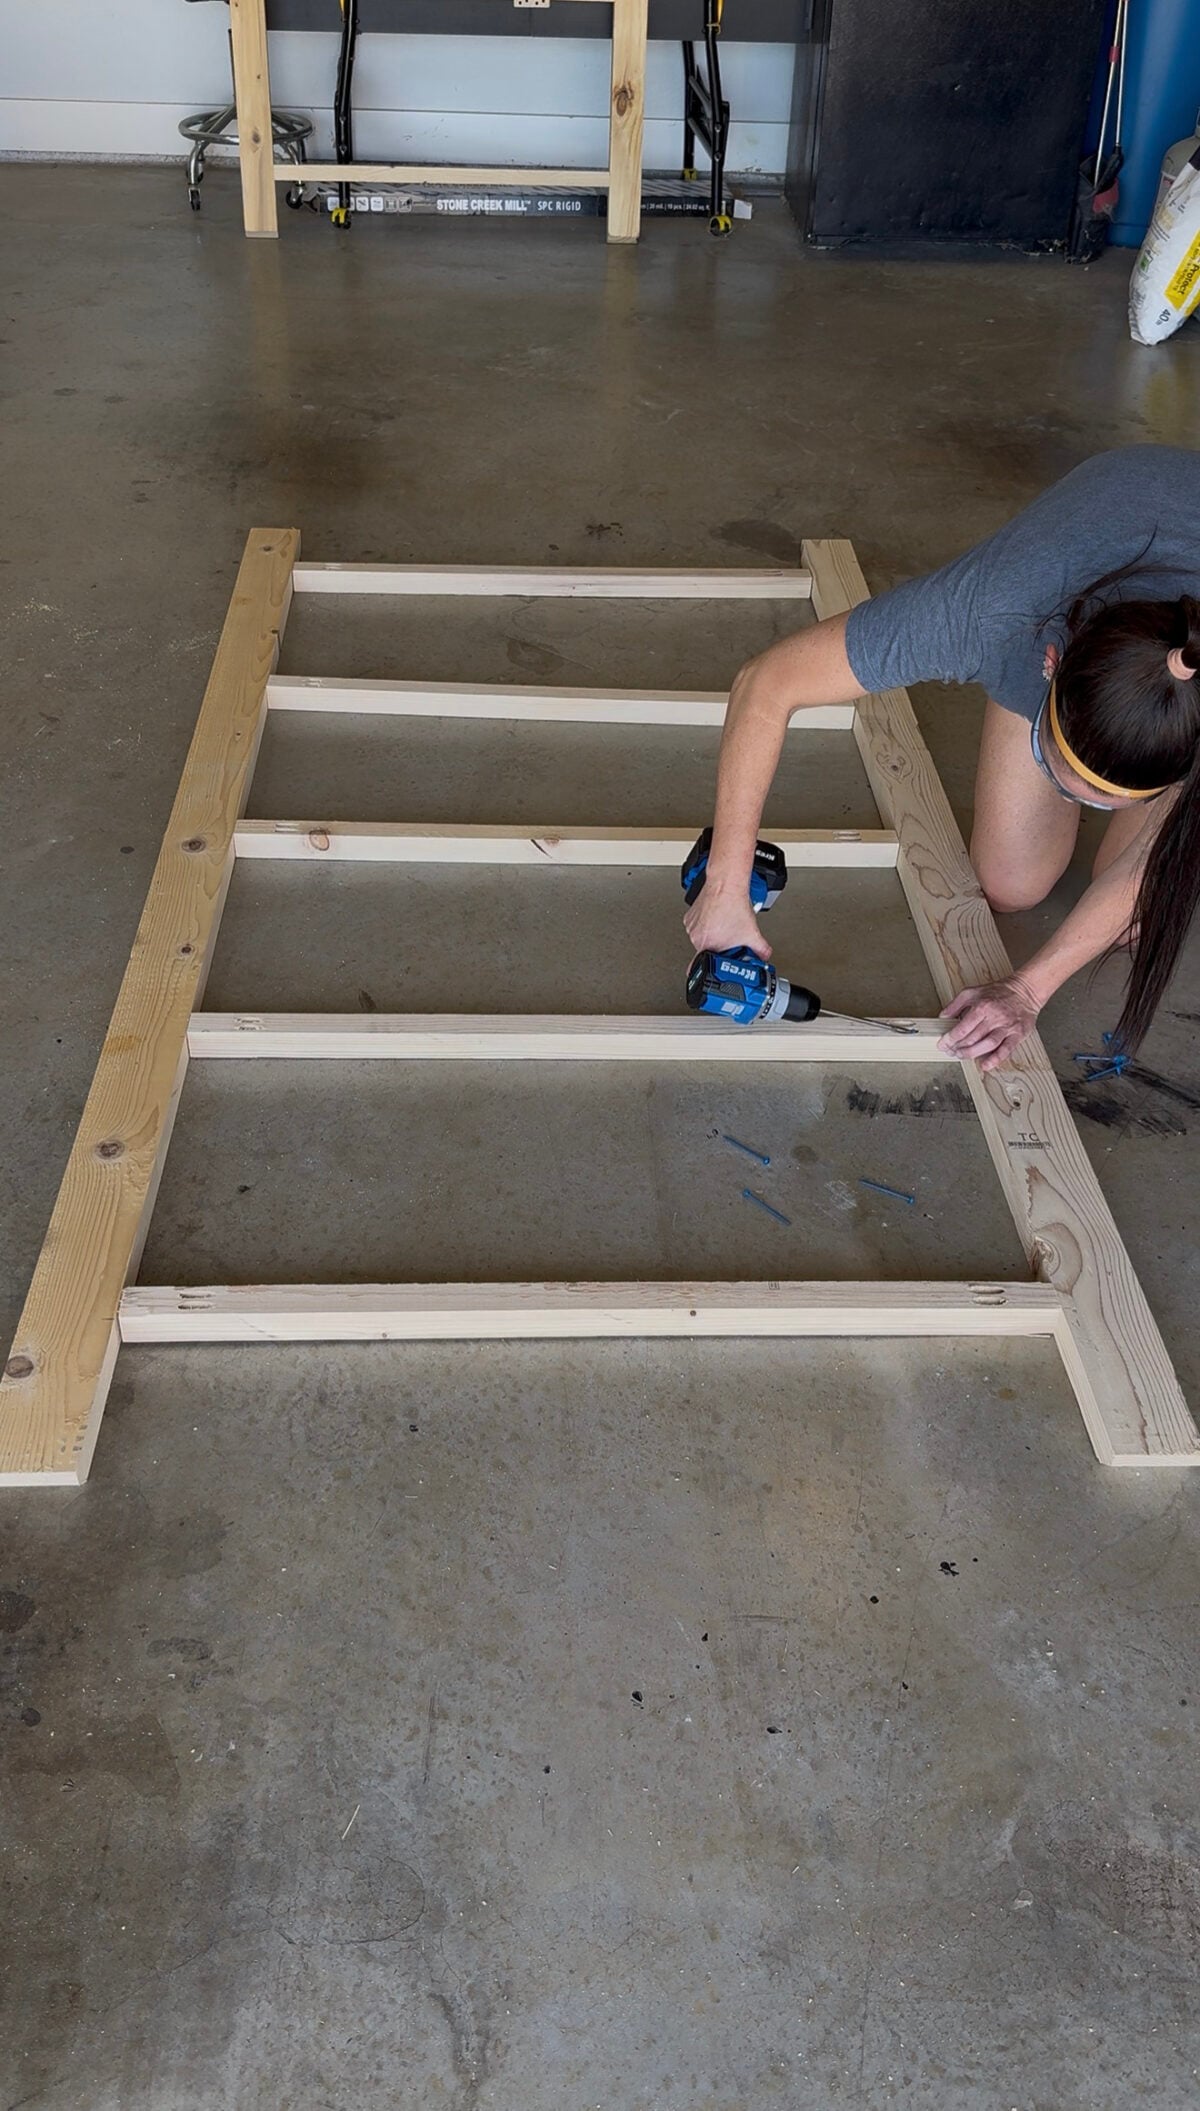
Check the assembly for square as you work. It is much easier to make small adjustments before all of the screws are driven.
Repeat the process if you are building two matching plant shelf units.
Make The Shelf Boards
Cut five shelf pieces to size from the 1×12 common boards. I like to test the first shelf against the assembled frame before cutting all five pieces. The actual width of dimensional lumber can vary slightly, so this gives you a chance to confirm the fit.
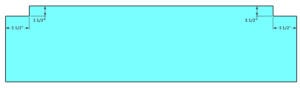
Mark the back corners of each shelf where they will fit around the rails. I used a scrap piece from one of the rails I cut down to mark for this cut.
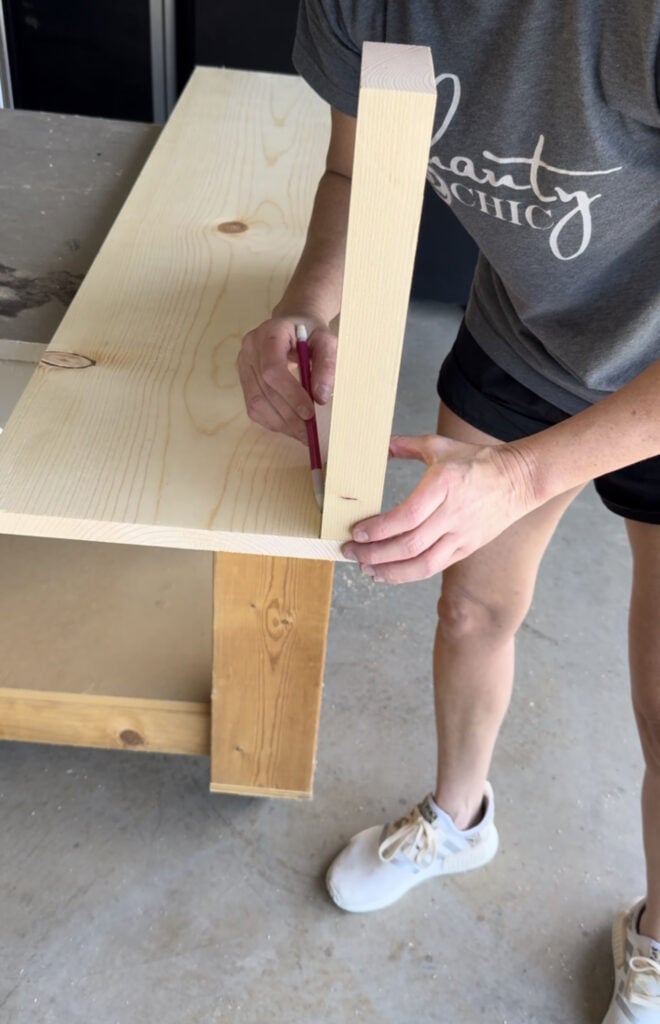
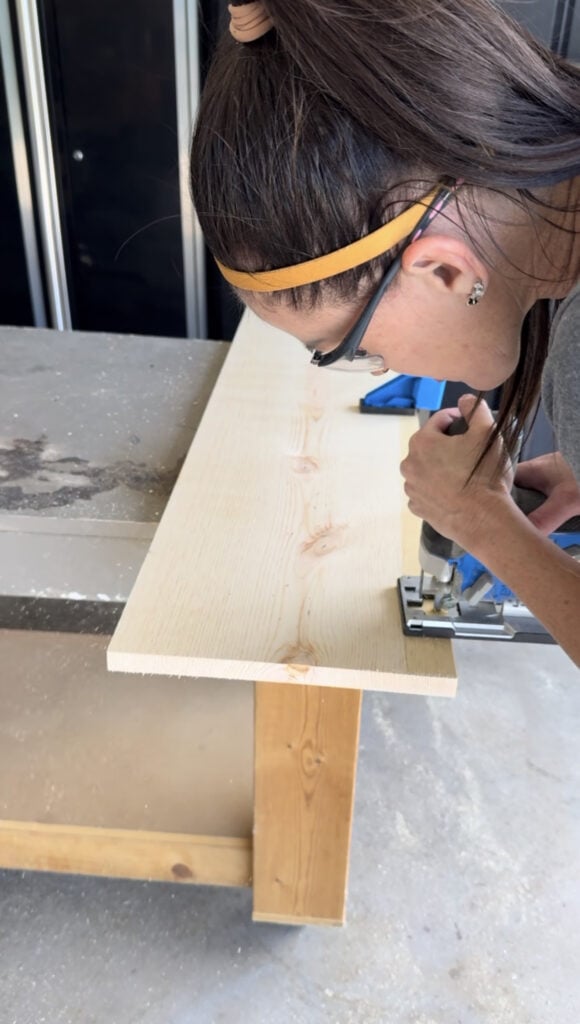
Use a jigsaw to notch both back corners of every shelf. Test-fit each board on the frame and make any small adjustments necessary for a clean fit.
Trim a little at a time if a notch is too tight. Each shelf should fit around the rails and sit flat on top of its cleats.
Sand and Finish the Wood
Sand the rails, cleats, and shelf boards before mounting the unit.
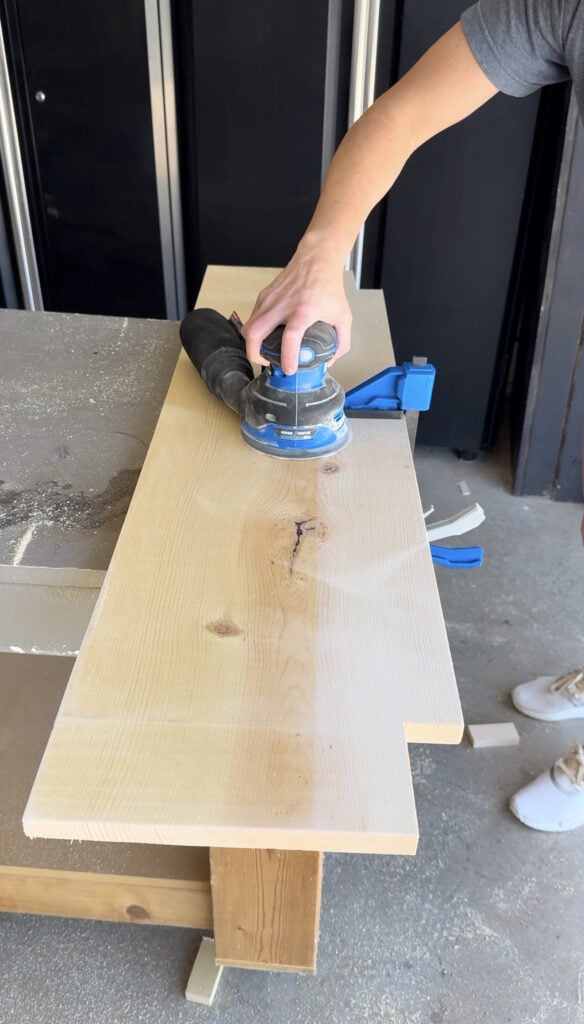
Remove the sanding dust, then apply the stain, paint, or finish of your choice. Finishing the wood now makes it easier to reach the inside edges, the undersides of the shelves, and the areas around the cleats.
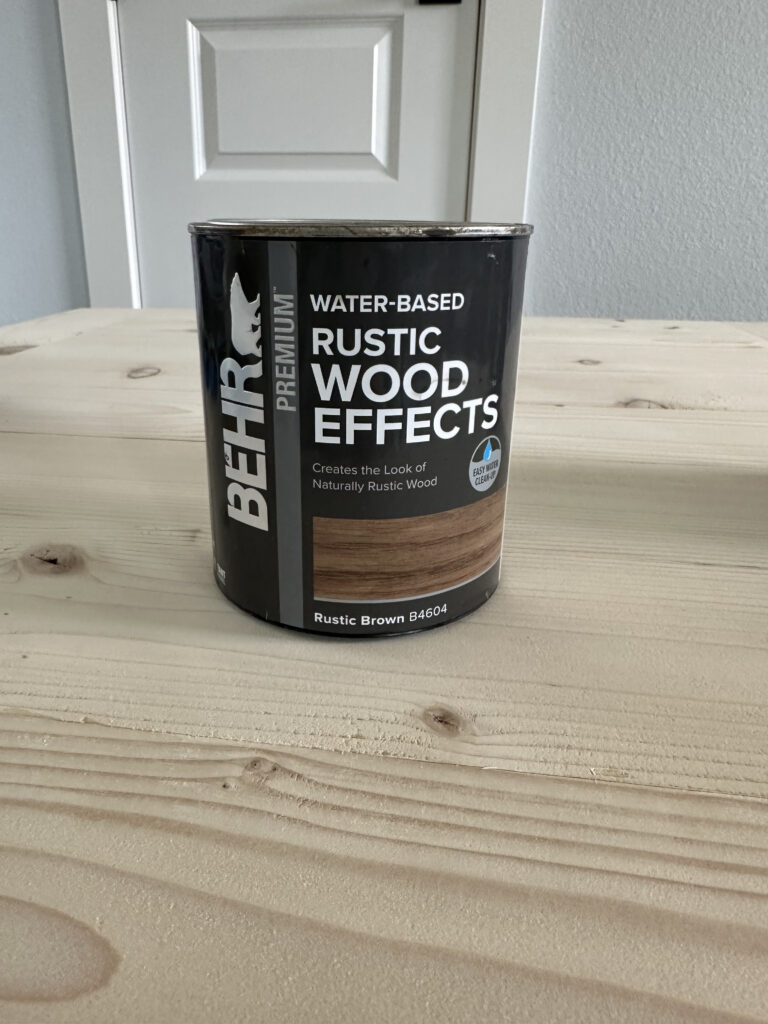
Remove the sanding dust, then apply the stain, paint, or finish of your choice. Finishing the wood now makes it easier to reach the inside edges, the undersides of the shelves, and the areas around the cleats.
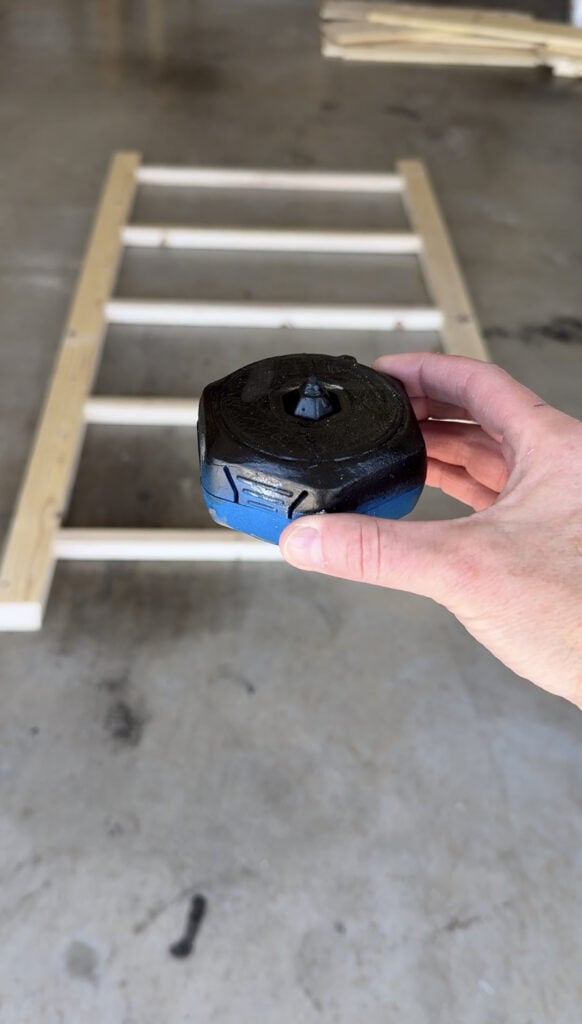
I used my Kreg Project Blocks to prop the shelf off of the ground to stain.
I put one project block under each rail at the top and bottom. The project blocks are one of my most use shop accessories!
Allow the finish to dry completely before mounting the assembly to the wall.
Sand and Finish the Wood
Sand the rails, cleats, and shelf boards before mounting the unit.
Remove the sanding dust, then apply the stain, paint, or finish of your choice. Finishing the wood now makes it easier to reach the inside edges, the undersides of the shelves, and the areas around the cleats.
Remove the sanding dust, then apply the stain, paint, or finish of your choice. Finishing the wood now makes it easier to reach the inside edges, the undersides of the shelves, and the areas around the cleats.
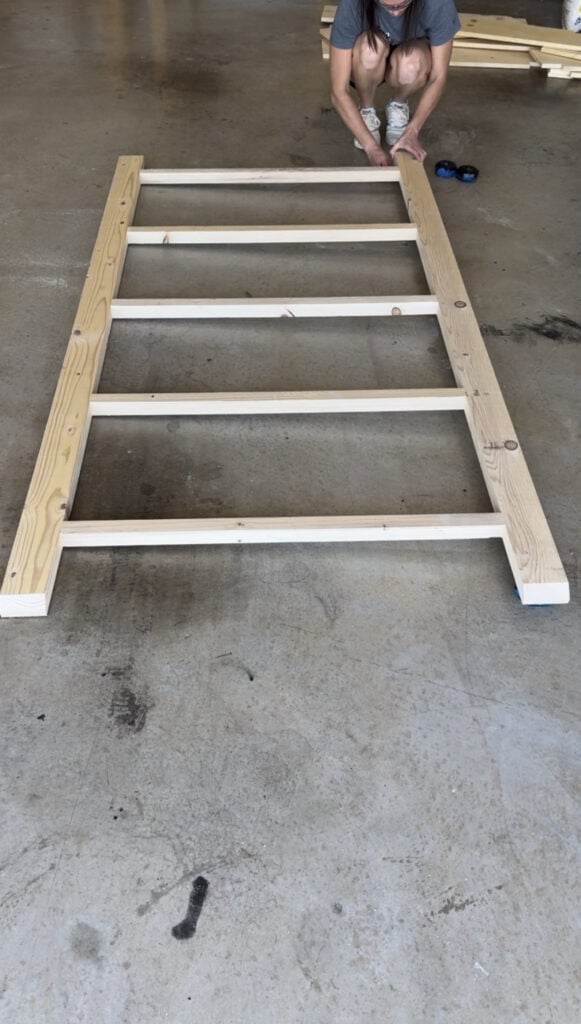
I used my Kreg Project Blocks to prop the shelf off of the ground to stain.
I put one project block under each rail at the top and bottom. The project blocks are one of my most use shop accessories!
Allow the finish to dry completely before mounting the assembly to the wall.
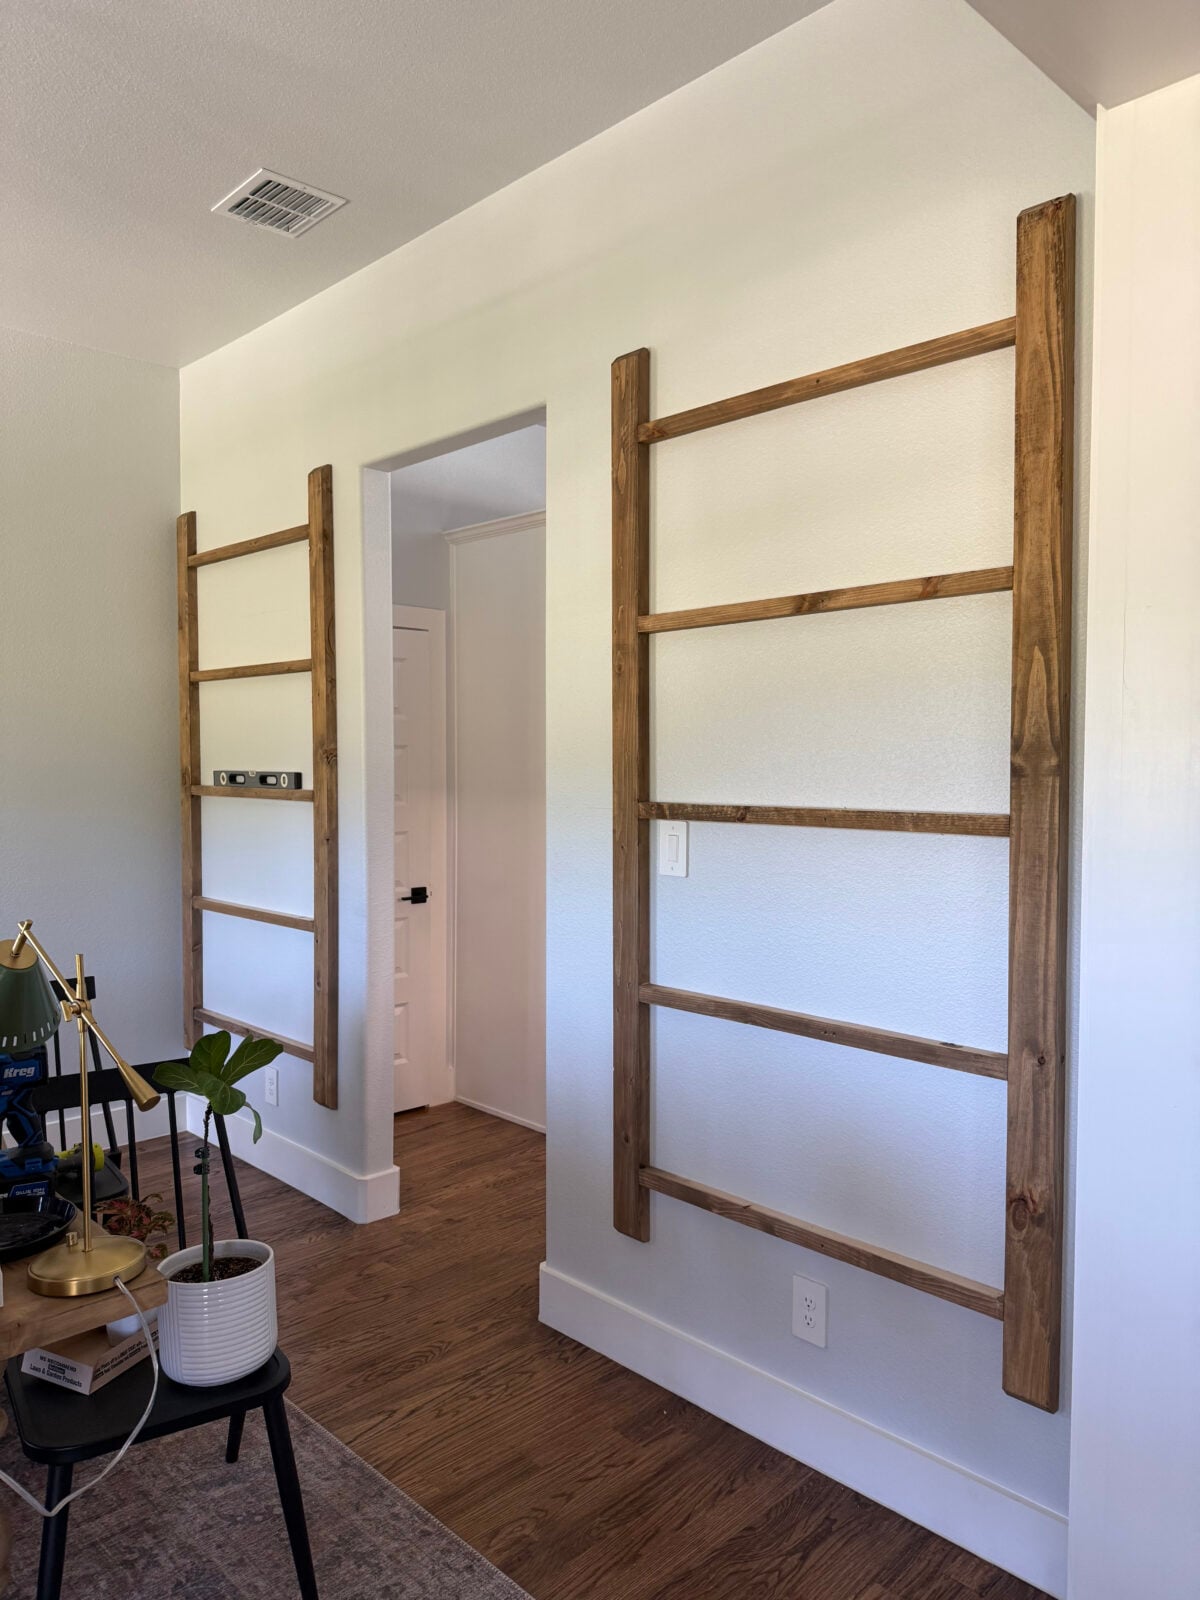
Mount the Assembly
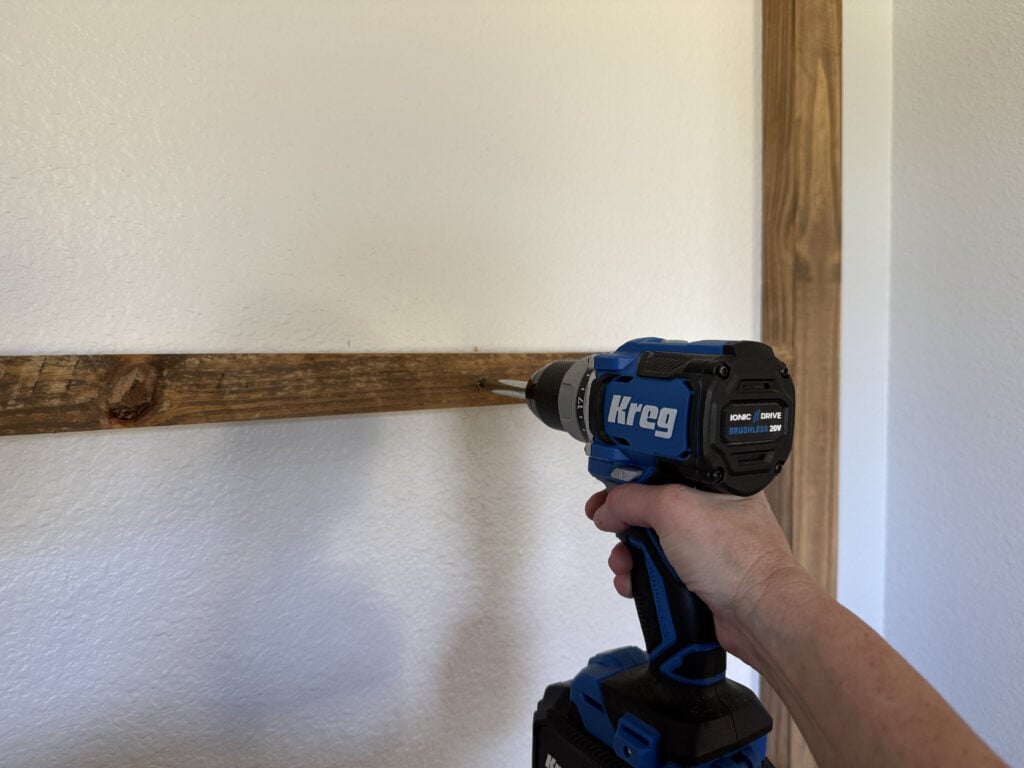
Once the finish is dry, attach the rail and cleat assembly securely to the wall. I used a stud finder to mark where each stud was located behind the wall. Then, I drilled a 3″ wood screw from the cleats into the stud. I hit 2 studs on every cleat.
Check the placement and make sure the entire assembly is level before attaching it. Use mounting hardware that is appropriate for your wall construction and the combined weight of the shelves and anything you plan to display on them.
This assembly is large, so an extra set of hands will help hold it in place while it is being mounted.
For another way to add open storage to a dining room, check out our DIY floating shelves for the dining room.
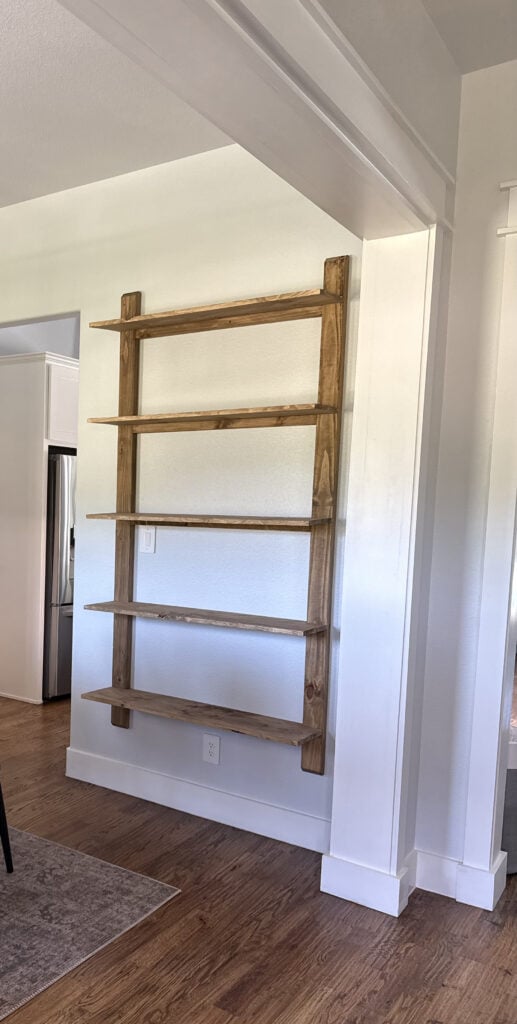
Attach the Shelves
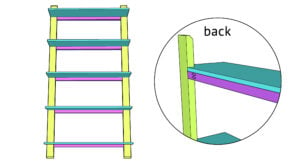
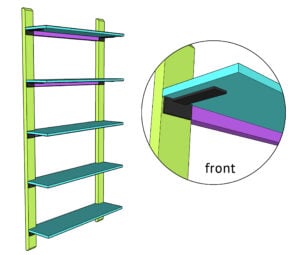
Place one shelf board on top of each set of cleats. Check that each shelf is seated correctly, level, and fitted around the back rails.
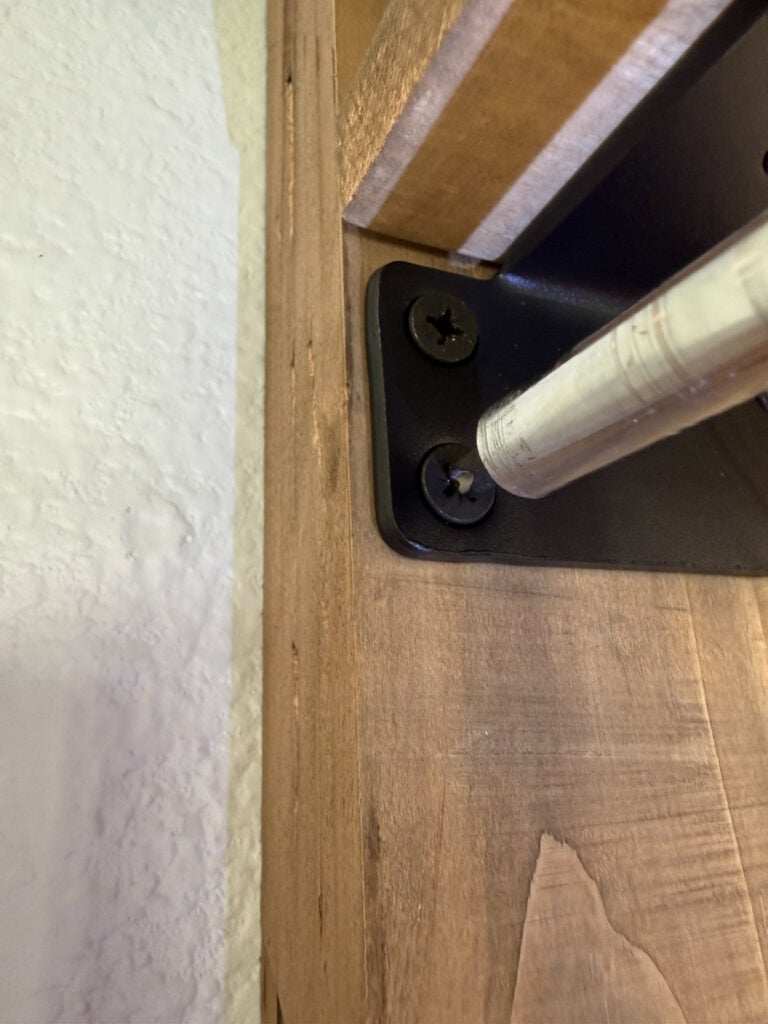
I used 2″ brad nails to temporarily hold each shelf in place on the cleats. The brad nails are not the structural support for the shelves. Once each shelf is positioned and secure, install a shelf bracket underneath each end.
Follow the manufacturer’s instructions for installing the brackets.
Optional Plant Grow Lights
I added Barrina T5 grow lights underneath my shelves to provide additional light for my houseplants. This step is completely optional and is not part of the shelf construction.
The slim lights fit neatly underneath the shelf boards. I clipped the cords along the wood to keep them organized and hidden as much as possible.
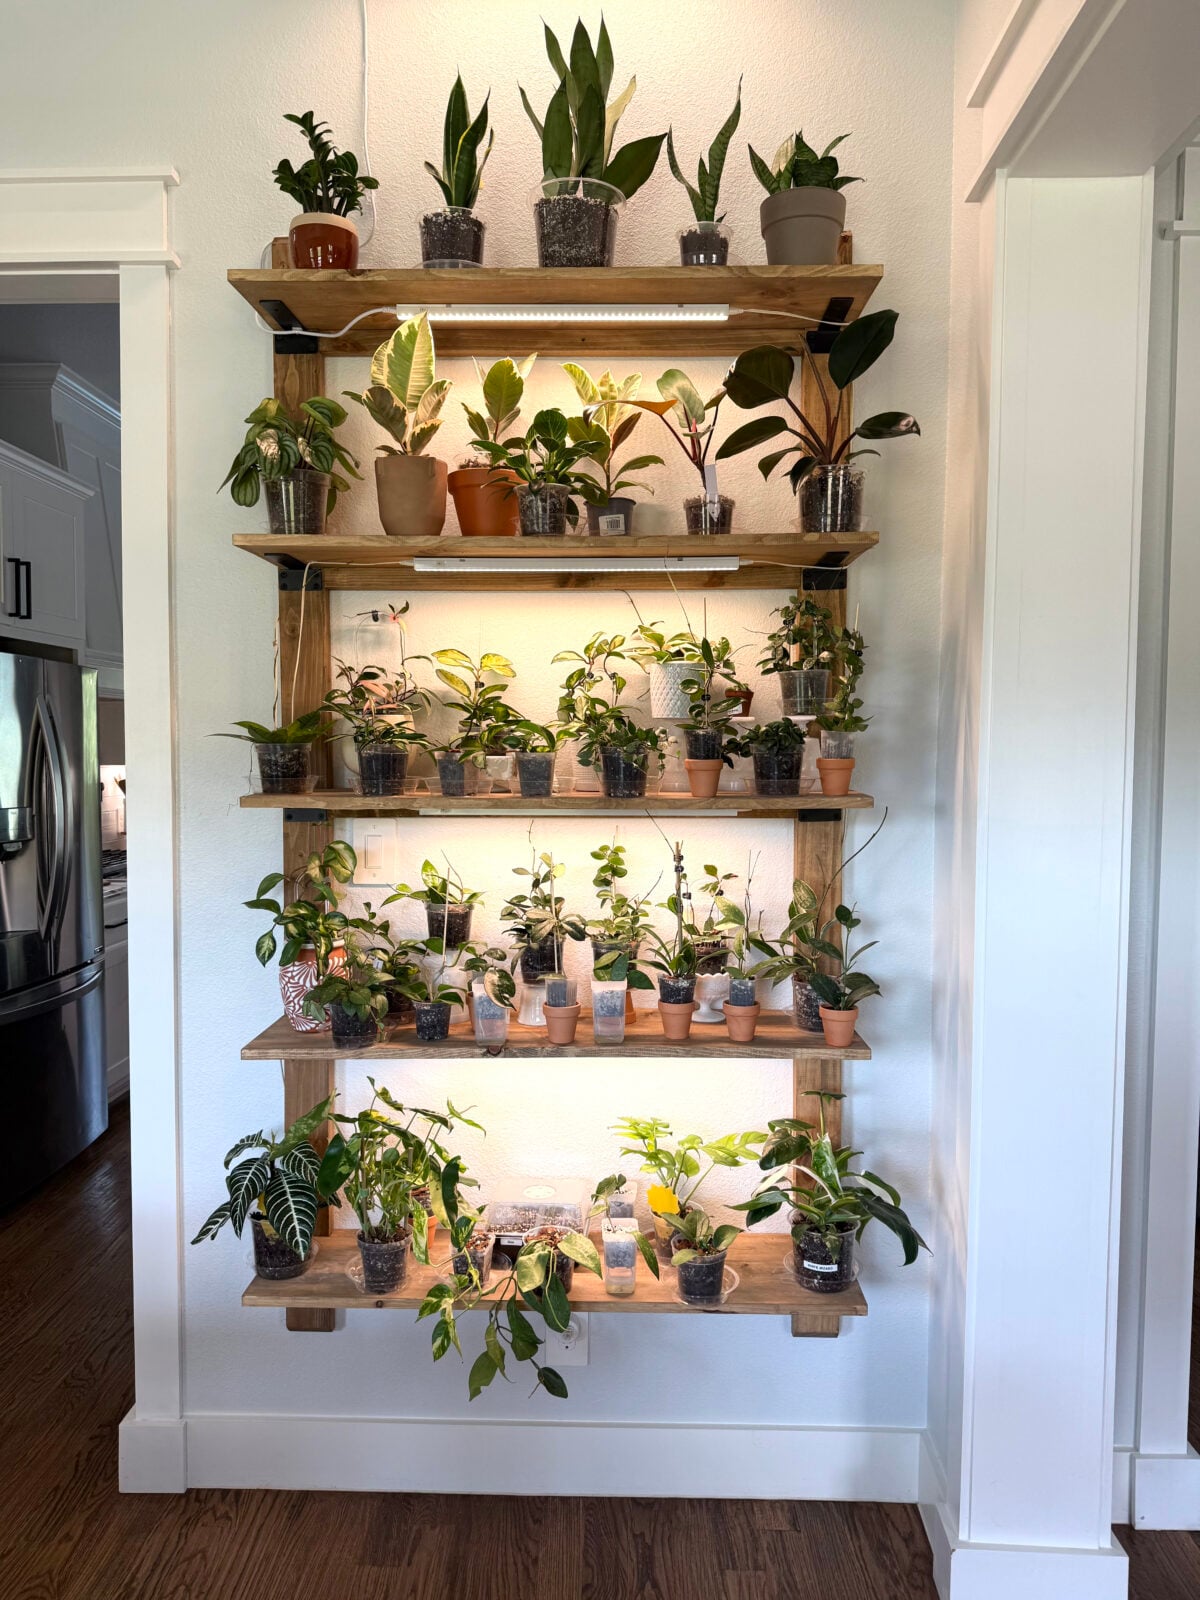
If you add lights, follow the manufacturer’s instructions for installation and placement. The amount of light needed will depend on the plants displayed on each shelf.
For another wall project designed around plants, check out our DIY wall planter.
That’s it! Fill it with the shelves with your favorite houseplants and watch them grow!
Other Ways to Use These Shelves
I built these shelves for my plant collection, but they can be used for more than houseplants.
- Turn them into wall-mounted bookshelves.
- Use them as a plate rack in a kitchen or dining room.
- Display framed pictures and decorative accessories.
- Add baskets for smaller items.
- Style them with a combination of books, plants, and decor.
- Paint or stain them to coordinate with your room.
If you change the overall dimensions or number of shelves, the cut list, cleat spacing, supports, and wall-mounting hardware may also need to be adjusted.
Frequently Asked Questions
Each shelving unit is 43 inches long and has five shelves.
I spent about $150 to build one five-shelf unit. The final cost will vary depending on local lumber prices, the finish you choose, and the mounting hardware required for your wall.
No. I used a table saw to rip the rounded edges from the 2×6 framing boards, but that step is optional. You can build the shelves using the boards with their original factory edges.
Yes. You can paint or stain the shelves to match your room. Apply the finish before mounting the frame and installing the shelves so every surface is easier to reach.
Yes. I built two matching units for each side of my dining room wall, but one unit can be used on a smaller wall or in another room.
Yes. The shelves can be used for books, plates, framed pictures, baskets, and other decor. Make sure the unit is mounted appropriately for the items you plan to display.
The dimensions can be customized, but changing the width, shelf spacing, or number of shelves will require adjustments to the cut list, supports, and wall-mounting hardware.
No. The grow lights are optional. I added them to my finished shelves to provide additional light for my houseplants.
More DIY Shelf and Wall Projects
If you enjoyed building these DIY plant shelves, you may also like our DIY $15 wall shelves, DIY floating shelves with hardware, or DIY floating corner shelves. Each project offers a different way to add storage and display space to an empty wall.
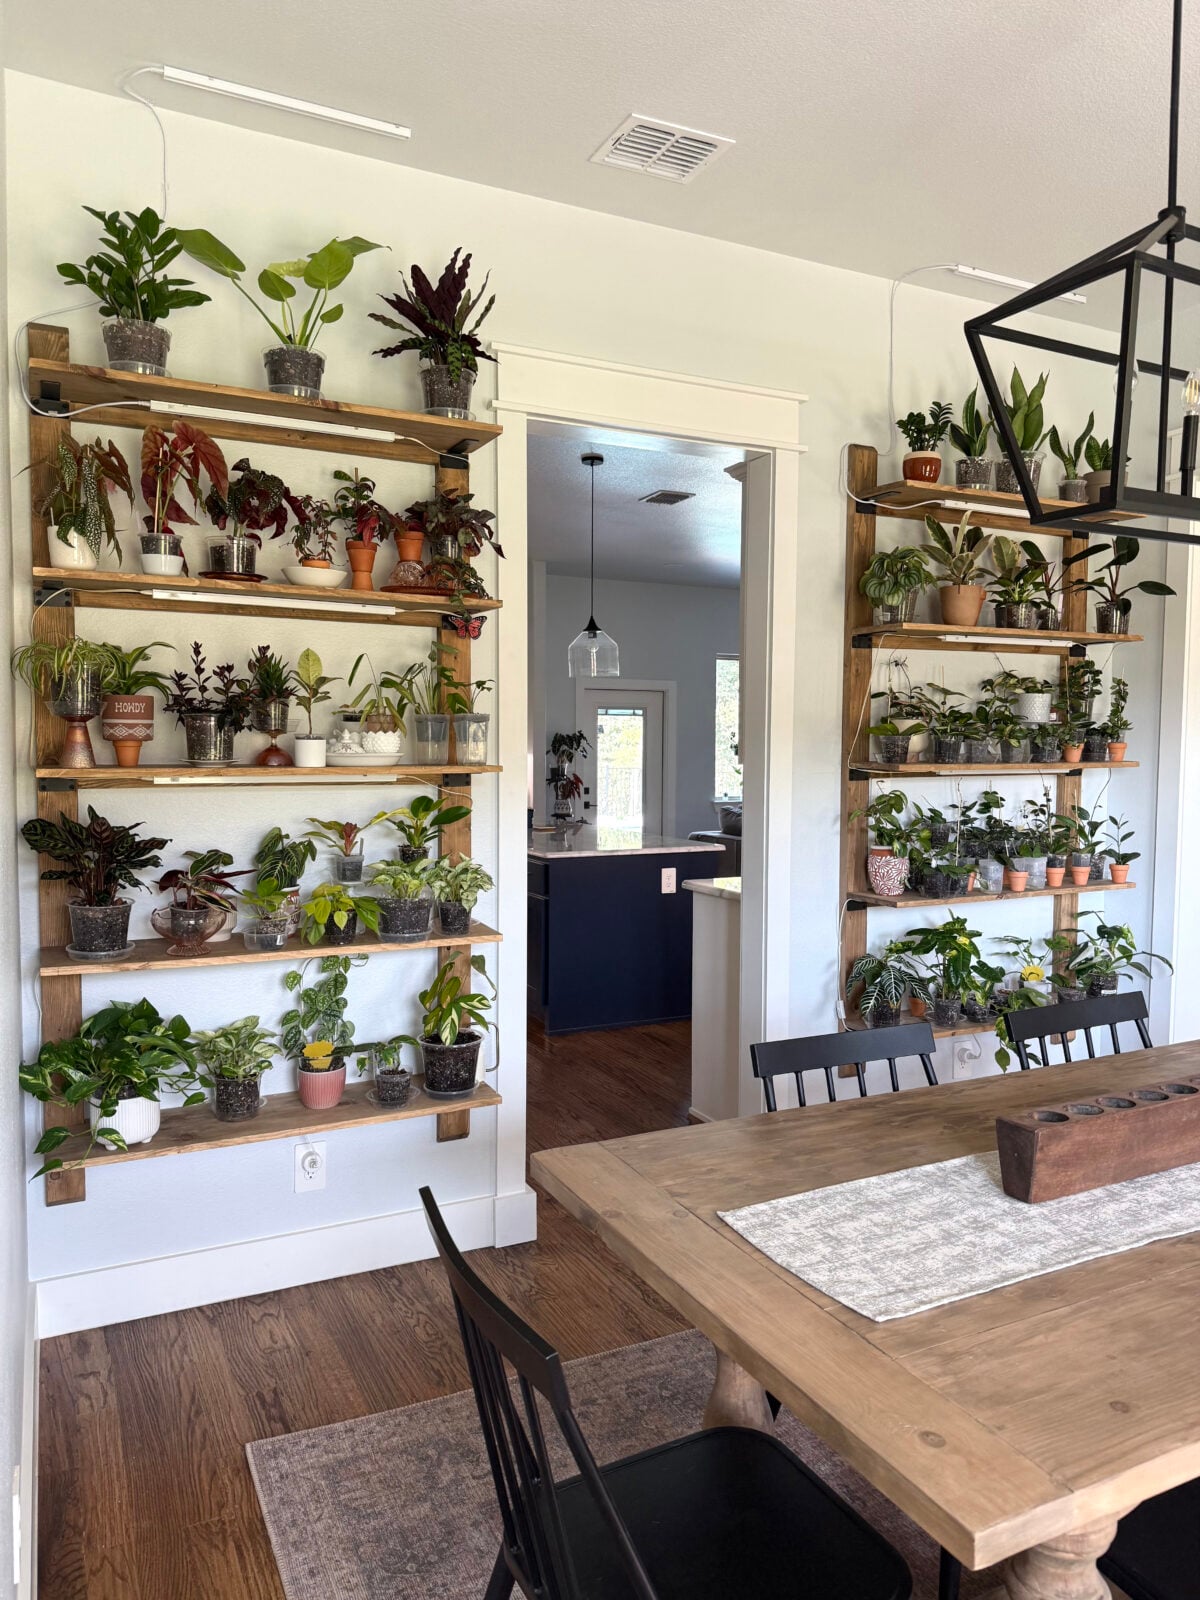
I love how these plant shelves turned out. The two matching units fill both sides of my dining room wall, and the five shelves on each unit give me lots of room for my growing houseplant collection. They serve both form and function, and I can easily restyle them with books or decor whenever I want to change the room.
If you build your own, we would love to see it. Share a photo and tag @shanty2chic on Instagram or use #shanty2chic so we can check it out.
Leave any questions in the comments below, and don’t forget to rate the project if you use the printable How-To Card.
Happy Building! – Ashley
🛠️ Printable Tutorial
DIY Plant Shelf
Tools
- Kreg Jig
- Miter Saw
- Drill
- Jigsaw
- Sander
- Brad Nailer (optional)
- Table Saw (optional)
- Kreg Project Blocks (optional)
- Kreg Stud Finder (optional)
- Tape Measure
Supplies
- 3 2x6x8
- 3 1x12x8
- 5 Shelf Brackets
- 2 1/2" Pocket Hole Screws
- Wood Glue
- 2" Brad Nails (optional)
- Stain, paint, or another wood finish
- 3" Wood Screws for Drywall Mounting
Instructions
Cut List
- Cut List

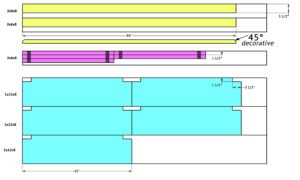
Building the Frame
- Cut the rails to size and make a 45° off the top corner of each end. This will create a decorative cut and is not structural.

- Cut the cleats to size. Drill 1 1/2" pocket holes at both ends of each cleat and attach them to the rails with 2 1/2" pocket hole screws and wood glue. The decorative 45° cuts should be face down with pocket holes facing up for assembly.


Shelf Assembly and Mounting
- Cut the shelf pieces to size and notch out the back corners with a jig saw.

- At this point, it is best to add a finish and attach the assembly to the wall. Check out the post on our site for detailed instructions on how I mounted it to the wall. Once it is attached to the wall, secure a shelf on top of each cleat. I used 2" brad nails to temporarily attach each shelf.

Installing the Brackets
- Once each shelf is secure, follow up with a shelf bracket under each shelf end. Follow manufacturer instrucions for bracket installation. You can find the brackets I used in the post on our site.

The Finish
- That's it! Now just fill it up with your houseplants or other decor!Make it your own and makesure to share it on social media and use #shanty2chic so we can share them too!Happy Building!