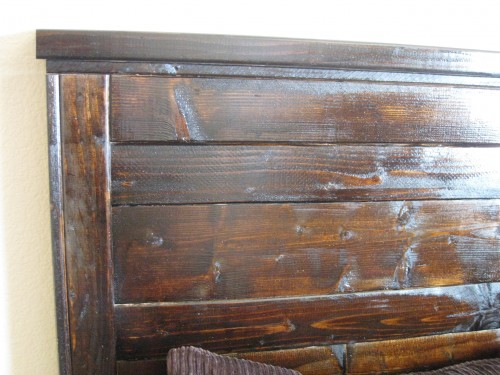
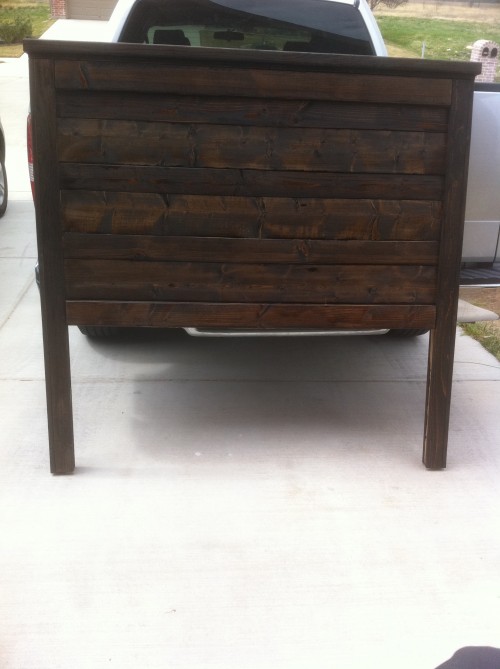
The Reclaimed Wood Headboard is complete!
This was the easiest piece I have ever built! It took me about 1 hour to put it together after I cut the wood! You can find the plans I used for this headboard on Ana’s Site but as always, I am taking you on my journey:)
Here are some pictures of the steps I took in order:
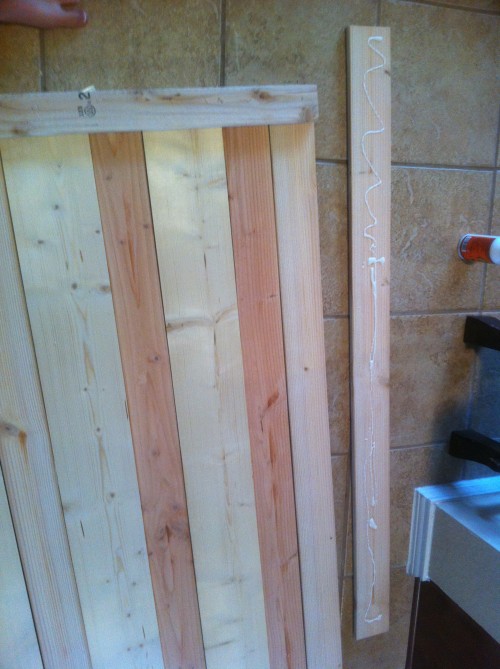
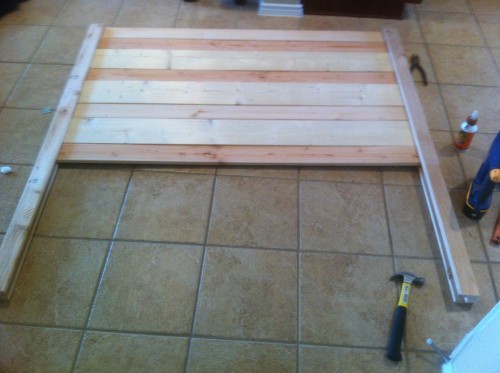
I started by placing one board on top of another…
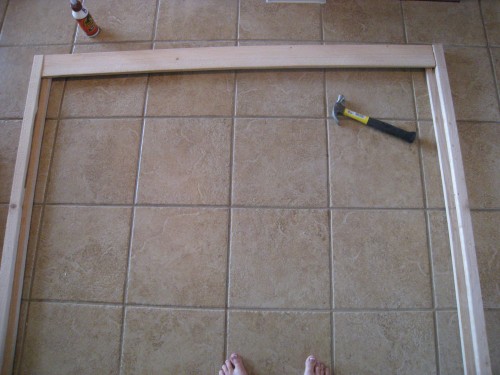
This is a picture of the outside frame of the headboard.
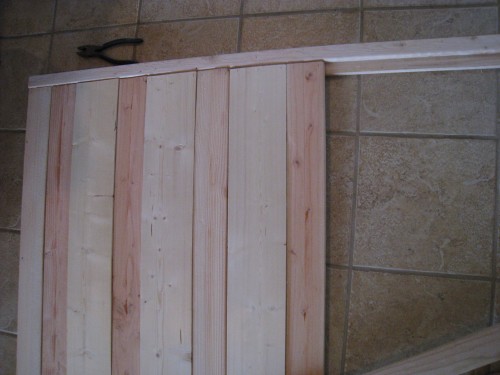
Next, it is just patterns! 1×6, 1×4, 1×6 etc!
This is a picture of the trim on the front side of the headboard.
More front trim:)
Lookin’ good!
Final top trim.
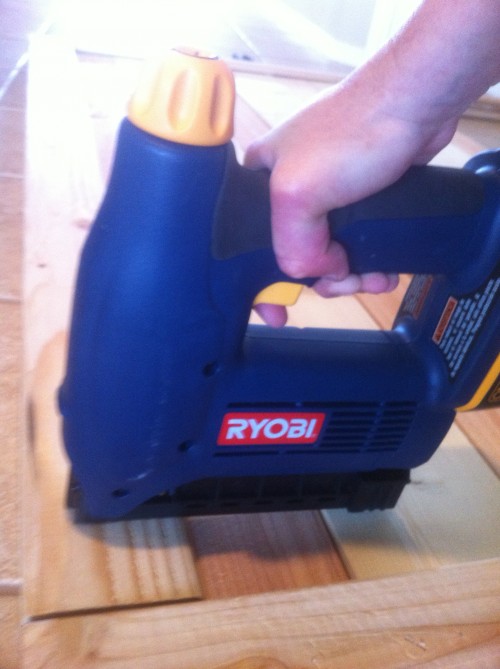
I used my Ryobi Battery Brad Nailer to construct this entire piece along with a TON of Gorilla Glue Wood Glue!
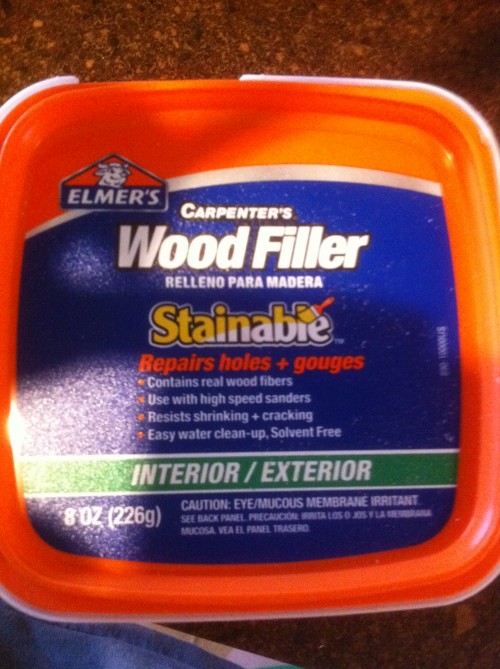
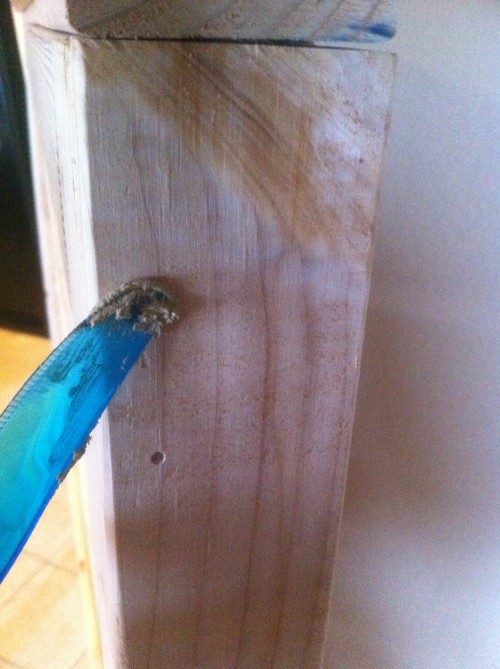
I used Elmer’s Wood Filler to fill in the few nail holes that I had. I love the way Ana has you construct this because she starts from the back side. Doing this leaves almost zero nail holes and I strongly dislike filling nail holes:) I used a plastic knife to smooth the wood filler because it was the closest thing I had:)
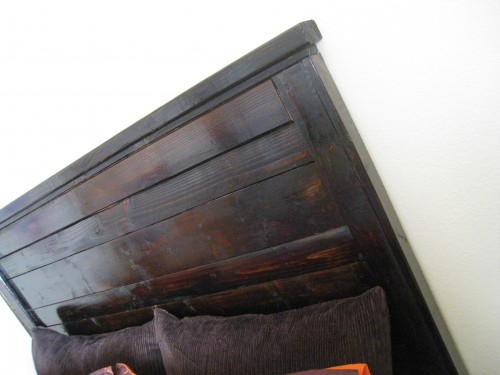
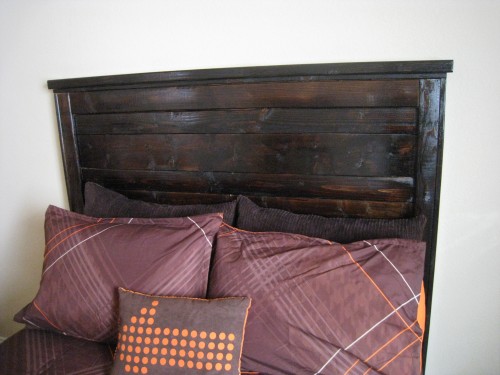
Ahhh! I love stained wood! I used 2 coats of Minwax Dark Walnut stain followed by 1 coat of Minwax Polycrylic. I am in LOVE! I wish it was going in my room….
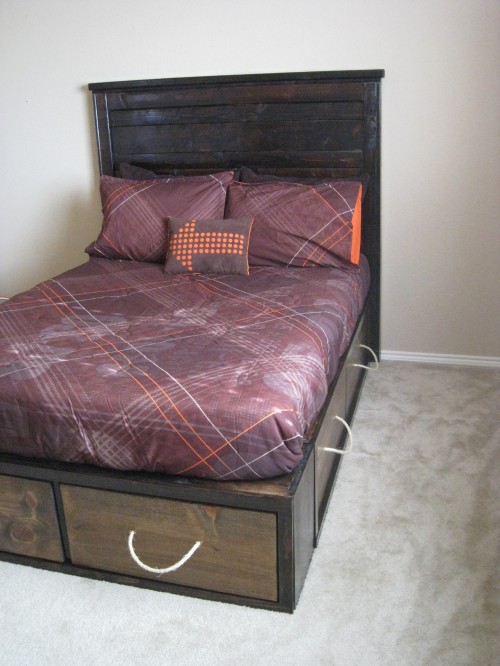
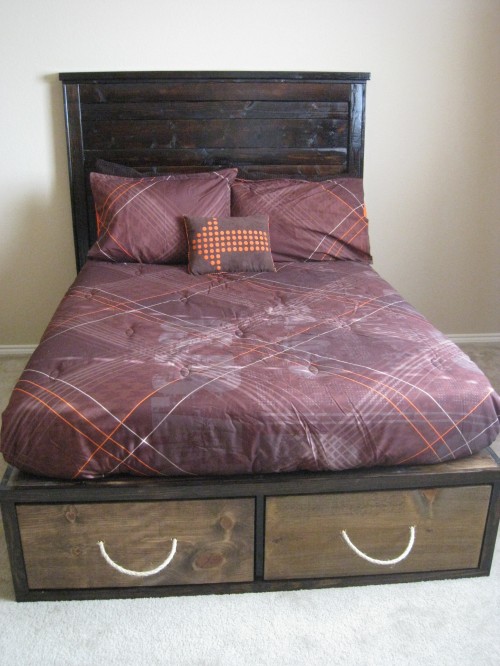
Here she is on the Full Storage Bed! To see the plans for the full storage bed click HERE!
I love, love, love how this headboard looks on the Full Storage Bed! I think I am motivated now to tackle the rest of his room…one project ALWAYS leads to another and I LOVE it;)
I hope ya’ll have a fun and safe weekend!






Hi! I love the look of this bed! Do you have an information on putting the storage piece together?